


 本文指导如何在Visual Studio Code(VSCode)中配置C++的调试环境,包括安装MinGW,创建并配置tasks.json和launch.json文件,以及启用自动补全功能。详细步骤涵盖了从打开项目到编译、调试和设置自动补全的全过程,确保开发者能够顺利进行C++代码的开发和调试。
为了在VS Code中调试代码,首先需要安装VS Code和MinGW,参考文章Command line配合MinGW
接下来是具体设置:
1.打开cmd,cd至项目目录,键入code .,在VS Code中打开项目;
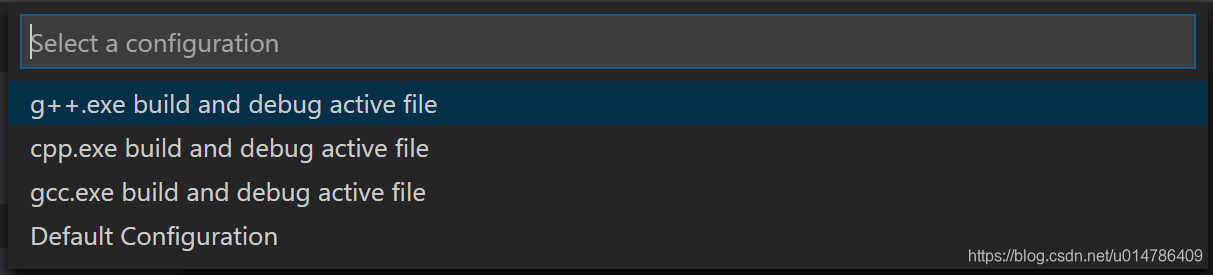
2.VS Code中使用快捷键Ctr+Shift+P,打开控制面板输入Terminal > Configure Default Build Task,选择g++.exe build active file, 会创建tasks.json文件,这个文件用于配置编译选项。

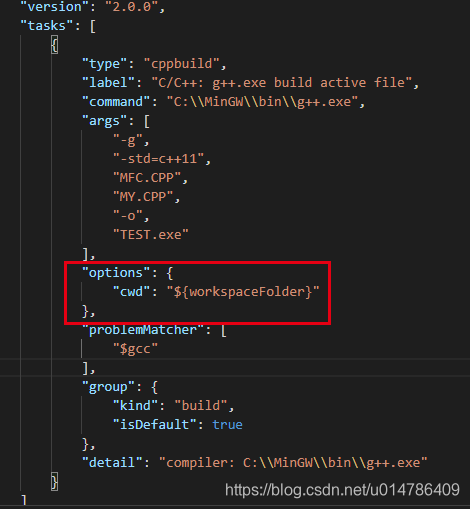
3.设置tasks.json内容如下:
{
    // See https://go.microsoft.com/fwlink/?LinkId=733558
    // for the documentation about the tasks.json format
    "version": "2.0.0",
    "tasks": [
      {
        "type": "shell",
        "label": "C/C++: g++.exe build active file", // 任意取名
        "command": "C:\\MinGW\\bin\\g++.exe",  //此处修改为MinGW的g++.exe路径
        "args": [
          "-g",  // g++的调试选项
          "-std=c++11",  // c++版本
          "MFC.CPP", // 源文件1
          "MY.CPP", // 源文件2
          "-o",
          "TEST.exe"  // 输出文件,默认值为${fileDirname}\\${fileBasenameNoExtension}.exe, 是入口函数所在文件名称,第一个cpp文件,如main.cpp
        ],
        "options": {
          "cwd": "${workspaceFolder}"
        },
        "problemMatcher": [
          "$gcc"
        ],
        "group": {
          "kind": "build",
          "isDefault": true
        }
      }
    ]
}
保存编辑。
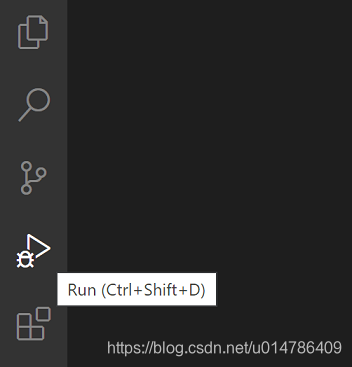
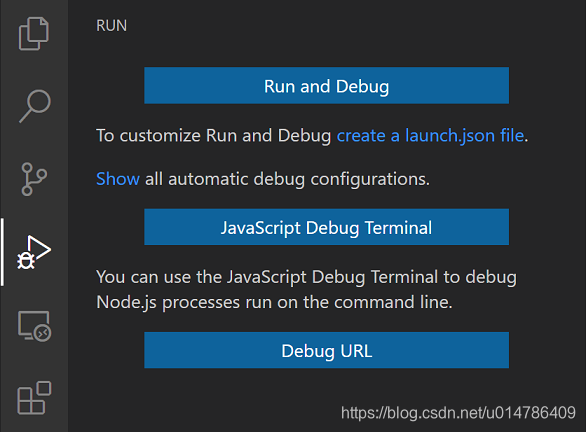
4.创建launch.json文件
在VS Code主窗口左侧Run选项(Ctr + Shift + D),选择Add Configuration,选择C++ (GDB/LLDB),接着选择 g++.exe build and debug active file.
此时会创建launch.json文件,这个文件用于配置调试选项,配置如下:
{
    // Use IntelliSense to learn about possible attributes.
    // Hover to view descriptions of existing attributes.
    // For more information, visit: https://go.microsoft.com/fwlink/?linkid=830387
    "version": "0.2.0",
    "configurations": [
        {
            "name": "(gdb) Launch",
            "type": "cppdbg",
            "request": "launch",
            "program": "C:\\Users\\ITadmin\\Desktop\\Test\\MFC\\FRAME2.03\\TEST.exe", // 调试入口程序
            //可以使用${workspaceFolder}/main.exe来使用工作区路径为base path
            "args": [],
            "stopAtEntry": false,
            "cwd": "${workspaceFolder}",
            "environment": [],
            "externalConsole": false,
            "MIMode": "gdb",
            "miDebuggerPath": "C:\\MinGW\\bin\\gdb.exe", // gdb.exe安装路径
            "setupCommands": [
                {
                    "description": "Enable pretty-printing for gdb",
                    "text": "-enable-pretty-printing",
                    "ignoreFailures": true
                }
            ]
        }
    ]
}
5.回到主程序 (main函数)文件,使用Ctr + Shift + B来编译代码:
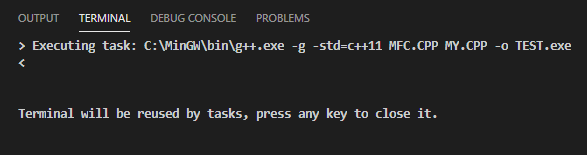
有时编译出错提示找不到源文件,这时要检查当前工作目录cwd是否是project目录。
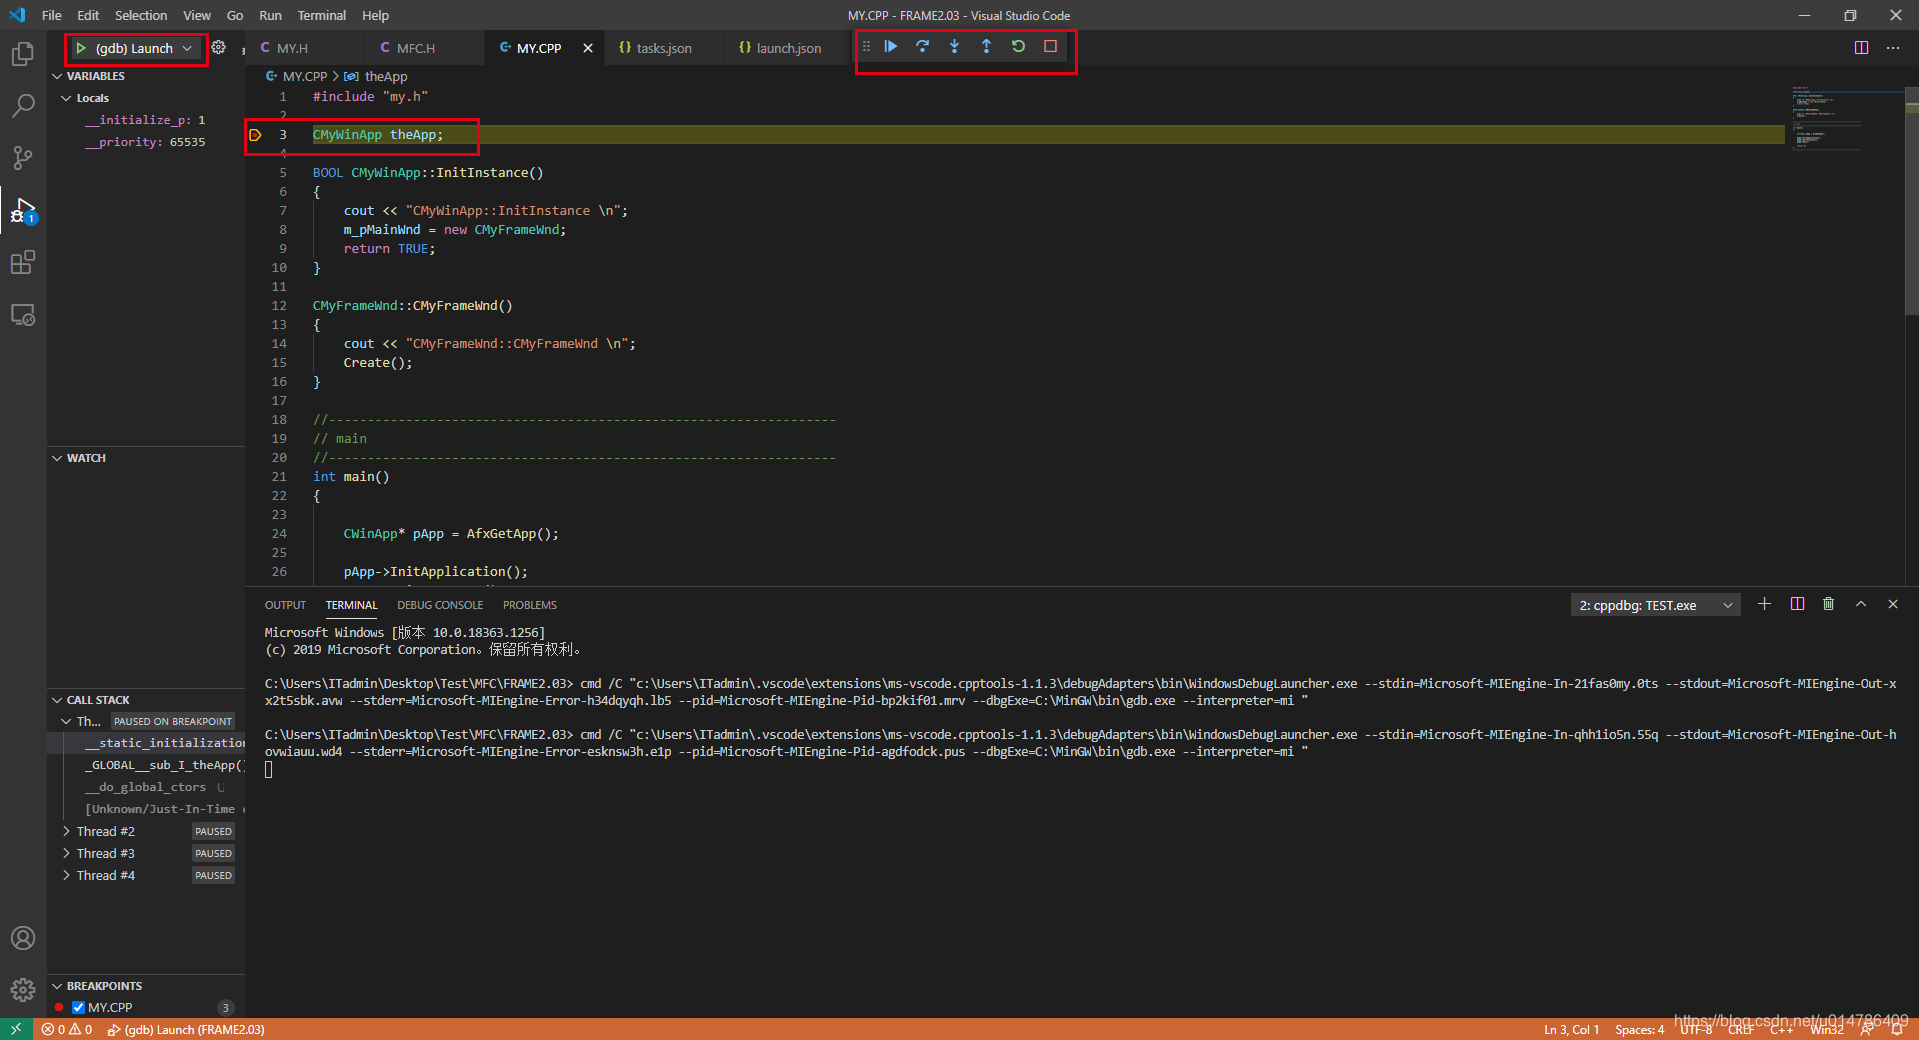
无错误情况如图。按“+”键创建一个新的terminal。
6.在程序中设置断点,点击Run,切换至调试模式,点击“(gdb) Launch" 开始调试。
7.配置自动补全功能
使用Ctr + Shift + P打开命令选板,选择C/C++: Edit Configurations (UI)创建c_cpp_properties.json文件,这个文件用于设置自动补全功能,配置如下
{
    "configurations": [
        {
            "name": "GCC",
            "includePath": [
                "${workspaceFolder}/**",
                "C:\\MinGW\\include"  // MinGW include 目录
            ],
            "defines": [
                "_DEBUG",
                "UNICODE",
                "_UNICODE"
            ],
            "windowsSdkVersion": "10.0.18362.0",
            "compilerPath": "C:\\MinGW\\bin\\g++.exe", //MinGW编译器路径
            "cStandard": "c11",
            "cppStandard": "c++11",  // c++标准
            "intelliSenseMode": "gcc-x64" //将默认的MSVC mode改为gcc mode
        }
    ],
    "version": 4
参考文献:
Get Started with C++ and MinGW in Visual Studio Code
Debug C++ in Visual Studio Code
Configuring C/C++ debugging


 8万+
8万+

 被折叠的 条评论
为什么被折叠?
被折叠的 条评论
为什么被折叠?
 到【灌水乐园】发言


