


 本文介绍如何使用SpringBoot搭建简单的Web应用,包括项目搭建、配置、启动及多环境配置等内容。
其实也是参考官方的:http://spring.io/guides/gs/rest-service/ ,在官方代码基础上加入了很多实用的东西,比如运行环境启动命令等等。
官方文档:http://docs.spring.io/spring-boot/docs/current/reference/html/
SpringBoot并不神秘,其最大的好处是可以帮你省略引用一堆jar包,需要神秘jar它自动帮你引用,集成tomcat,集成配置等待好处太多,总之就是更方便开发而已。
还是自己体验下比较好。
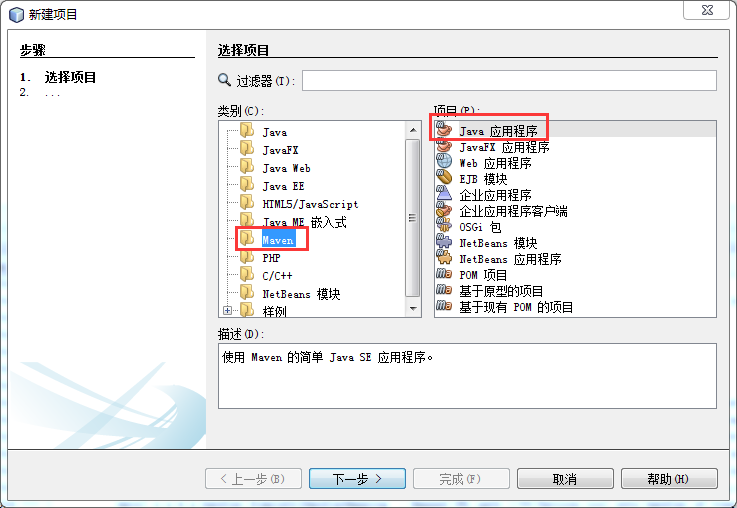
1.建立java应用程序
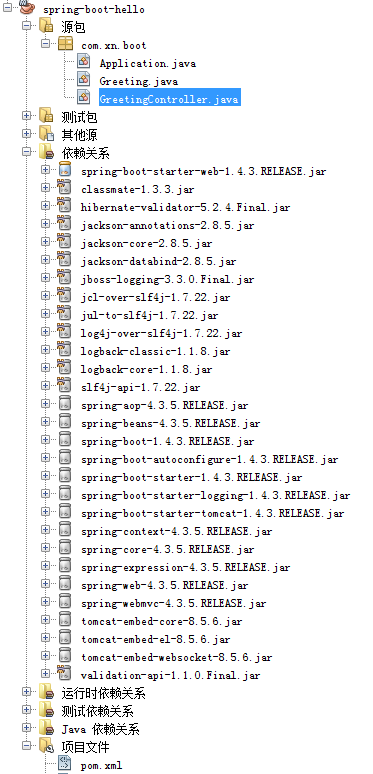
起一个Maven的java应用程序,注意不要再起Web应用程序了:
2.maven配置文件
pom.xml:
<?xml version="1.0" encoding="UTF-8"?>
<project xmlns="http://maven.apache.org/POM/4.0.0" xmlns:xsi="http://www.w3.org/2001/XMLSchema-instance" xsi:schemaLocation="http://maven.apache.org/POM/4.0.0 http://maven.apache.org/xsd/maven-4.0.0.xsd">
    <modelVersion>4.0.0</modelVersion>
    <groupId>com.xxx</groupId>
    <artifactId>spring-boot-hello</artifactId>
    <version>1.0.0</version>
    <packaging>jar</packaging>
    <parent>
        <groupId>org.springframework.boot</groupId>
        <artifactId>spring-boot-starter-parent</artifactId>
        <version>1.4.3.RELEASE</version>
    </parent>
    <properties>
        <project.build.sourceEncoding>UTF-8</project.build.sourceEncoding>
        <maven.compiler.source>1.8</maven.compiler.source>
        <maven.compiler.target>1.8</maven.compiler.target>
    </properties>
    <dependencies>
        <dependency>
            <groupId>org.springframework.boot</groupId>
            <artifactId>spring-boot-starter-web</artifactId>
        </dependency>
        <dependency>
            <groupId>org.springframework.boot</groupId>
            <artifactId>spring-boot-starter-test</artifactId>
            <scope>test</scope>
        </dependency>
        <dependency>
            <groupId>com.jayway.jsonpath</groupId>
            <artifactId>json-path</artifactId>
            <scope>test</scope>
        </dependency>
    </dependencies>
    <build>
        <plugins>
            <plugin>
                <groupId>org.springframework.boot</groupId>
                <artifactId>spring-boot-maven-plugin</artifactId>
            </plugin>
        </plugins>
    </build>
</project>
3.新建类文件
import org.springframework.boot.SpringApplication;
import org.springframework.boot.autoconfigure.SpringBootApplication;

@SpringBootApplication
public class Application {

    public static void main(String[] args) {
        SpringApplication.run(Application.class, args);
    }
}
public class Greeting {
private final long id;
private final String content;
public Greeting(long id, String content) {
this.id = id;
this.content = content;
}
public long getId() {
return id;
}
public String getContent() {
return content;
}
}import java.util.concurrent.atomic.AtomicLong;
import org.springframework.web.bind.annotation.RequestMapping;
import org.springframework.web.bind.annotation.RequestParam;
import org.springframework.web.bind.annotation.RestController;
@RestController
public class GreetingController {
private static final String template = "Hello, %s!";
private final AtomicLong counter = new AtomicLong();
@RequestMapping("/greeting")
public Greeting greeting(@RequestParam(value="name", defaultValue="World") String name) {
return new Greeting(counter.incrementAndGet(),
String.format(template, name));
}
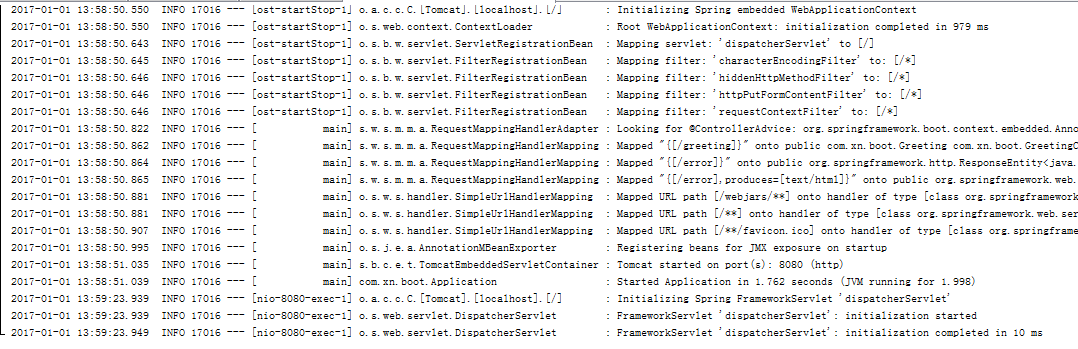
}4.运行项目
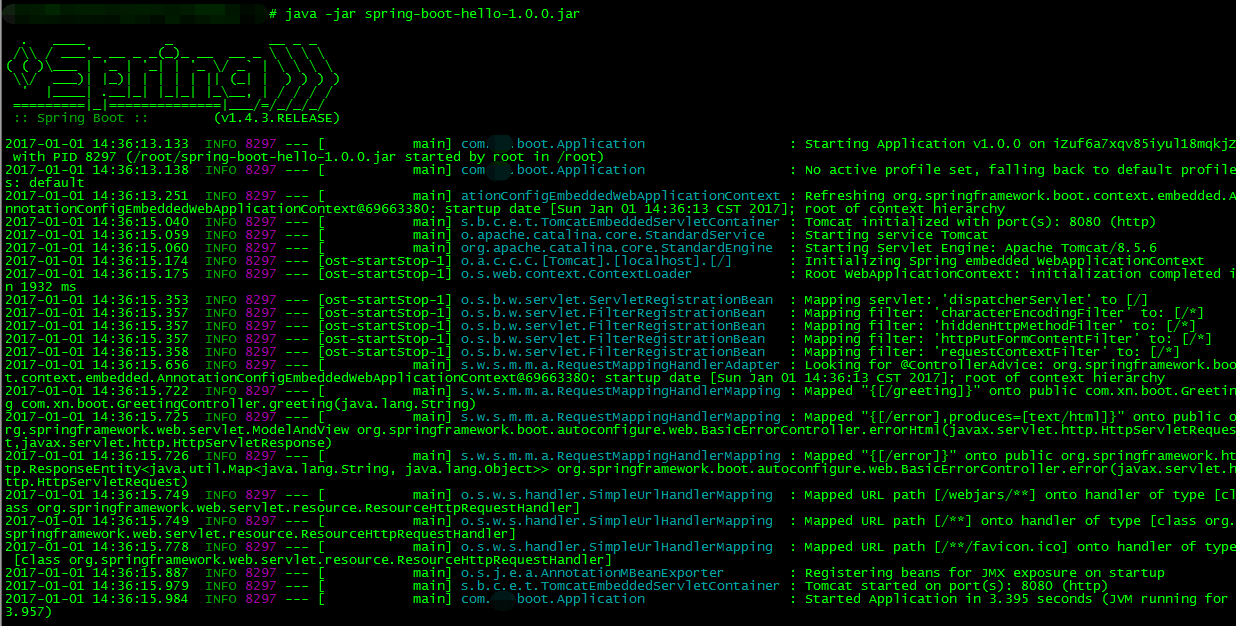
注意:SpringBoot已经集成了tomcat所以无需再安装了,默认是8080不要和现有的tomcat冲突
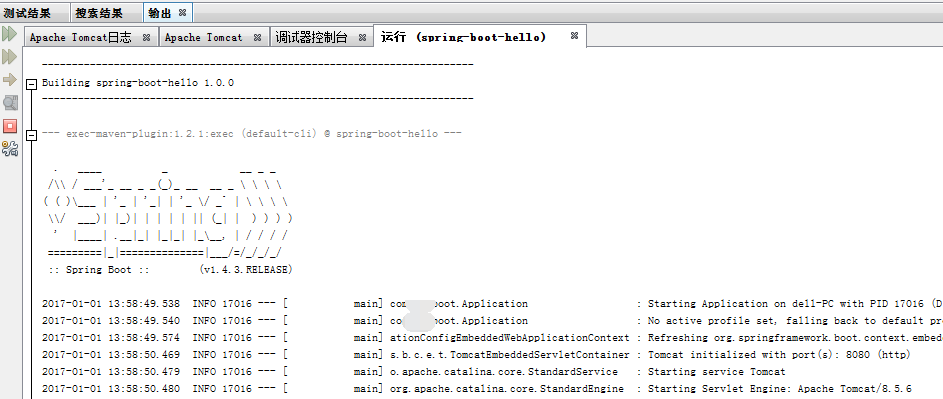
成功启动会提示:FrameworkServlet 'dispatcherServlet': initialization completed in 10 ms
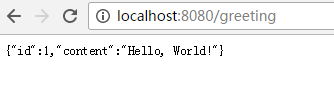
5.验证
http://localhost:8080/greeting
6.集成依赖文件
我们去看下系统依赖文件,发现springmvc都自动被引入,如果不适用springboot就需要一个个去单独引用。
7.命令行下启动
实际项目中肯定是到命令行下启动
Windows下
# java -jar spring-boot-hello-1.0.0.jar

Linux下
实际是需要再后台运行的加个&符号,比如这样
# nohup java -jar spring-boot-hello-1.0.0.jar >/dev/null 2>&1 &
定制化JVM启动参数
# nohup java -Xms1024m -Xmx1024m -Xss1024K -XX:PermSize=64m -XX:MaxPermSize=128m -jar spring-boot-hello-1.0.0.jar >/dev/null 2>&1 &
8.Tomcat下运行
其实完全没必要再到tomcat下再去运行了,如果真的还需要这样可以打war包即可。
<artifactId>spring-boot-hello</artifactId>
    <version>1.0.0</version>
    <packaging>jar</packaging>
改为
<artifactId>spring-boot-hello</artifactId>
    <version>1.0.0</version>
    <packaging>war</packaging>
需要注意的是jdk需要1.8以上版本,Tomcat需要8.0以上版本
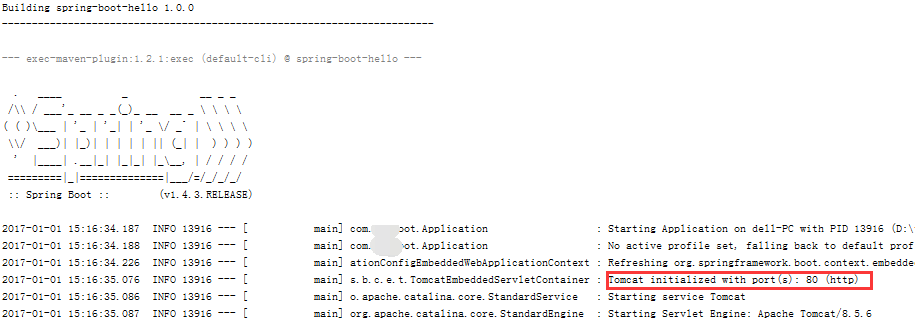
9.Spring Boot配置
如果你需要修改配置,可以在resources文件夹下创建一个application.properties或者application.yml文件,这个文件会被发布到classpath。
比如修改默认的tomcat端口为80
application.properties
server.port: 80
server.tomcat.uri-encoding: UTF-8
server:
  port: 80
  tomcat:
    uri-encoding: UTF-8
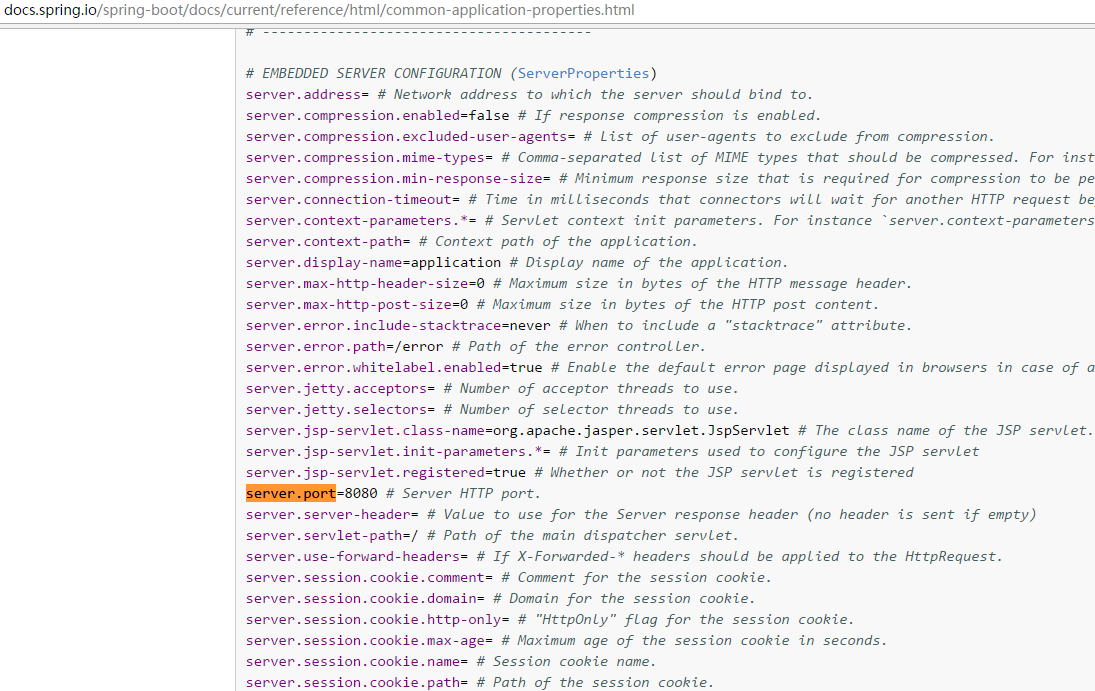
更多配置参考:http://docs.spring.io/spring-boot/docs/current/reference/html/common-application-properties.html
另外:推荐一本书《深入实践Spring Boot》
10.spring boot多环境配置
一般会有开发环境,测试环境,正式环境,甚至于预发布环境。
配置文件不管理好,如果这个靠手工去做非常不靠谱,很容易出错。
Spring boot可以配置多个配置文件,自动切换。
application-online.properties
server.port: 80
server.tomcat.uri-encoding: UTF-8
application-test.properties
server.port: 8080
server.tomcat.uri-encoding: UTF-8
application.properties里激活需要的环境即可
spring.profiles.active=test
也可以通过命令行方式启动
将程序打包之后 通过 java -jar xx.jar --spring.profiles.active=dev的方式启动参考: SpringBoot学习笔记(2) Spring Boot的一些配置


 885
885

 被折叠的 条评论
为什么被折叠?
被折叠的 条评论
为什么被折叠?
 到【灌水乐园】发言


