


实验环境为:虚拟机上 同一网络下
Windows server 2016 && Windows 10
1.web服务
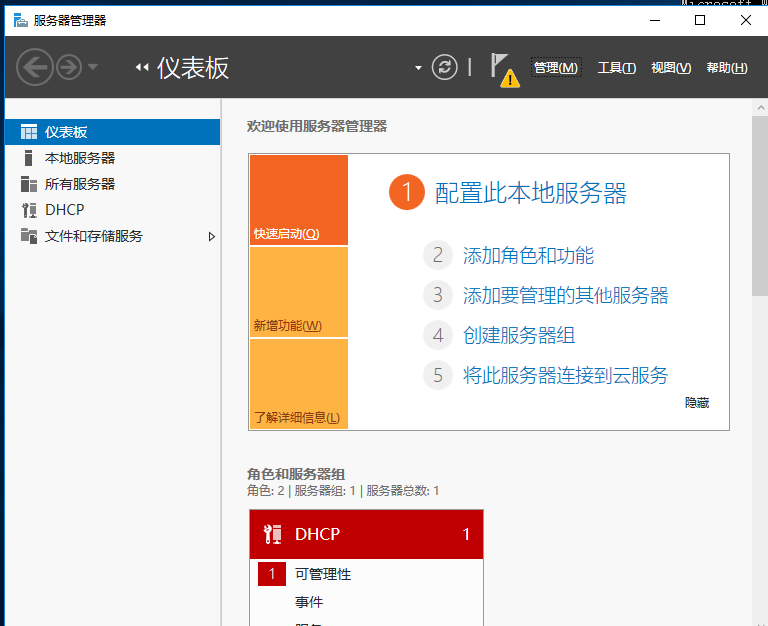
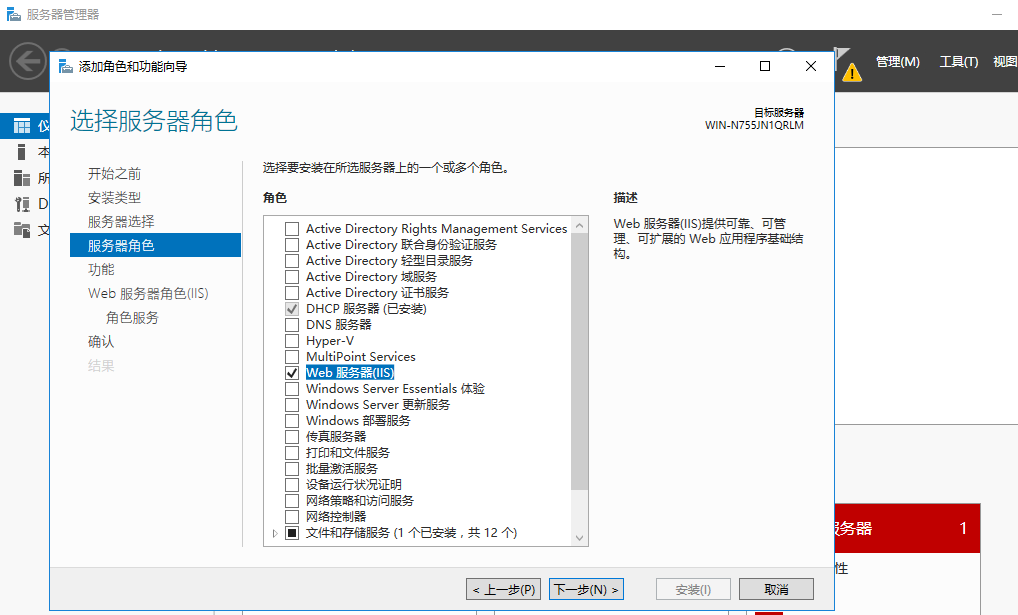
server下 打开服务器管理器
添加角色和功能
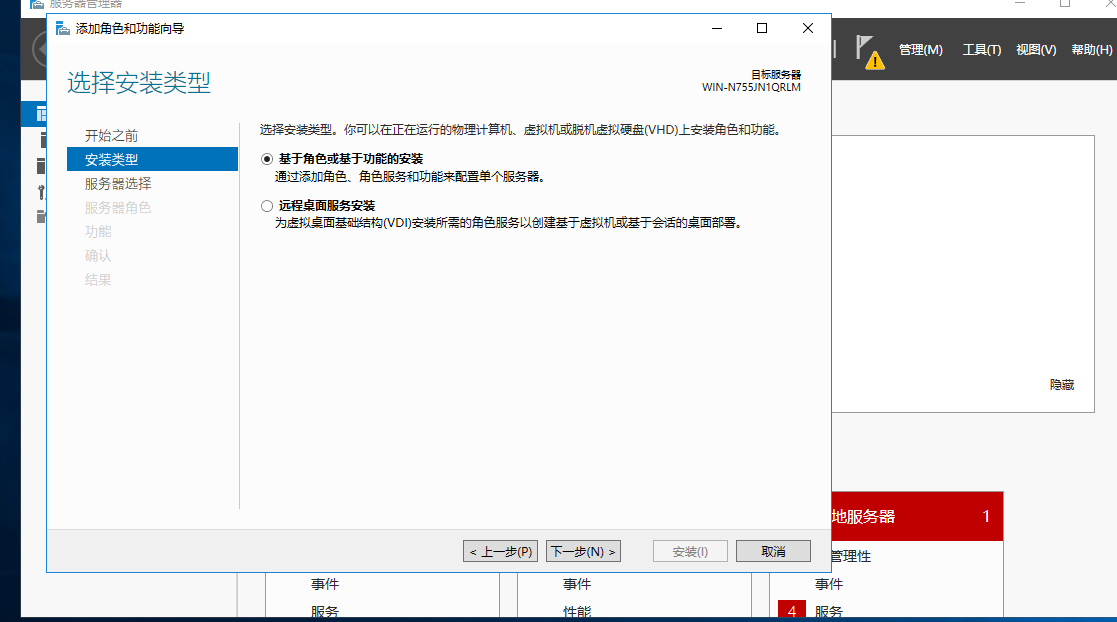
下一步
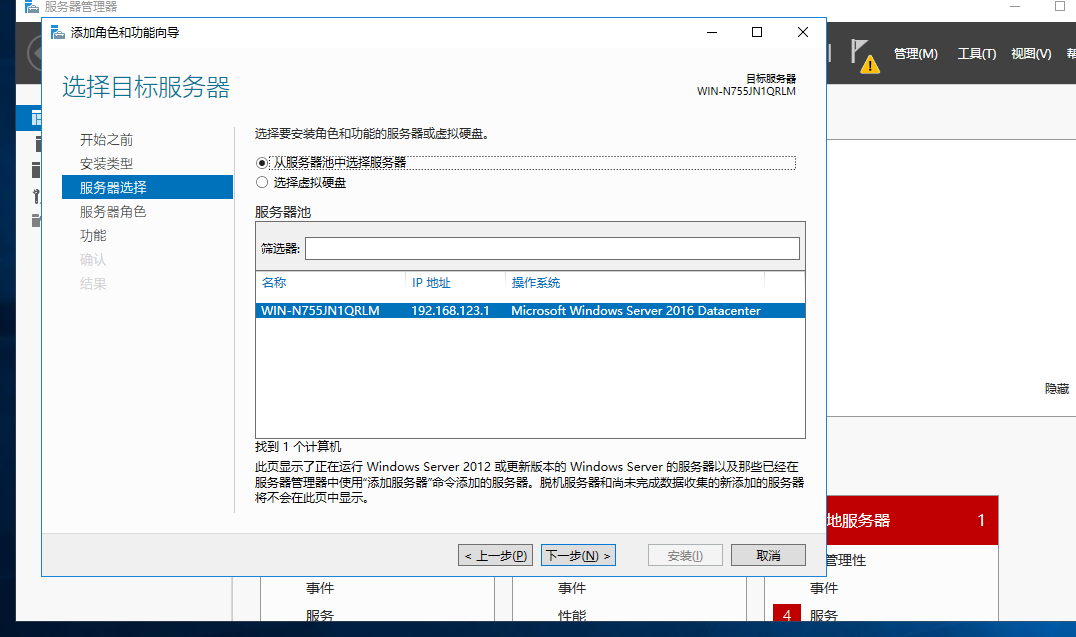
下一步
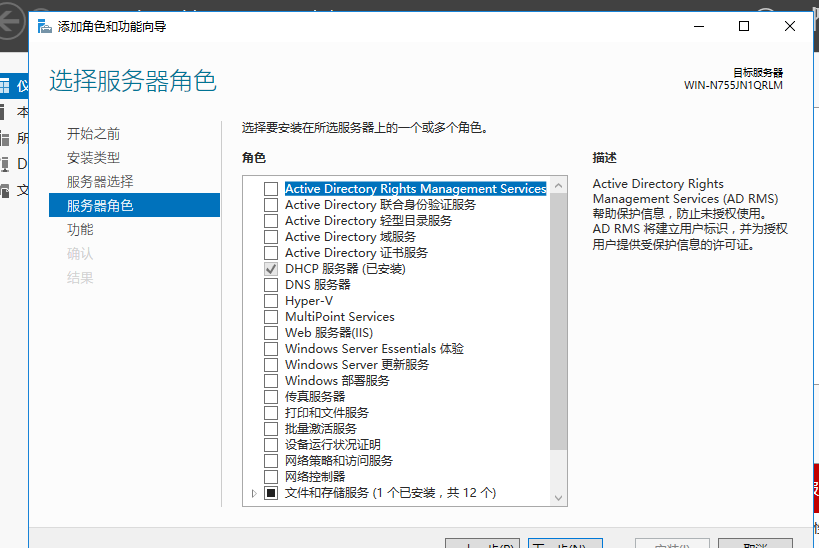
找到web服务器(IIS)√上
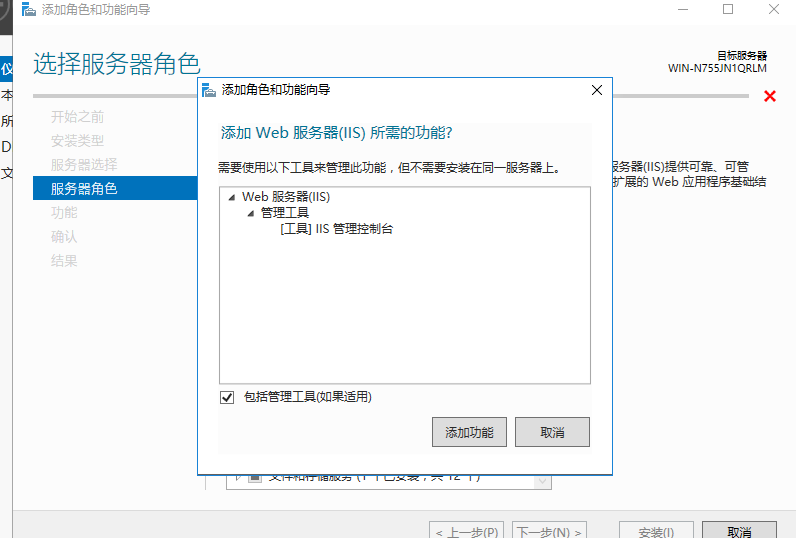
添加功能
下一步
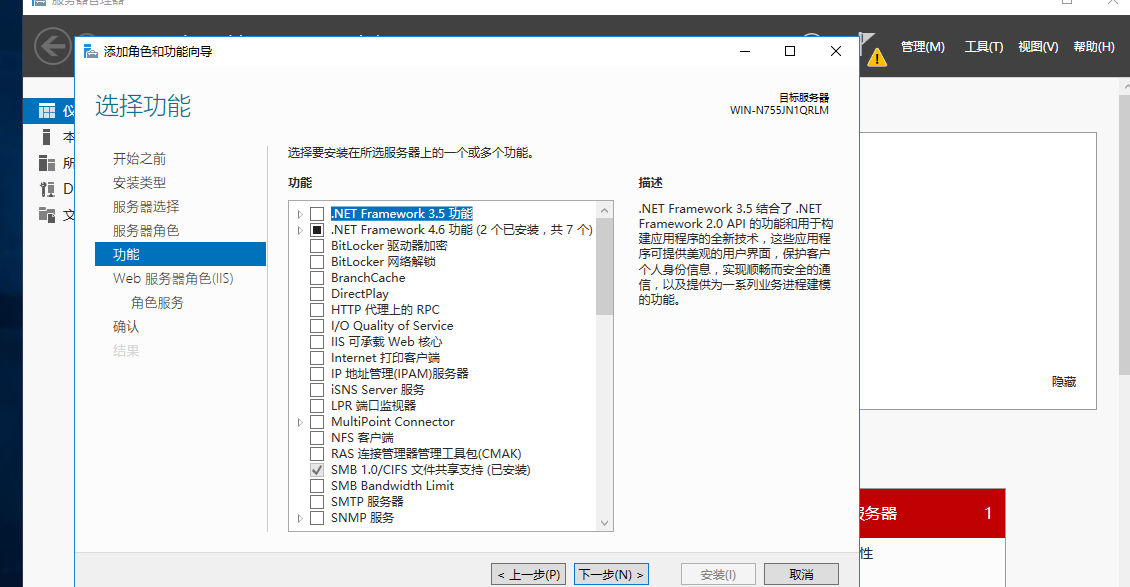
下一步
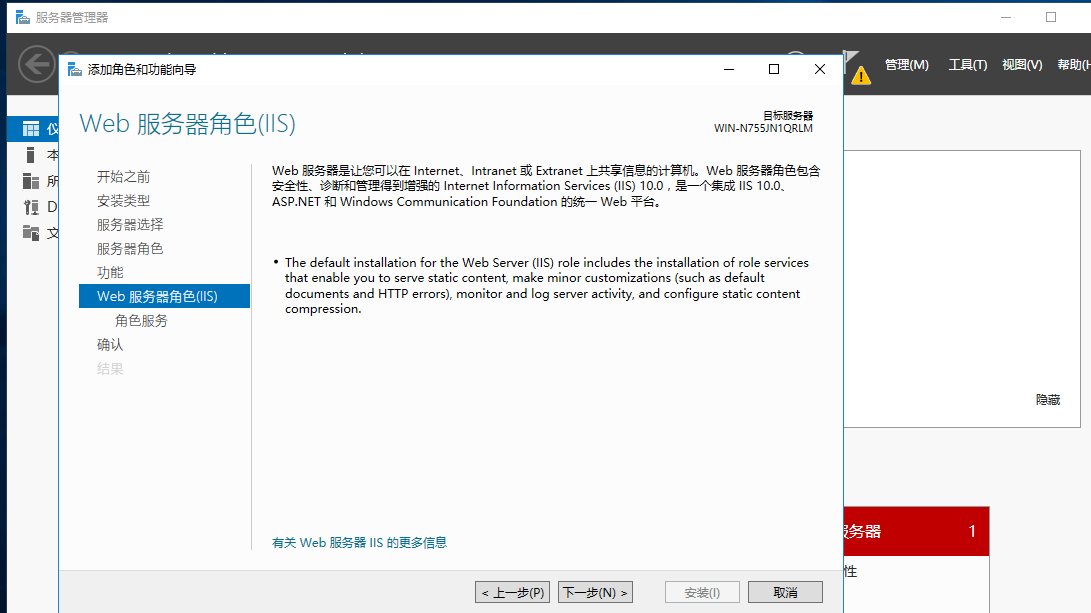
这里告诉了我们iis为10.0
直接下一步

到了这里
把ftp服务器√上
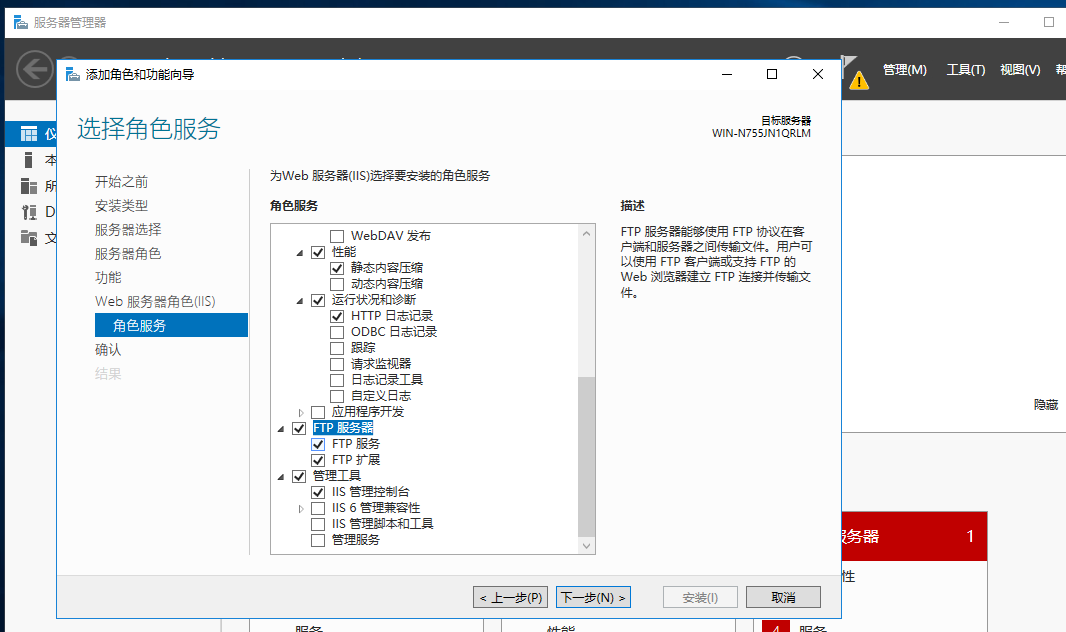
下一步

安装
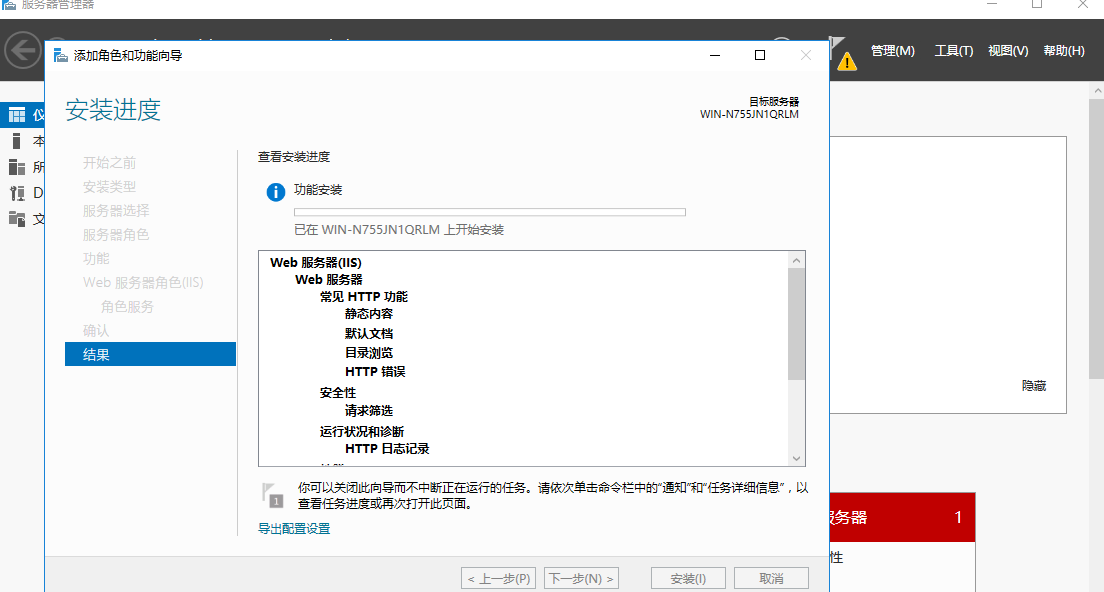
等待完成^^
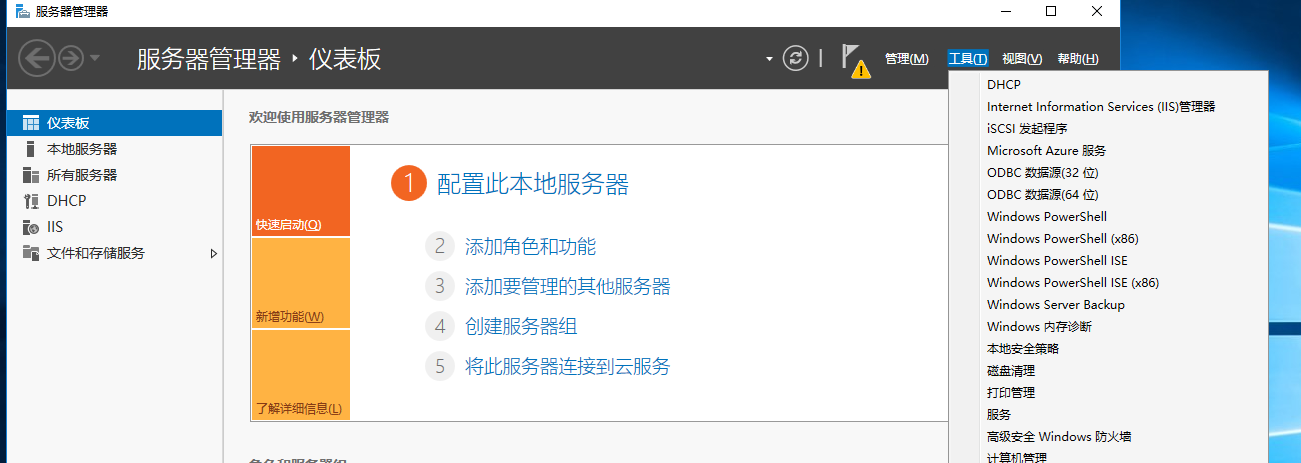
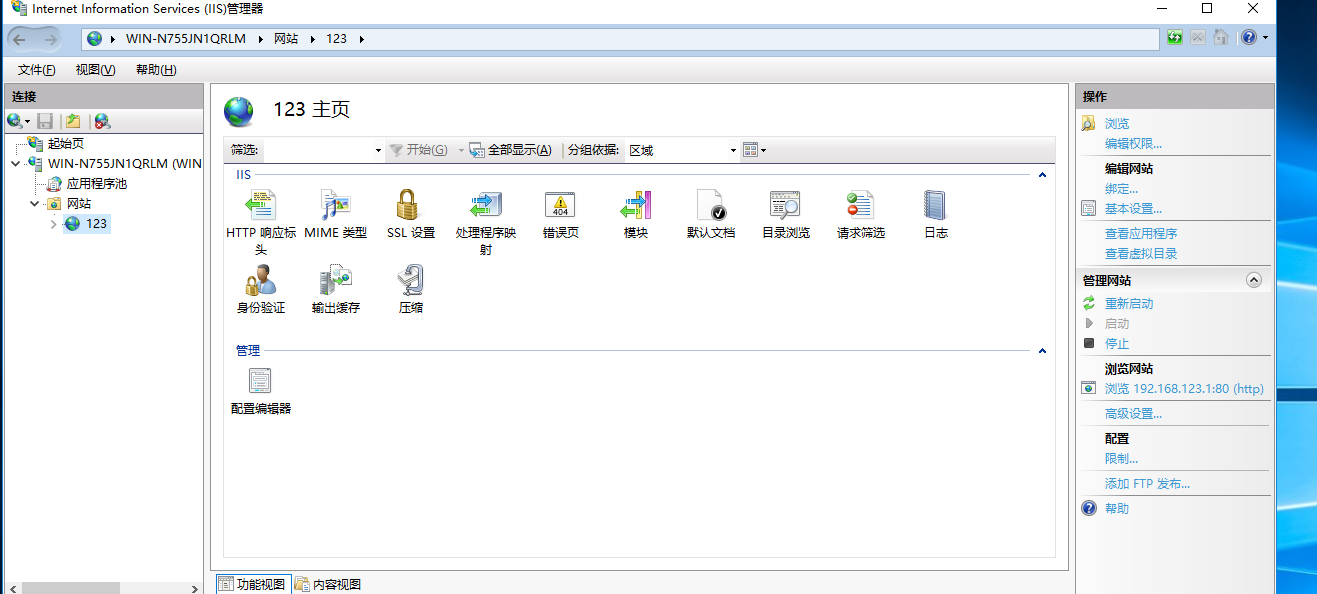
安装完成到 服务器管理器 右上角工具 找到Internet Information Services (IIS)管理器
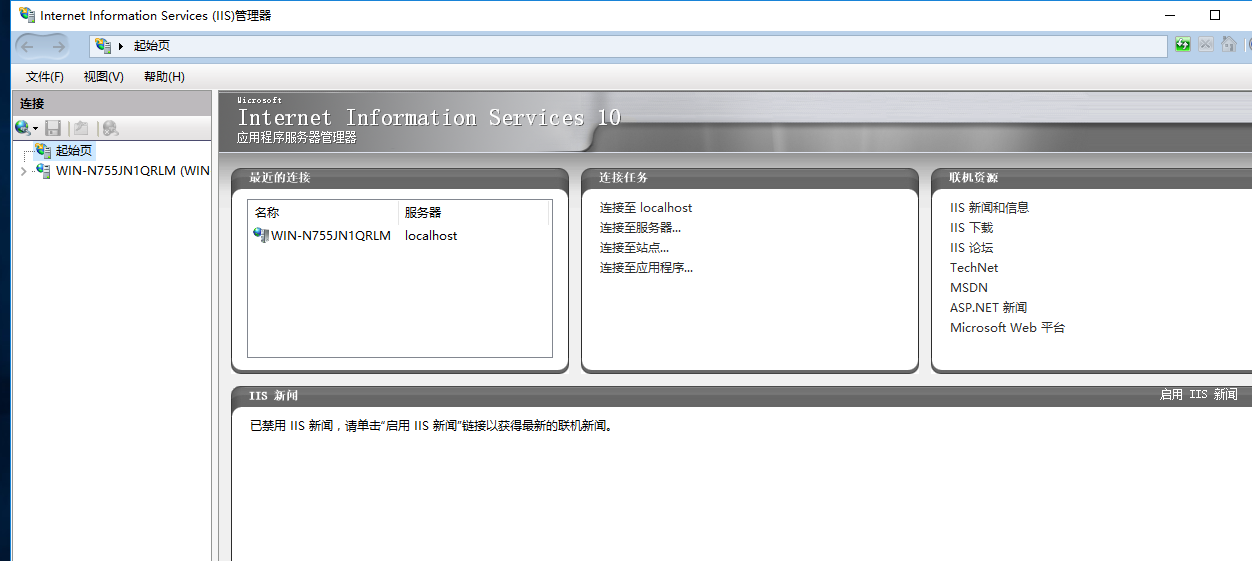
点击WIN- 前便的>
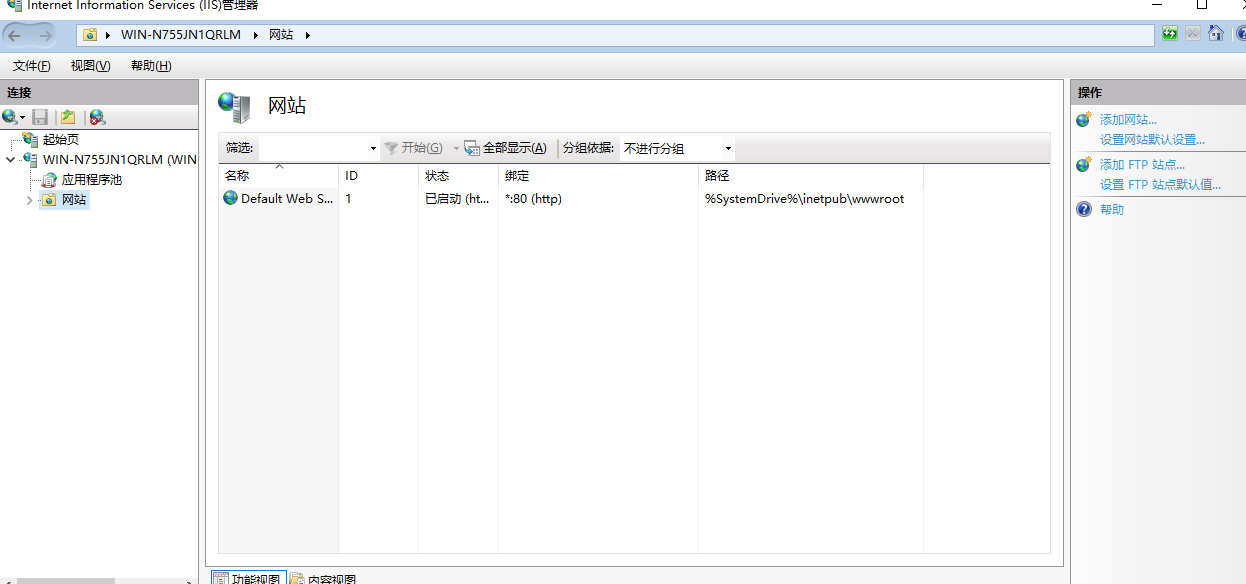
当我们安装完iis以后他就自带一个
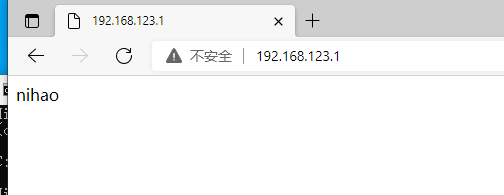
这时我们去另外一个虚拟机上输入server可以看到一个网页
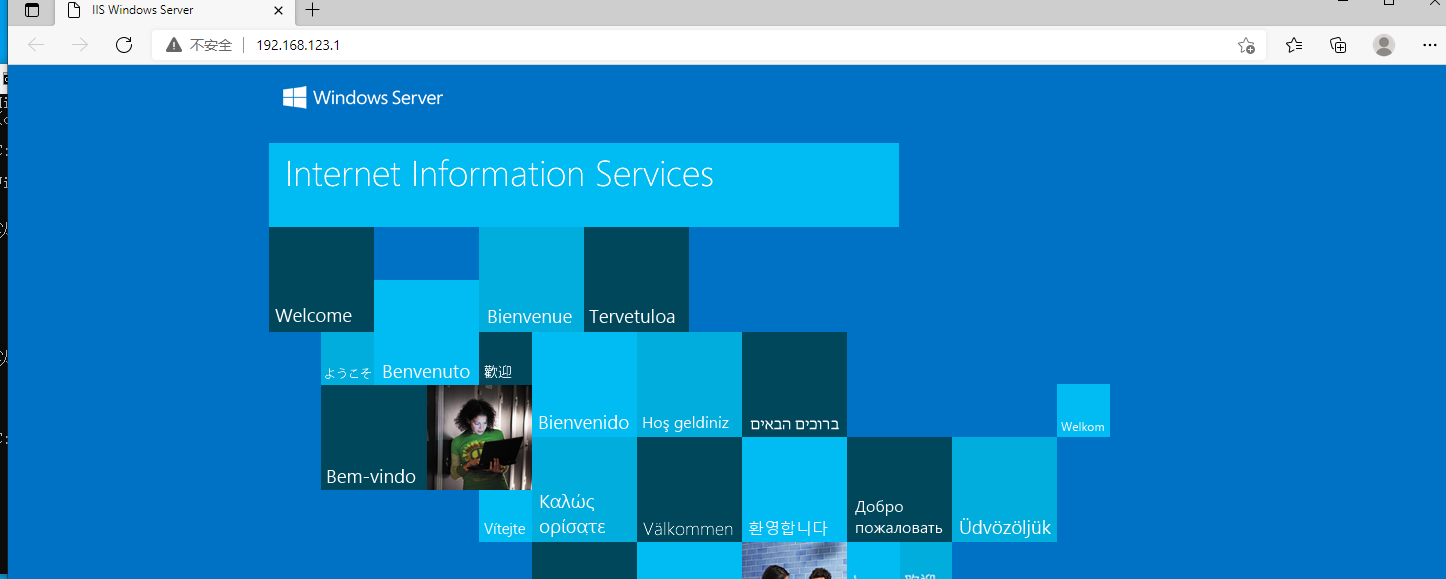
这个是server自带的安装好iis以后就可以看到的一个网站
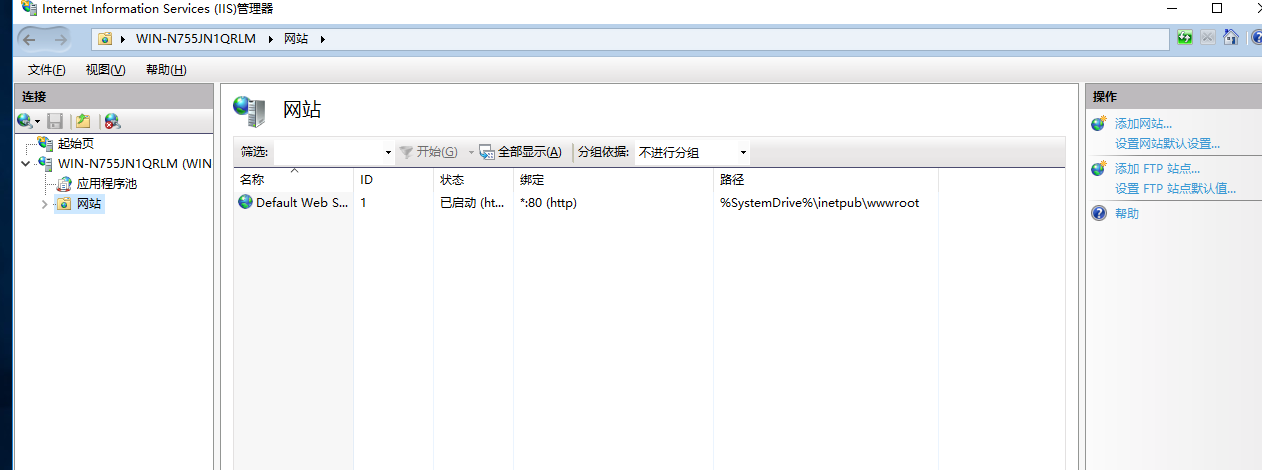
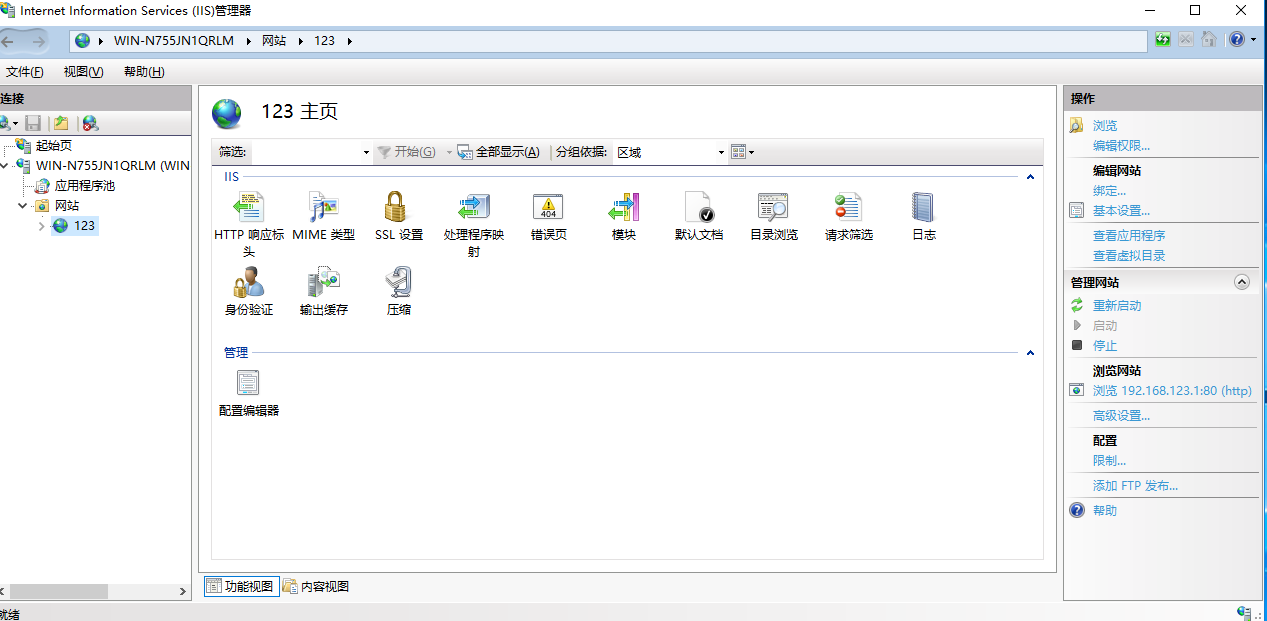
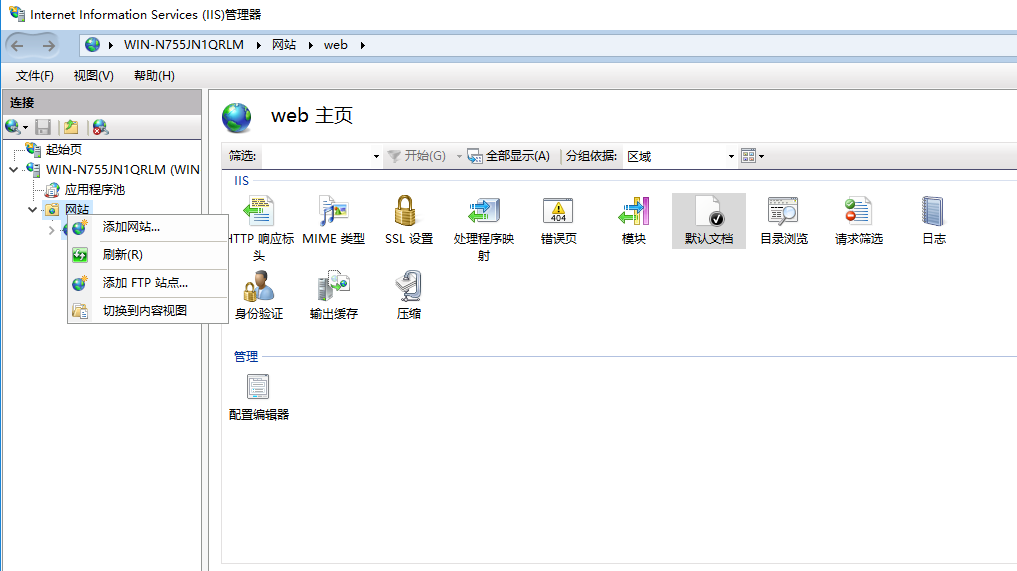
如果我们要自己安排网站就要回到Internet Information Services (IIS)管理器里边
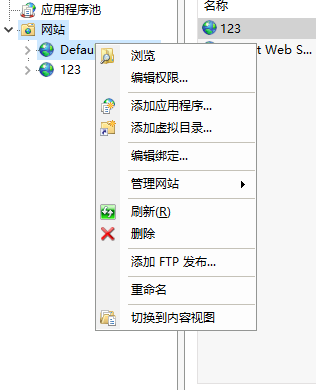
右键网站
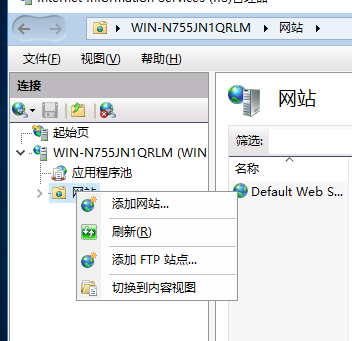
添加站点
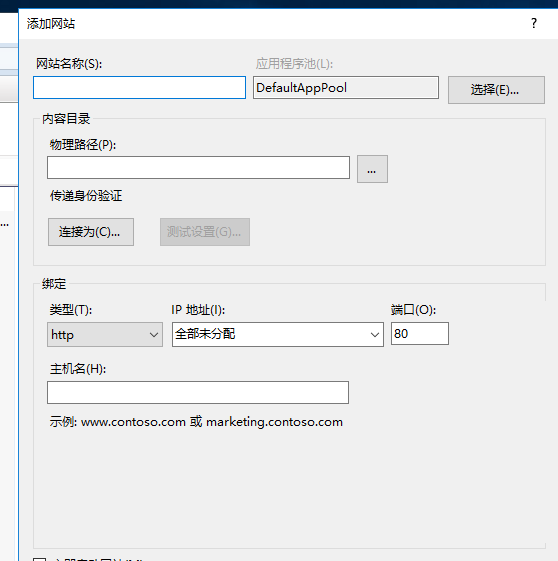
网站名称随便取
物理路径自己选择到html存放的文件夹
要http还是https自己选择
ip点击下箭头选择
主机名可以不填
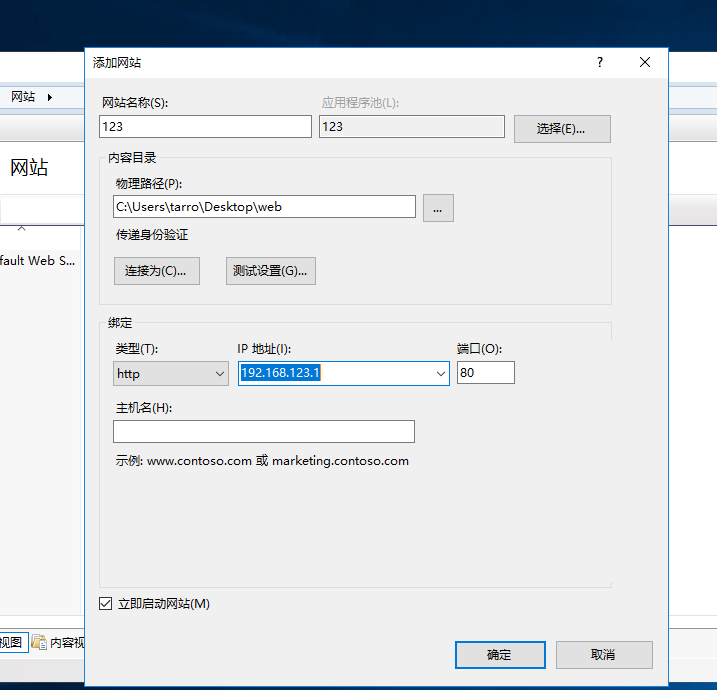
确定
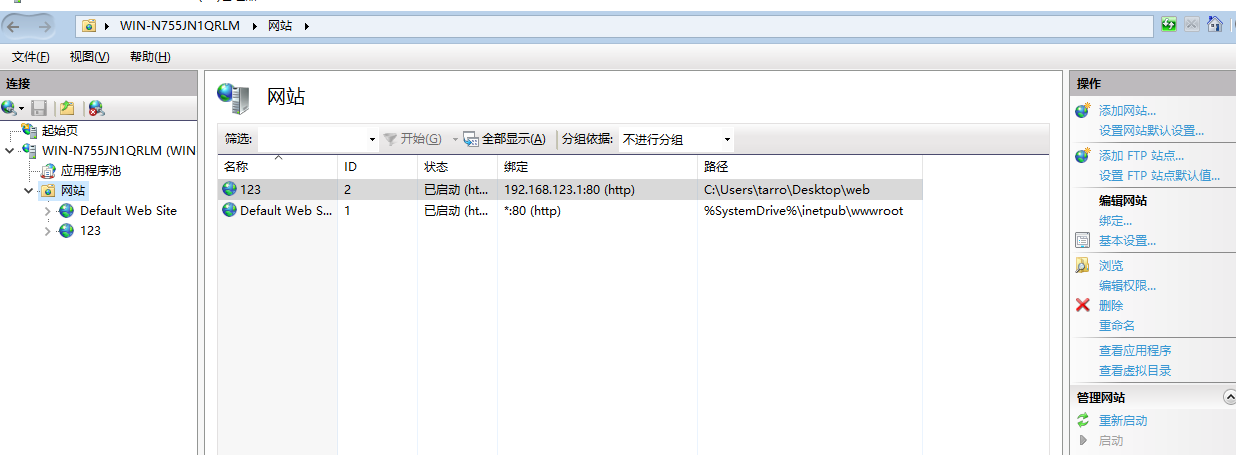
我们可以右键地球的标致-把一开始自带的站点删除
删除
确定
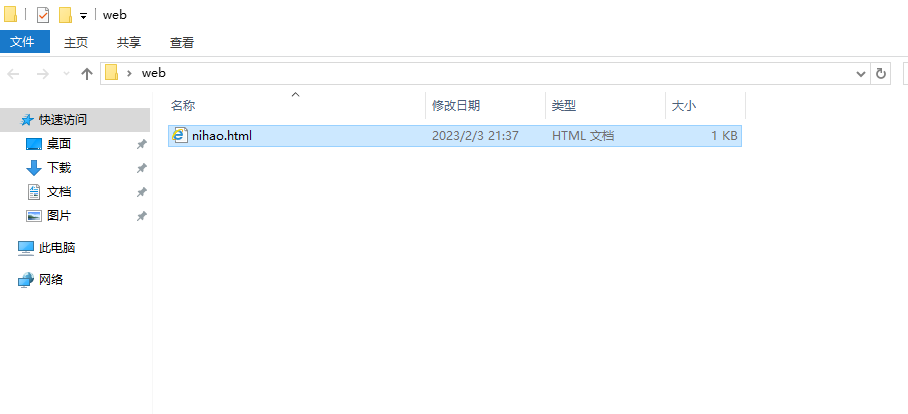
这里我们把html放进站点文件夹里
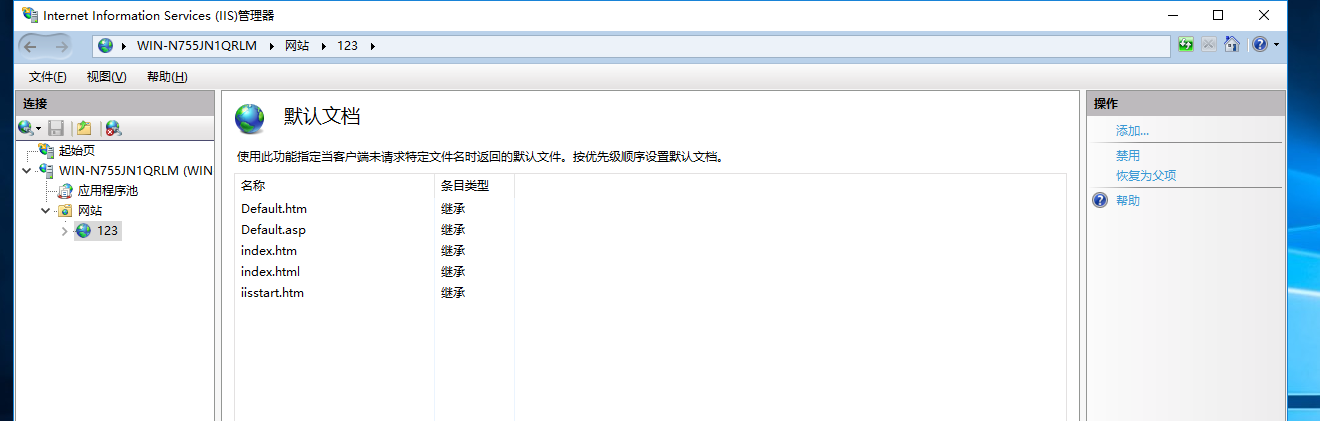
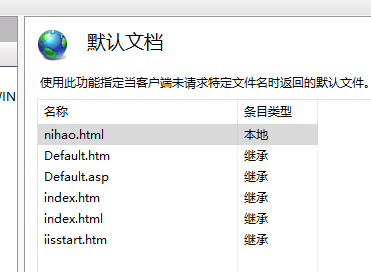
到刚刚那个主业 点击默认文档
添加你要显示的html
添加
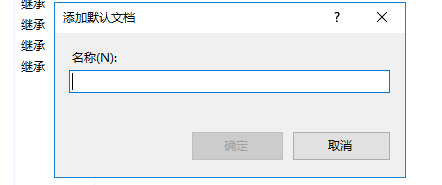
输入刚刚站点里要显示的html
这时就配置好了
我们去另外一台电脑看
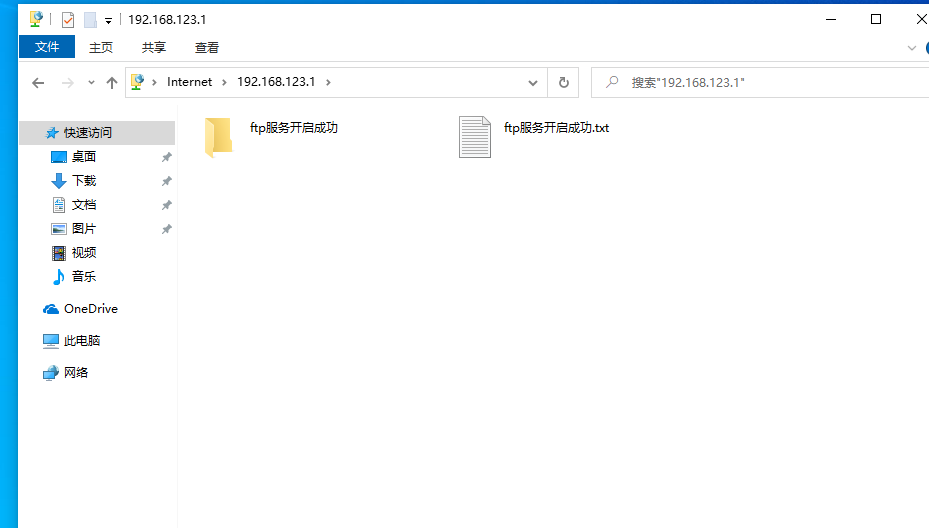
2.ftp服务
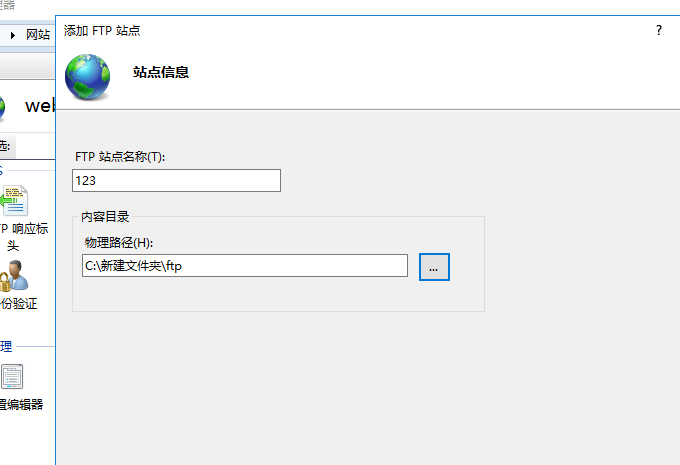
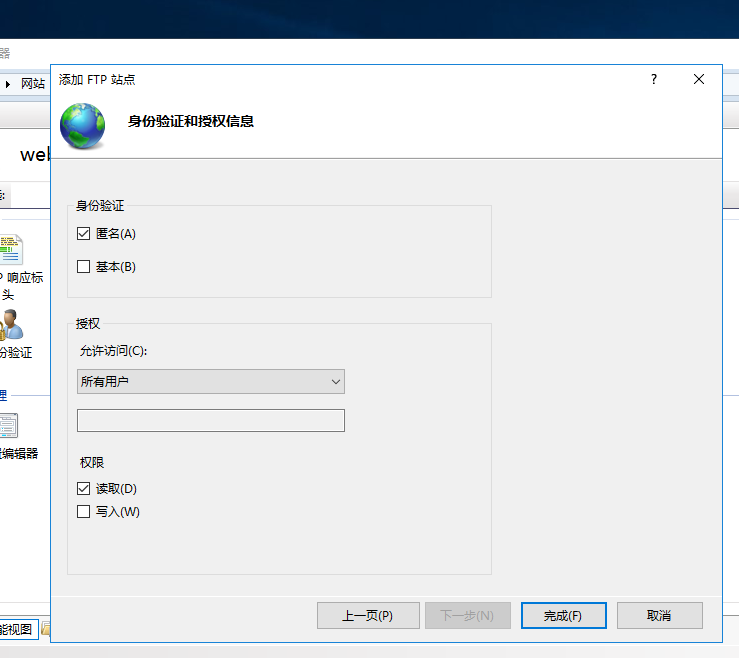
选择添加ftp站点
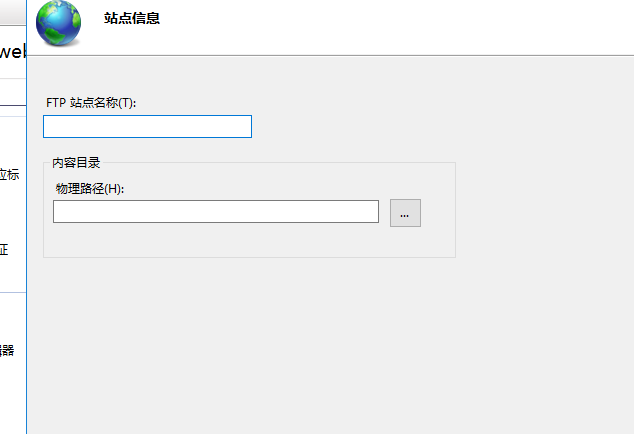
名字随便取
路径就是要ftp服务的文件夹
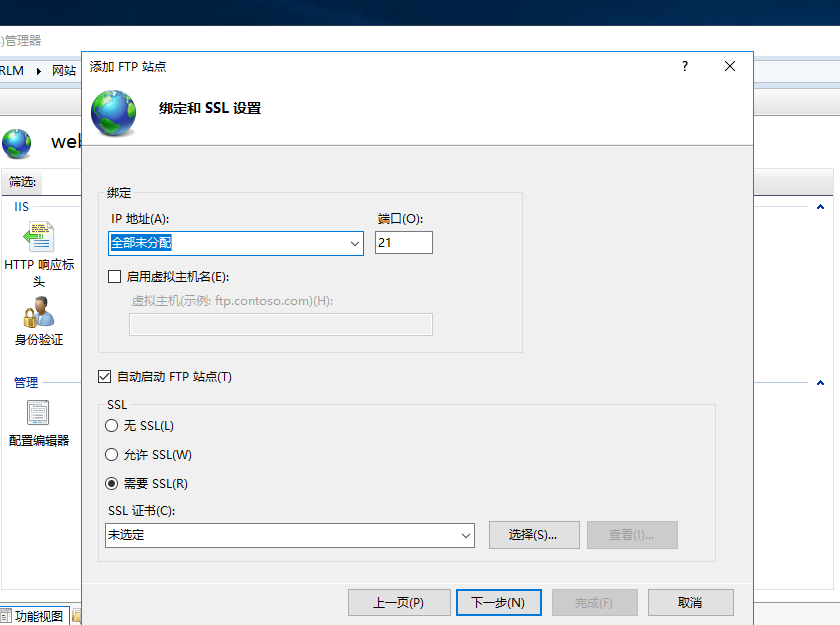
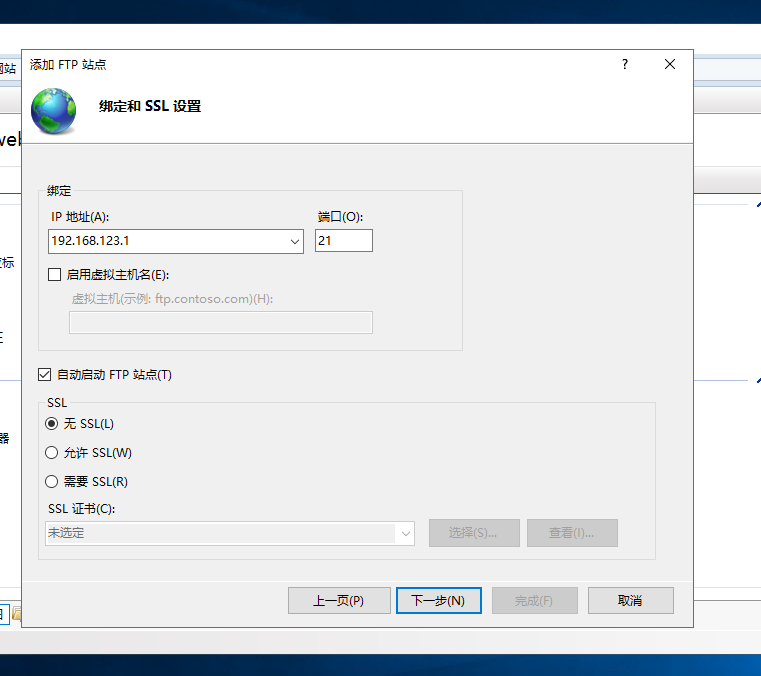
ip地址可以改成固定ip
ssl改成
无ssl
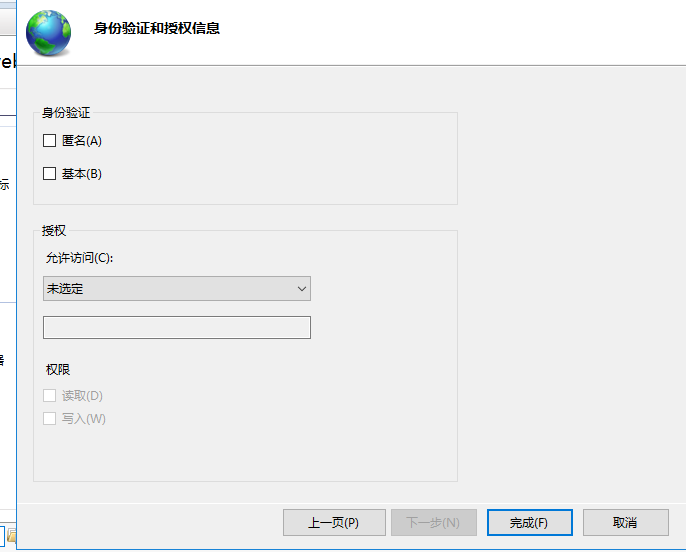
这里根据需要调整配置


 4327
4327


 被折叠的 条评论
为什么被折叠?
被折叠的 条评论
为什么被折叠?
 到【灌水乐园】发言


