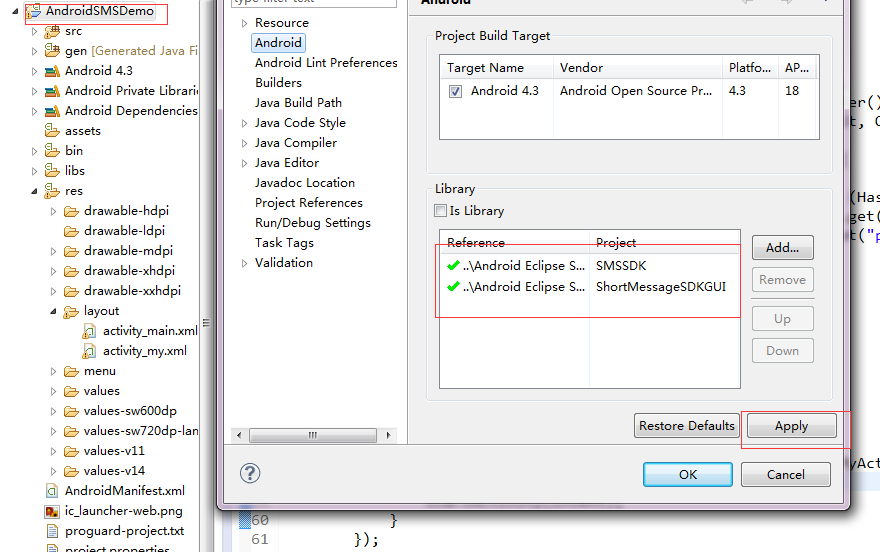
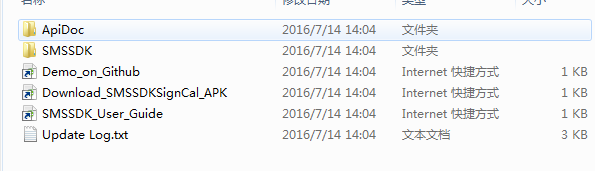
- 创建一个短信验证的Demo,把解压缩后的短信验证的文件夹放到和你自己创建的应用同目录下。把ShortMessageSDKGUI和SMSSDK导入到Eclipse中去,前面一个是带GUI验证的sdk,后面是短信验证的sdk。也可以不用mob官方的GUI,实现你自己的GUI,参考无GUI接口说明。导入这两个SDK后,右键自己创建的应用,打开properties,引用前面导入到Eclipse中去的sdk,如下所示
5. 配置AndroidManifest.xml,添加如下权限
<uses-permission android:name="android.permission.READ_CONTACTS" />
<uses-permission android:name="android.permission.READ_PHONE_STATE" />
<uses-permission android:name="android.permission.WRITE_EXTERNAL_STORAGE" />
<uses-permission android:name="android.permission.ACCESS_NETWORK_STATE" />
<uses-permission android:name="android.permission.ACCESS_WIFI_STATE" />
<uses-permission android:name="android.permission.INTERNET" />
<uses-permission android:name="android.permission.RECEIVE_SMS" />
<uses-permission android:name="android.permission.READ_SMS" />
<uses-permission android:name="android.permission.GET_TASKS" />
<uses-permission android:name="android.permission.ACCESS_FINE_LOCATION" />
添加如下Activity
<activity
android:name="com.mob.tools.MobUIShell"
android:theme="@android:style/Theme.Translucent.NoTitleBar"
android:configChanges="keyboardHidden|orientation|screenSize"
android:windowSoftInputMode="stateHidden|adjustResize"/>
6.在onCreate()中启动sdk,如下
SMSSDK.initSDK(this, "您的appkey", "您的appsecret");
7.发送短信验证码
短信SDK内置了开源的GUI功能,您可以通过调用下面的代码打开短信验证页面:
RegisterPage registerPage = new RegisterPage();
registerPage.setRegisterCallback(new EventHandler() {
public void afterEvent(int event, int result, Object data) {
if (result == SMSSDK.RESULT_COMPLETE) {
@SuppressWarnings("unchecked")
HashMap<String,Object> phoneMap = (HashMap<String, Object>) data;
String country = (String) phoneMap.get("country");
String phone = (String) phoneMap.get("phone");
registerUser(country, phone);
}
}
});
registerPage.show(context);
- 1
- 2
- 3
- 4
- 5
- 6
- 7
- 8
- 9
- 10
- 11
- 12
- 13
- 14
- 15
- 16
- 17
- 1
- 2
- 3
- 4
- 5
- 6
- 7
- 8
- 9
- 10
- 11
- 12
- 13
- 14
- 15
- 16
- 17
其中EventHandler是短信SDK的操作回调。
8.显示通信录好友列表
同时,短信SDK也内置了通过本设备通信录换取本应用内用户列表的功能,可以通过下面的代码打开“通信录好友”页面:
ContactsPage contactsPage = new ContactsPage();
contactsPage.show(context);
以上是SDK官方继承文档大致的步骤,按照步骤来就可以很简单的实现注册验证码功能,完整代码如下所示:
package com.example.androidsmsdemo;
import java.util.HashMap;
import android.app.Activity;
import android.content.Intent;
import android.os.Bundle;
import android.util.Log;
import android.view.View;
import android.view.View.OnClickListener;
import android.widget.Button;
import cn.smssdk.EventHandler;
import cn.smssdk.SMSSDK;
import cn.smssdk.gui.ContactsPage;
import cn.smssdk.gui.RegisterPage;
public class MainActivity extends Activity {
private String phoneNumber = "";
@Override
protected void onCreate(Bundle savedInstanceState) {
super.onCreate(savedInstanceState);
setContentView(R.layout.activity_main);
SMSSDK.initSDK(this, "175ba9bb5cc60",
"cb8709bc9ed832031dc11cfc84f1468a");
}
public void register(View view) {
RegisterPage registerPage = new RegisterPage();
registerPage.setRegisterCallback(new EventHandler() {
public void afterEvent(int event, int result, Object data) {
if (result == SMSSDK.RESULT_COMPLETE) {
@SuppressWarnings("unchecked")
HashMap<String, Object> phoneMap = (HashMap<String, Object>) data;
String country = (String) phoneMap.get("country");
String phone = (String) phoneMap.get("phone");
phoneNumber = phone;
Log.e("PhoneNumber", phone);
}
}
});
registerPage.show(this);
Intent intent = new Intent(this, MyActivity.class);
intent.putExtra("phone", phoneNumber);
startActivity(intent);
}
public void friends(View view) {
ContactsPage contactsPage = new ContactsPage();
contactsPage.show(this);
}
}
- 1
- 2
- 3
- 4
- 5
- 6
- 7
- 8
- 9
- 10
- 11
- 12
- 13
- 14
- 15
- 16
- 17
- 18
- 19
- 20
- 21
- 22
- 23
- 24
- 25
- 26
- 27
- 28
- 29
- 30
- 31
- 32
- 33
- 34
- 35
- 36
- 37
- 38
- 39
- 40
- 41
- 42
- 43
- 44
- 45
- 46
- 47
- 48
- 49
- 50
- 51
- 52
- 53
- 54
- 55
- 56
- 57
- 58
- 59
- 60
- 61
- 62
- 63
- 64
- 65
资源文件很简单,就是两个Button,如下:
<LinearLayout xmlns:android="http://schemas.android.com/apk/res/android"
    xmlns:tools="http://schemas.android.com/tools"
    android:layout_width="match_parent"
    android:layout_height="match_parent"
    android:orientation="vertical"
    tools:context=".MainActivity" >

    <TextView
        android:layout_width="match_parent"
        android:layout_height="45dp"
        android:background="#00f0ff"
        android:gravity="center"
        android:text="注册页面" />

    <Button
        android:id="@+id/btn_register"
        android:layout_width="match_parent"
        android:layout_height="wrap_content"
        android:layout_gravity="center_horizontal"
        android:layout_marginTop="20dp"
        android:onClick="register"
        android:text="注册" />

    <Button
        android:id="@+id/btn_friends"
        android:layout_width="match_parent"
        android:layout_height="wrap_content"
        android:layout_gravity="center_horizontal"
        android:onClick="friends"
        android:text="打开好友列表" />

</LinearLayout>
- 1
- 2
- 3
- 4
- 5
- 6
- 7
- 8
- 9
- 10
- 11
- 12
- 13
- 14
- 15
- 16
- 17
- 18
- 19
- 20
- 21
- 22
- 23
- 24
- 25
- 26
- 27
- 28
- 29
- 30
- 31
- 32
- 1
- 2
- 3
- 4
- 5
- 6
- 7
- 8
- 9
- 10
- 11
- 12
- 13
- 14
- 15
- 16
- 17
- 18
- 19
- 20
- 21
- 22
- 23
- 24
- 25
- 26
- 27
- 28
- 29
- 30
- 31
- 32
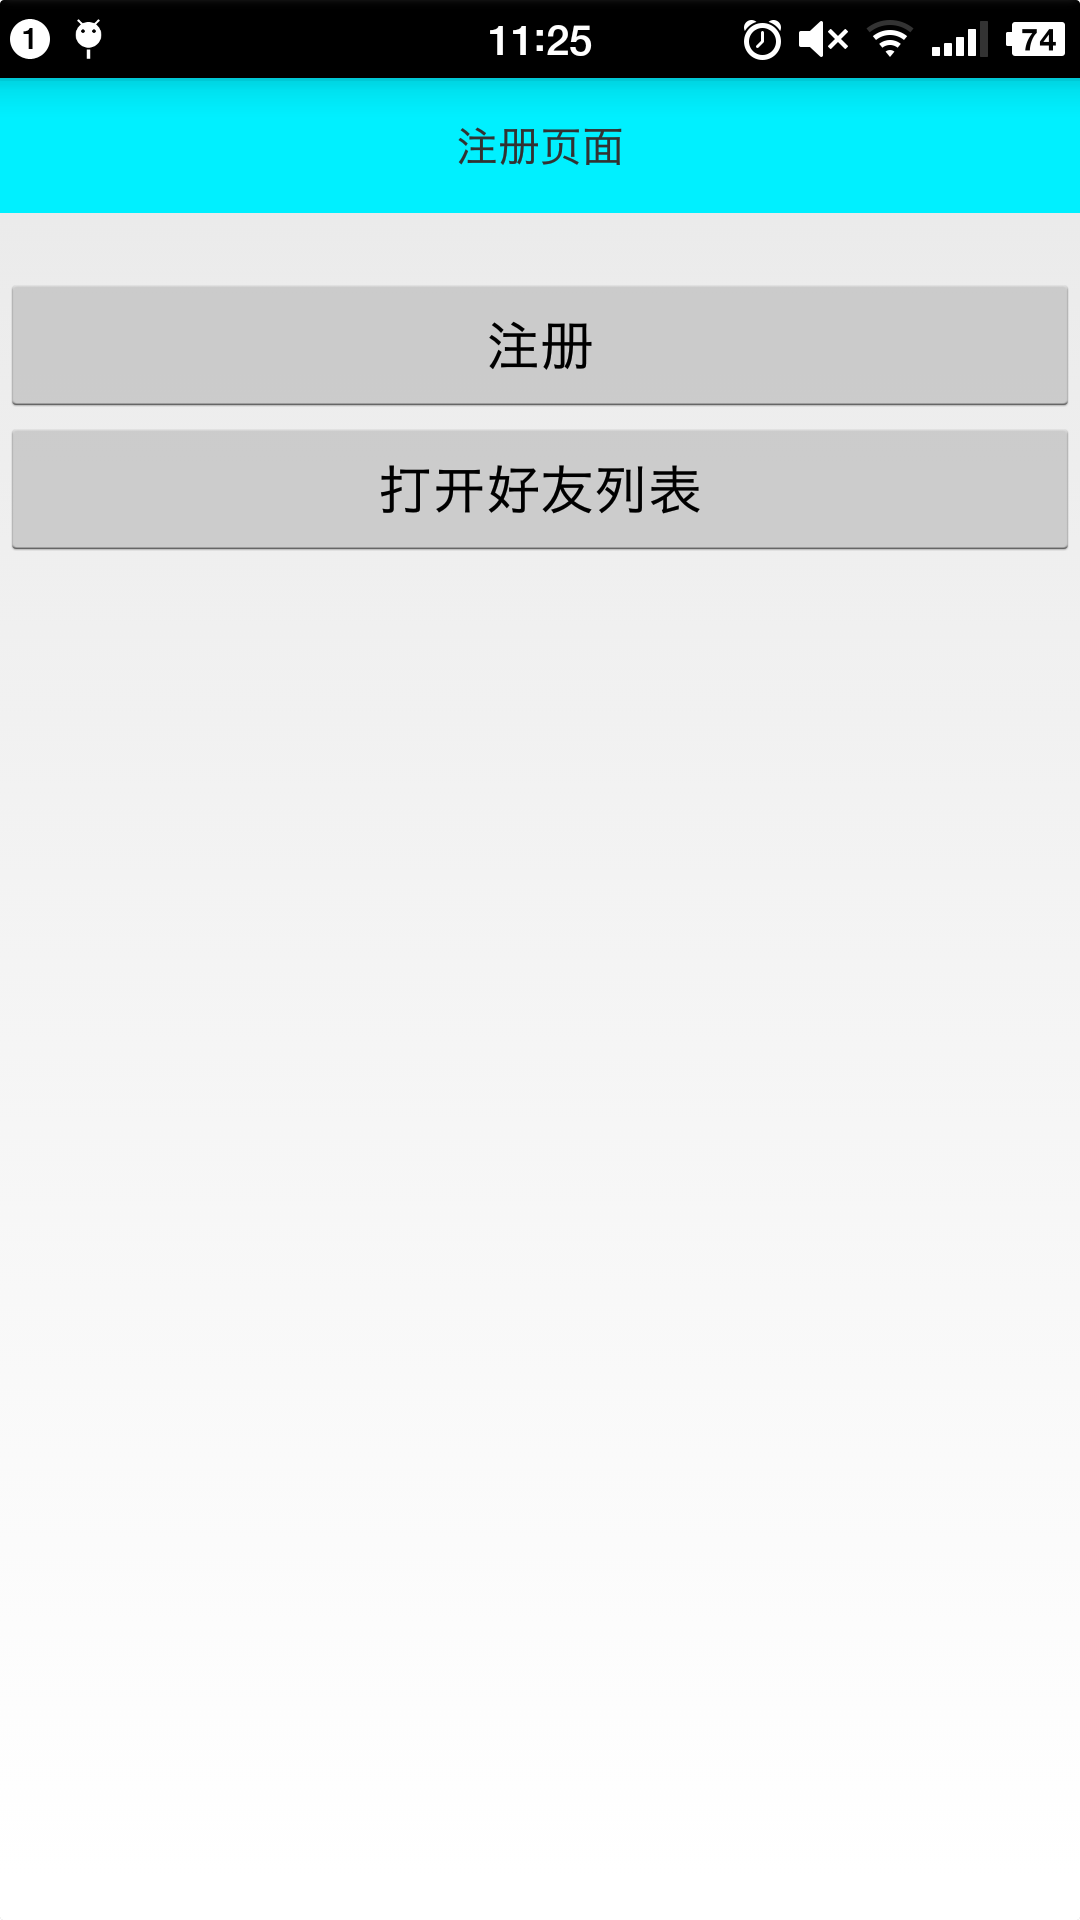
最后实现的结果截图如下:
主页面
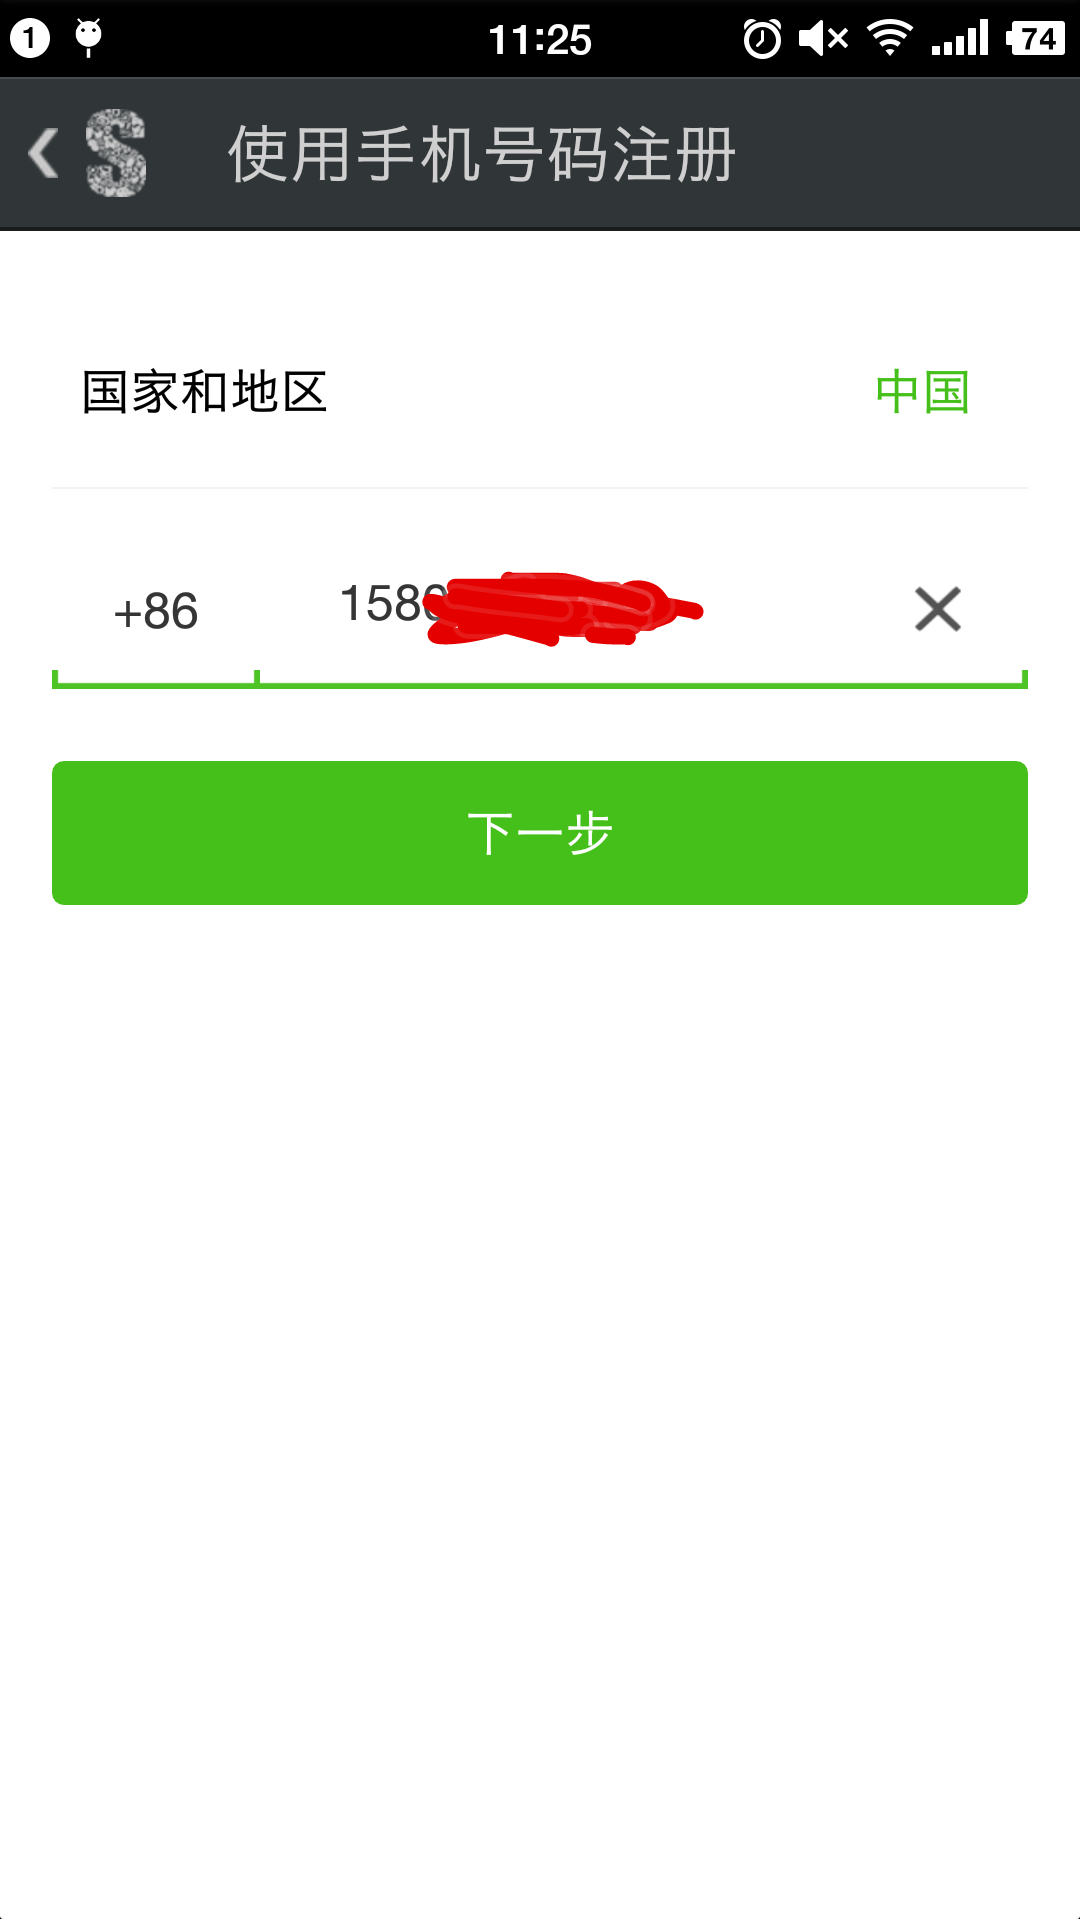
点击注册,跳转到SDK提供的注册UI界面
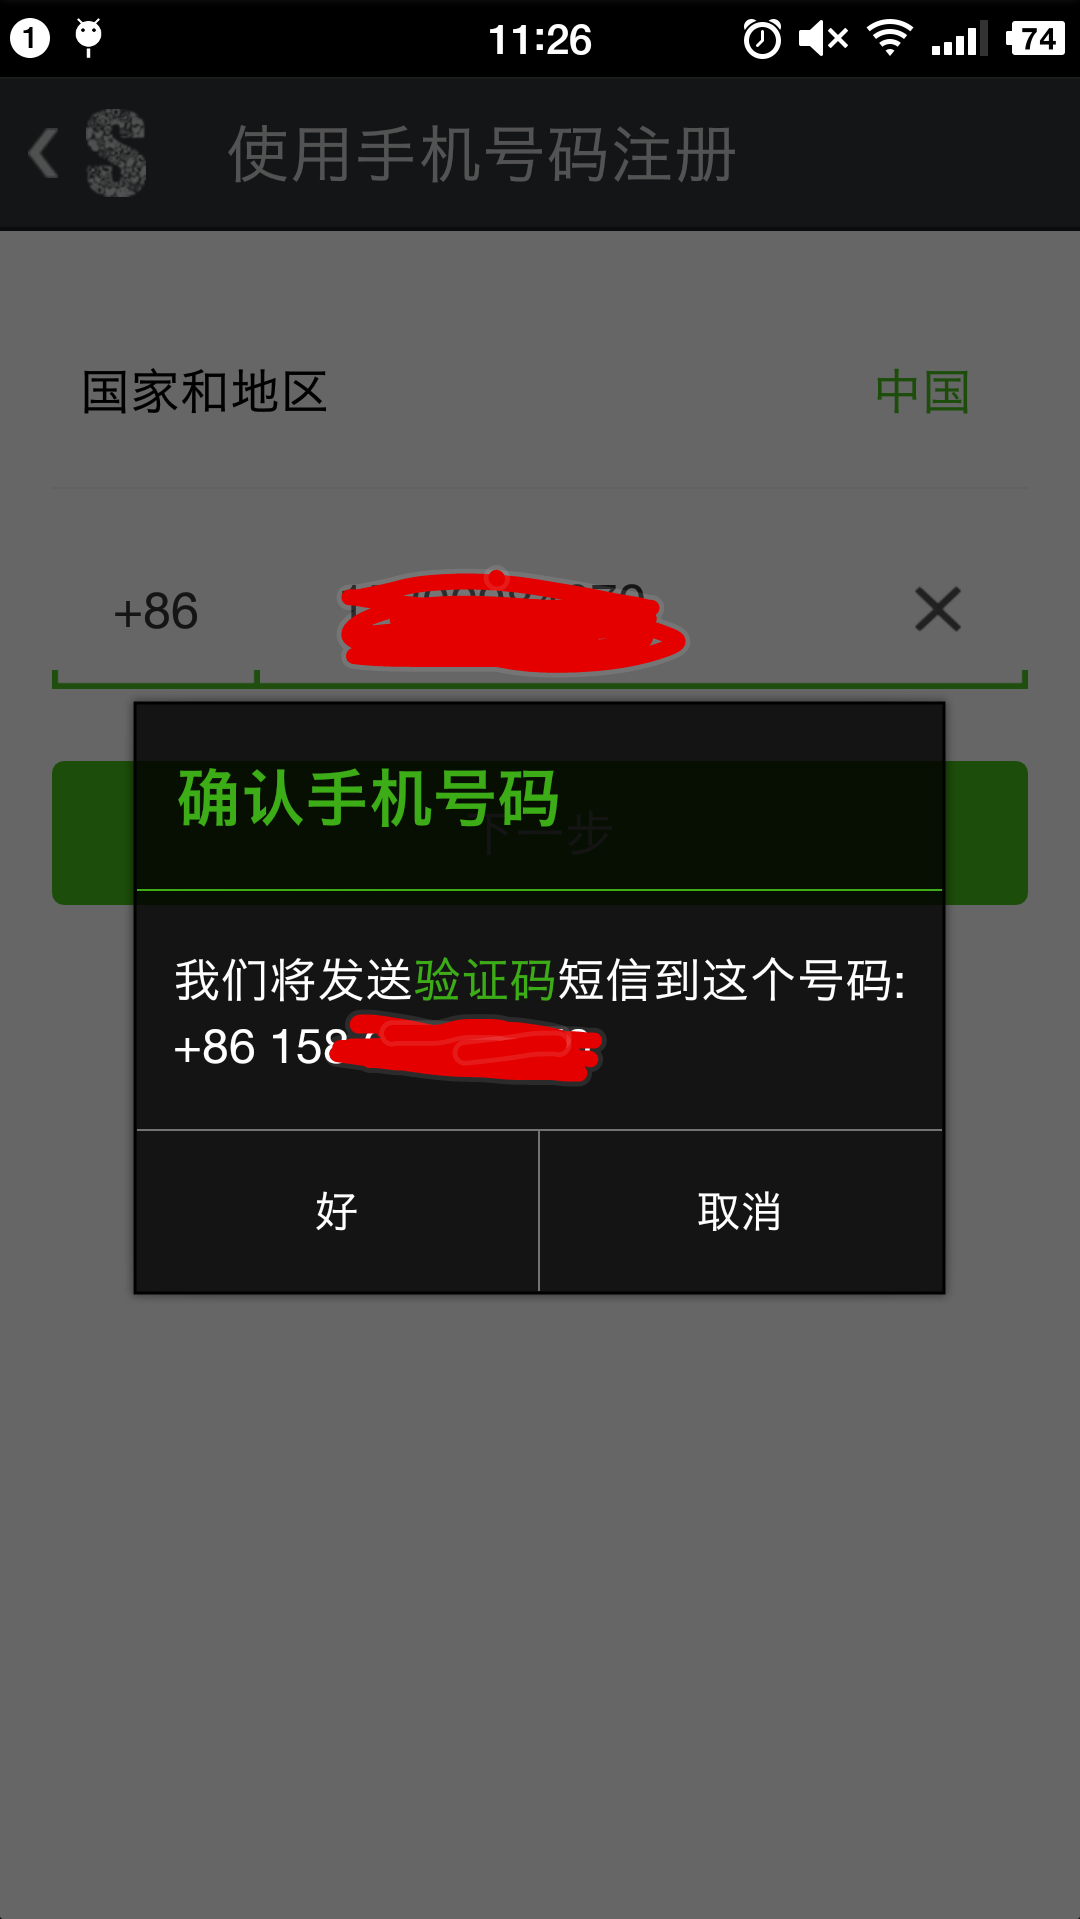
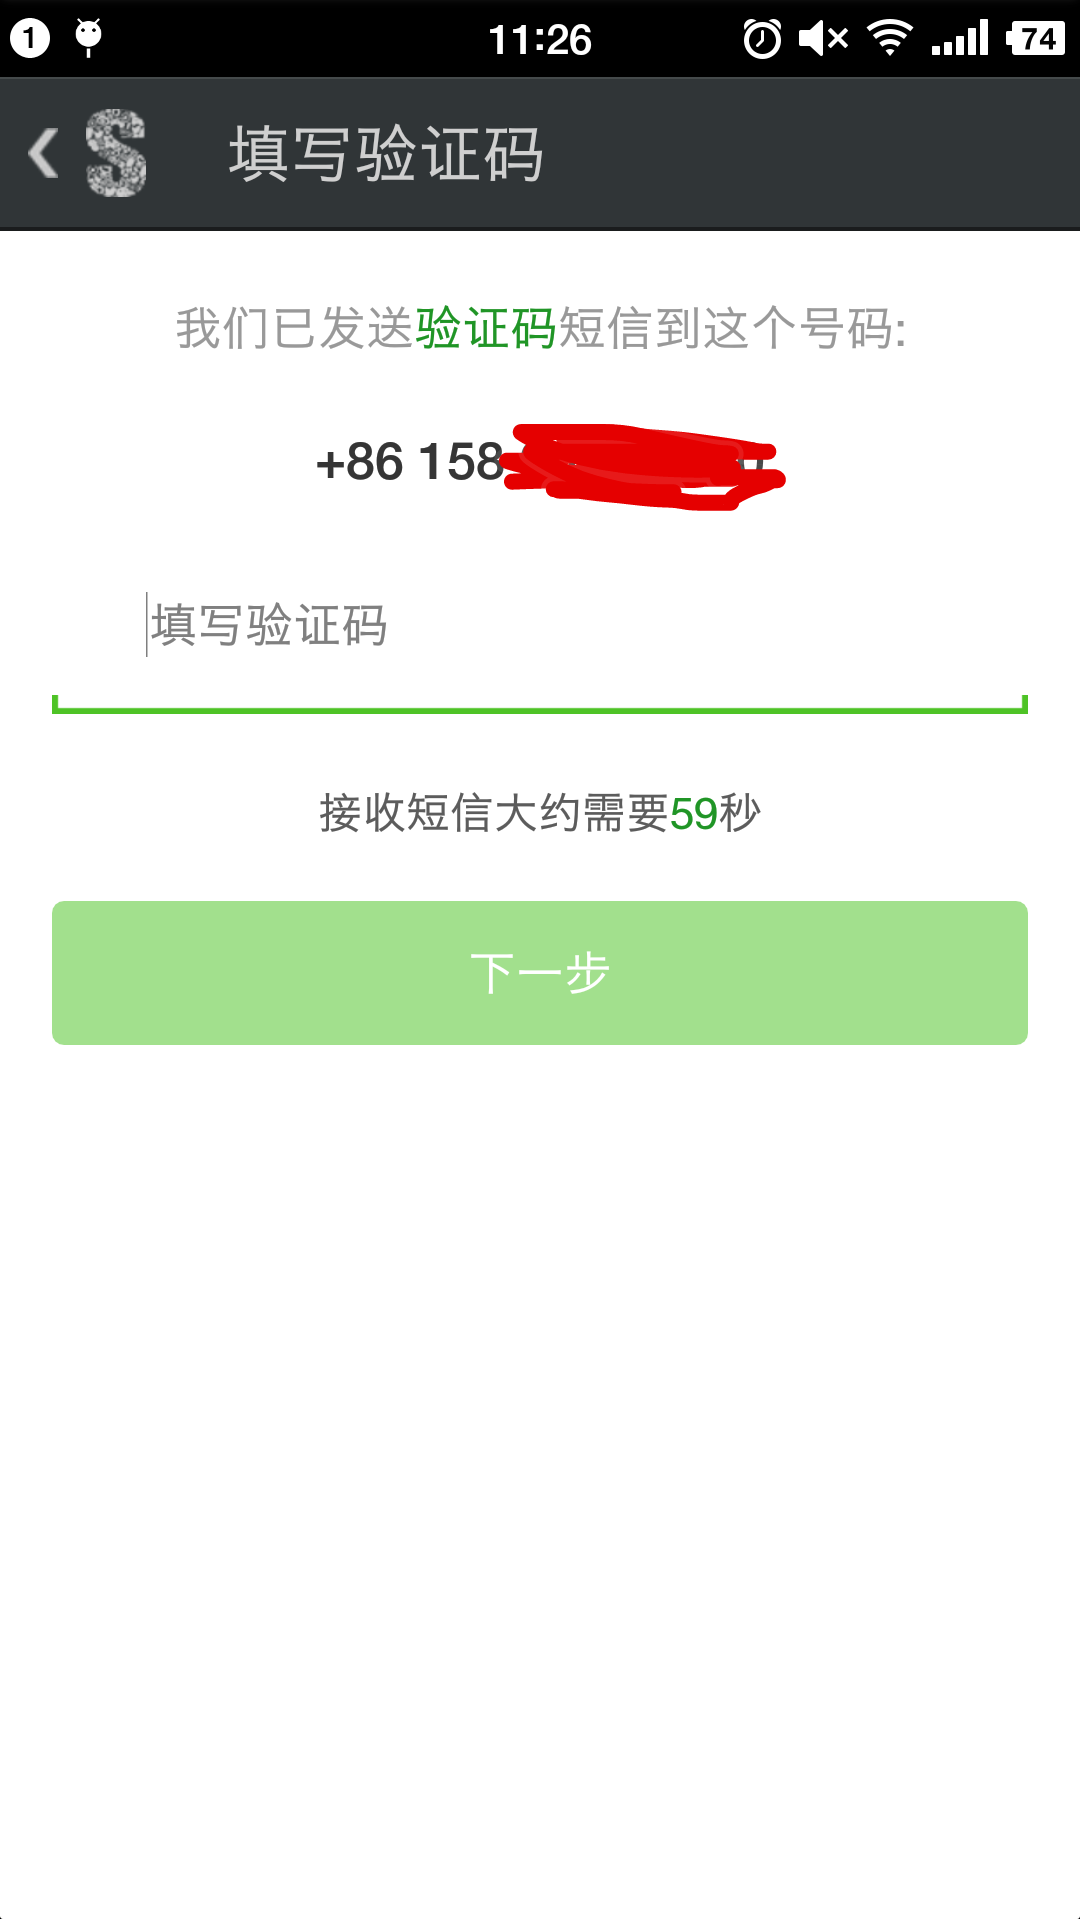
然后点击下一步,会弹出对话框进行确认手机号码正确与否,发送验证码
1分钟的倒计时,填写验证码
由于我的手机号码前面已经验证通过了,如果你是在同一台手机设备上进行验证同一个手机号码的话,mob会智能的显示已经验证通过了,不会重复发送验证码给你,这样比较方便!
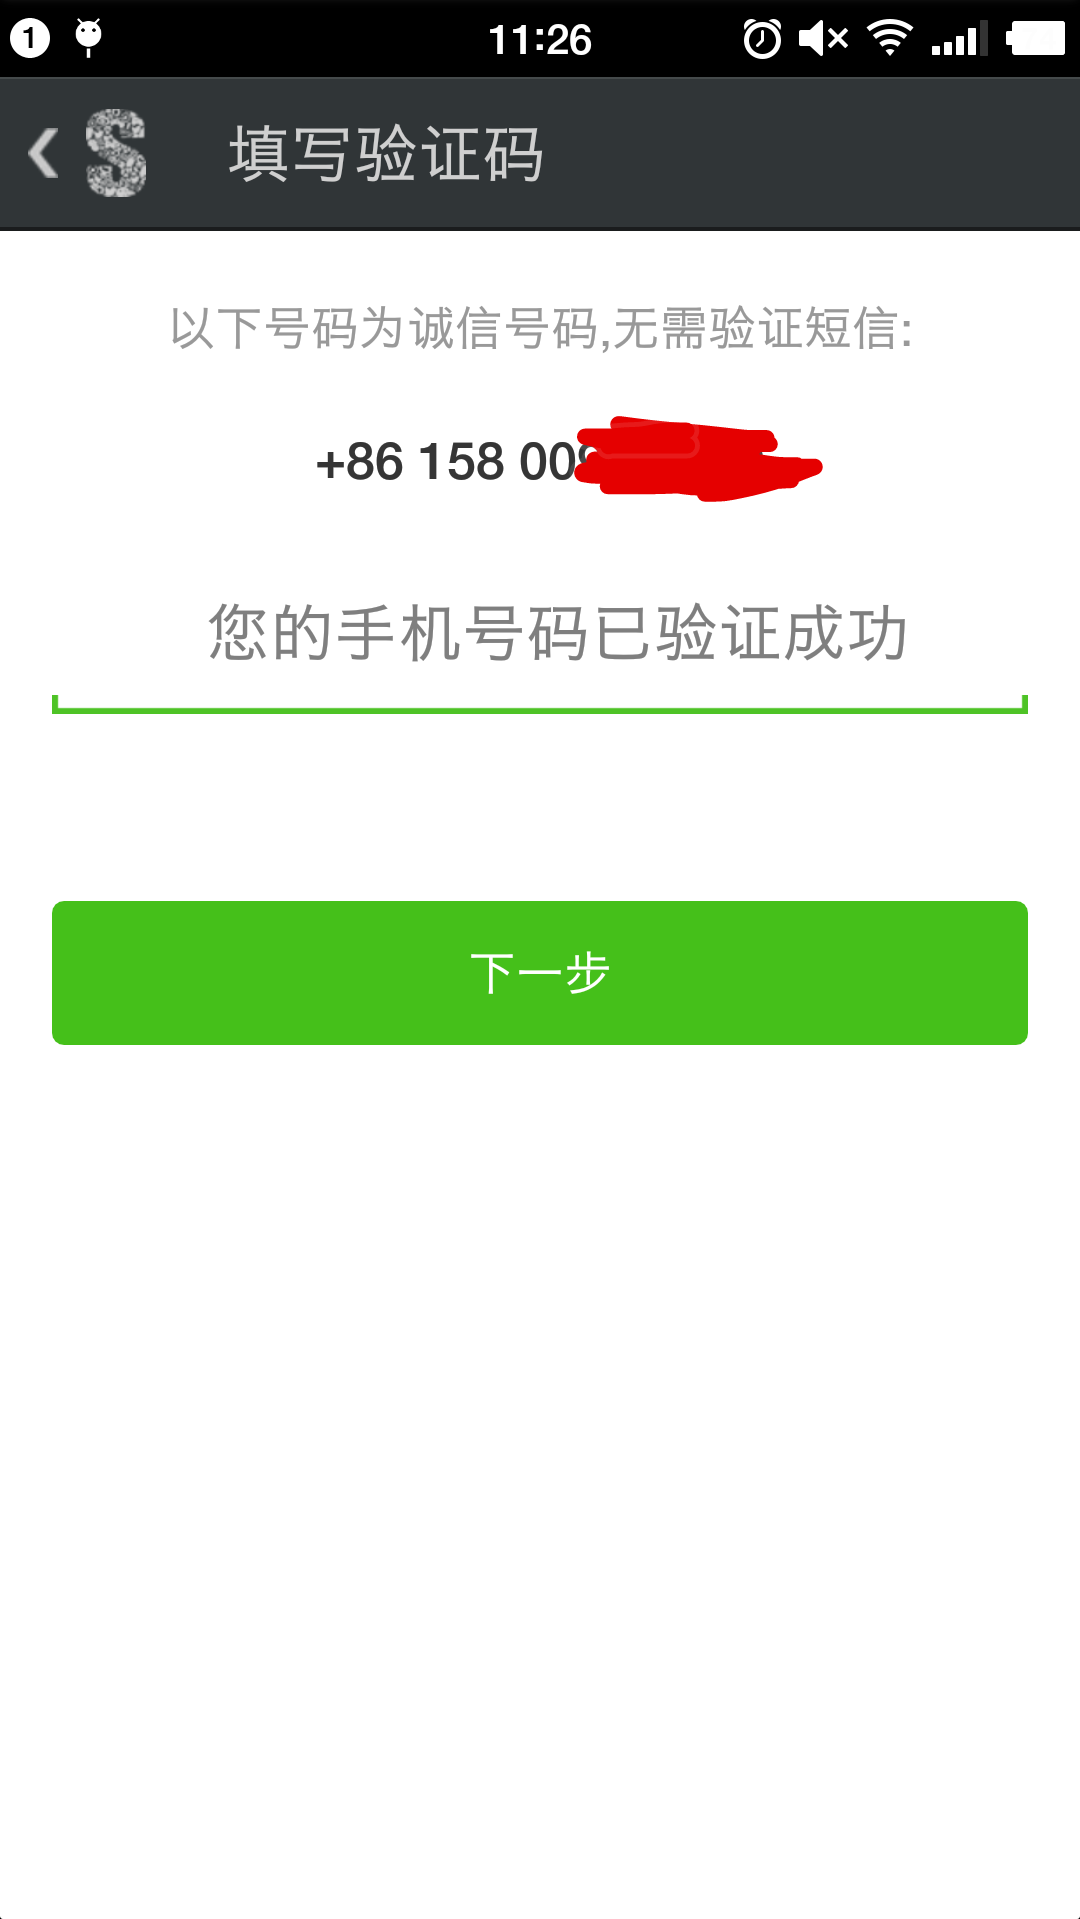
不过这个功能是在后台进行设置的,你也可以将它关闭,让它重复进行发送验证码

ok,以上就是根据mob官网提供的文档实现的手机号码注册app的流程和实现!


 7760
7760


 被折叠的 条评论
为什么被折叠?
被折叠的 条评论
为什么被折叠?
 到【灌水乐园】发言


