


准备工作
我这里使用的腾讯云服务器,新用户体验版,因为这个云服务器中内置了mariadb数据库所以需要对mariadb进行卸载
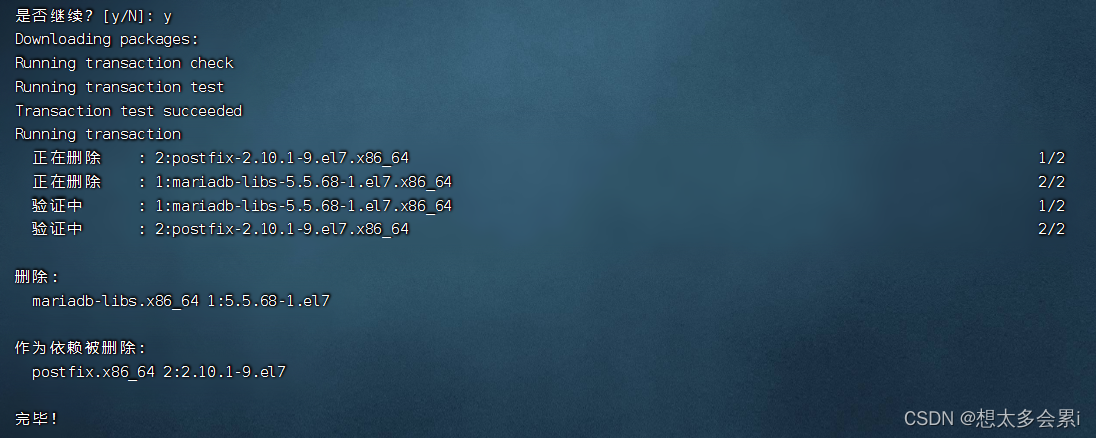
yum remove mariadb-libs.x86_64
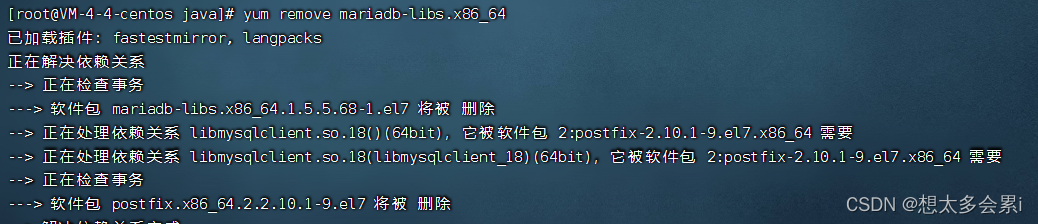
如果出现 Nothing to do字样的话说明没有,那就不用卸载了继续下一步就行
安装
cd /usr/local
# 新建文件夹
mkdir mysql
cd mysql
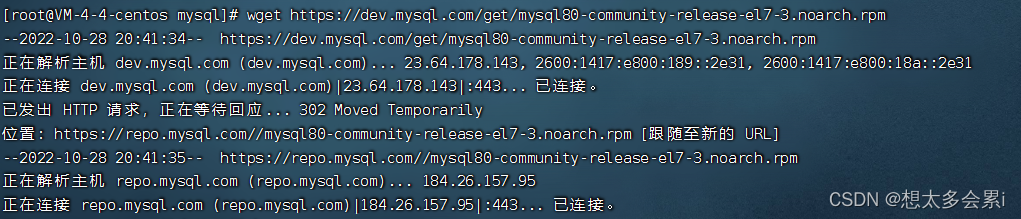
# 下载mysql8的安装包
wget https://dev.mysql.com/get/mysql80-community-release-el7-3.noarch.rpm
紧接着开始安装mysql8
yum localinstall mysql80-community-release-el7-3.noarch.rpm
# 然后输入
yum module disable mysql
# 在输入
yum install mysql-community-server
这里会有个问题:
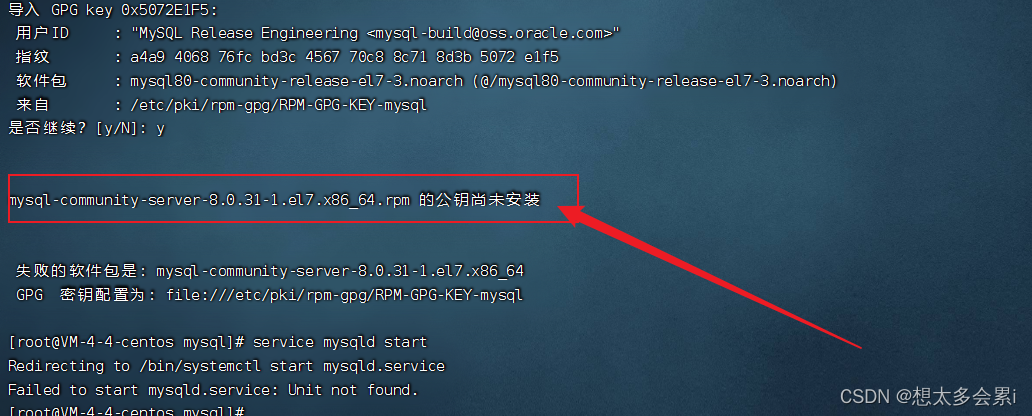
这里官方给出了解决的方案:
https://dev.mysql.com/doc/refman/8.0/en/checking-rpm-signature.html
简单的说就是RPM包中没有单独的签名,这里需要我们使用内置的GPG签名和MD5签名进行验证包:
这里直接输入以下的三个指令:
gpg --export -a 3a79bd29 > 3a79bd29.asc
rpm --import 3a79bd29.asc
rpm --import https://repo.mysql.com/RPM-GPG-KEY-mysql-2022
然后重新执行安装的指令:
yum install mysql-community-server
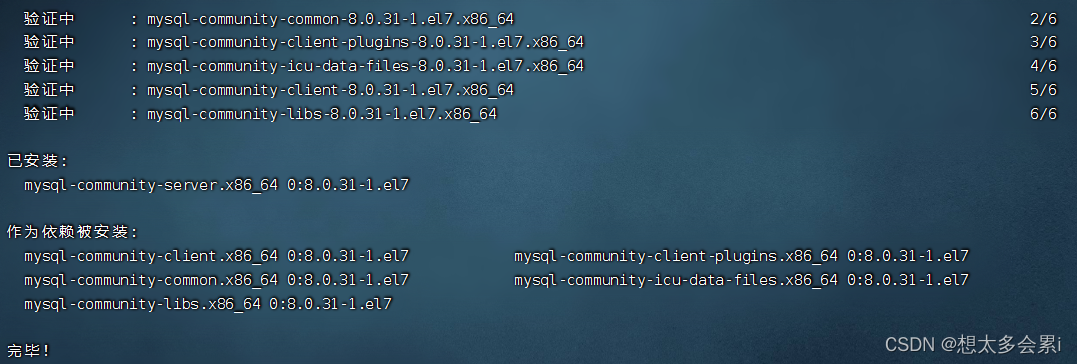
出现这个提示表示安装成功!
启动服务
# 启动mysql服务
service mysqld start
# 查看状态
service mysqld status
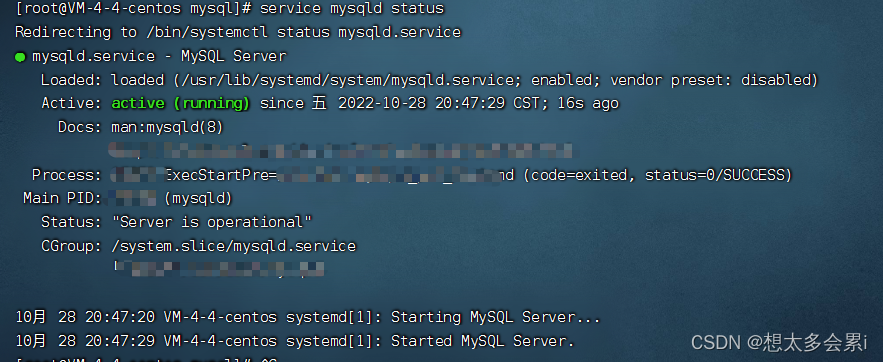
表示启动成功!
配置
首先查看MySQL的初始化密码
# 查看初始密码
cat /var/log/mysqld.log | grep password

使用上面查询到的初始密码进行登录:
mysql -u root -p
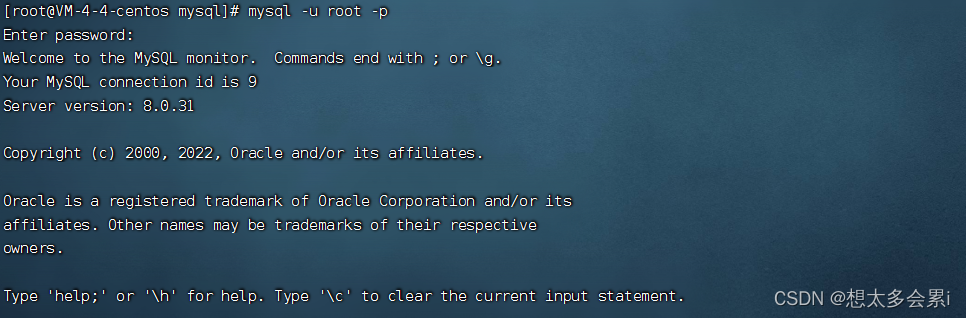
说明数据库可以访问,紧接着进行修改密码:
首先输入指令
# 退出数据库
mysql> exit;
# 进入mysql安全配置模式
mysql_secure_installation
Enter password for user root: #输入上一步获取的root用户初始密码
The 'validate_password' plugin is installed on the server.
The subsequent steps will run with the existing configuration of the plugin.
Using existing password for root.
Estimated strength of the password: 100
Change the password for root ? (Press y|Y for Yes, any other key for No) : Y #是否更改root用户密码,输入Y
New password: #输入新密码,长度为8至30个字符,必须同时包含大小写英文字母、数字和特殊符号。特殊符号可以是()` ~!@#$%^&*-+=|{}[]:;‘<>,.?/
Re-enter new password: #再次输入新密码
Estimated strength of the password: 100
Do you wish to continue with the password provided?(Press y|Y for Yes, any other key for No) : Y

#  后面一直输y即可,指导all done 自动退出
紧接着使用新密码登录数据库:
紧接着配置远程访问:
mysql> use mysql
# 通过修改表来设置远程访问
mysql> update user set host = '%' where user = 'root';
Query OK, 0 rows affected (0.00 sec)
Rows matched: 1  Changed: 0  Warnings: 0
# 刷新权限
mysql> flush privileges;
Query OK, 0 rows affected (0.00 sec)


然后就ok!了


 830
830


 被折叠的 条评论
为什么被折叠?
被折叠的 条评论
为什么被折叠?
 到【灌水乐园】发言


