


Ubuntu20.04搭建SVN(Subversion)+LDAP认证
1.首先完成LDAP服务器搭建,安装subversion,sasl
sudo apt-get subversion libsasl2-modules-ldap sasl2-bin
2.安装完成之后使用svnserve --version,saslauthd -v命令查看是否安装成功,
svn@svn-HP-EliteDesk-880-G6-Tower-PC:~$ svnserve --version
svnserve,版本 1.13.0 (r1867053)
   编译于 May 12 2022,20:47:08 在 x86_64-pc-linux-gnu

Copyright (C) 2019 The Apache Software Foundation.
This software consists of contributions made by many people;
see the NOTICE file for more information.
Subversion is open source software, see http://subversion.apache.org/

svn@svn-HP-EliteDesk-880-G6-Tower-PC:/$ saslauthd -v
saslauthd 2.1.27
authentication mechanisms: sasldb getpwent kerberos5 pam rimap shadow ldap
3.创建SVN仓库
 cd /
 sudo mkdir svn
 cd svn
 sudo mkdir repository
 sudo svnadmin create /svn/repository

#创建仓库会生成如下文件
 svn@svn-HP-EliteDesk-880-G6-Tower-PC:/svn/repository$ ls
 conf  db  format  hooks  locks  README.txt
4.db文件夹包含我们上传到SVN服务器上面的文档、代码等数据,需要注意的是要对db文件夹释放权限,否则客户端可能无法访问SVN服务器
svn@svn-HP-EliteDesk-880-G6-Tower-PC:/svn/repository$ sudo chmod -R 777 db
5.修改/svn/repository/conf文件夹里的配置文件 svnserve.conf
[general]
anon-access = none #匿名用户无读写权限,默认有读权限
auth-access = write #认证用户有写权限
password-db = passwd #svn用户密码存放文件,开启ldap认证密码,此文件就失效了
authz-db = authz #svn用户权限管理文件
[sasl]
use-sasl = true #启用sasl
6.修改/etc/default/saslauthd文件,认证方式改为ldap
svn@svn-HP-EliteDesk-880-G6-Tower-PC:/etc/default$ vim saslauthd
# Example: MECHANISMS="pam"
MECHANISMS="ldap"
7.创建/etc/saslauthd.conf 文件,写入以下内容
svn@svn-HP-EliteDesk-880-G6-Tower-PC:/etc$ cat saslauthd.conf
ldap_servers: ldap://192.168.11.11:389 #ldap服务器地址
ldap_bind_dn: cn=interface,dc=ts,dc=com
ldap_bind_pw: abcd1234 #这是ldap管理员密码
#ldap_search_base: ou=People,dc=ts,dc=com #认证时,只查询People这个OU
ldap_search_base: dc=ts,dc=com #这里没有指定OU,表示认证时,在所有OU中查询用户是否存在
ldap_filter: uid=%U
ladp_password_attr: userPassword
8.创建/usr/lib/sasl2/svn.conf文件,写入以下内容
pwcheck_method: saslauthd
mech_list: PLAIN LOGIN
9.重启saslauthd服务,测试ldap认证是否配置成功,abc是ldap用户名,123456是密码,可以看到测试认证成功
svn@svn-HP-EliteDesk-880-G6-Tower-PC:/$ sudo service saslauthd restart

svn@svn-HP-EliteDesk-880-G6-Tower-PC:/$ sudo testsaslauthd -u abc -p 123456
0: OK "Success."
10.修改/svn/repository/conf/authz文件,给abc和def用户分配权限
[aliases]
# joe = /C=XZ/ST=Dessert/L=Snake City/O=Snake Oil, Ltd./OU=Research Institute/CN=Joe Average

[groups]
# harry_and_sally = harry,sally
# harry_sally_and_joe = harry,sally,&joe

# [/foo/bar]
# harry = rw
# &joe = r
# * =

# [repository:/baz/fuz]
# @harry_and_sally = rw
# * = r
[/]
abc = rw
def = r
11.启动svn服务
svn@svn-HP-EliteDesk-880-G6-Tower-PC:/$ sudo svnserve -d -r /svn

启动SVN服务器,这里说明下:
-d:表示在后台运行
-r:指定服务器的根目录
停止服务器的命令:killall svnserve
12.查看是否启动成功
svn@svn-HP-EliteDesk-880-G6-Tower-PC:/svn/repository/conf$ ps -aux | grep svnserve
root      134841  0.0  0.0  31660  3068 ?        Ss   14:35   0:00 svnserve -d -r /svn
svn       140726  0.0  0.0  12132   736 pts/3    S+   14:44   0:00 grep --color=auto svnserve
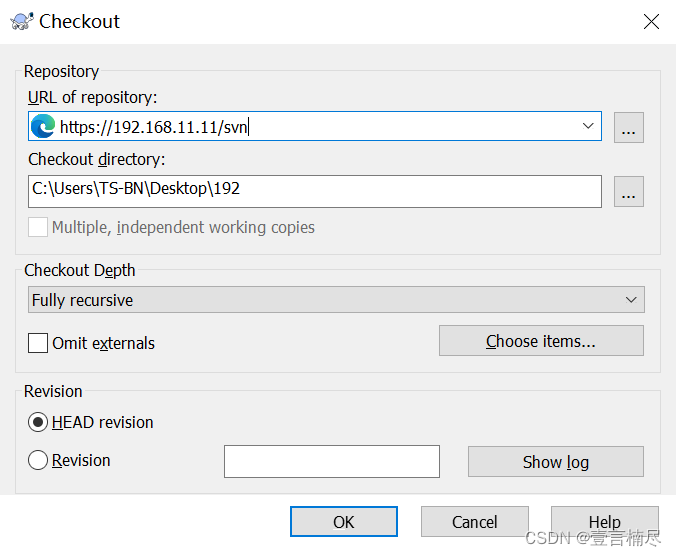
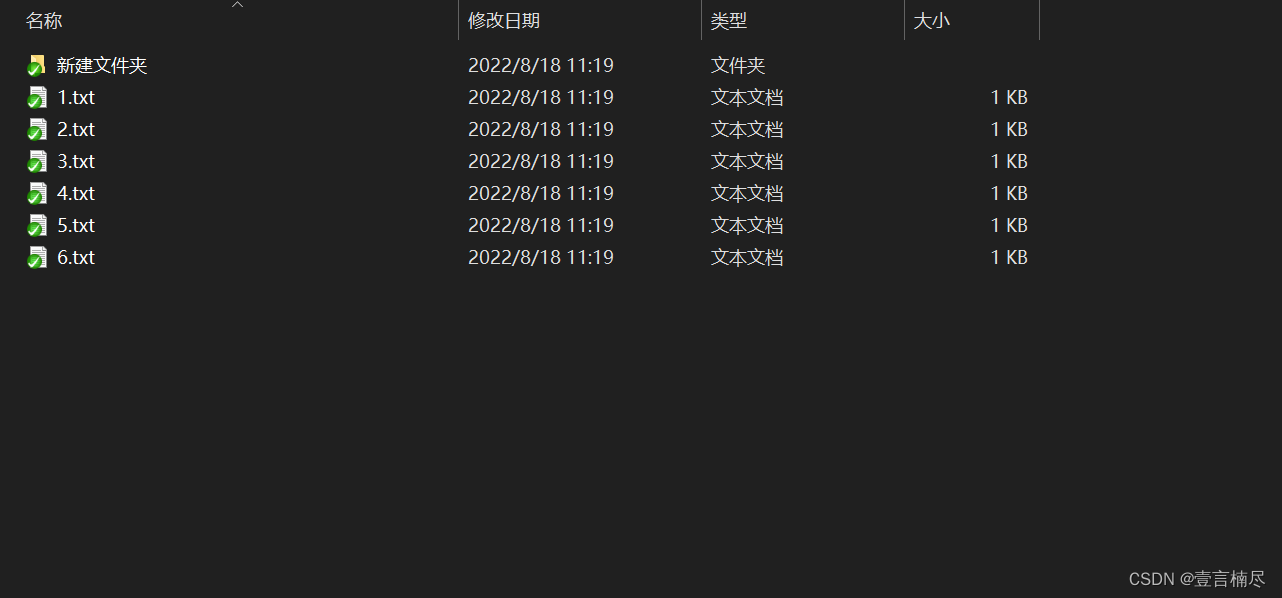
13.安装TortoiseSVN客户端,Checkout,上传文件


 1477
1477


 被折叠的 条评论
为什么被折叠?
被折叠的 条评论
为什么被折叠?
 到【灌水乐园】发言


