


环境版本:
云服务器
linux:cenos7.9
docker:24.0.7
jitsi-meet:stable-9111
1、准备工作
服务器我使用的是centos7.9,先自己安装好docker和docker-compose。不会的可以看这篇教程:
linux安装docker及docker-compose 部署spring boot项目_linux docker 部署springboot-CSDN博客
docker安装好了,用docker-compose运行一个nginx。然后自己准备一个域名,申请一个ssl证书。做好准备工作。我这里域名用cs.test.fun代替。
2、运行jitsi-meet
先创建一个目录,我这里使用的目录是/data/docker/jitsi3/,cd到当前目录。
cd data/docker/jitsi3/克隆出jitsi安装文件,我指定了版本,降低错误率,你也可以用最新版。
git clone -b stable-9111 https://github.com/jitsi/docker-jitsi-meet.git进入docker-jitsi-meet文件,复制出环境配置文件:.env
cd docker-jitsi-meet/
cp env.example .env通过运行以下 bash 脚本在文件的安全部分选项中设置强密码.env
./gen-passwords.sh创建所需的目录CONFIG(这一步不知道啥作用,看见其他文档写的,不运行也可以使用)
mkdir -p ~/.jitsi-meet-cfg/{web,transcripts,prosody/config,prosody/prosody-plugins-custom,jicofo,jvb,jigasi,jibri}修改配置文件.env,注意这里我用的域名。最开始说准备的。
# System time zone
TZ=Asia/Shanghai

# Public URL for the web service (required)
# ip为当前系统ip,端口默认8443
PUBLIC_URL=https://cs.test.fun
最后通过docker-compose运行jitsi-meet
docker-compose up -d启动成功!
3、配置nginx
jitsi-meet启动成功后,就需要配置nginx了。
附上nginx.conf,其中8.218.188.188为服务器的公网ip。
worker_processes  1;


events {
    worker_connections  1024;
}


http {
    include       mime.types;
    default_type  application/octet-stream;


    sendfile        on;


  server {
    listen       80;
    server_name  127.0.0.1;

    location / {
      root   html;
      index  index.html index.htm;
    }

    error_page   500 502 503 504  /50x.html;

    location = /50x.html {
      root   html;
    }
  }


  	server {
    listen 443 ssl;
    server_name cs.test.fun; #需要域名替换成证书绑定的域名。

    ssl_certificate cert/cs.test.fun_bundle.pem;
    ssl_certificate_key cert/cs.test.fun.key;

    ssl_session_timeout 5m;
    ssl_ciphers ECDHE-RSA-AES128-GCM-SHA256:ECDHE:ECDH:AES:HIGH:!NULL:!aNULL:!MD5:!ADH:!RC4;
    #表示使用的加密套件的类型。
    ssl_protocols TLSv1.1 TLSv1.2 TLSv1.3; #表示使用的TLS协议的类型。
    ssl_prefer_server_ciphers on;

#  	location / {
#              root   html;
#              index  index.html index.htm;
#          }

#    location / {
#      client_max_body_size 100m;
#      proxy_pass http://8.218.188.188:8000/;     #项目地址和端口号
#    }

    location / {
     client_max_body_size 100m;
     proxy_pass https://8.218.188.188:8443;
   }

    location /xmpp-websocket {
      proxy_pass https://8.218.188.188:8443/xmpp-websocket;
      proxy_http_version 1.1;
      proxy_connect_timeout 4s;
          proxy_read_timeout 120s;
          proxy_send_timeout 12s;
      proxy_set_header Upgrade $http_upgrade;
      proxy_set_header Connection "upgrade";
    }

    location /colibri-ws {
        proxy_pass https://8.218.188.188:8443/colibri-ws;
        proxy_http_version 1.1;
        proxy_connect_timeout 4s;
            proxy_read_timeout 120s;
            proxy_send_timeout 12s;
        proxy_set_header Upgrade $http_upgrade;
        proxy_set_header Connection "upgrade";
    }

  }


}
到这里,就可以直接通过https://cs.test.fun访问jitsi了。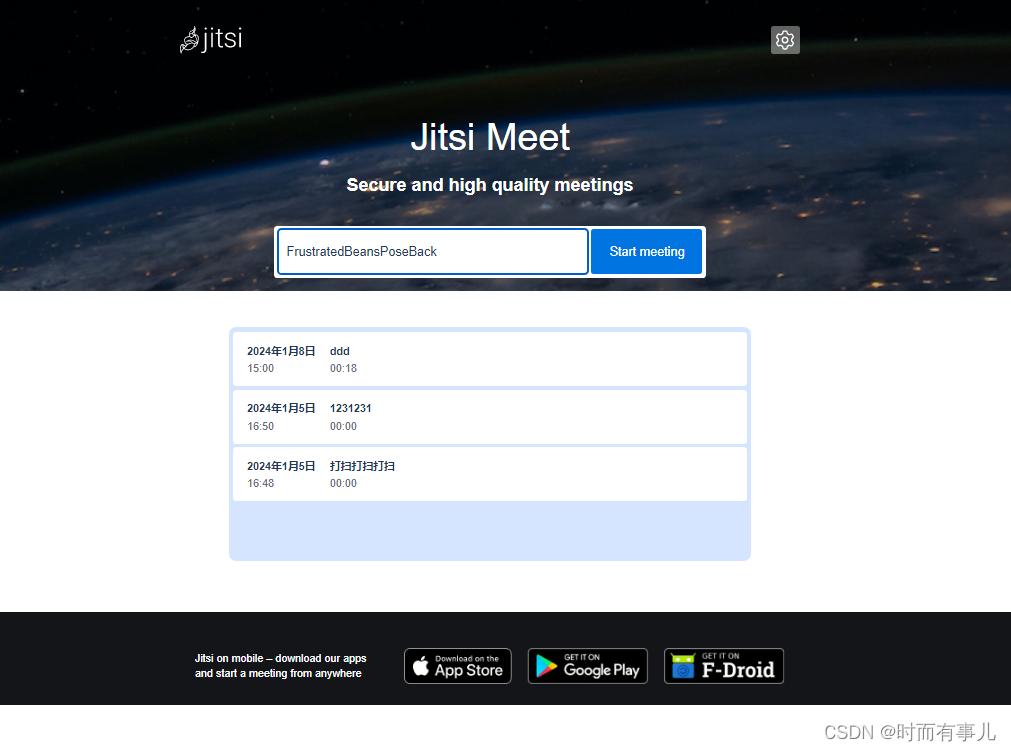
最后附上docker ps
本人是面向百度编程,有什么不足欢迎大佬指正。
使用感受:
最后绝对这个开发的api太少了,所以音视频没有使用这个,换成了livekit:
linux 运行开源音视频livekit,实现html视频语音聊天。-CSDN博客
最后如果对你有一点点帮助,麻烦支持一下。
全国寄快递5元起,电影票8.8折。更多优惠微信关注公众号:【折价寄件】
感谢阅读!!!!


 1万+
1万+

 被折叠的 条评论
为什么被折叠?
被折叠的 条评论
为什么被折叠?
 到【灌水乐园】发言


