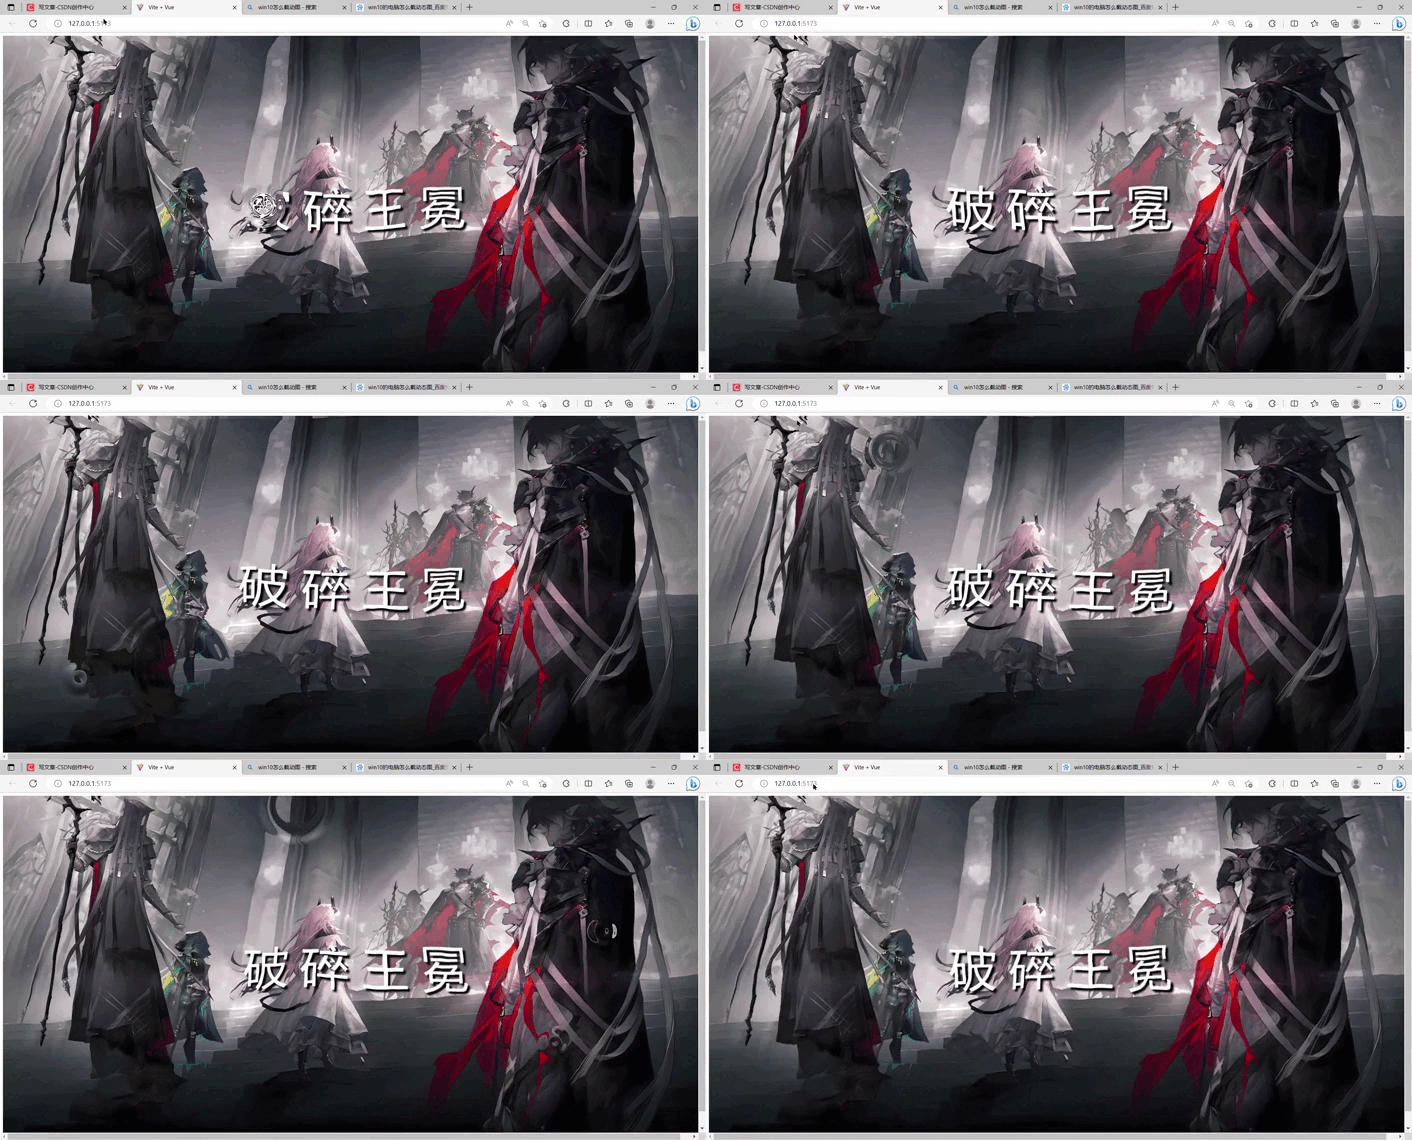
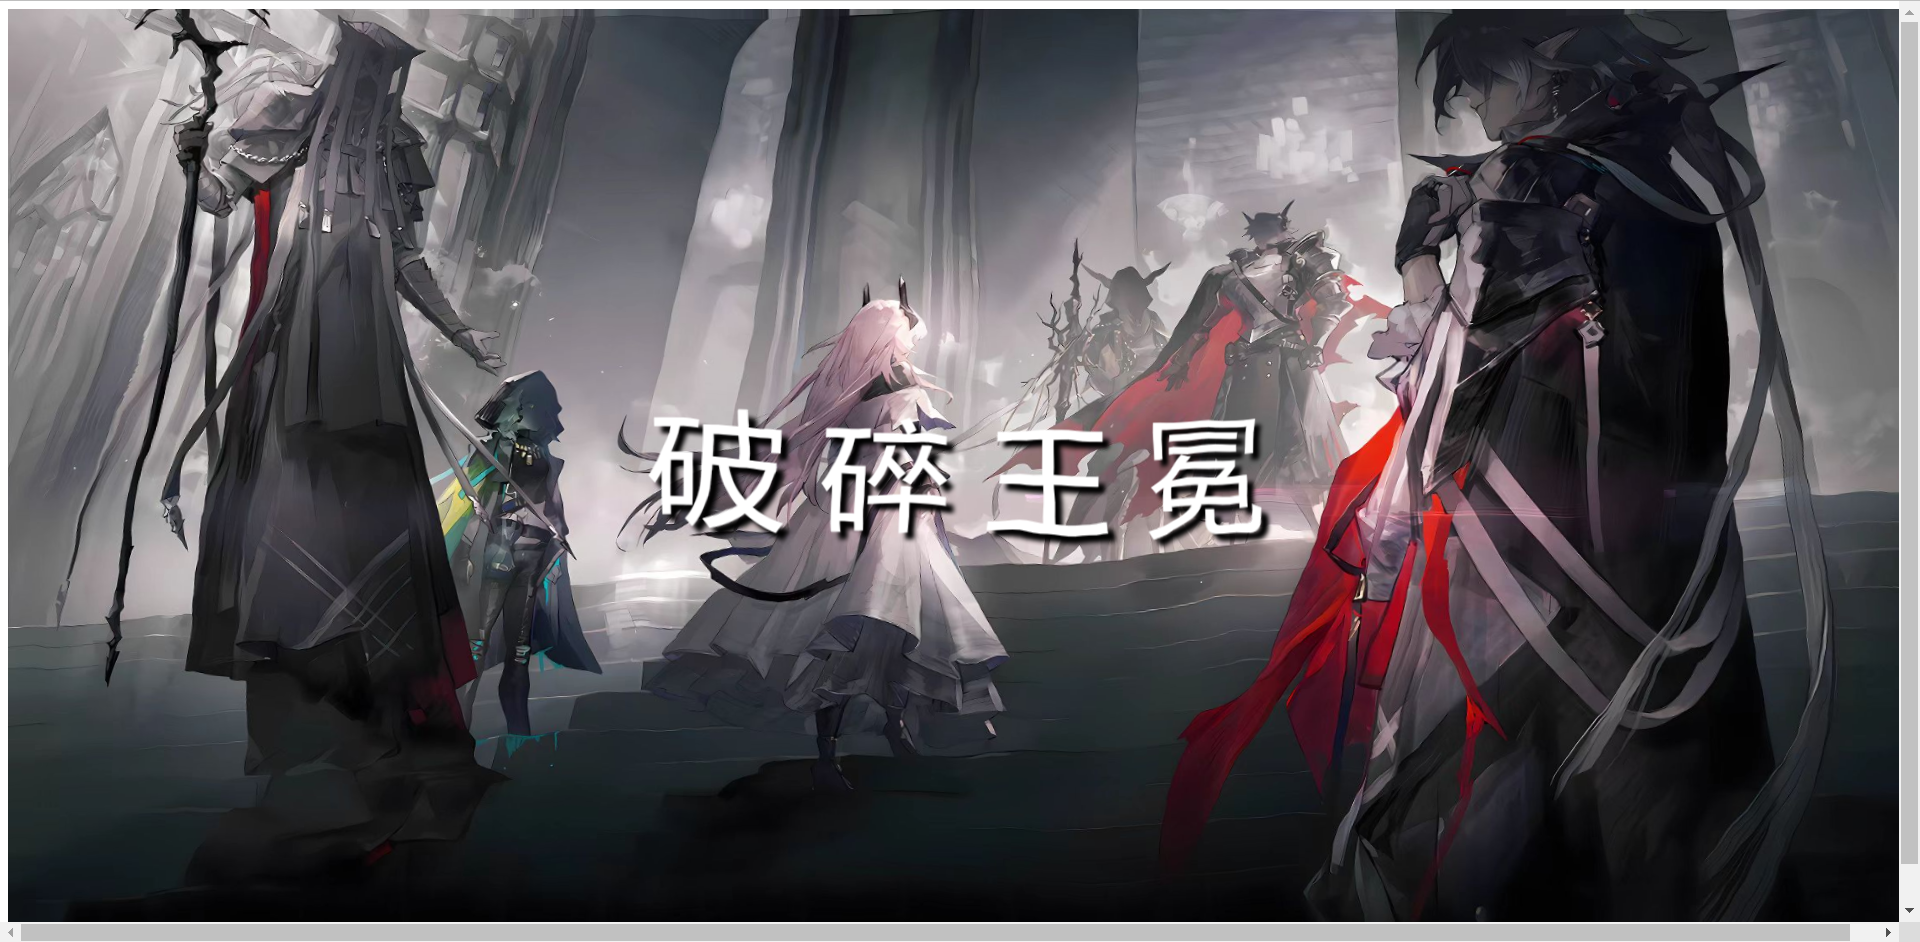
整体代码及实现效果
完整代码如下:
// 导入pixi.js
import * as PIXI from 'pixi.js'
import { ShockwaveFilter } from 'pixi-filters'

// 创建应用
const app = new PIXI.Application({
  width: window.innerWidth, // 设置画布宽高与窗口宽高相同
  height: window.innerHeight,
  background: 0x1099bb, // 画布背景颜色
  resolution: window.devicePixelRatio || 1, // 像素比例,查看设备是否具有像素比例,没有的话则默认为1
  antialias: true // 抗锯齿
})
// 将应用画布添加到dom中
document.body.appendChild(app.view)

// 创建一个纹理
const texture = PIXI.Texture.from('../public/img1.jpg')
// 创建一个精灵
const sprite = new PIXI.Sprite(texture)
sprite.width = app.screen.width
sprite.height = app.screen.height
// 创建容器
const container = new PIXI.Container()
// 将精灵加到容器中
container.addChild(sprite)
// 将容器加到舞台中
app.stage.addChild(container)

// 添加文字
const text = new PIXI.Text('破 碎 王 冕', {
  fontFamily: 'Arial',
  fontSize: 30 + Math.floor(window.innerWidth / 20), // 根据页面调整文字大小
  fill: 0xffffff,
  align: 'center',
  dropShadow: true, // 给文字添加阴影效果
  dropShadowColor: '#000000', // 阴影颜色
  dropShadowBlur: 4,
  dropShadowAngle: Math.PI * 0.25, // 光纤照射角度 从左到右
  dropShadowDistance: 10 // 阴影与字体距离
})
// 设置文字位置和文字大小
text.x = app.screen.width / 2
text.y = app.screen.height / 2
text.anchor.set(0.5)
container.addChild(text)

//添加置换滤镜
// 创建置换贴图精灵
const displacementSprite = PIXI.Sprite.from('https://s1.aigei.com/pvimg/img/png/de/de499f1dda9a4e9da1fa1815410b1617.png?imageMogr2/auto-orient/thumbnail/!237x237r/gravity/Center/crop/237x237/quality/85/&e=1735488000&token=P7S2Xpzfz11vAkASLTkfHN7Fw-oOZBecqeJaxypL:iJpRumxLmQelW9sN_wrsdsD8yR4=')
// 调整置换精灵贴图的大小
displacementSprite.scale.set(7)
// 纹理平铺并且允许重复
displacementSprite.texture.baseTexture.wrapMode = PIXI.WRAP_MODES.REPEAT
// 创建纹理滤镜
const displacementFilter = new PIXI.DisplacementFilter(displacementSprite)
// 将置换贴图精灵添加到容器内
container.addChild(displacementSprite)

// 添加震波滤镜
const shockwaveFilter1 = new ShockwaveFilter([Math.random() * app.screen.width, Math.random() * app.screen.height], {
  radius: 160, // 半径
  wavelength: 65, // 波长
  amplitude: 105, // 振幅
  speed: 200 // 速度
})
const shockwaveFilter2 = new ShockwaveFilter([Math.random() * app.screen.width, Math.random() * app.screen.height], {
  radius: 100, // 半径
  wavelength: 50, // 波长
  amplitude: 80, // 振幅
  speed: 300 // 速度
})
const shockwaveFilter3 = new ShockwaveFilter([Math.random() * app.screen.width, Math.random() * app.screen.height], {
  radius: 90, // 半径
  wavelength: 50, // 波长
  amplitude: 100, // 振幅
  speed: 250 // 速度
})
const shockwaveFilter4 = new ShockwaveFilter([Math.random() * app.screen.width, Math.random() * app.screen.height], {
  radius: 120, // 半径
  wavelength: 70, // 波长
  amplitude: 80, // 振幅
  speed: 200 // 速度
})

// 将滤镜添加到容器内
container.filters = [displacementFilter, shockwaveFilter1, shockwaveFilter2, shockwaveFilter3, shockwaveFilter4]
// 添加动态效果
app.ticker.add((delta) => {
  displacementSprite.x += 1
  displacementSprite.y += 1
  createWave(shockwaveFilter1, 2)
  createWave(shockwaveFilter2, 1)
  createWave(shockwaveFilter3, 2.5)
  createWave(shockwaveFilter4, 1.75)
})

// 控制震波的方法
function createWave(waveFilter, resetTime) {
  // 震波的时间变化
  waveFilter.time += 0.01
  if (waveFilter.time > resetTime) {
    waveFilter.time = 0
    waveFilter.center = [Math.random() * app.screen.width, Math.random() * app.screen.height]
  }
}

// 监听点击事件,产生震波
app.view.addEventListener('click', (e) => {
  shockwaveFilter1.center = [e.clientX, e.clientY]
  shockwaveFilter1.time = 0
})
下面为完成效果:

详细代码拆解
导入PIXI和需要的震波滤镜
import * as PIXI from 'pixi.js'
import { ShockwaveFilter } from 'pixi-filters'
创建画布并将画布添加到dom中
const app = new PIXI.Application({
  width: window.innerWidth, // 设置画布宽高与窗口宽高相同
  height: window.innerHeight,
  background: 0x1099bb, // 画布背景颜色
  resolution: window.devicePixelRatio || 1, // 像素比例,查看设备是否具有像素比例,没有的话则默认为1
  antialias: true // 抗锯齿
})
// 将应用画布添加到dom中
document.body.appendChild(app.view)
创建容器并将背景图加到容器中
// 创建一个纹理
const texture = PIXI.Texture.from('../public/img1.jpg')
// 创建一个精灵
const sprite = new PIXI.Sprite(texture)
sprite.width = app.screen.width
sprite.height = app.screen.height
// 创建容器
const container = new PIXI.Container()
// 将精灵加到容器中
container.addChild(sprite)
// 将容器加到舞台中
app.stage.addChild(container)
添加文字
// 添加文字
const text = new PIXI.Text('破 碎 王 冕', {
  fontFamily: 'Arial',
  fontSize: 30 + Math.floor(window.innerWidth / 20), // 根据页面调整文字大小
  fill: 0xffffff,
  align: 'center',
  dropShadow: true, // 给文字添加阴影效果
  dropShadowColor: '#000000', // 阴影颜色
  dropShadowBlur: 4,
  dropShadowAngle: Math.PI * 0.25, // 光纤照射角度 从左到右
  dropShadowDistance: 10 // 阴影与字体距离
})
// 设置文字位置和文字大小
text.x = app.screen.width / 2
text.y = app.screen.height / 2
text.anchor.set(0.5)
container.addChild(text)
添加置换滤镜
//添加置换滤镜
// 创建置换贴图精灵
const displacementSprite = PIXI.Sprite.from('https://s1.aigei.com/pvimg/img/png/de/de499f1dda9a4e9da1fa1815410b1617.png?imageMogr2/auto-orient/thumbnail/!237x237r/gravity/Center/crop/237x237/quality/85/&e=1735488000&token=P7S2Xpzfz11vAkASLTkfHN7Fw-oOZBecqeJaxypL:iJpRumxLmQelW9sN_wrsdsD8yR4=')
// 调整置换精灵贴图的大小
displacementSprite.scale.set(7)
// 纹理平铺并且允许重复
displacementSprite.texture.baseTexture.wrapMode = PIXI.WRAP_MODES.REPEAT
// 创建纹理滤镜
const displacementFilter = new PIXI.DisplacementFilter(displacementSprite)
// 将置换贴图精灵添加到容器内
container.addChild(displacementSprite)
重点来了,置换贴图是为了让页面背景图有水波的效果,置换贴图要求不是很高,随便在网上找一张有水波效果的图片即可,将其设置为背景图的滤镜,之后纹理平铺且允许重复将背景图片占满,这个时候你会发现图片只是因为水波纹理滤镜有些扭曲,并不会动

// 添加动态效果
app.ticker.add((delta) => {
  displacementSprite.x += 1
  displacementSprite.y += 1
})
为水波纹理滤镜添加动态效果使其不断在平铺位置移动,这样就会产生水波的动态效果了
其中还有一点需要理解就是 displacementSprite.scale.set(7) 这句代码用于调整水波纹理图的大小,修改数值你会发现数值越大水波效果越慢,数值越小水波效果越快,这是什么原因?因为重复平铺,如果水波纹理图越大平铺的水波纹理就越稀疏,因此水波效果较慢,反之则比较密集,因此较快
创建震波
震波滤镜需要用到github中的一个包,网址如下:https://github.com/pixijs/filters
该包除了震波以外还有其他很多有意思的滤镜,感兴趣的可以去看一下
安装指令:
npm install pixi-filters导入在开头
// 添加震波滤镜
const shockwaveFilter1 = new ShockwaveFilter([Math.random() * app.screen.width, Math.random() * app.screen.height], {
  radius: 160, // 半径
  wavelength: 65, // 波长
  amplitude: 105, // 振幅
  speed: 200 // 速度
})
const shockwaveFilter2 = new ShockwaveFilter([Math.random() * app.screen.width, Math.random() * app.screen.height], {
  radius: 100, // 半径
  wavelength: 50, // 波长
  amplitude: 80, // 振幅
  speed: 300 // 速度
})
const shockwaveFilter3 = new ShockwaveFilter([Math.random() * app.screen.width, Math.random() * app.screen.height], {
  radius: 90, // 半径
  wavelength: 50, // 波长
  amplitude: 100, // 振幅
  speed: 250 // 速度
})
const shockwaveFilter4 = new ShockwaveFilter([Math.random() * app.screen.width, Math.random() * app.screen.height], {
  radius: 120, // 半径
  wavelength: 70, // 波长
  amplitude: 80, // 振幅
  speed: 200 // 速度
})

// 将滤镜添加到容器内
container.filters = [displacementFilter, shockwaveFilter1, shockwaveFilter2, shockwaveFilter3, shockwaveFilter4]
// 添加动态效果
app.ticker.add((delta) => {
  displacementSprite.x += 1
  displacementSprite.y += 1
  createWave(shockwaveFilter1, 2)
  createWave(shockwaveFilter2, 1)
  createWave(shockwaveFilter3, 2.5)
  createWave(shockwaveFilter4, 1.75)
})

// 控制震波的方法
function createWave(waveFilter, resetTime) {
  // 震波的时间变化
  waveFilter.time += 0.01
  if (waveFilter.time > resetTime) {
    waveFilter.time = 0
    waveFilter.center = [Math.random() * app.screen.width, Math.random() * app.screen.height]
  }
}
如上,创建了四个震波滤镜,并在定时函数中调用,如果想要多一些可以再多创建,并且震波的半径波长等都是可以修改的
如果只是创建了震波并且添加到页面中你会发现确实会出现震波,但是震波并不会动,也没有办法重新产生,这就需要用到控制震波的方法了
/ 控制震波的方法
function createWave(waveFilter, resetTime) {
  // 震波的时间变化
  waveFilter.time += 0.01
  if (waveFilter.time > resetTime) {
    waveFilter.time = 0
    waveFilter.center = [Math.random() * app.screen.width, Math.random() * app.screen.height]
  }
}
该方法中两个参数第一个为震波滤镜,第二个为震波存在的时间
首先震波中存在一个time属性,在github中找到滤镜,在里面修改time属性你会发现time动态一点带你增大震波会向外扩散,time动态一点点减小震波会回缩,如此就可以知道time是用来动态增加随着time的增加震波逐渐向外扩散的,因此方法内判断times属性是否大于震波存在时间,如果大于则说明震波存在时间够了,需要重新产生新的震波了,time属性直接赋值为0重新开始,之后震波的位置利用Math.random()方法随机产生零到一之间的数,再乘以页面长宽就可以产生一个位于页面内的随机坐标了
鼠标点击产生震波
// 监听点击事件,产生震波
app.view.addEventListener('click', (e) => {
  shockwaveFilter1.center = [e.clientX, e.clientY]
  shockwaveFilter1.time = 0
})
监听点击事件之后在点击事件发生的位置产生一个震波即可,time属性一定要重新赋值为零,让震波从头开始


 文章展示了如何使用Pixi.js库结合pixi-filters创建复杂的视觉效果,包括置换滤镜和震波滤镜。通过导入和配置相关组件,创建纹理、精灵、文字,并添加动态效果,使得背景图像产生水波纹动态,并在用户点击时生成震波。此外,文章解释了如何控制震波的产生和消失,以及调整相关参数以改变效果。


 587
587

 被折叠的 条评论
为什么被折叠?


