


在开发中调用上传图片的接口
<el-upload
:before-upload="beforePicUpload" //! 上传w判断
:on-remove="handleSwiperRemove" //! 文件删除时的钩子
:on-success="handleSwiperSuccess" // 文件上传成功时的钩子
action="/api/upload/pic" //!图片上传的地址根据实际开发修改
class="avatar-uploader"
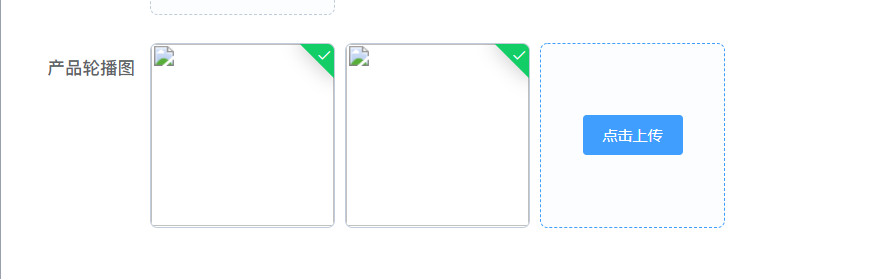
list-type="picture-card"
multiple
ref="SwiperlUpload"
>
<el-button
size="small"
type="primary"
>点击上传</el-button>
</el-upload>
上传后的数据返回
以上的方法会自动上传图片.上传成功后会调用成功的钩子函数,由于后端返回的路径是这样的

不显示的效果:
这时需要在成功上传的函数中做以下操作,在file.url下拼接:地址+图片路径
handleSwiperSuccess(response, file, fileList) {
	//! 拼接地址和图片路径 地址根据开发修改
      file.url = 'http://supw.work:8989' + response.data.url;
      console.log("轮播图打印file",file)
      this.form.urls.push({img:response.data.url});
   },
成功显示:

希望以上能对你有所帮助.


 1460
1460


 被折叠的 条评论
为什么被折叠?
被折叠的 条评论
为什么被折叠?
 到【灌水乐园】发言


