


 本文通过手写一个自动移动的小球,然后以组件形式展示,分别使用React、Vue和原生JS实现,讨论了组件封装的设计模式及其优势。小球的移动通过改变定位的top和left值,碰到边界则改变方向。
目录
前言:
本篇文章的主要目的是,通过手写一个自动移动的小球,然后以组件的形式,抽离出去实现随机生成一群小球,然后分别使用react 、 vue 、 原生JS去实现,体会组件封装的设计模式及好处。
1.思路如下:
1.小球的移动
通过设置小球的绝对定位后,使用定时器不停地改变其top值和left值
2.小球碰到四周改变方向
以左右方向为例,小球left小于0和大于clientWidth -自身宽度时需要改变方向
其他的思路可以参照我的react代码部分
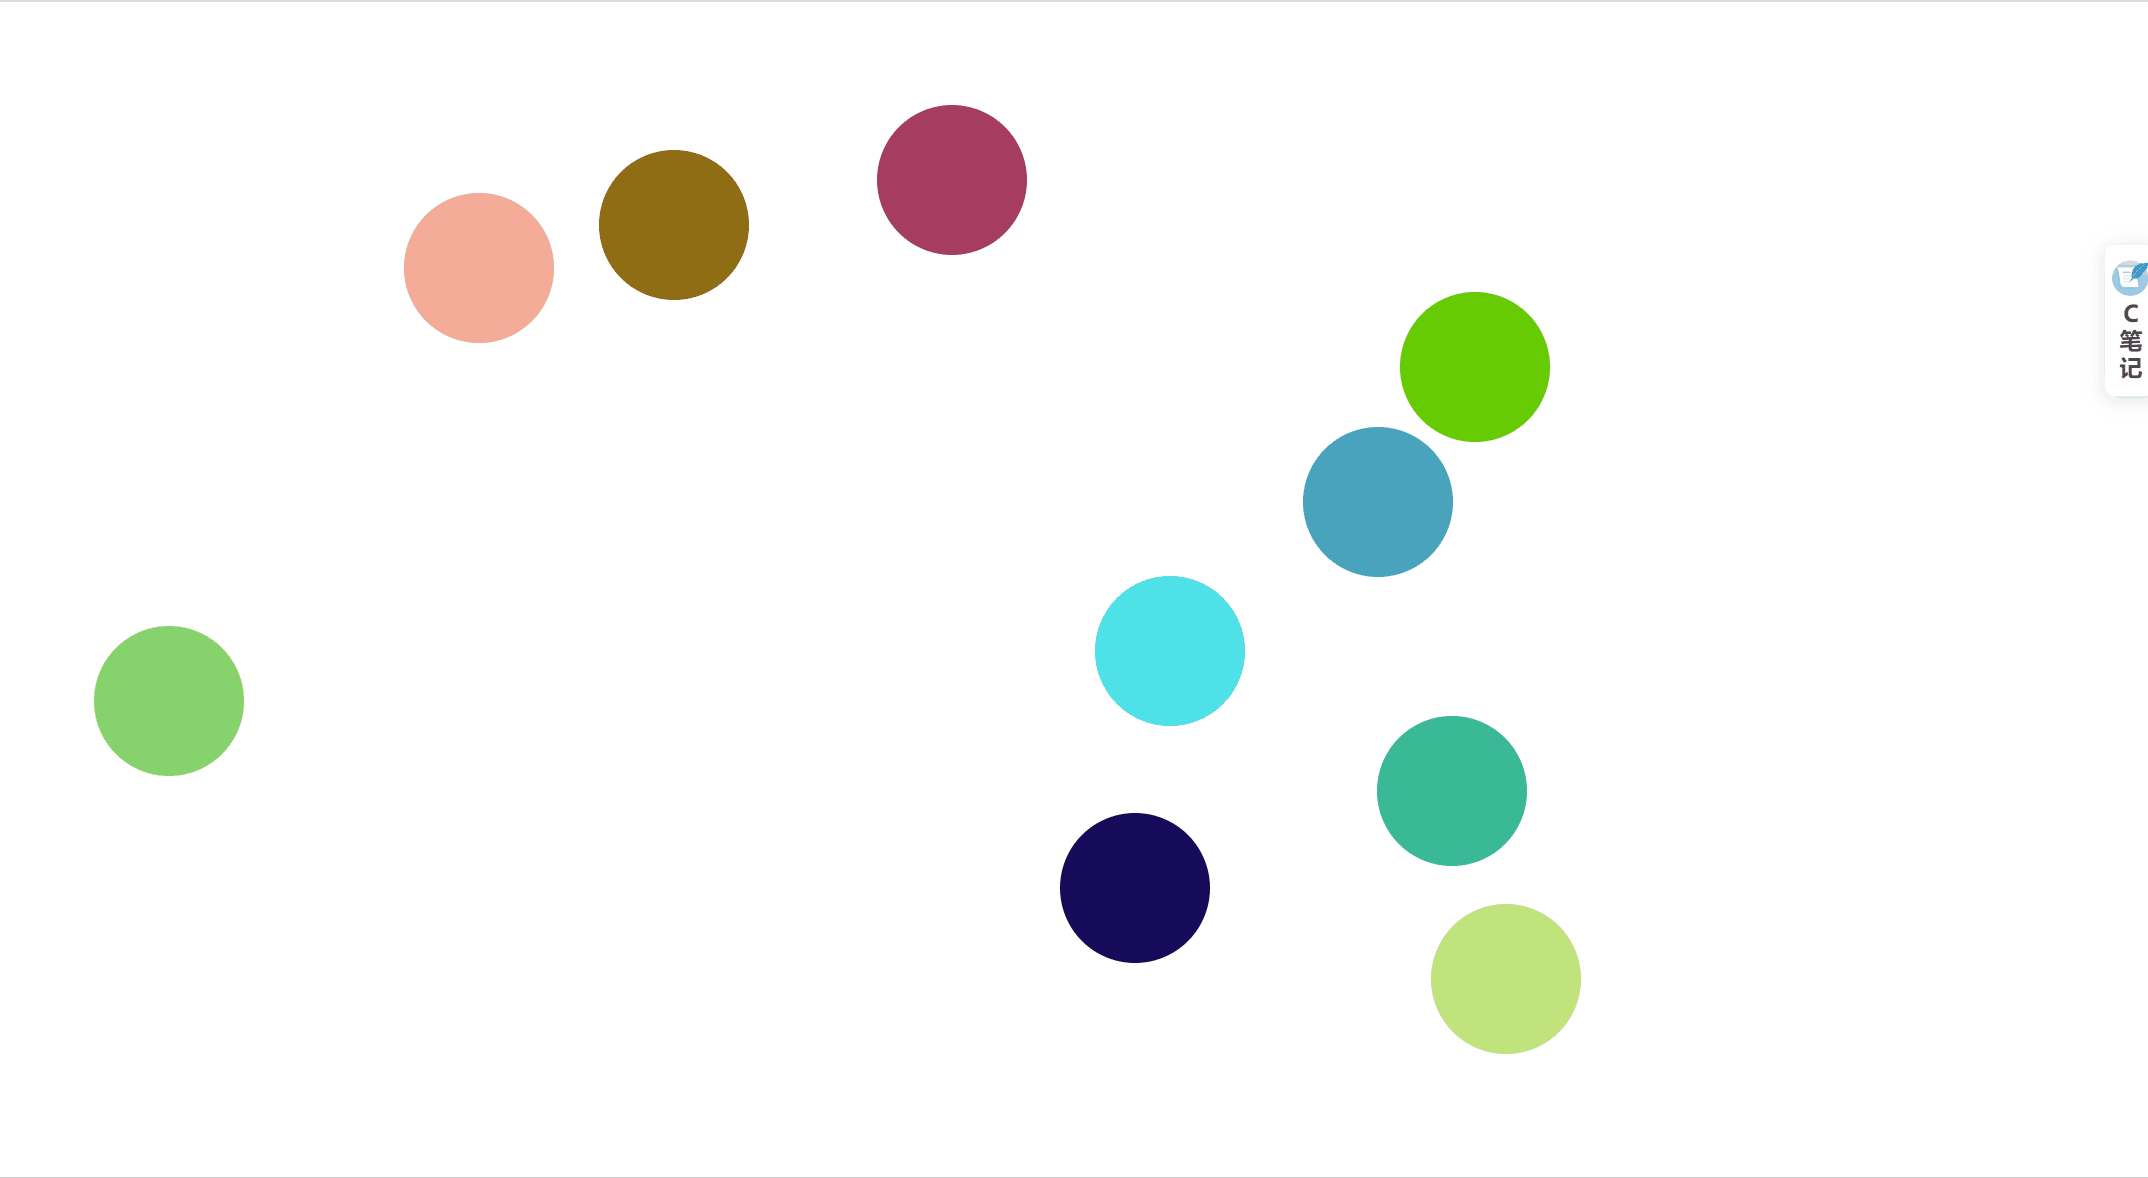
2.效果如下:
html写法如下:
<!DOCTYPE html>
<html lang="en">
  <head>
    <meta charset="UTF-8" />
    <meta http-equiv="X-UA-Compatible" content="IE=edge" />
    <meta name="viewport" content="width=device-width, initial-scale=1.0" />
    <title>Document</title>
  </head>
  <body style="margin: 0; padding: 0">
    <div
      id="div"
      style="
        width: 100px;
        height: 100px;
        border-radius: 50%;
        background-color: pink;
        position: absolute;
        top: 0;
        left: 0;
      "
    ></div>
    <script>
      let div = document.querySelector("#div");
      let speed = parseInt(Math.random() * 100 + 1);
      let you = document.documentElement.clientWidth - 100;
      let zuo = document.documentElement.clientHeight - 100;
      setInterval(() => {
        let newLeft =
          Number(div.style.left.substring(0, div.style.left.length - 2)) +
          speed +
          "px";

        if (Number(newLeft.substring(0, newLeft.length - 2)) < 0) {
          newLeft = 0;
          speed = -speed;
        } else if (Number(newLeft.substring(0, newLeft.length - 2)) > you) {
          newLeft = you;
          speed = -speed;
        }

        let newTop =
          Number(div.style.top.substring(0, div.style.top.length - 2)) +
          speed +
          "px";
        if (Number(newTop.substring(0, newTop.length - 2)) < 0) {
          newTop = 0;
          speed = -speed;
        } else if (Number(newLeft.substring(0, newLeft.length - 2)) > zuo) {
          newTop = you;
          speed = -speed;
        }
        div.style.left = newLeft;
        div.style.top = newTop;
      }, 100);
    </script>
  </body>
</html>
react写法如下:
import React, { Component } from 'react'
import "./Ball.css"

/**
 * 一个能够自动移动的小球
 */
export default class Ball extends Component {

    constructor(props) {
        super(props);
        //属性中需要分别传递横纵坐标上的速度,每秒移动的像素值
        //props.xSpeed,  props.ySpeed
        //需要传递背景颜色,如果没有传递,则使用红色
        this.state = {
            left: props.left || 0, //横坐标
            top: props.top || 0, //纵坐标
            xSpeed: props.xSpeed,
            ySpeed: props.ySpeed
        };
        const duration = 16; //间隔的毫秒数

        setInterval(() => {
            const xDis = this.state.xSpeed * duration / 1000;
            const yDis = this.state.ySpeed * duration / 1000;
            //根据速度,改变left和top值
            let newLeft = this.state.left + xDis;
            let newTop = this.state.top + yDis;
            if (newLeft <= 0) {
                newLeft = 0;
                this.setState({
                    xSpeed: -this.state.xSpeed //横坐标反向
                })
            }
            else if (newLeft >= document.documentElement.clientWidth - 100) {
                newLeft = document.documentElement.clientWidth - 100;
                this.setState({
                    xSpeed: -this.state.xSpeed //横坐标反向
                })
            }

            if (newTop <= 0) {
                newTop = 0;
                this.setState({
                    ySpeed: -this.state.ySpeed //纵坐标反向
                })
            }
            else if (newTop >= document.documentElement.clientHeight - 100) {
                newTop = document.documentElement.clientHeight - 100;
                this.setState({
                    ySpeed: -this.state.ySpeed //纵坐标反向
                })
            }

            this.setState({
                left: newLeft,
                top: newTop
            });
        }, duration);
    }

    render() {
        return (
            <div className="ball" style={{
                left: this.state.left,
                top: this.state.top,
                background: this.props.bg || "#f40"
            }}>

            </div>
        )
    }
}
vue写法如下:
<template>
  <div>
    <div id="div" class="ball"></div>
  </div>
</template>

<script>
export default {
  data () {
    return {
      duration: 16
    }
  },
  methods: {
    play () {
      let div = document.querySelector("#div")
      console.log(div)
      let speed = parseInt(Math.random() * 100 + 1)
      let you = document.documentElement.clientWidth - 100
      let zuo = document.documentElement.clientHeight - 100
      setInterval(() => {
        let newLeft =
          Number(div.style.left.substring(0, div.style.left.length - 2)) +
          speed +
          "px"

        if (Number(newLeft.substring(0, newLeft.length - 2)) < 0) {
          newLeft = 0
          speed = -speed
        } else if (Number(newLeft.substring(0, newLeft.length - 2)) > you) {
          newLeft = you
          speed = -speed
        }

        let newTop =
          Number(div.style.top.substring(0, div.style.top.length - 2)) +
          speed +
          "px"
        if (Number(newTop.substring(0, newTop.length - 2)) < 0) {
          newTop = 0
          speed = -speed
        } else if (Number(newLeft.substring(0, newLeft.length - 2)) > zuo) {
          newTop = you
          speed = -speed
        }
        div.style.left = newLeft
        div.style.top = newTop
      }, 100)
    }

  },
  mounted () {
    this.play()
  },
}

</script>

<style>
.ball {
  width: 100px;
  height: 100px;
  border-radius: 50%;
  background-color: pink;
  position: absolute;
  top: 0;
  left: 0;
}
</style>


 253
253

 被折叠的 条评论
为什么被折叠?
被折叠的 条评论
为什么被折叠?
 到【灌水乐园】发言


