


nest new upload -p pnpmpnpm i multer
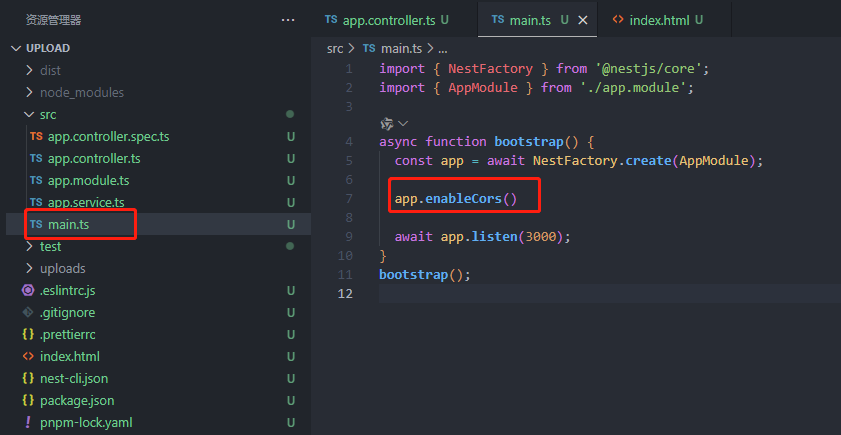
pnpm i -D @types/multer允许跨域
1. 单文件上传
我们去新增一个用于上传的handler
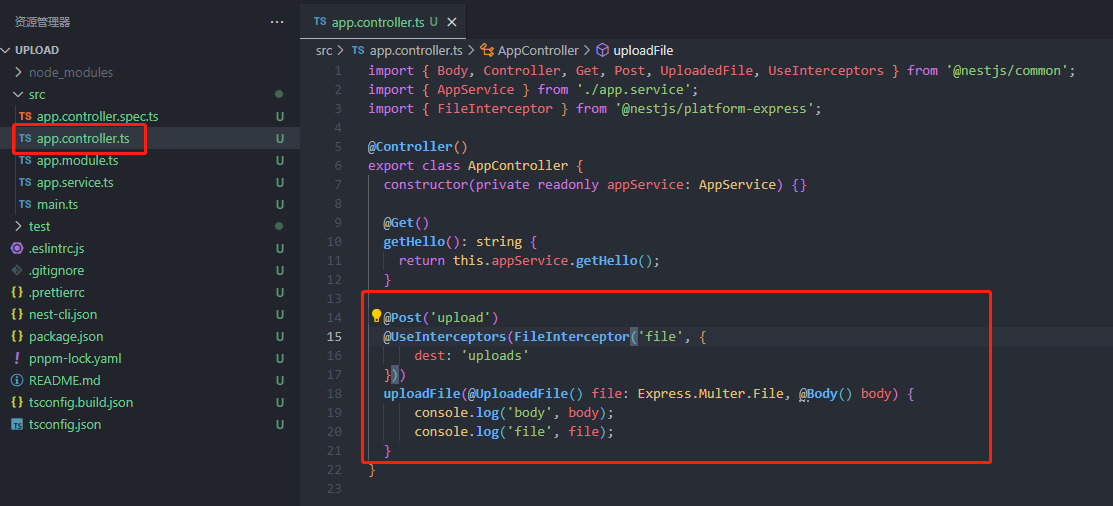
@Post('upload')
@UseInterceptors(FileInterceptor('file', {
dest: 'uploads'
}))
uploadFile(@UploadedFile() file: Express.Multer.File, @Body() body) {
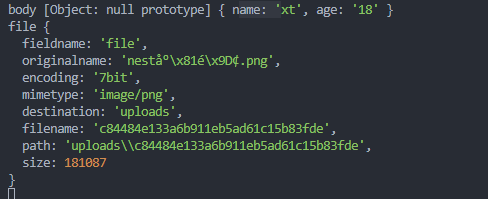
console.log('body', body);
console.log('file', file);
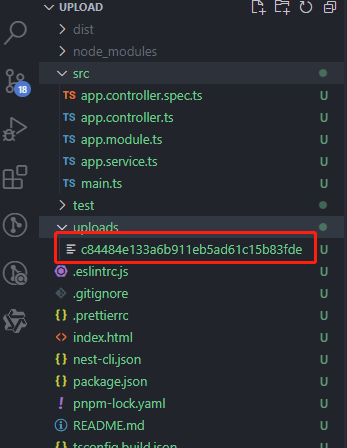
}使用 FileInterceptor 来获取前端给的 file 字段,然后通过 UploadedFile 装饰器把它作为参数注入,dest是指定图片的存放目录的,当我们执行pnpm run start:dev时,你会发现它给我们自动的创建了一个uploads的文件夹

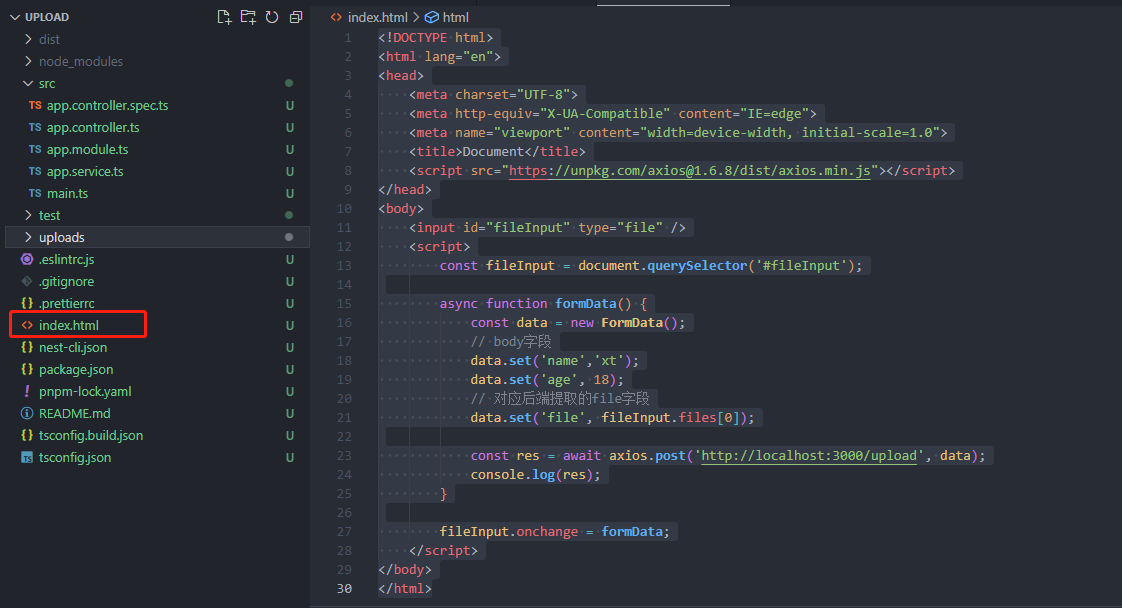
现在我们去快速写个前端页面,用于上传
<!DOCTYPE html>
<html lang="en">
  <head>
    <meta charset="UTF-8">
    <meta http-equiv="X-UA-Compatible" content="IE=edge">
    <meta name="viewport" content="width=device-width, initial-scale=1.0">
    <title>Document</title>
    <script src="https://unpkg.com/axios@1.6.8/dist/axios.min.js"></script>
  </head>
  <body>
    <input id="fileInput" type="file" />
    <script>
      const fileInput = document.querySelector('#fileInput');

      async function formData() {
        const data = new FormData();
        // body字段
        data.set('name','xt');
        data.set('age', 18);
        // 对应后端提取的file字段
        data.set('file', fileInput.files[0]);

        const res = await axios.post('http://localhost:3000/upload', data);
        console.log(res);
      }

      fileInput.onchange = formData;
    </script>
  </body>
</html>
鼠标右键选择这个,在默认浏览器打开,注意:这个功能需要安装vscode插件--》

然后选择文件,上传就好

可以看到,打印了 file 对象,并且文件也保存到了 uploads 目录
2. 多文件上传
我们新写个handler

@Post('uploads')
@UseInterceptors(FilesInterceptor('files', 3, {
dest: 'uploads'
}))
uploadFiles(@UploadedFiles() files: Array<Express.Multer.File>, @Body() body) {
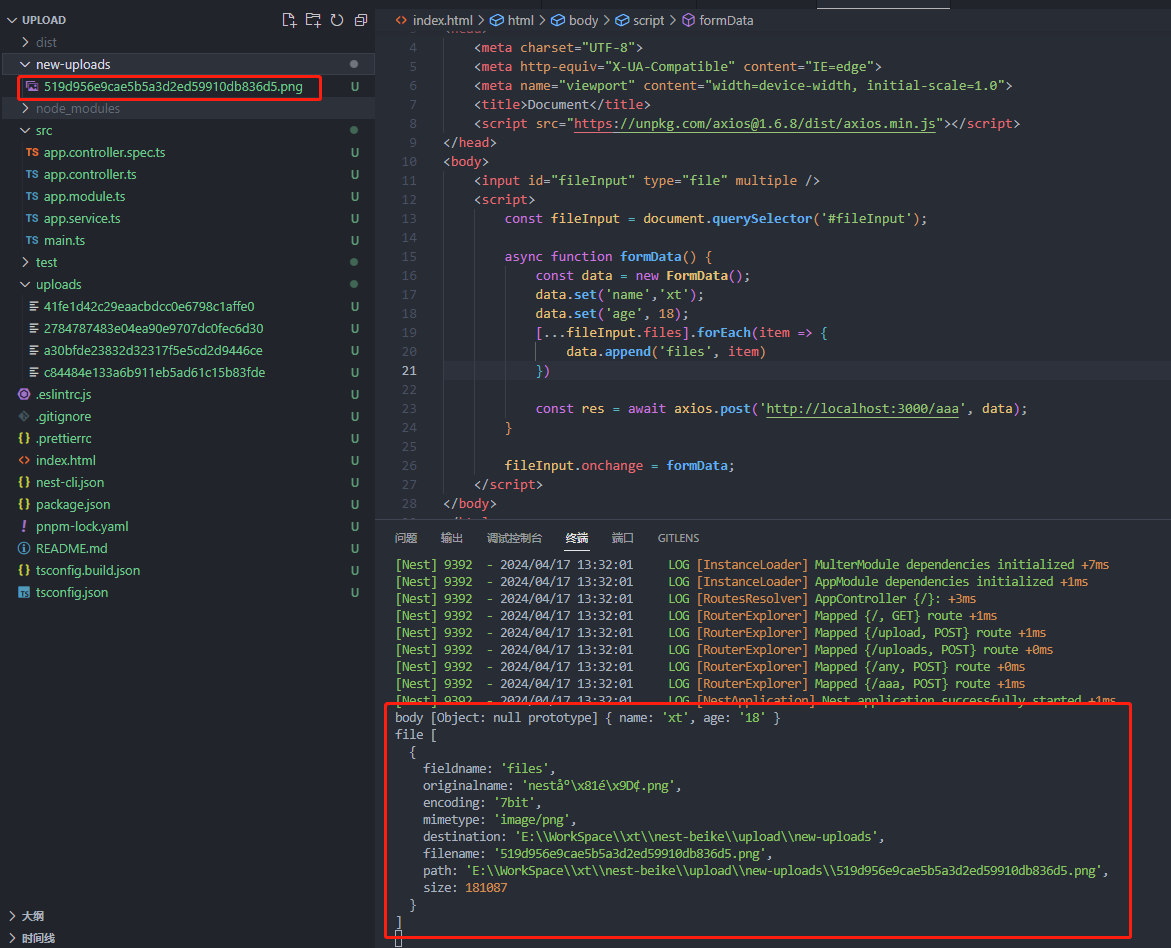
console.log('body', body);
console.log('file', files);
}单文件用的是:FileInterceptor,多文件用的是FilesInterceptor,多了一个s
单文件用的是:UploadedFile,多文件用的是UploadedFiles,也多了一个s
这个3,表示最大数量
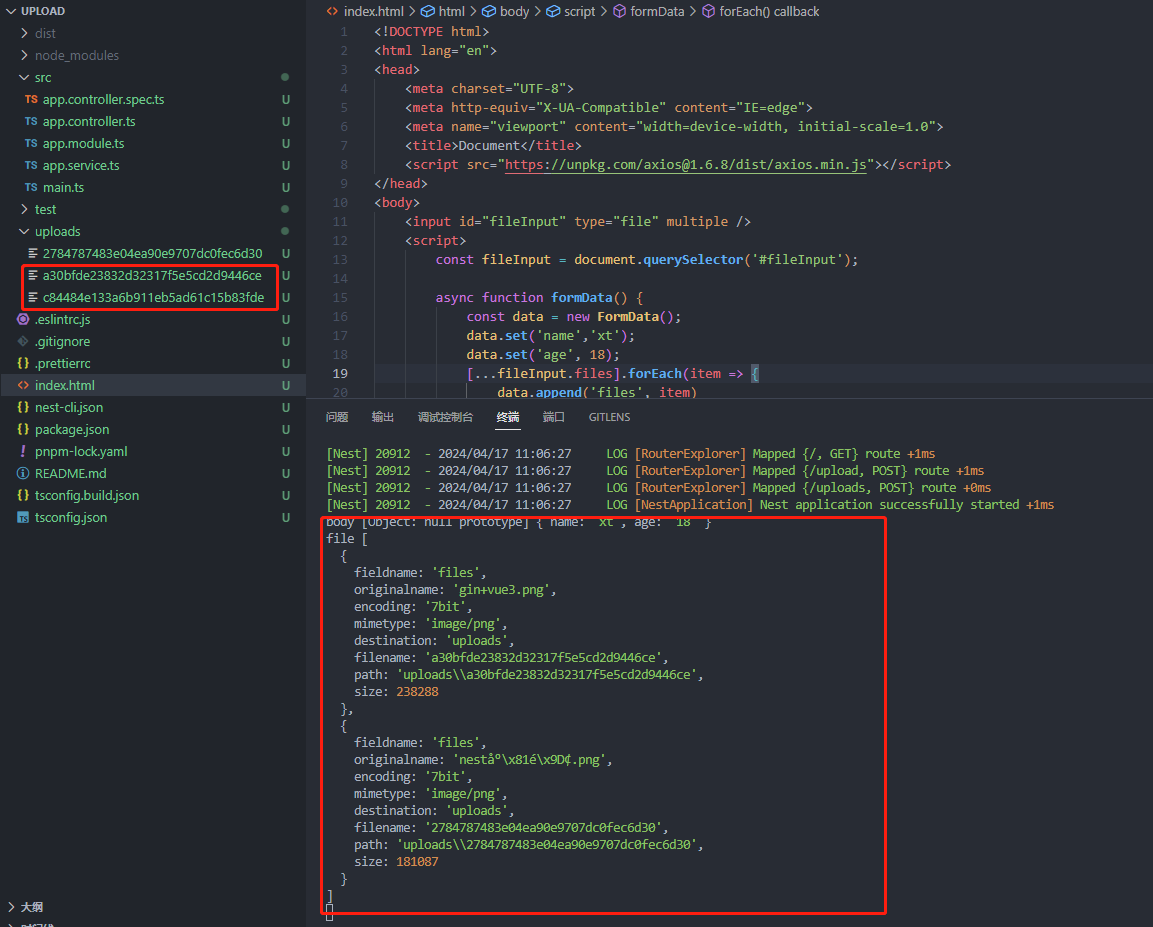
然后我们改一下前端代码

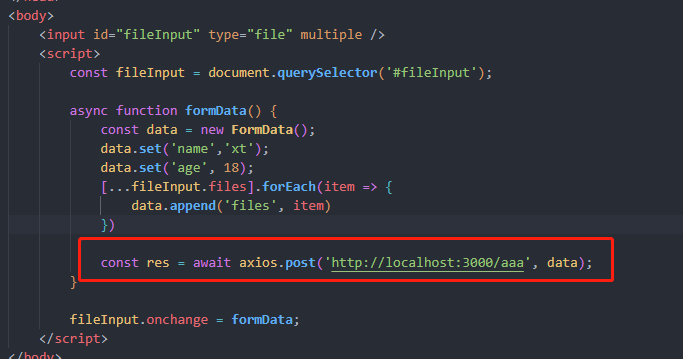
<input id="fileInput" type="file" multiple />

async function formData() {
    const data = new FormData();
    data.set('name','xt');
    data.set('age', 18);
    [...fileInput.files].forEach(item => {
        data.append('files', item)
    })

    const res = await axios.post('http://localhost:3000/uploads', data);
}
然后我们选择两个文件在上传
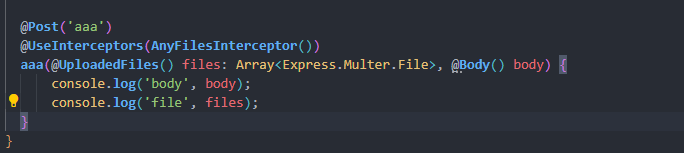
3. AnyFilesInterceptor
上面我们不管是单文件,还是多文件,我们都指定获取了一个file字段,那万一我们不知道这个字段是什么呢?这个时候我们就可以使用AnyFilesInterceptor

前端我们修改下请求路径,我们再去试试上传


4. 全局设置路径及处理文件名
刚刚我们都是在路由上指定文件存储位置的,现在我们来试试全局指定

我们再去写个handler试试,
我们在修改下前端的请求路径
我们在上传个文件
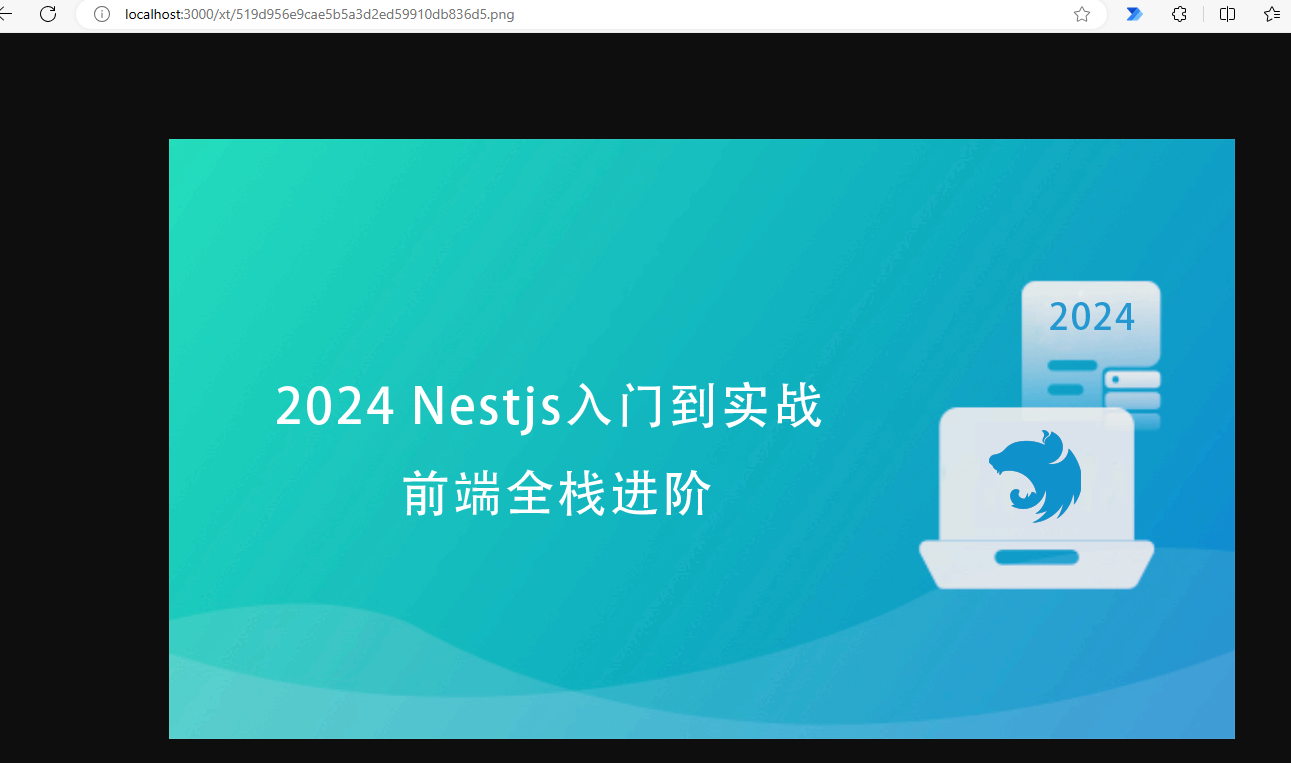
5. 预览上传的图片
不知大家还记不记得我们之前讲过的useStaticAssets,它让 nest 服务支持静态文件的访问。
- useStaticAssets prefix 是虚拟前缀
import { NestFactory } from '@nestjs/core';
import { AppModule } from './app.module';
import {NestExpressApplication} from '@nestjs/platform-express'
import { join } from 'path';

async function bootstrap() {
  const app = await NestFactory.create<NestExpressApplication>(AppModule);

  app.enableCors()

  app.useStaticAssets(join(__dirname, '../new-uploads'), {
    prefix: '/xt'
  });

  await app.listen(3000);
}
bootstrap();


 被折叠的 条评论
为什么被折叠?
被折叠的 条评论
为什么被折叠?
 到【灌水乐园】发言


