


Python自动化运维系列 | Python环境安装及基础语法(一)
1. Python环境安装
pyenv官方安装手册:https://github.com/pyenv/pyenv#installation
# yum install -y git curl
# yum -y install gcc make patch gdbm-devel openssl-devel sqlite-devel readline-devel  zlib-devel bzip2-devel xz-devel libffi-devel
# useradd python
# su - python
# echo python | passwd python --stdin
在python用户下执行如下命令安装:
curl https://pyenv.run | bash
由于墙的原因,服务器可能在执行中一直卡主执行,这是因为https://pyenv.run内部(如下)地址无法访问。
#!/bin/bash
#
# Usage: curl https://pyenv.run | bash
#
# For more info, visit: https://github.com/pyenv/pyenv-installer
#
index_main() {
    set -e
    curl -s -S -L https://raw.githubusercontent.com/pyenv/pyenv-installer/master/bin/pyenv-installer | bash
}

index_main
那么可以直接在浏览器访问https://raw.githubusercontent.com/pyenv/pyenv-installer/master/bin/pyenv-installer,将内容复制到服务器中:
#!/usr/bin/env bash

set -e
[ -n "$PYENV_DEBUG" ] && set -x

if [ -z "$PYENV_ROOT" ]; then
  export PYENV_ROOT="${HOME}/.pyenv"
fi

colorize() {
  if [ -t 1 ]; then printf "\e[%sm%s\e[m" "$1" "$2"
  else echo -n "$2"
  fi
}

# Checks for `.pyenv` file, and suggests to remove it for installing
if [ -d "${PYENV_ROOT}" ]; then
  { echo
    colorize 1 "WARNING"
    echo ": Can not proceed with installation. Kindly remove the '${PYENV_ROOT}' directory first."
    echo
  } >&2
    exit 1
fi

failed_checkout() {
  echo "Failed to git clone $1"
  exit -1
}

checkout() {
  [ -d "$2" ] || git -c advice.detachedHead=0 clone --branch "$3" --depth 1 "$1" "$2" || failed_checkout "$1"
}

if ! command -v git 1>/dev/null 2>&1; then
  echo "pyenv: Git is not installed, can't continue." >&2
  exit 1
fi

# Check ssh authentication if USE_SSH is present
if [ -n "${USE_SSH}" ]; then
  if ! command -v ssh 1>/dev/null 2>&1; then
    echo "pyenv: configuration USE_SSH found but ssh is not installed, can't continue." >&2
    exit 1
  fi

  # `ssh -T git@github.com' returns 1 on success
  # See https://docs.github.com/en/authentication/connecting-to-github-with-ssh/testing-your-ssh-connection
  ssh -T git@github.com 1>/dev/null 2>&1 || EXIT_CODE=$?
  if [[ ${EXIT_CODE} != 1 ]]; then
      echo "pyenv: github ssh authentication failed."
      echo
      echo "In order to use the ssh connection option, you need to have an ssh key set up."
      echo "Please generate an ssh key by using ssh-keygen, or follow the instructions at the following URL for more information:"
      echo
      echo "> https://docs.github.com/en/repositories/creating-and-managing-repositories/troubleshooting-cloning-errors#check-your-ssh-access"
      echo
      echo "Once you have an ssh key set up, try running the command again."
    exit 1
  fi
fi

if [ -n "${USE_SSH}" ]; then
  GITHUB="git@github.com:"
else
  GITHUB="https://github.com/"
fi

checkout "${GITHUB}pyenv/pyenv.git"            "${PYENV_ROOT}"                           "${PYENV_GIT_TAG:-master}"
checkout "${GITHUB}pyenv/pyenv-doctor.git"     "${PYENV_ROOT}/plugins/pyenv-doctor"      "master"
checkout "${GITHUB}pyenv/pyenv-update.git"     "${PYENV_ROOT}/plugins/pyenv-update"      "master"
checkout "${GITHUB}pyenv/pyenv-virtualenv.git" "${PYENV_ROOT}/plugins/pyenv-virtualenv"  "master"

if ! command -v pyenv 1>/dev/null; then
  { echo
    colorize 1 "WARNING"
    echo ": seems you still have not added 'pyenv' to the load path."
    echo
  } >&2

  { # Without args, `init` commands print installation help
    "${PYENV_ROOT}/bin/pyenv" init || true
    "${PYENV_ROOT}/bin/pyenv" virtualenv-init || true
  } >&2
fi
$ bash pyenv-installer.sh
最后执行完这个脚本,提示将pyenv加入到环境变量:
......
export PYENV_ROOT="$HOME/.pyenv"
command -v pyenv >/dev/null || export PATH="$PYENV_ROOT/bin:$PATH"
eval "$(pyenv init -)"

# Restart your shell for the changes to take effect.

# Load pyenv-virtualenv automatically by adding
# the following to ~/.bashrc:

eval "$(pyenv virtualenv-init -)"
将如下命令写到python用户的~/.bashrc中使环境变量生效:
export PYENV_ROOT="$HOME/.pyenv"
command -v pyenv >/dev/null || export PATH="$PYENV_ROOT/bin:$PATH"
eval "$(pyenv init -)"

$ source ~/.bashrc
查看可以安装的版本:
$ pyenv install -l
......
3.6.5
3.6.6
3.6.7
3.6.8
3.6.9
......
缓存文件:
由于连接国外网站速度太慢,可以先下载好将要安装的python版本的安装包,直接放置在~/.pyenv/cache目录下,再进行安装。此cache目录不存在,请自行创建
下载相应版本的python软代码包地址 :https://www.python.org/downloads/source/
 $ cd .pyenv/
[python@python .pyenv]$ pwd
/home/python/.pyenv
[python@python .pyenv]$ mkdir cache

[python@python cache]$ pwd
/home/python/.pyenv/cache
[python@python cache]$ ls
Python-3.6.9.tar.xz
安装python多版本:
$ pyenv install -l
$ pyenv install 3.6.9 -vvv
$ pyenv install 3.8.0 -vvv
$ pyenv uninstall 3.8.0

pyenv version 当前python版本,system表示当前操作系统使用的版本
pyenv versions 查看所有已经安装的版本,*星号表示当前版本
* system (set by /home/python/.pyenv/version)
  3.6.9
安装完整最后的输出:
......
Collecting setuptools
Collecting pip
Installing collected packages: setuptools, pip
Successfully installed pip-18.1 setuptools-40.6.2
Installed Python-3.6.9 to /home/python/.pyenv/versions/3.6.9
/tmp/python-build.20230404092406.18776 ~
$ ll .pyenv/versions/
total 8
drwxr-xr-x 6 python python 4096 Apr  4 09:25 3.6.9
drwxr-xr-x 6 python python 4096 Apr  4 09:46 3.8.0
以后更新pyenv可以使用:
pyenv update
创建虚拟python空间:
由于不同的项目,需要使用不同的python版本,或者使用同版本python但使用不同版本库,很难将他们部署在一起,所以需要使用不同的虚拟环境隔离部署。
使用pyenv local命令建立一个目录和一个python版本或虚拟版本之间的关联,该目录的子孙目录默认也继承这个版本。每个空间安装的服务只在各自的空间生效。
在python3.6.9下创建虚拟空间,别名为py369
$ pyenv virtualenv 3.6.9 py369
$ pyenv versions
* system (set by /home/python/.pyenv/version)
  3.6.9
  3.6.9/envs/py369	在python3.6.9下创建的虚拟空间
  3.8.0
  py369	别名为py369
$ mkdir -pv project/web369
$ pwd
  /home/python/project/web369
$ pyenv local py369
$ pyenv versions
  system
  3.6.9
  3.6.9/envs/py369
  3.8.0
* py369 --> /home/python/.pyenv/versions/3.6.9/envs/py369 (set by /home/python/project/web369/.python-version)

$ python -V
Python 3.6.9

$ ls -a
.  ..  .python-version
$ cat .python-version
py369
再进入到其他目录查看使用的python版本:
$ cd ..
$ pyenv versions
* system (set by /home/python/.pyenv/version)
  3.6.9
  3.6.9/envs/py369
  3.8.0
  py369

$ python -V
Python 2.7.5
pip通用配置:
windows配置文件:~/pip/pip.ini,windows家目录,在“运行”中输入.
linux配置文件:~/.pip/pip.conf
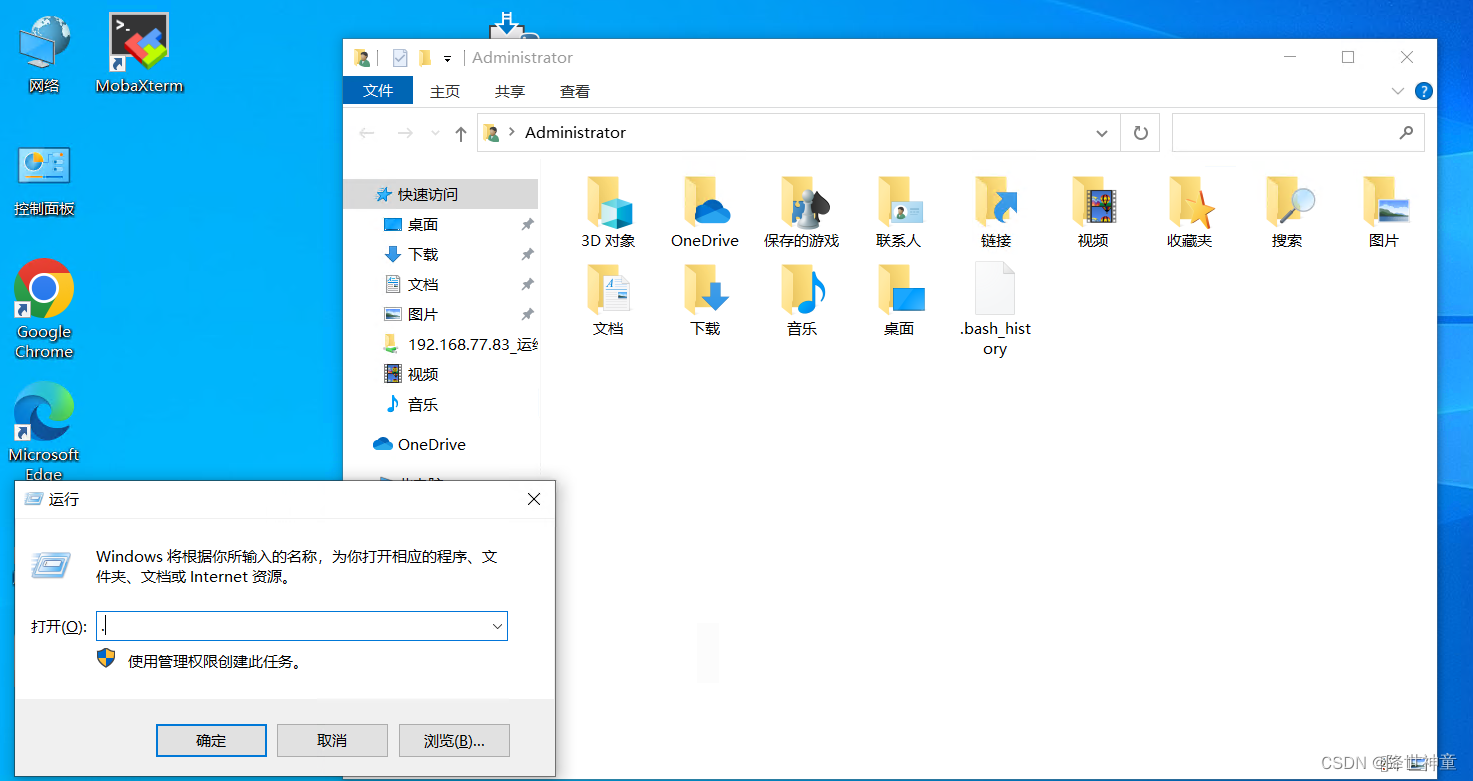
新建一个pip文件夹:
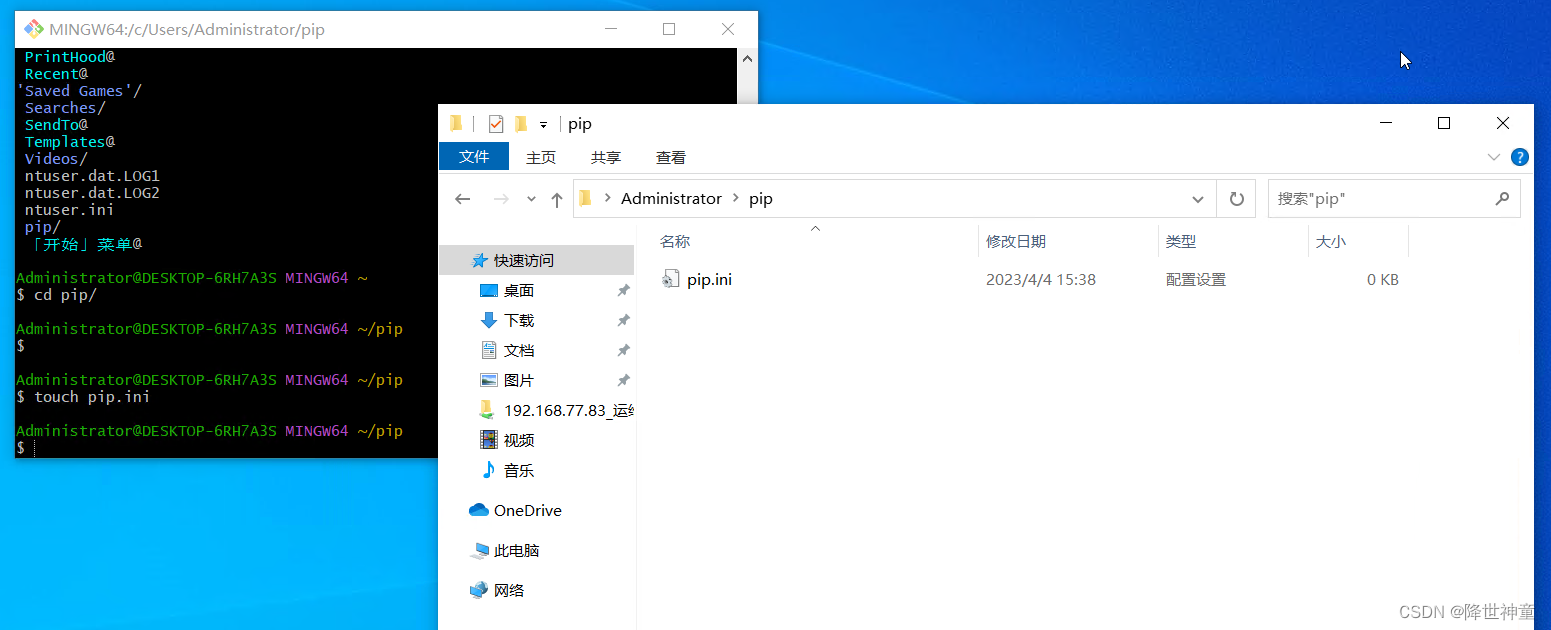
在pip.ini文件中添加如下内容,内容参考https://developer.aliyun.com/mirror/的pypi帮助:
[global]
index-url = https://mirrors.aliyun.com/pypi/simple/

[install]
trusted-host=mirrors.aliyun.com


 748
748


 被折叠的 条评论
为什么被折叠?
被折叠的 条评论
为什么被折叠?
 到【灌水乐园】发言


