


通过Idea创建SpringBoot有以下三种方式
1、通过官网下载对应包导入到idea中
2、通过idea的脚手架创建
3、创建后自己添加依赖
对于初学者我们采用第三种方式创建比较简单明了
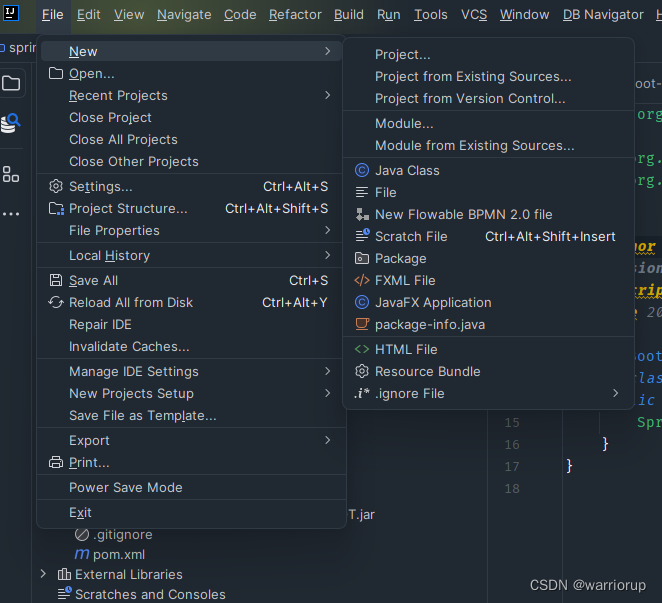
1、通过idea创建project
2、填写名称,点击create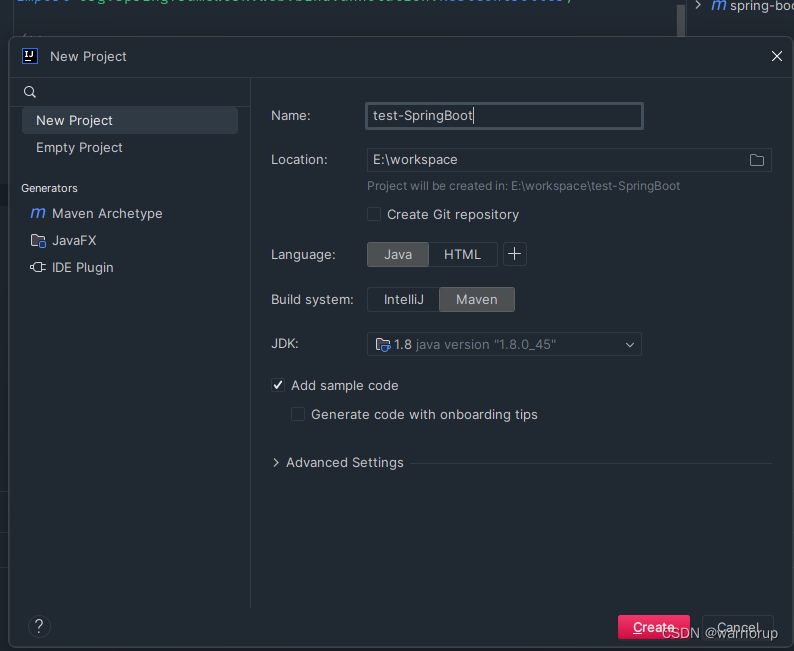
3、在pom.xml中添加依赖
<!--添加spring-boot-starter依赖-->
<dependencies>
<dependency>
    <groupId>org.springframework.boot</groupId>
    <artifactId>spring-boot-starter-web</artifactId>
    <version>2.7.0</version>
</dependency>
</dependencies>
4、创建类,名字自己起一个就行
package org.example;
import org.springframework.boot.SpringApplication;
import org.springframework.boot.autoconfigure.SpringBootApplication;

/**
 * @author
 * @version 10.15
 * @description: TODO
 * @date 2024/4/26 10:50
 */
@SpringBootApplication
public class SpringBootAopApplication {
    public static void main(String[] args) {
        SpringApplication.run(SpringBootAopApplication.class,args);
    }
}
5、启动项目即可,springboot的web项目创建完成

6、创建一个controller访问试试
package org.example;

import org.springframework.web.bind.annotation.GetMapping;
import org.springframework.web.bind.annotation.RequestMapping;
import org.springframework.web.bind.annotation.RestController;

@RequestMapping("/aop")
@RestController
public class HelloSpringBoot {
    @GetMapping("/add")
    public Integer add(Integer a,Integer b){
        System.out.println(a+"-"+b);
        return a+b;
    }
}
7、通过前台页面访问
http://localhost:8080/aop/add?a=1&b=2


 7997
7997

 被折叠的 条评论
为什么被折叠?
被折叠的 条评论
为什么被折叠?
 到【灌水乐园】发言


