


当我们通过ip+端口用浏览器访问时候,是访问了控制器app/Controller/IndexController.php/index
它是由config/routes.php配置的

现在,我们新建一个控制器访问试试吧!
但是,传统路由配置就不用讲了吧,一看就懂。
所以,我们用注解来配置路由。
注解是什么?
你就理解为是在控制器里面配置路由的一种方法。
@AutoController 注解,自动生成路由
在app/Controller/新建一个UserController.php
<?php
declare(strict_types=1); // php严格模式
namespace App\Controller;
use Hyperf\HttpServer\Contract\RequestInterface; // 接收请求
use Hyperf\HttpServer\Annotation\AutoController; // 自动路由
/**
* 下面的注释不能去掉,它是有作用的,也就是注解
* @AutoController()
*/
class UserController
{
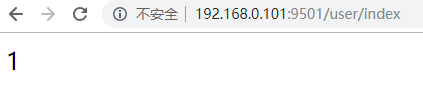
// Hyperf 会自动为此方法生成一个 /user/index 的路由,允许通过 GET 或 POST 方式请求
public function index(RequestInterface $request)
{
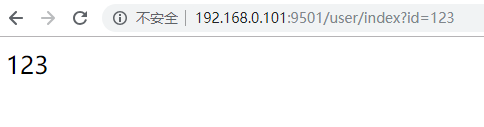
// 从请求中获得 id 参数
$id = $request->input('id', 1);
return (string)$id;
}
}
重启hyperf服务

@Controller 注解,配置路由
还是在UserController.php里,覆盖代码
<?php
declare(strict_types=1);

namespace App\Controller;

use Hyperf\HttpServer\Contract\RequestInterface;
use Hyperf\HttpServer\Annotation\Controller;
use Hyperf\HttpServer\Annotation\RequestMapping;

/**
 * @Controller()
 */
class UserController
{
    // Hyperf 会自动为此方法生成一个 /user/index 的路由,允许通过 GET 或 POST 方式请求
    /**
     * @RequestMapping(path="index", methods="get,post")
     */
    public function index(RequestInterface $request)
    {
        // 从请求中获得 id 参数
        $id = $request->input('id', 1);
        return (string)$id;
    }
}
记得修改了代码后要重启服务哦!
必须的
/**
 * @Controller()
 */
/**
  * @RequestMapping(path="index", methods="get,post")
  */
@Controller()表明这是控制器
@RequestMapping是配置项,我们可以修改path,把index改成index2,再进行访问
重启服务
你会发现,index访问不了了,而index2可以访问。
甚至你还可以这样改
/**
  * @RequestMapping(path="/abc/index2", methods="get,post")
  */
重启服务
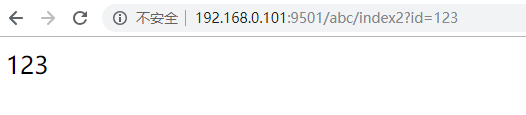
path以 / 开头时,表示从根目录开始,你想配置成什么就什么。
methods是允许的请求类型。


 697
697


 被折叠的 条评论
为什么被折叠?
被折叠的 条评论
为什么被折叠?
 到【灌水乐园】发言


