


 本文深入讲解Adobe XD中的自动动画功能,介绍如何运用缓动和定时属性创造流畅的动画效果,通过实例演示创建动画复选框的过程。
adobe xd
Welcome to part 2 of my tutorial series on the Auto-Animate feature in Adobe XD! In the first article in this series, we went through some of the most basic of features in XD, working our way into animating a small square. If you haven’t read that yet, and have little experience in XD or with the auto-animate feature, you can read that article here.
欢迎来到我的教程系列的第2部分,它是关于Adobe XD中自动动画功能的! 在本系列的第一篇文章中,我们介绍了XD中一些最基本的功能,并逐步制作了一个小正方形的动画。 如果您尚未阅读该文章,并且对XD或自动动画功能的了解很少,则可以在此处阅读该文章。
In that article, we learned a few key things about Auto-Animate:
在那篇文章中,我们了解了有关自动动画的一些关键知识:
- It looks for differences between two artboards, and animates between those changes. 它寻找两个画板之间的差异,并对这些变化进行动画处理。
- For a layer to animate, it’s name must be the same on both artboards. This includes but is not limited to groups and components. 要使图层动起来,两个画板上的名称必须相同。 这包括但不限于组和组件。
- Each element within a group or component can be animated separately (This is because Auto-Animate sees the changes to each element within the group independently). 组或组件中的每个元素都可以单独设置动画(这是因为“自动动画”可以独立查看组中每个元素的更改)。
Knowing these 3 basic principles, we can start expanding our animations to do some more interesting things. But before we start creating more animations, I want to go over some more of the properties available within auto-animate, namely, easing and timing. These properties can create an entirely different feel from a relatively basic animation, so let’s get started!
了解了这三个基本原理后,我们就可以开始扩展动画以做一些更有趣的事情。 但是在开始创建更多动画之前,我想回顾一下自动动画中可用的更多属性,即缓动和定时。 这些属性可以创建与相对基本的动画完全不同的感觉,所以让我们开始吧!
第1部分:轻松 (Part 1: Easing)
In the real world, motion is not instant. Things take time to accelerate and decelerate. For example a car doesn’t just go instantly from 0 to 60, it takes time. This is where easing animations comes in. We use this so that animations don’t feel jarring or unnatural to the user.
在现实世界中,运动不是瞬间的。 事情需要时间来加速和减速。 例如,一辆汽车不仅会立即从0行驶到60,还需要时间。 这是放宽动画的地方。我们使用它是为了使动画不会对用户造成刺激或不自然。
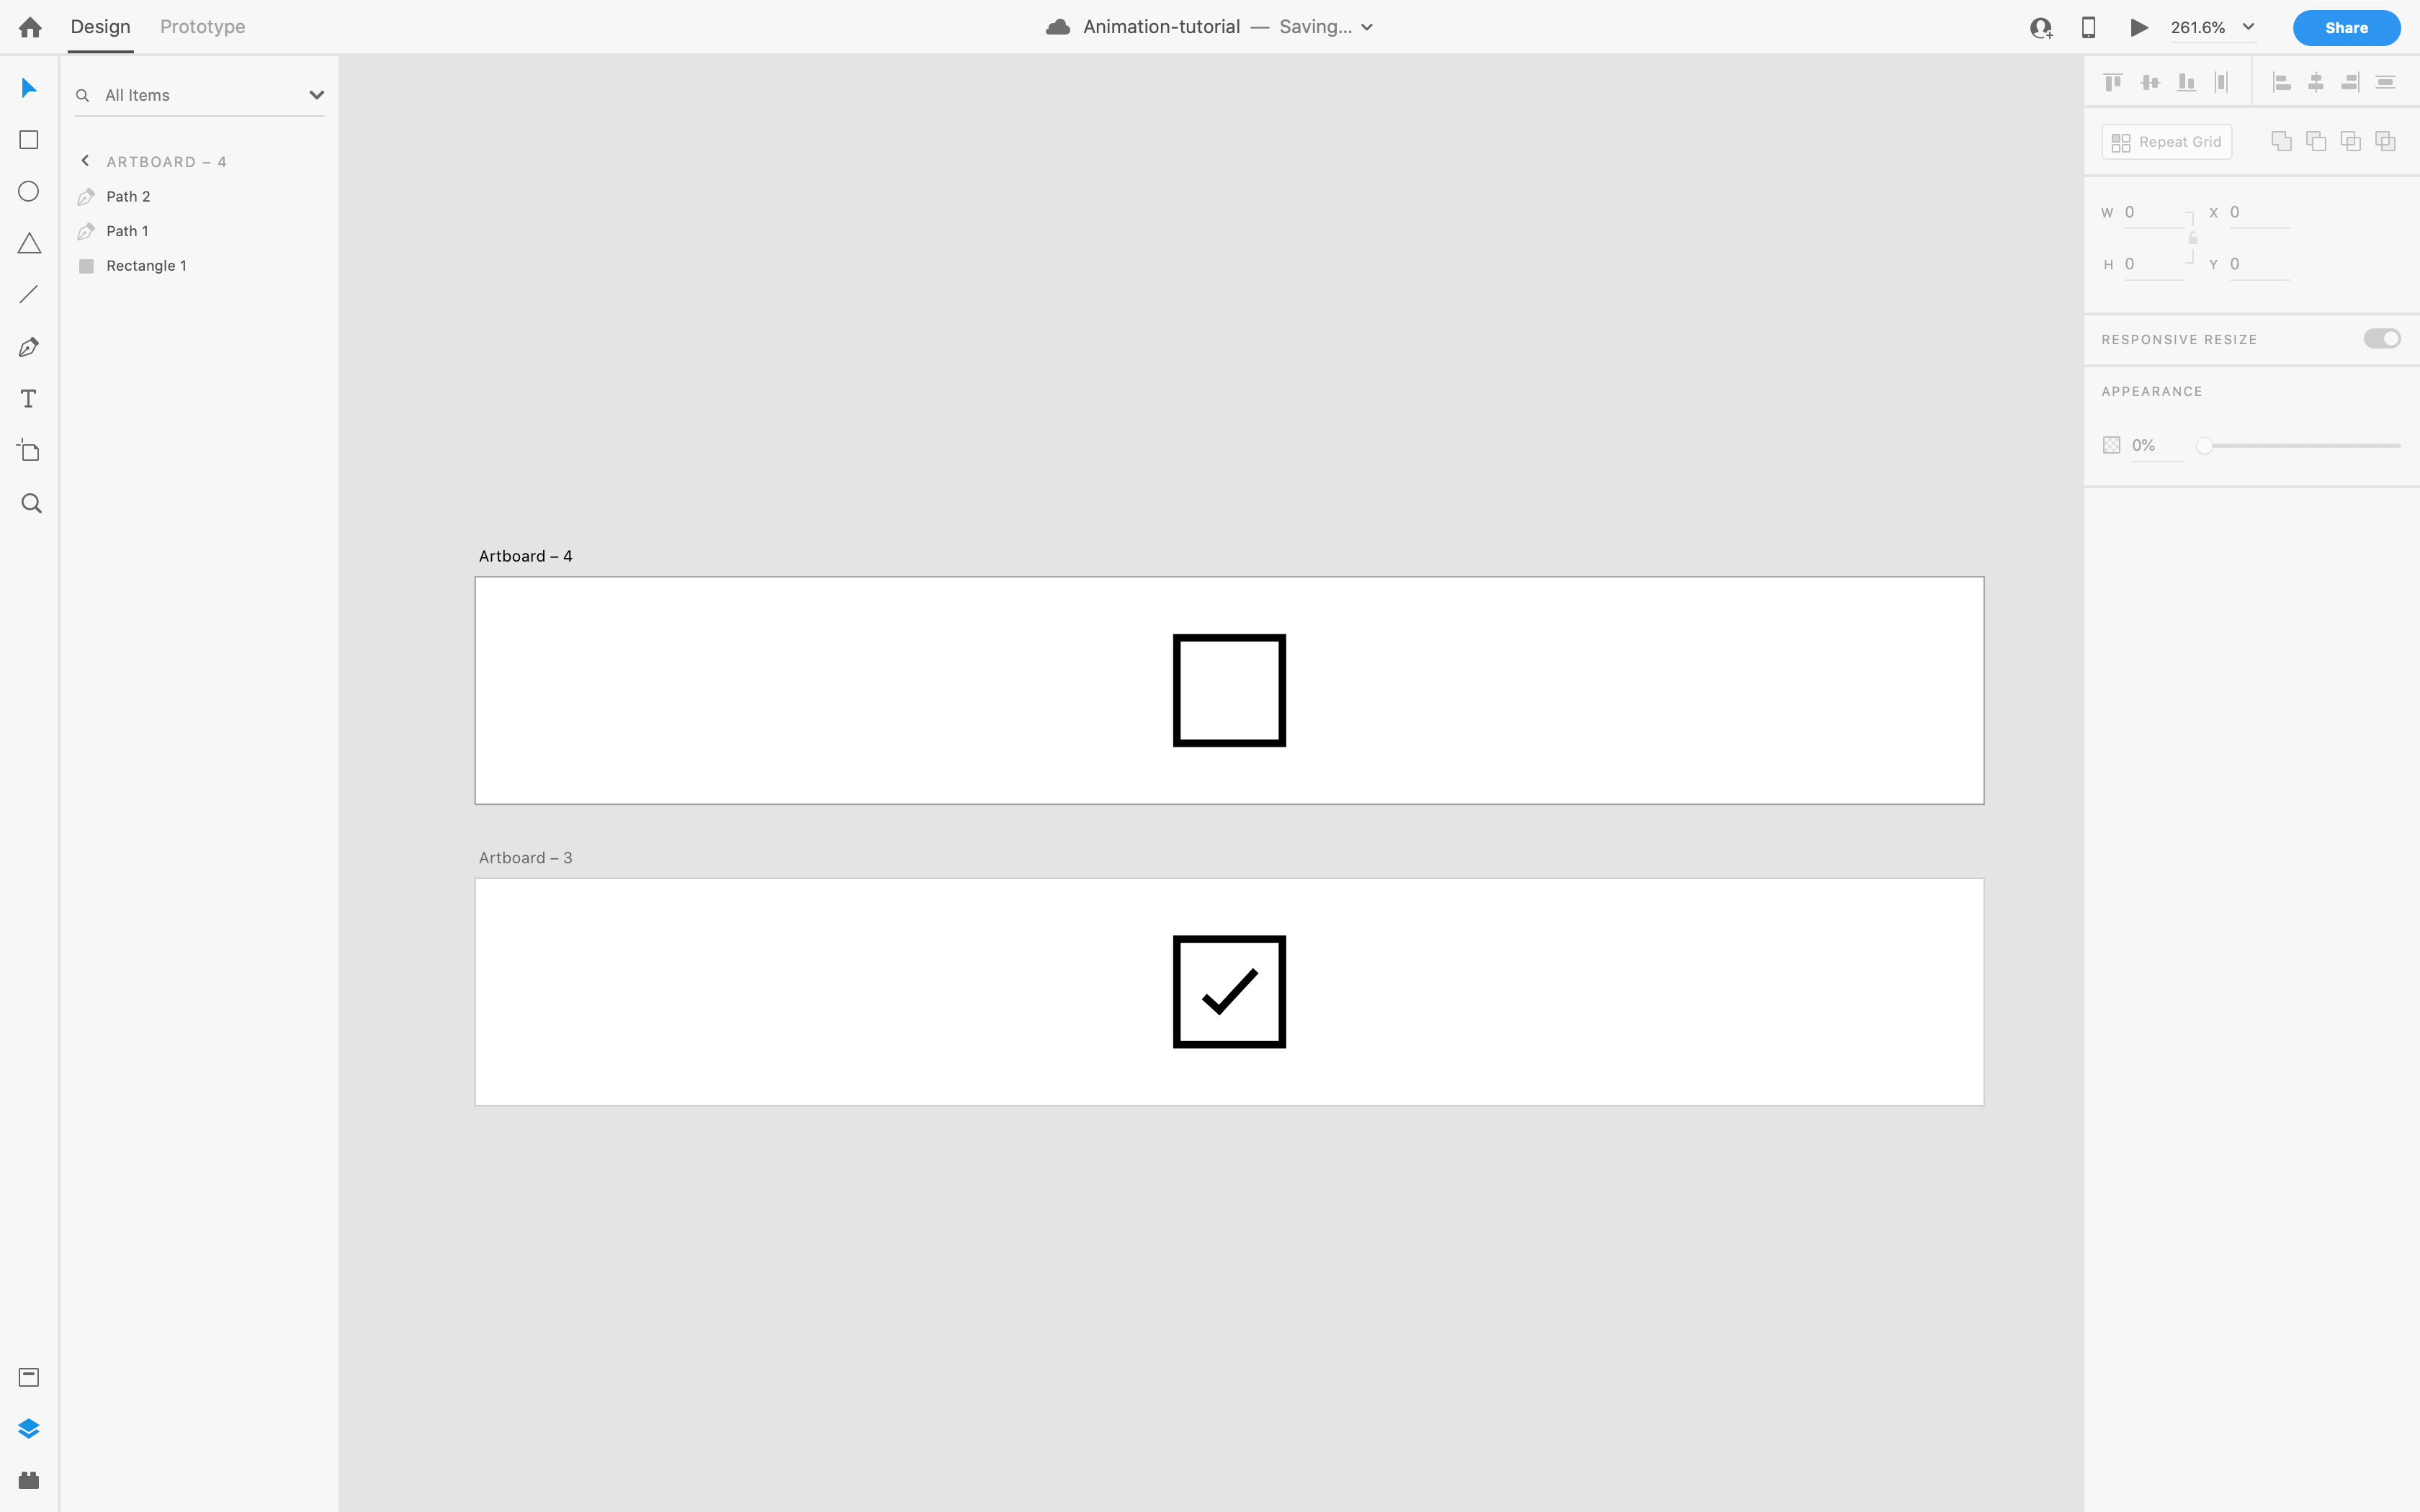
Let’s start with our file from the previous article, and we will apply some easing to our little box. Here’s where we left off last time:
让我们从上一篇文章中的文件开始,我们将对我们的小盒子应用一些缓动。 这是我们上次中断的地方:
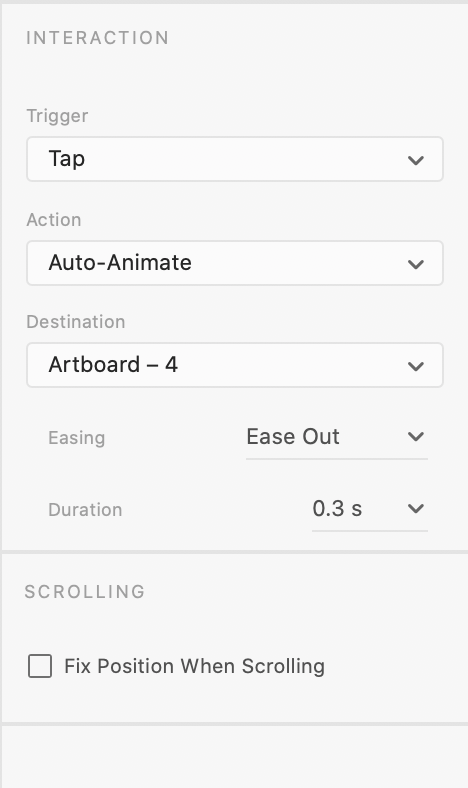
If you take a look in the properties panel to the right, you will see a few options. We will talk about the trigger more in future tutorials, but for now let’s focus on Easing.
如果您在右侧的属性面板中查看,将会看到一些选项。 在以后的教程中,我们将更多地讨论触发器,但是现在让我们专注于缓动。
If you click on the Easing property, you will see quite a few options here. Let me explain the basic principle of each:
如果单击“缓动”属性,您将在此处看到很多选项。 让我解释一下每个的基本原理:
- Ease Out: This means that the object will instantly move at top speed, only slowing down as it reaches the end of its animation. 缓出:这意味着对象将立即以最快的速度移动,直到到达动画结束时才减速。
- Ease In: Exactly the opposite of Ease Out. It accelerates from 0 to top speed, and then stops abruptly back to 0 at the end of the animation. 缓入:与缓入正好相反。 它从0加速到最高速度,然后在动画结束时突然停止回到0。
- Ease In-Out: The most basic, realistic of animation easing. It accelerates from 0 to its top speed, and the slows back down to the end of the animation. This creates a nice, smooth animation. 缓入缓出:最基本,最逼真的动画缓动。 它从0加速到最高速度,然后减速回到动画结束。 这将创建一个流畅的动画。
- Snap: This one is interesting. Instant top speed, moves slightly beyond its final position, then goes backwards to the ending point of the animation. Snap:这个很有趣。 瞬时最高速度,略微超出其最终位置,然后向后移动到动画的终点。
- Wind Up: Same as snap, but in reverse. The object moves slightly backward, before moving at top speed to its final stopping point. 结束:与捕捉相同,但相反。 在以最高速度移动到其最终停止点之前,对象会稍微向后移动。
- Bounce: Exactly what it sounds like. The object moves at top speed to its stopping point, the “bouncing” back a little before actually stopping. 弹跳:听起来确实一样。 物体以最快的速度移动到其停止点,然后在实际停止之前“弹跳”回一点。
While some of these are not as smooth as others, they all provide a sense of “normal” movement to the user. Something that’s predictable and looks nice. Keep in mind though, certain easing properties look better in certain circumstances. For now, try each of those easing options on your box, and see just how the effect looks, and try to get a feel for exactly what each one does. Once you’ve done that, we will use what we have seen to create an animated check-box.
尽管其中一些不如其他平滑,但它们都为用户提供了“正常”运动的感觉。 可以预见并且看起来不错的东西。 但是请记住,某些缓和属性在某些情况下看起来更好。 现在,尝试使用盒子上的每个缓动选项,看看效果如何,然后试一试每个选项的效果。 完成此操作后,我们将使用我们看到的内容创建一个动画复选框。
第2部分:创建我们的复选框 (Part 2: Creating our check-box)
The following part of this tutorial assumes a basic knowledge level of creating elements in XD using the shape tools (box, circle, line, etc.)
本教程的以下部分假定您具有使用形状工具(框,圆,线等)在XD中创建元素的基本知识水平。
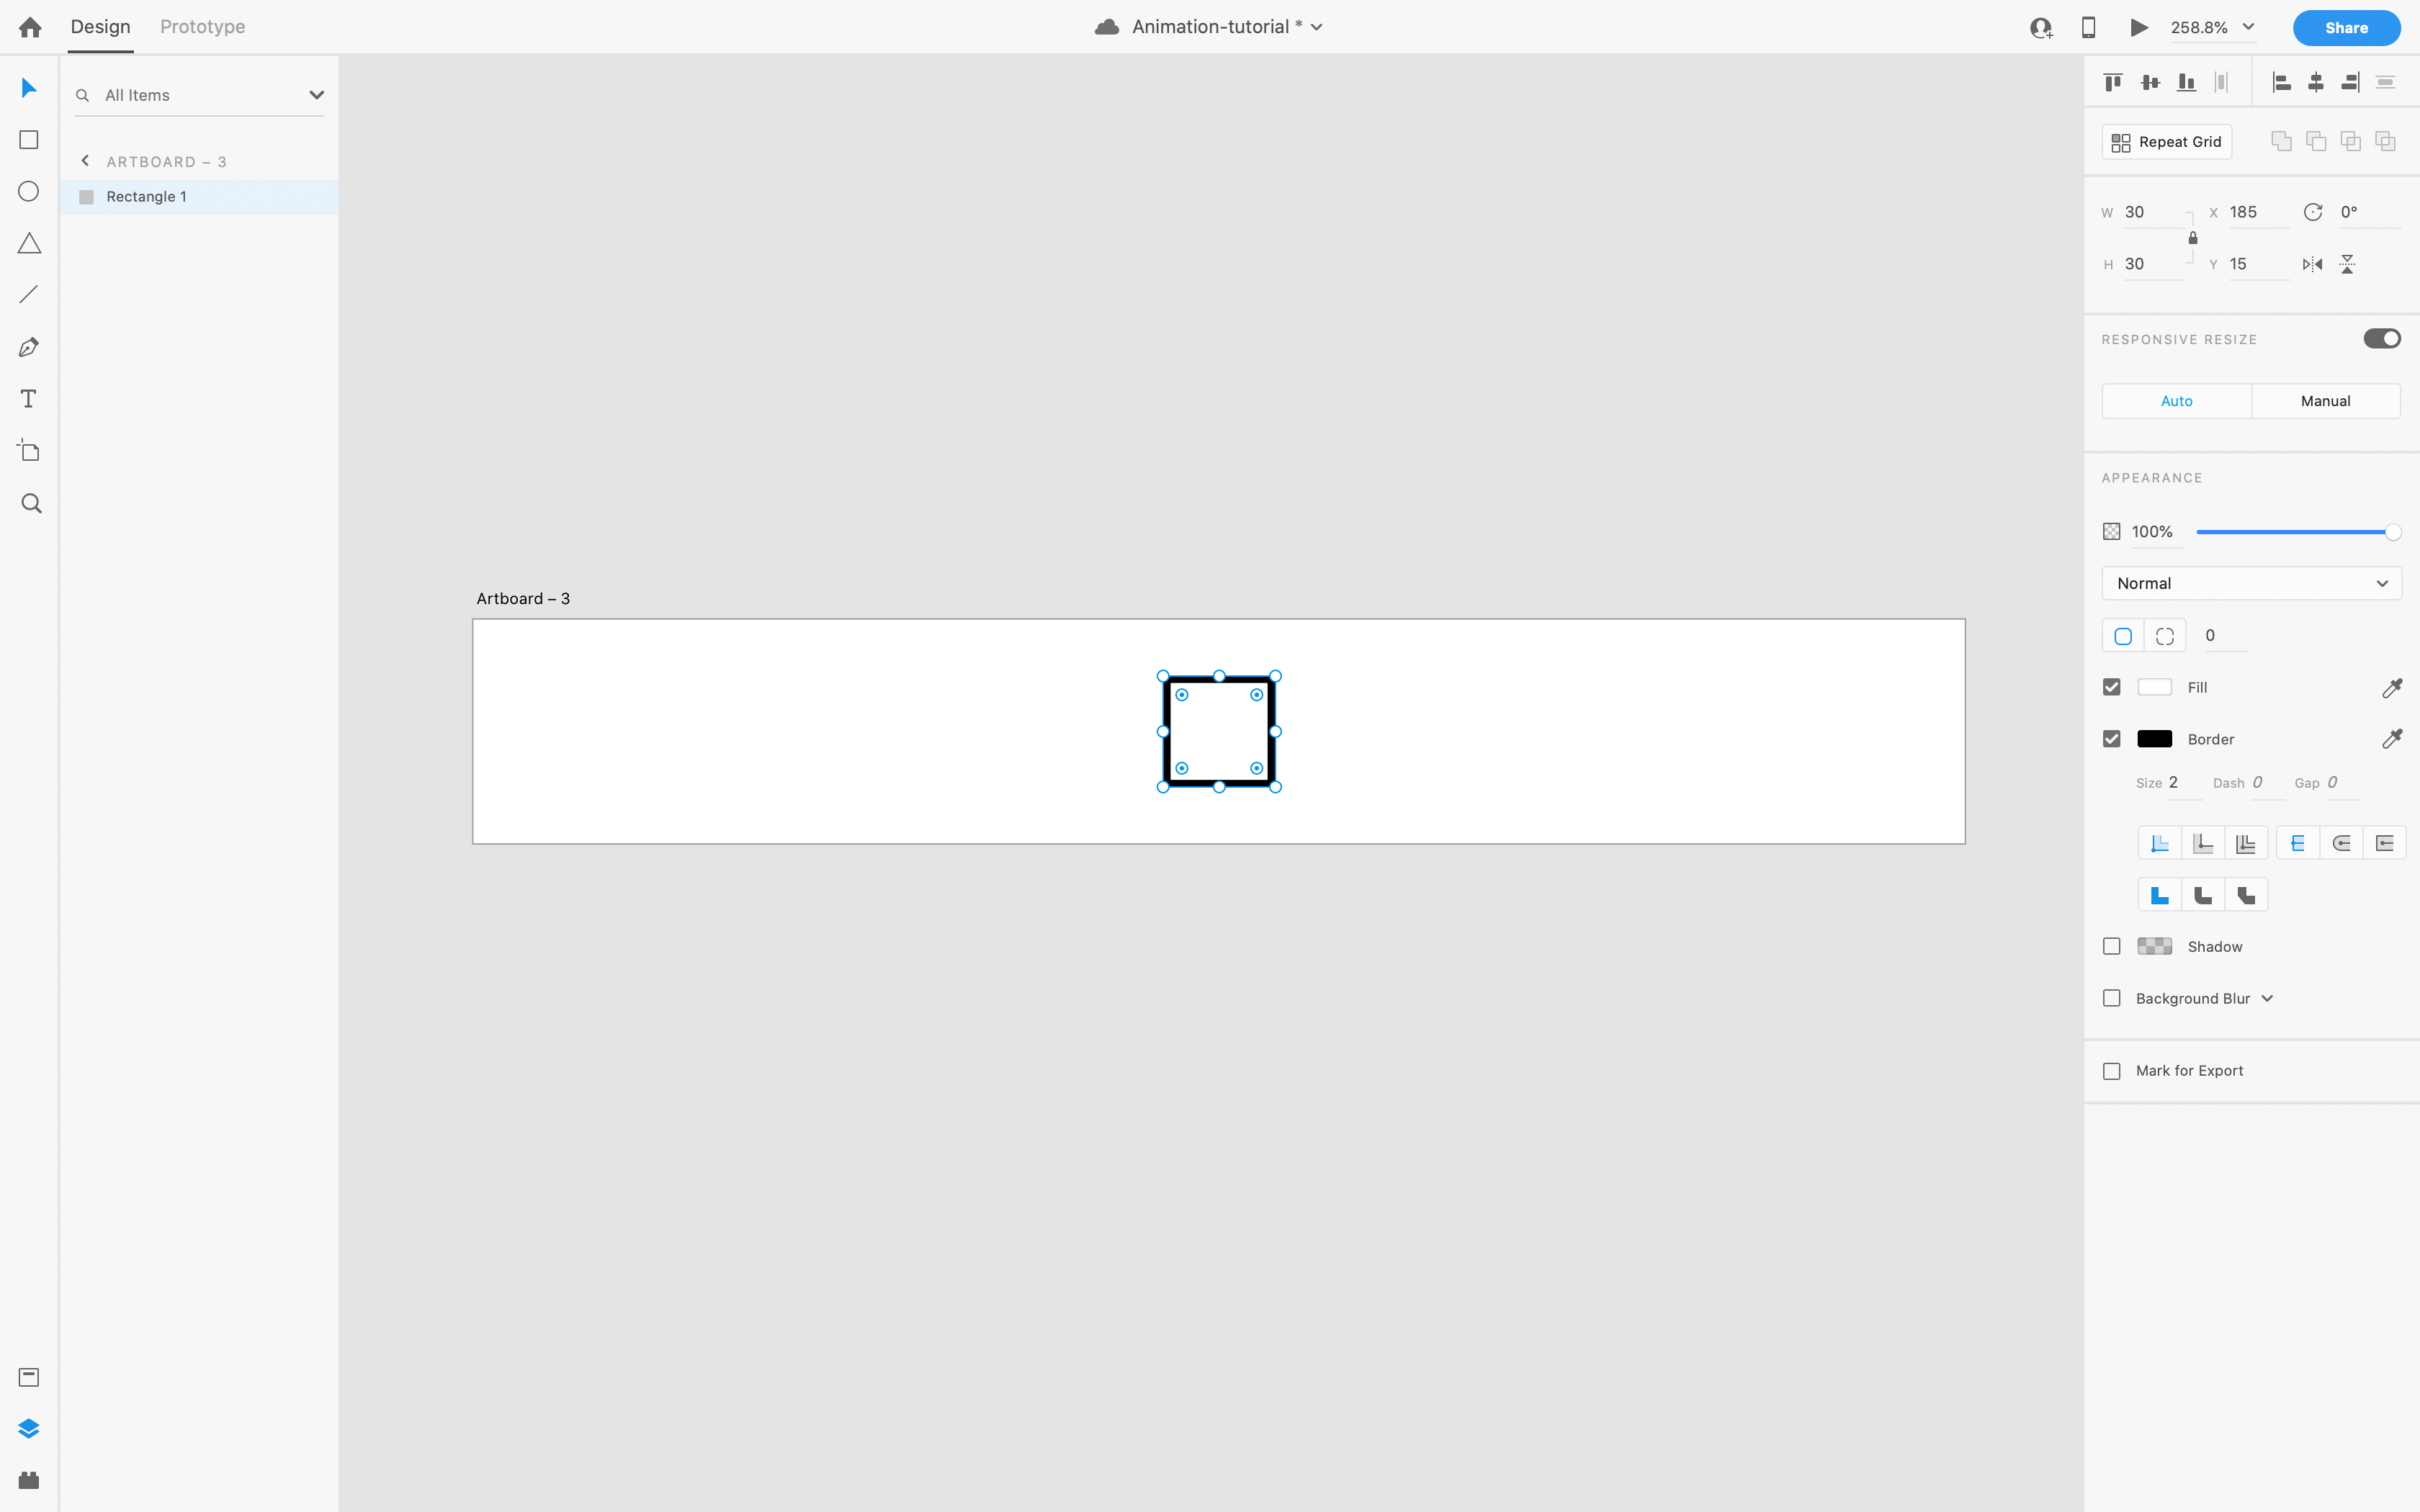
Let’s start by making our artboard little bigger. Go ahead and delete the second artboard we made, so you only have one, with the box centered. I also adjusted that artboard to be taller, 60px in height, and made the box 30px square, with a 2px black border. You should have a screen like this:
让我们开始增加画板的尺寸。 继续并删除我们制作的第二个画板,因此只有一个画板处于居中状态。 我还调整了画板的高度,使其高度为60px,并使该框为30px正方形,带有2px黑色边框。 您应该有一个这样的屏幕:
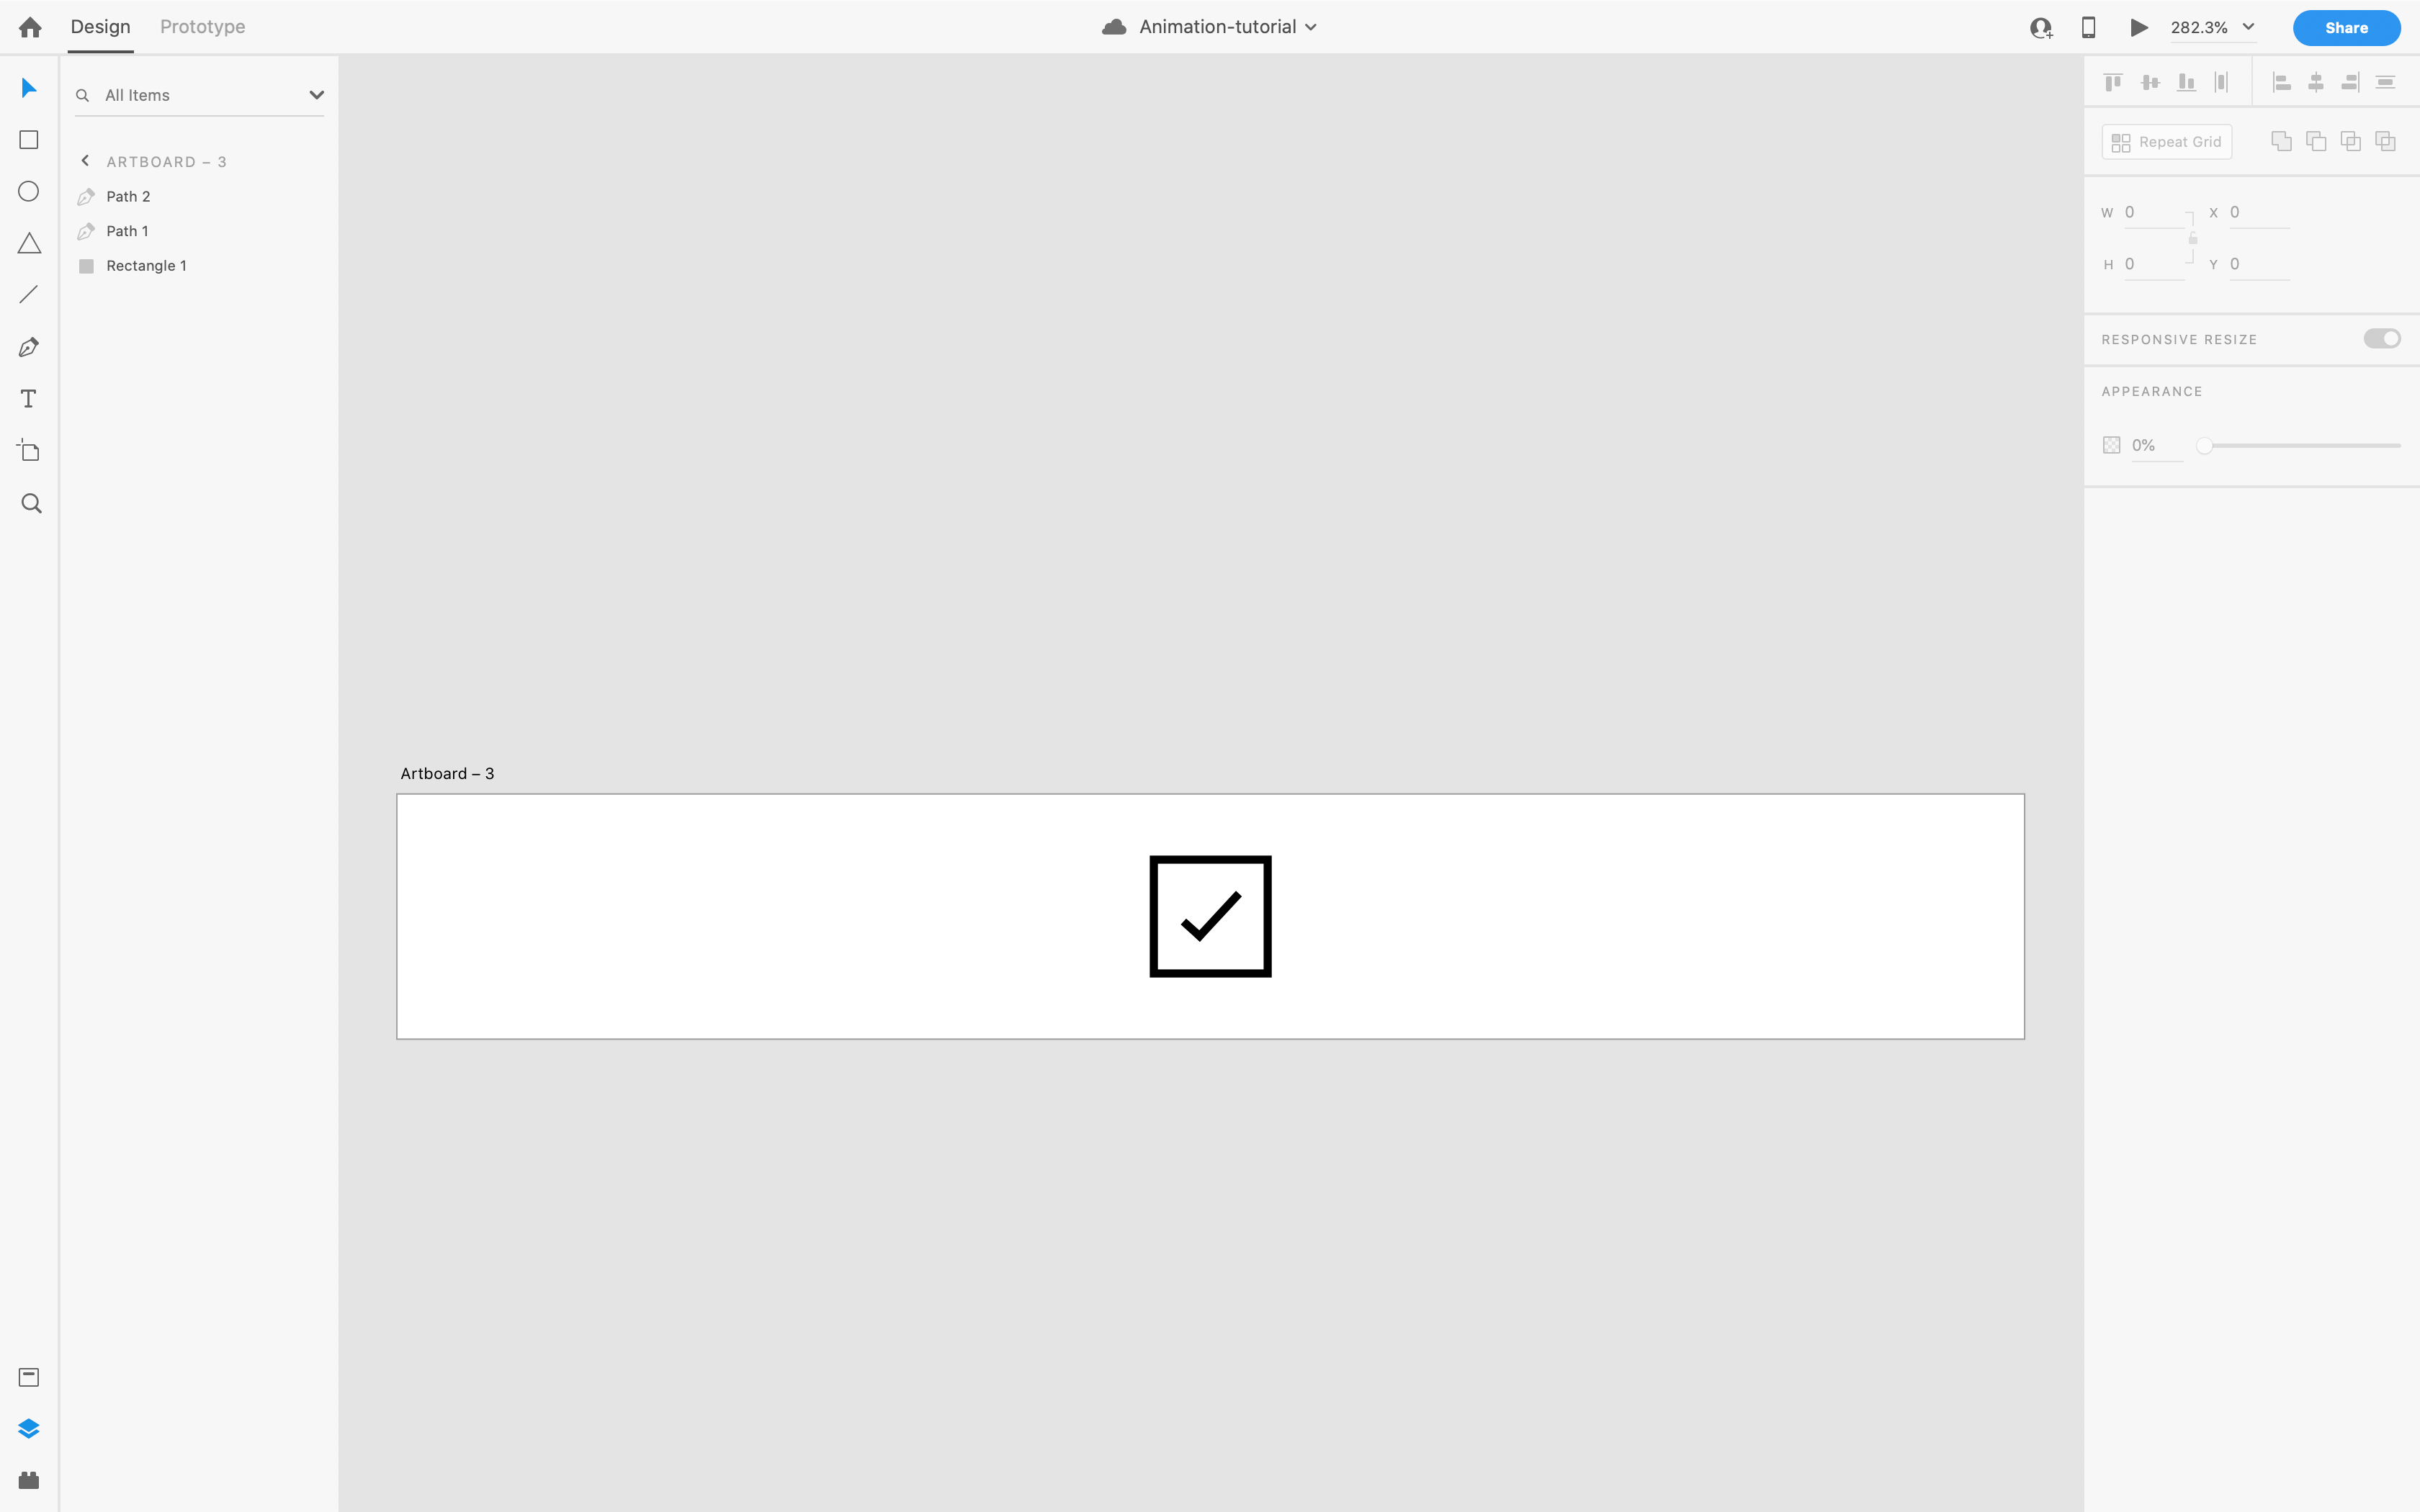
Our next step is to make the “check”. I used the pen tool, and created 2 separate segments, set the border to 2px, black, and carefully lined them up to get the desired result.
我们的下一步是进行“检查”。 我使用了钢笔工具,并创建了2个单独的线段,将边框设置为2px(黑色),并仔细地将它们对齐以获得所需的结果。
If you used the pen tool to make 2 lines, double click on the shorter part first. You will notice you now have just 2 dots, one on each end. You can move these around to adjust the alignment of your lines. Do this with both lines to match them up nicely as shown below:
如果使用钢笔工具划出2条线,请先双击较短的部分。 您会发现您现在只有2个点,每个点一个。 您可以四处移动以调整线条的对齐方式。 用两行来做到这一点,以使其很好地匹配,如下所示:
Now that I have my end state for the animation, I’m going to create my starting state, which will just be the empty box. To do this, I just click on the title of the artboard, hold ctrl/option, and drag upwards. This duplicates my artboard. Now with that copy in place, I’m going to make the check mark invisible, so we can animate it in later.
现在我有了动画的结束状态,我将创建我的开始状态,它将是一个空框。 为此,我只需单击画板的标题,按住ctrl / option,然后向上拖动即可。 这复制了我的画板。 现在,有了该副本,我将使复选标记不可见,以便稍后进行动画处理。
I’m going for a drawing effect, to make it look like someone is writing the check mark in the box. Usually, someone would draw the check mark from the far left, drawing down to the right, and the moving up and to the right to finish the long tail. How do we accomplish this XD? Simple!
我要画图效果,以使其看起来像有人在框中写对勾标记。 通常,有人会从最左边绘制对勾标记,向右向下绘制,然后向上和向右移动以完成长尾巴。 我们如何完成此XD? 简单!
Double click the short line again, and with the handle on the lower right side, shorten the line as far as it will go, and then set the opacity to 0.
再次双击短线,将手柄置于右下角,将其尽可能短地缩短,然后将不透明度设置为0。
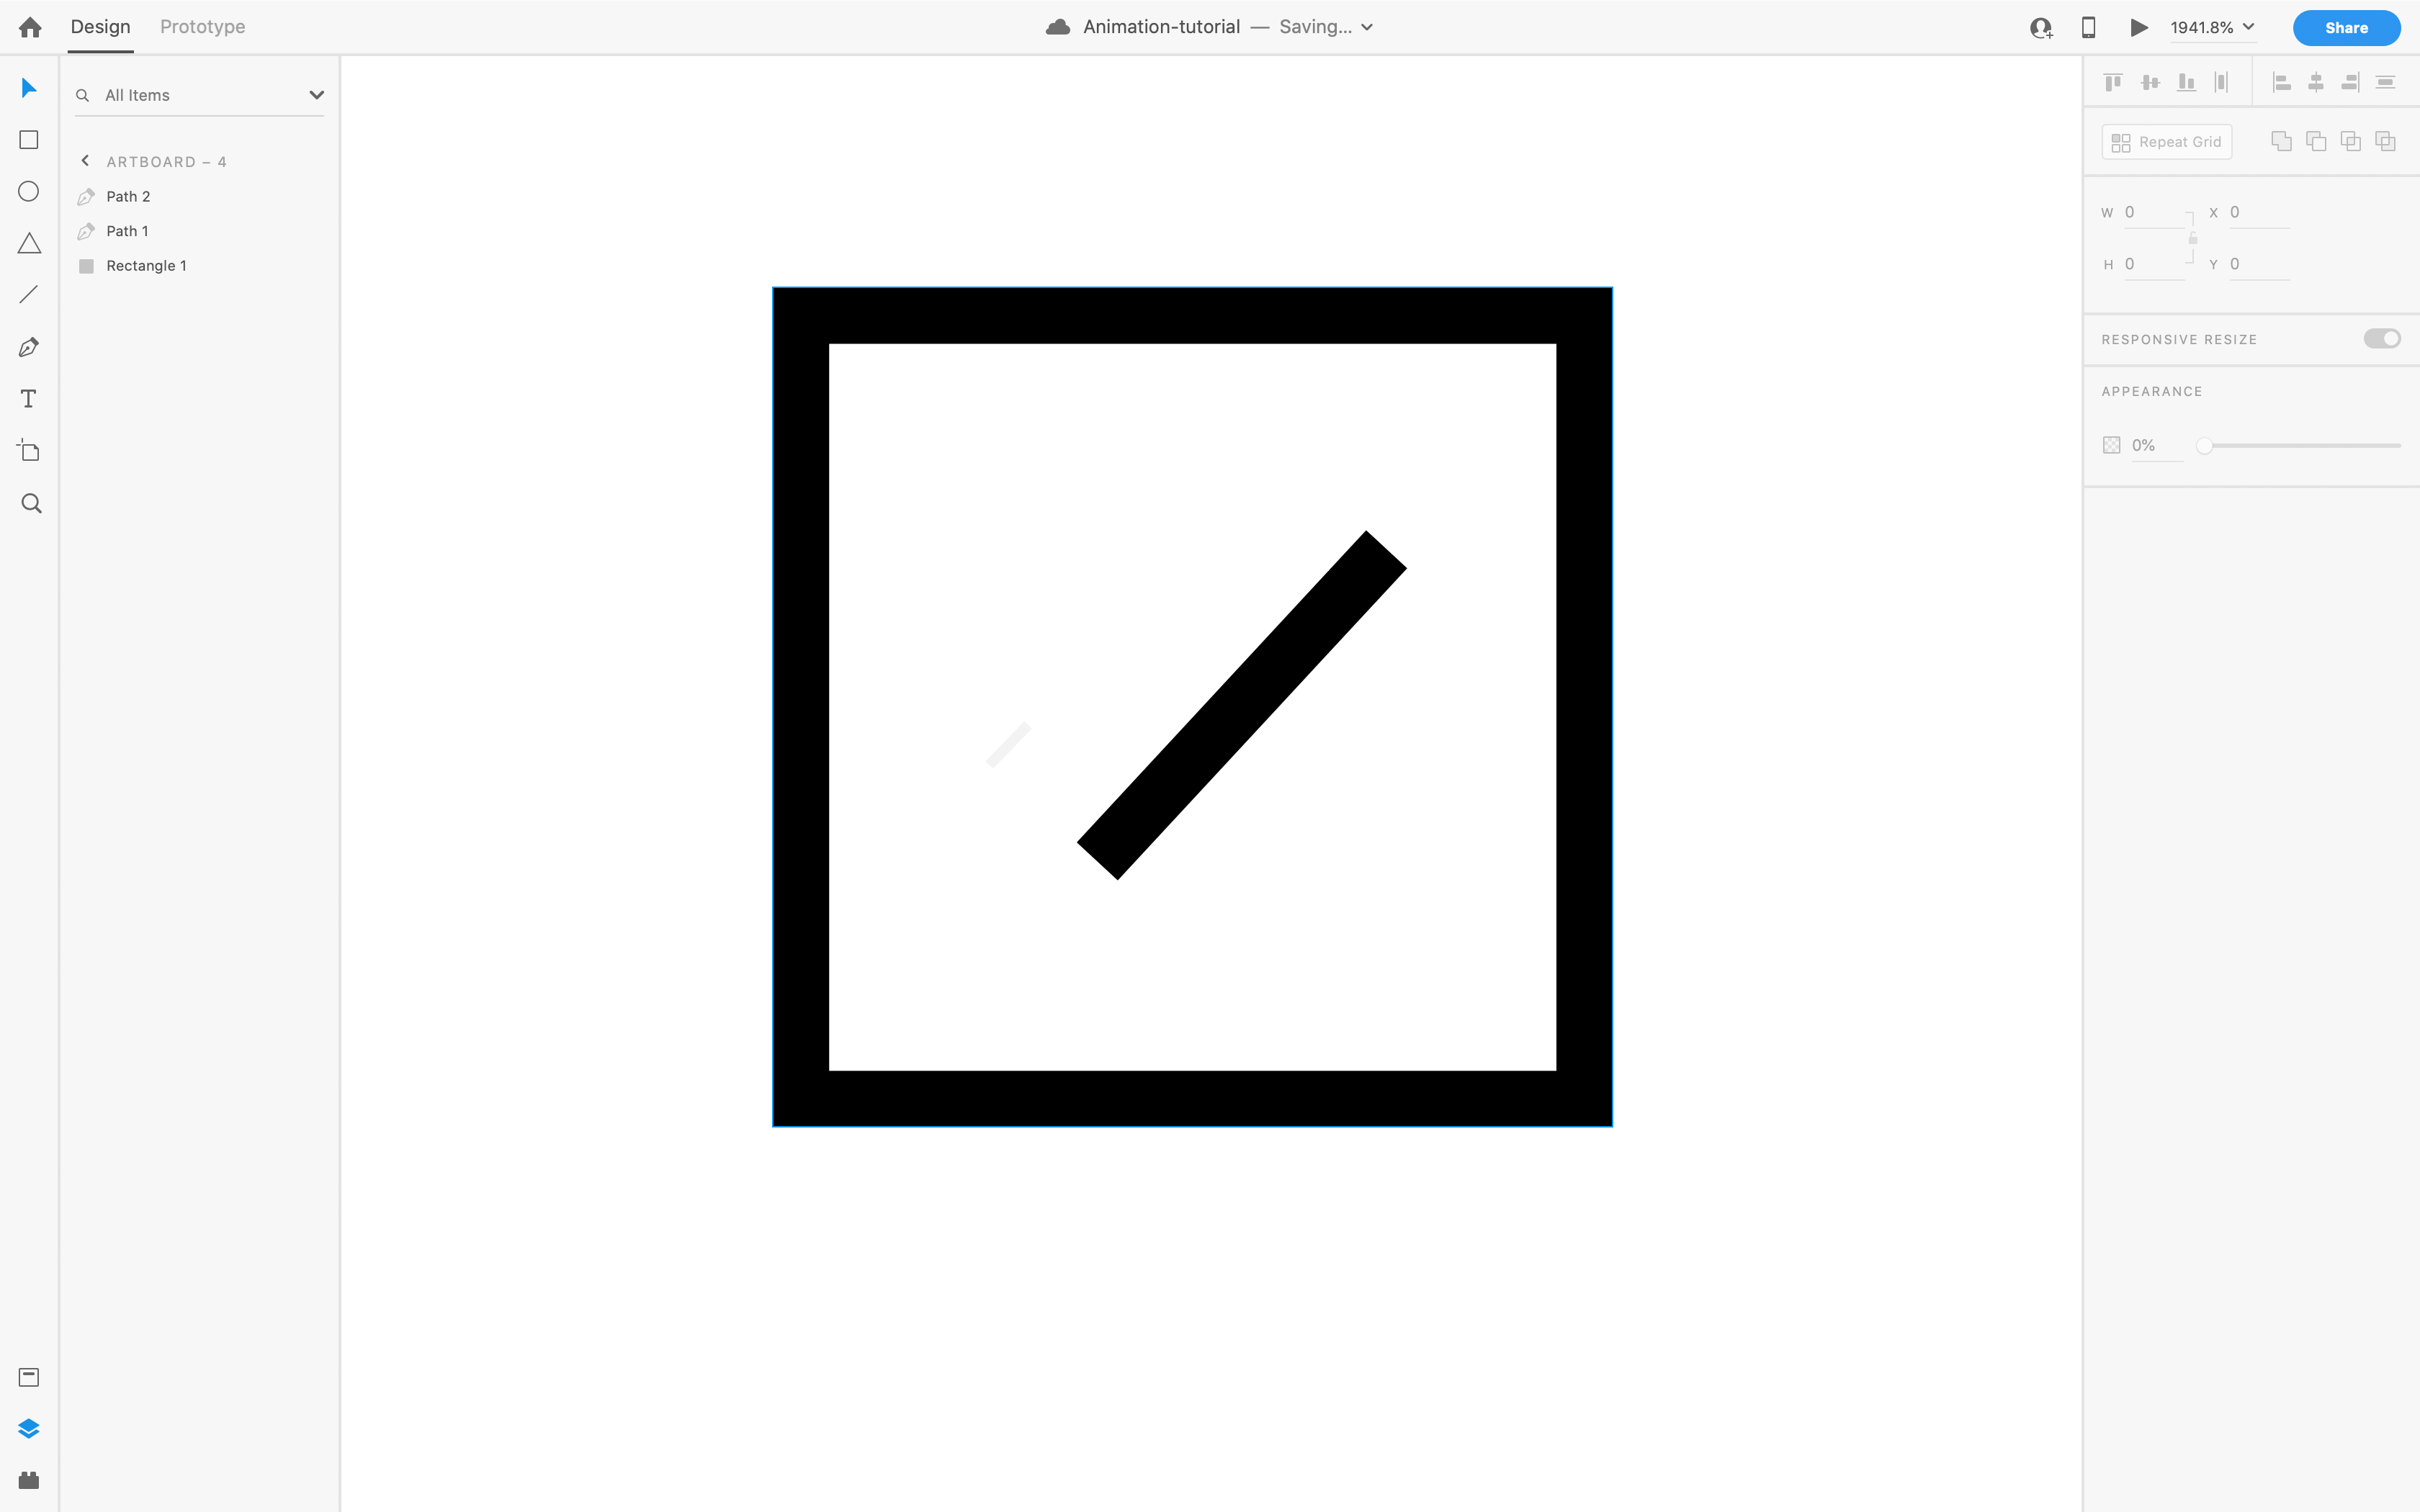
Repeat that process for the long line, shorting it to the lower left, where you would draw it from, and decrease opacity to 0.
对长线重复该过程,将其缩短到左下角(从此处绘制),并将不透明度降低到0。
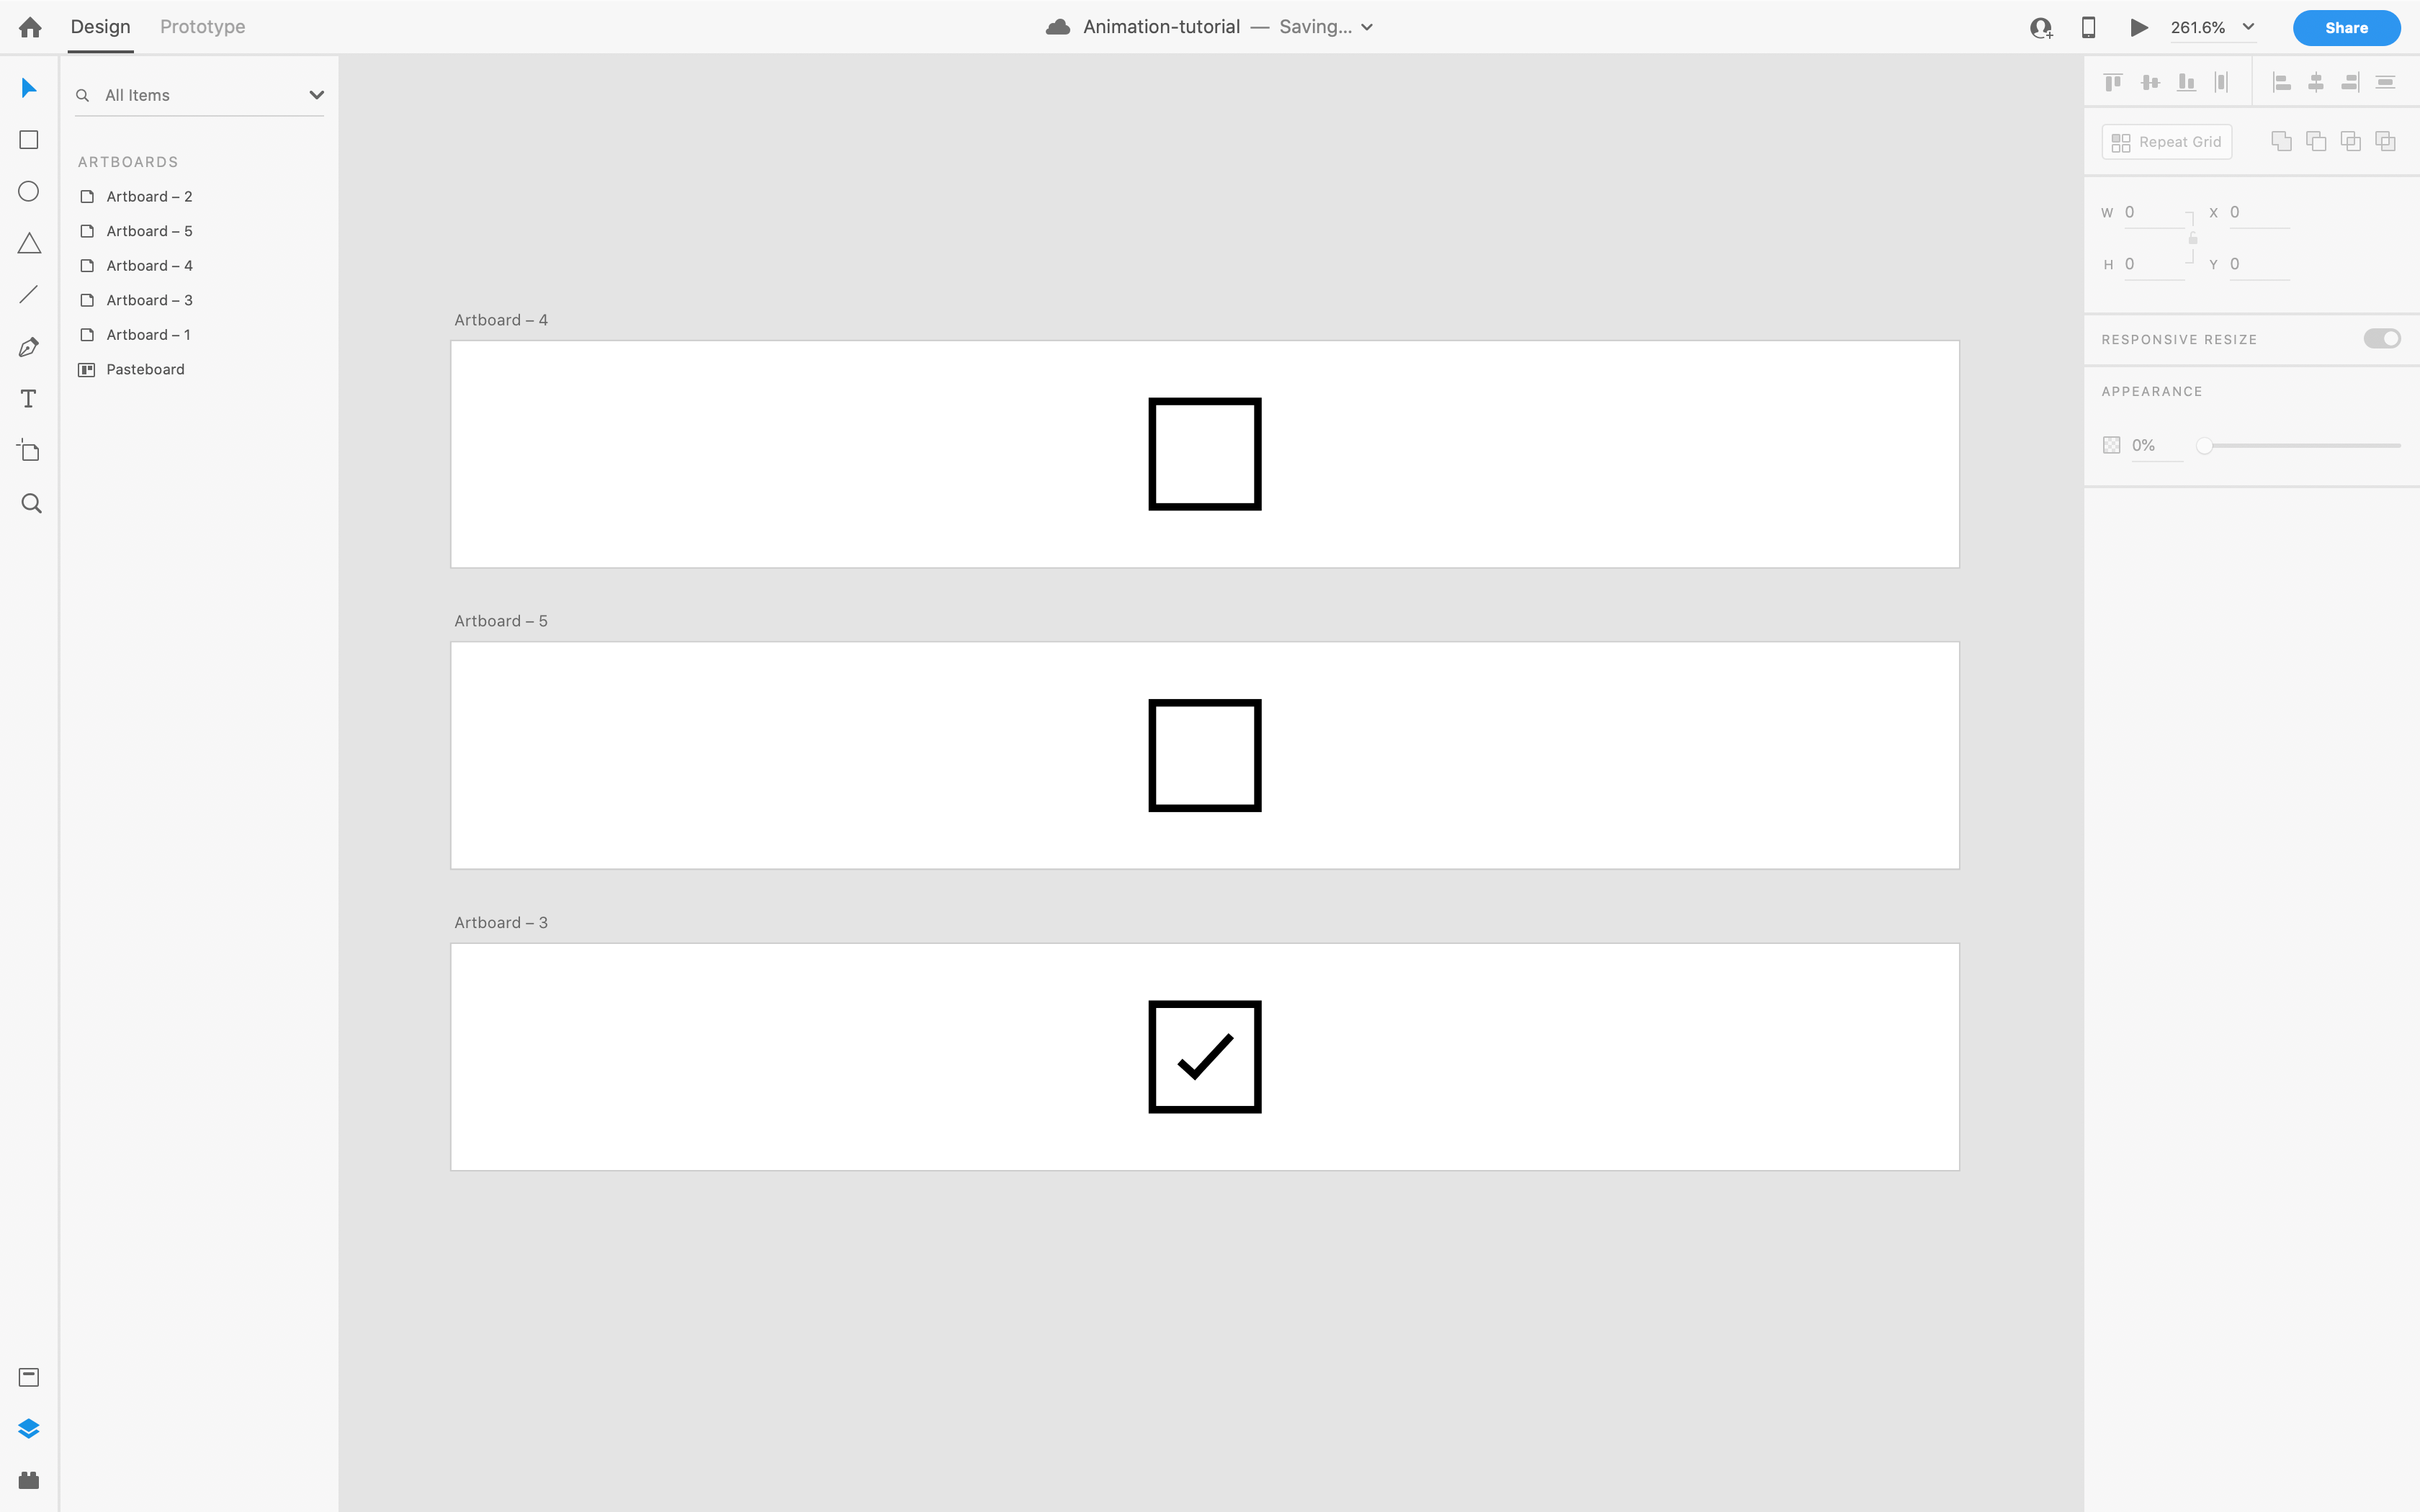
You should now have 2 artboards, like this:
您现在应该有2个画板,如下所示:
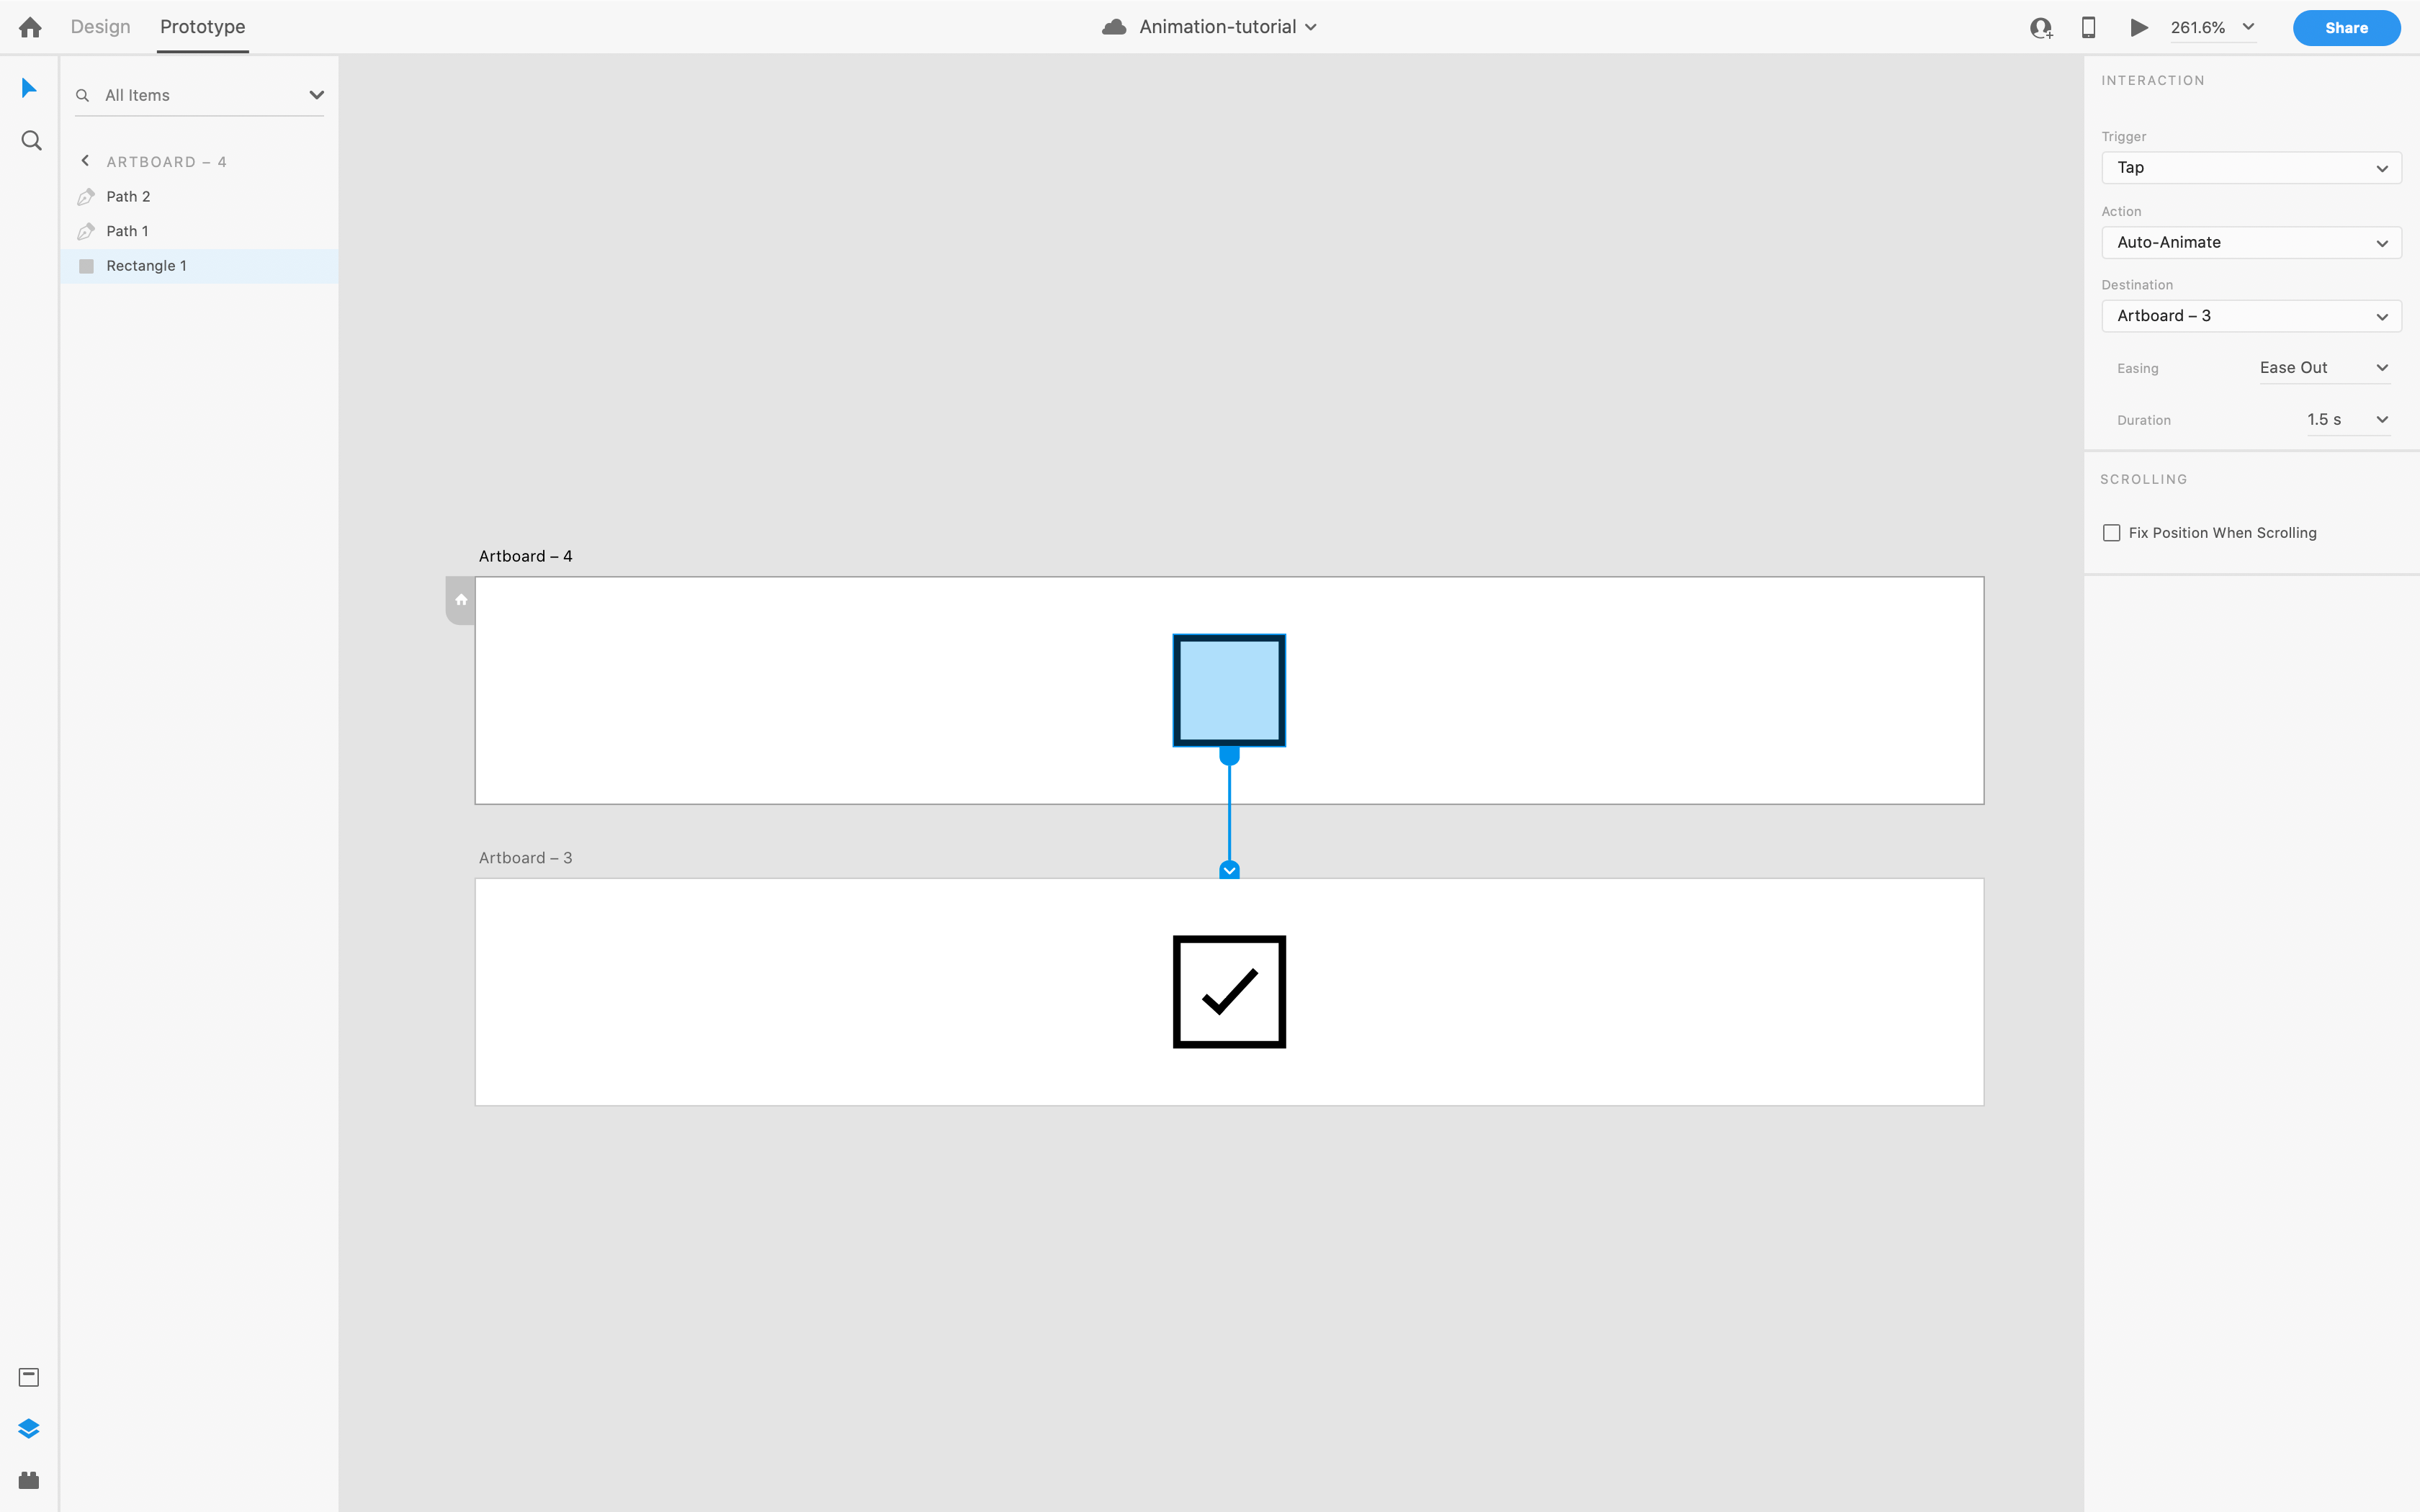
We could in theory auto-animate this right now, but it would end up choppy. Why? Well, try it, then I’ll show you. Go into prototype mode, and connect the box in the first artboard to the lower artboard. Set the trigger to tap, and the action to auto-animate like so:
从理论上讲,我们现在可以对此进行自动动画处理,但是最终会变得断断续续。 为什么? 好吧,尝试一下,然后我告诉你。 进入原型模式,然后将第一个画板中的框连接到下部画板。 将触发器设置为点击,将动作设置为自动动画,如下所示:
Now preview it!
现在预览!

It’s not bad, but we have some timing and drawing issues. First off, you may notice both lines draw simultaneously. That’s not how we draw for real, is it? Also, you can see how the opacity changes over the course of the entire animation. We don’t want that either! So, since we need to add more steps, we need to add more artboards…
这还不错,但是我们有一些时间安排和绘图问题。 首先,您可能会注意到两条线同时绘制。 那不是我们真实绘画的方式,对吗? 此外,您还可以看到不透明度在整个动画过程中如何变化。 我们也不想要那个! 因此,由于我们需要添加更多的步骤,因此我们需要添加更多的画板...
First, get rid of your prototyping connector by clicking it and dragging it over empty space so it’s not connected to anything. Now, move your upper artboard even higher up, and let’s duplicate it below to give us a third artboard.
首先,通过单击原型连接器并将其拖动到空白处以使其不连接任何东西,从而摆脱原型连接器。 现在,将上层画板进一步向上移动,让我们在下面进行复制,以提供第三个画板。
Now we need to make the opacity change instant, so that it doesn’t change over time. We don’t want both lines to become visible at the same time though. So let’s just find that shorter line, and set it’s opacity to 100%.
现在我们需要立即使不透明度发生变化,以使它不会随时间变化。 但是,我们不希望这两行同时显示。 因此,让我们找到较短的行,并将其不透明度设置为100%。
Now we can drag a prototyping line from the first box, to the second artboard, and set up our auto-animate transition. We want this one to be as quick as possible. Set the easing to none, and the duration to 0.1s. We don’t want the user to notice this transition, since we are just setting things up to make our animation draw correctly.
现在,我们可以将原型线从第一个框拖到第二个画板上,并设置我们的自动动画过渡。 我们希望这个尽快。 将缓动设置为无,并将持续时间设置为0.1s。 我们不希望用户注意到此过渡,因为我们只是在进行设置以使动画正确绘制。
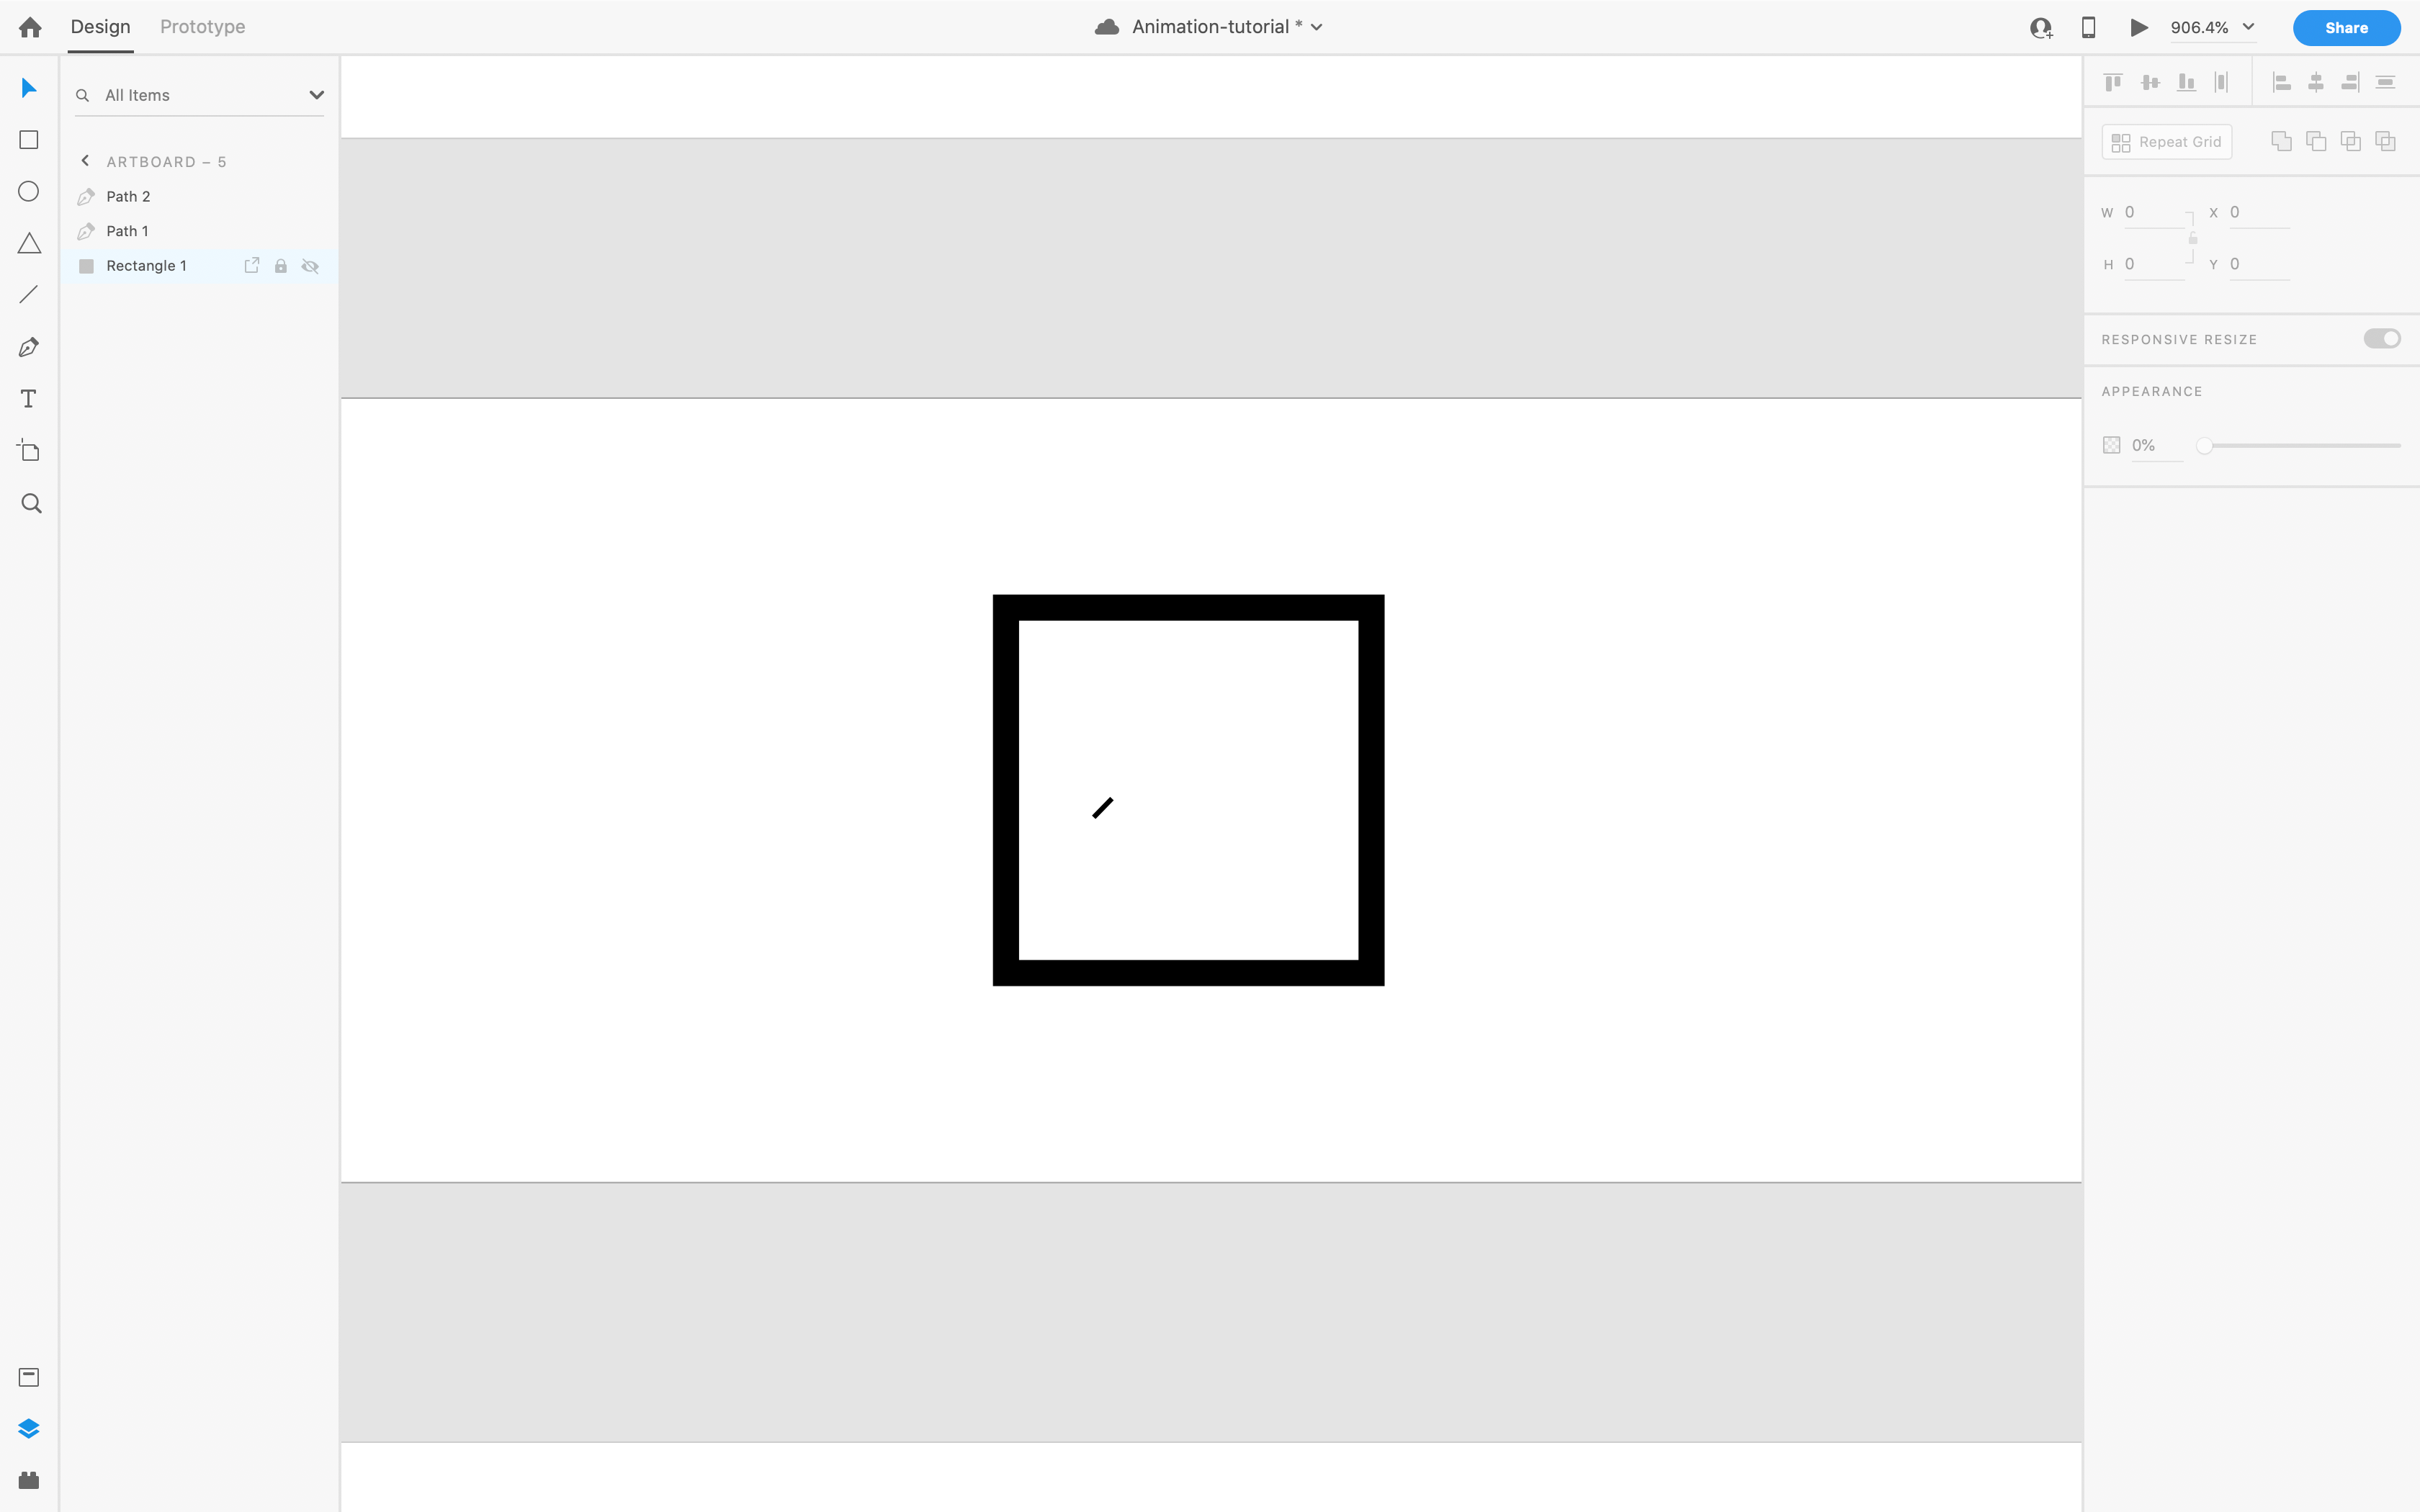
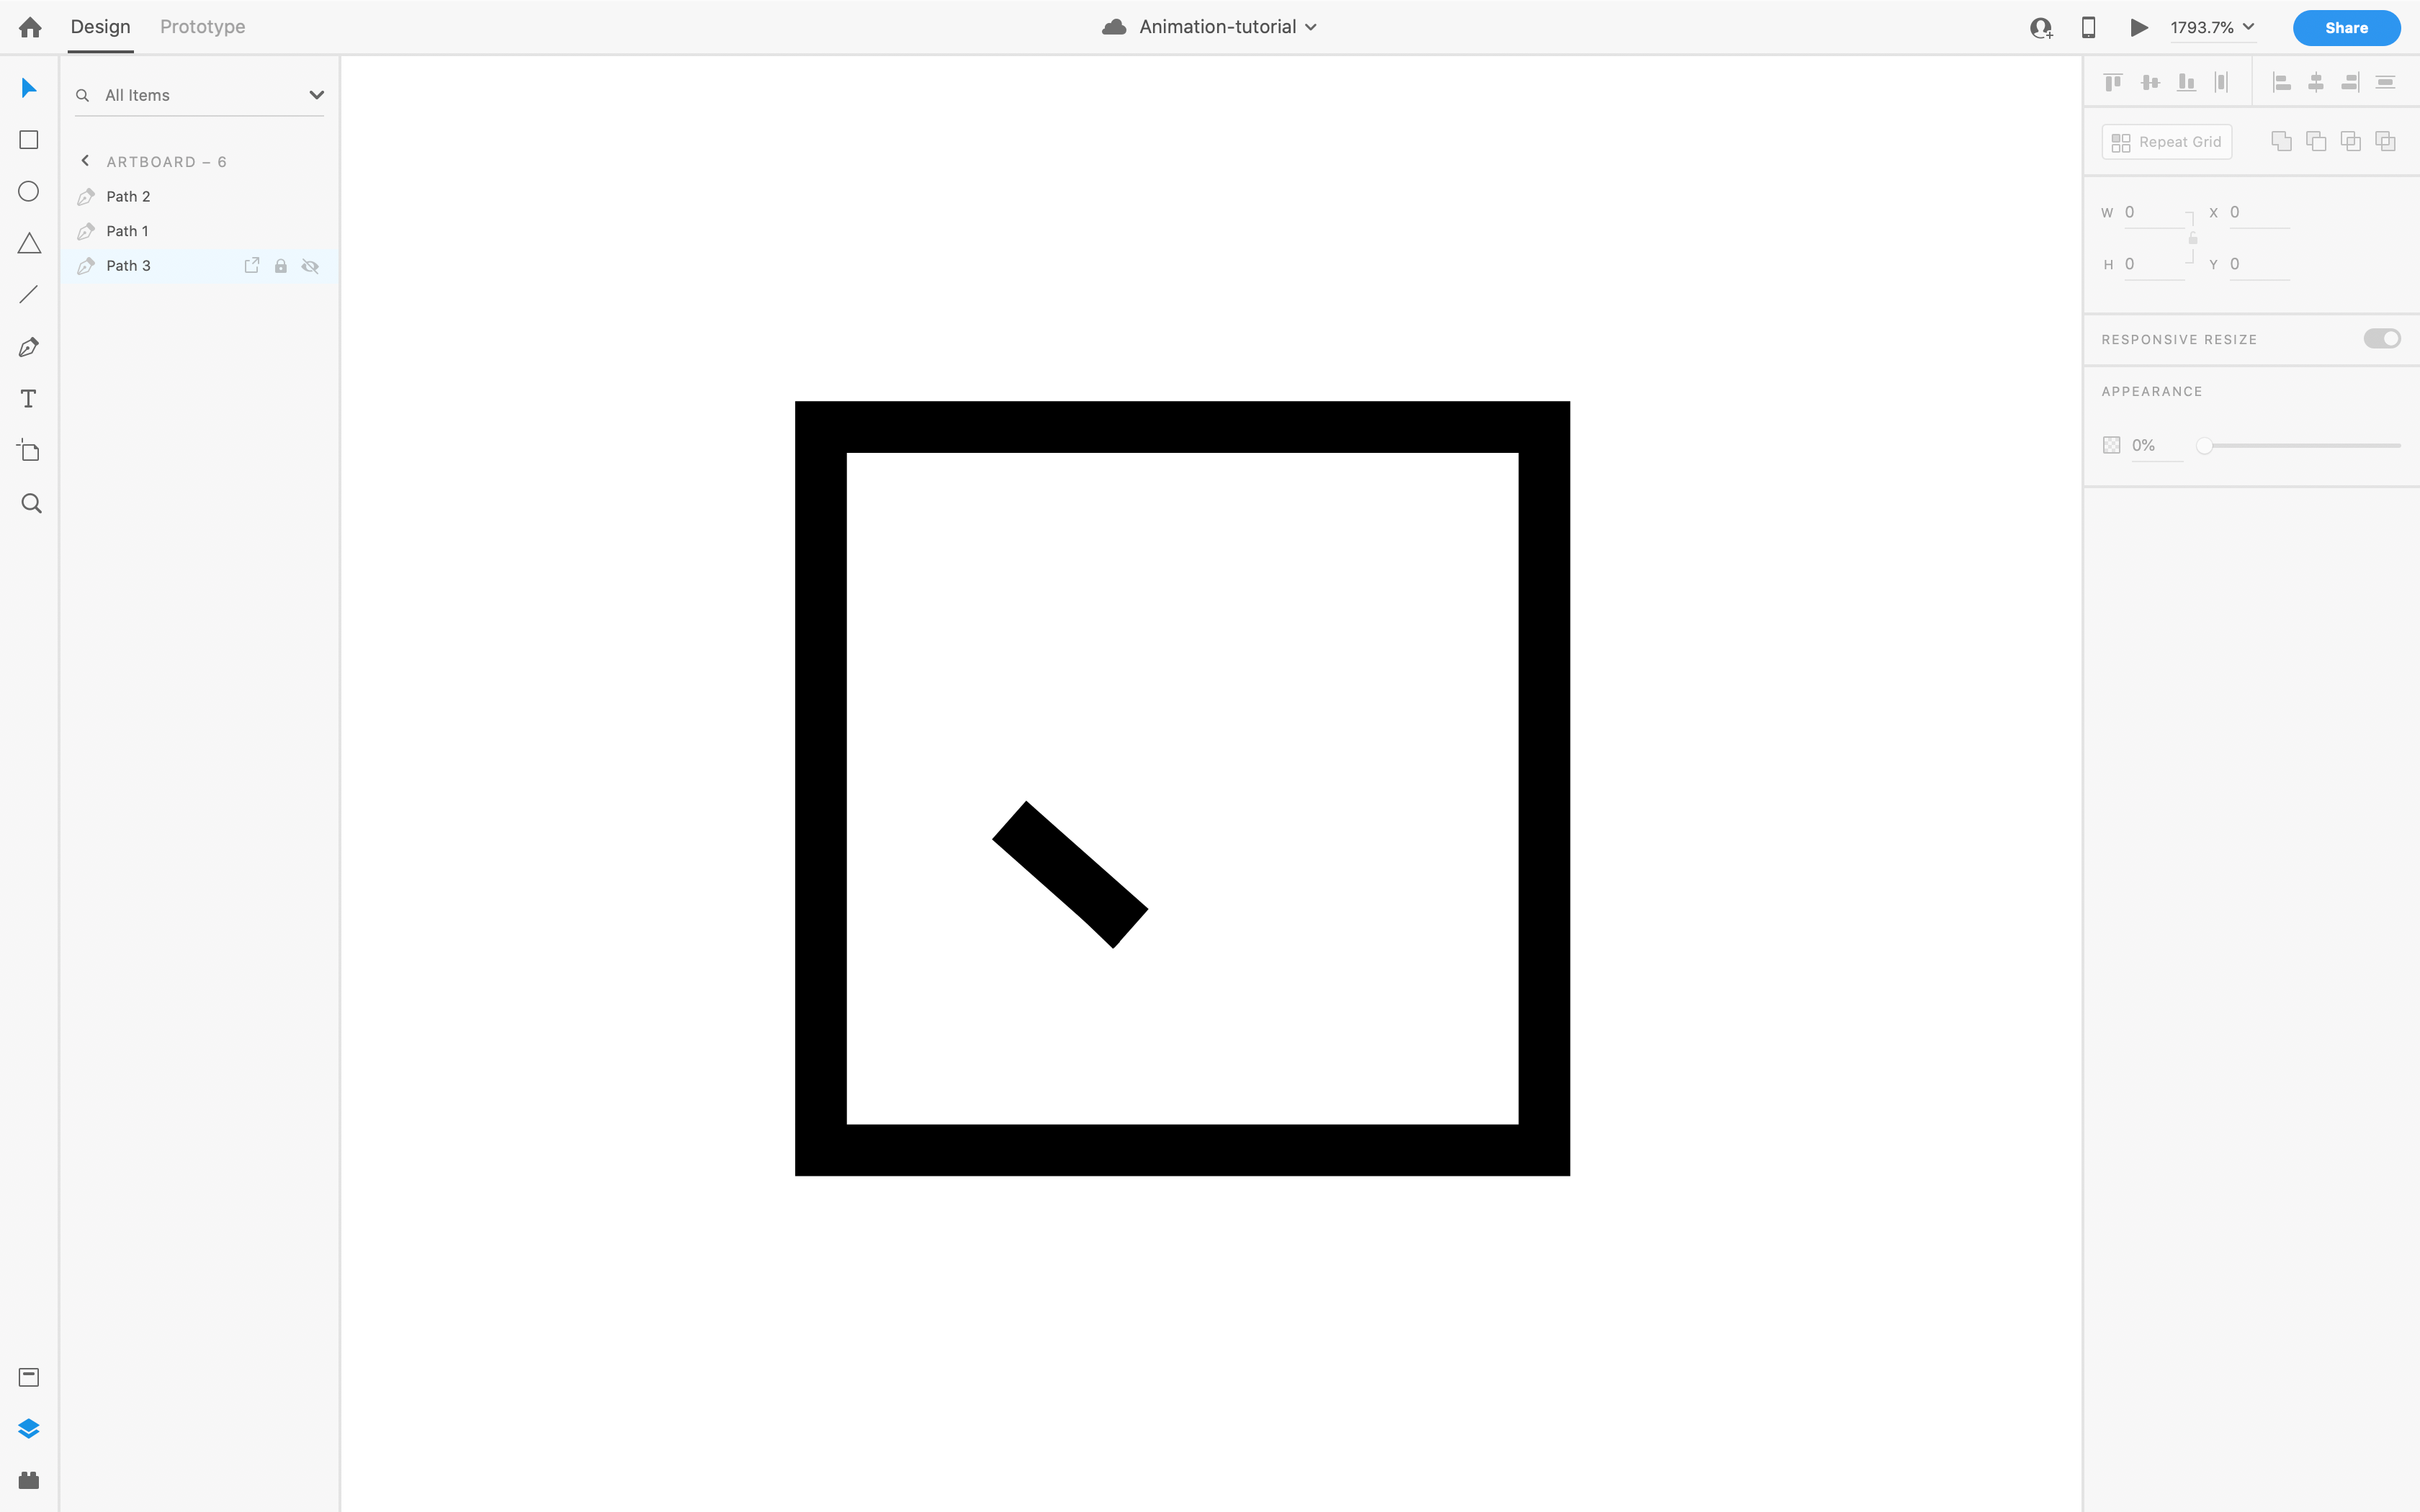
So, now that we have our line prepared, let’s draw it. Duplicate the second artboard down to create yet another, and in this one, lengthen your line to where it matches up with the longer one. To line it up correctly, I increased the opacity on the longer line, so I could see where the shorter one needed to end up, and I left it at the full opacity because the first line is covering it anyways. The animation will happen quickly enough the user won’t notice the change, and we will already have that longer line prepped for drawing in the next stage.
因此,既然我们已经准备好线,就可以绘制它。 向下复制第二个画板,以创建另一个画板,在该画板中,将线条加长到与更长的画板匹配的位置。 为了正确对齐,我在较长的线上增加了不透明度,因此我可以看到较短的线要结束的地方,并且我将其保留为完全不透明度,因为第一行仍然覆盖了它。 动画将以足够快的速度发生,用户将不会注意到更改,并且我们已经准备好较长的线以在下一阶段进行绘制。
Now we can prototype it. Connect a prototyping line from the artboard (not the box), to this new artboard. We could animate it like this. With our current settings, we would click the previous artboard, and the line would draw to this new length. But we don’t want to have to click for every stage of the animation!
现在我们可以制作原型。 将原型线从画板(而不是盒子)连接到此新画板。 我们可以像这样制作动画。 使用我们当前的设置,我们将单击上一个画板,并且线条将绘制到新的长度。 但是我们不需要在动画的每个阶段都单击!
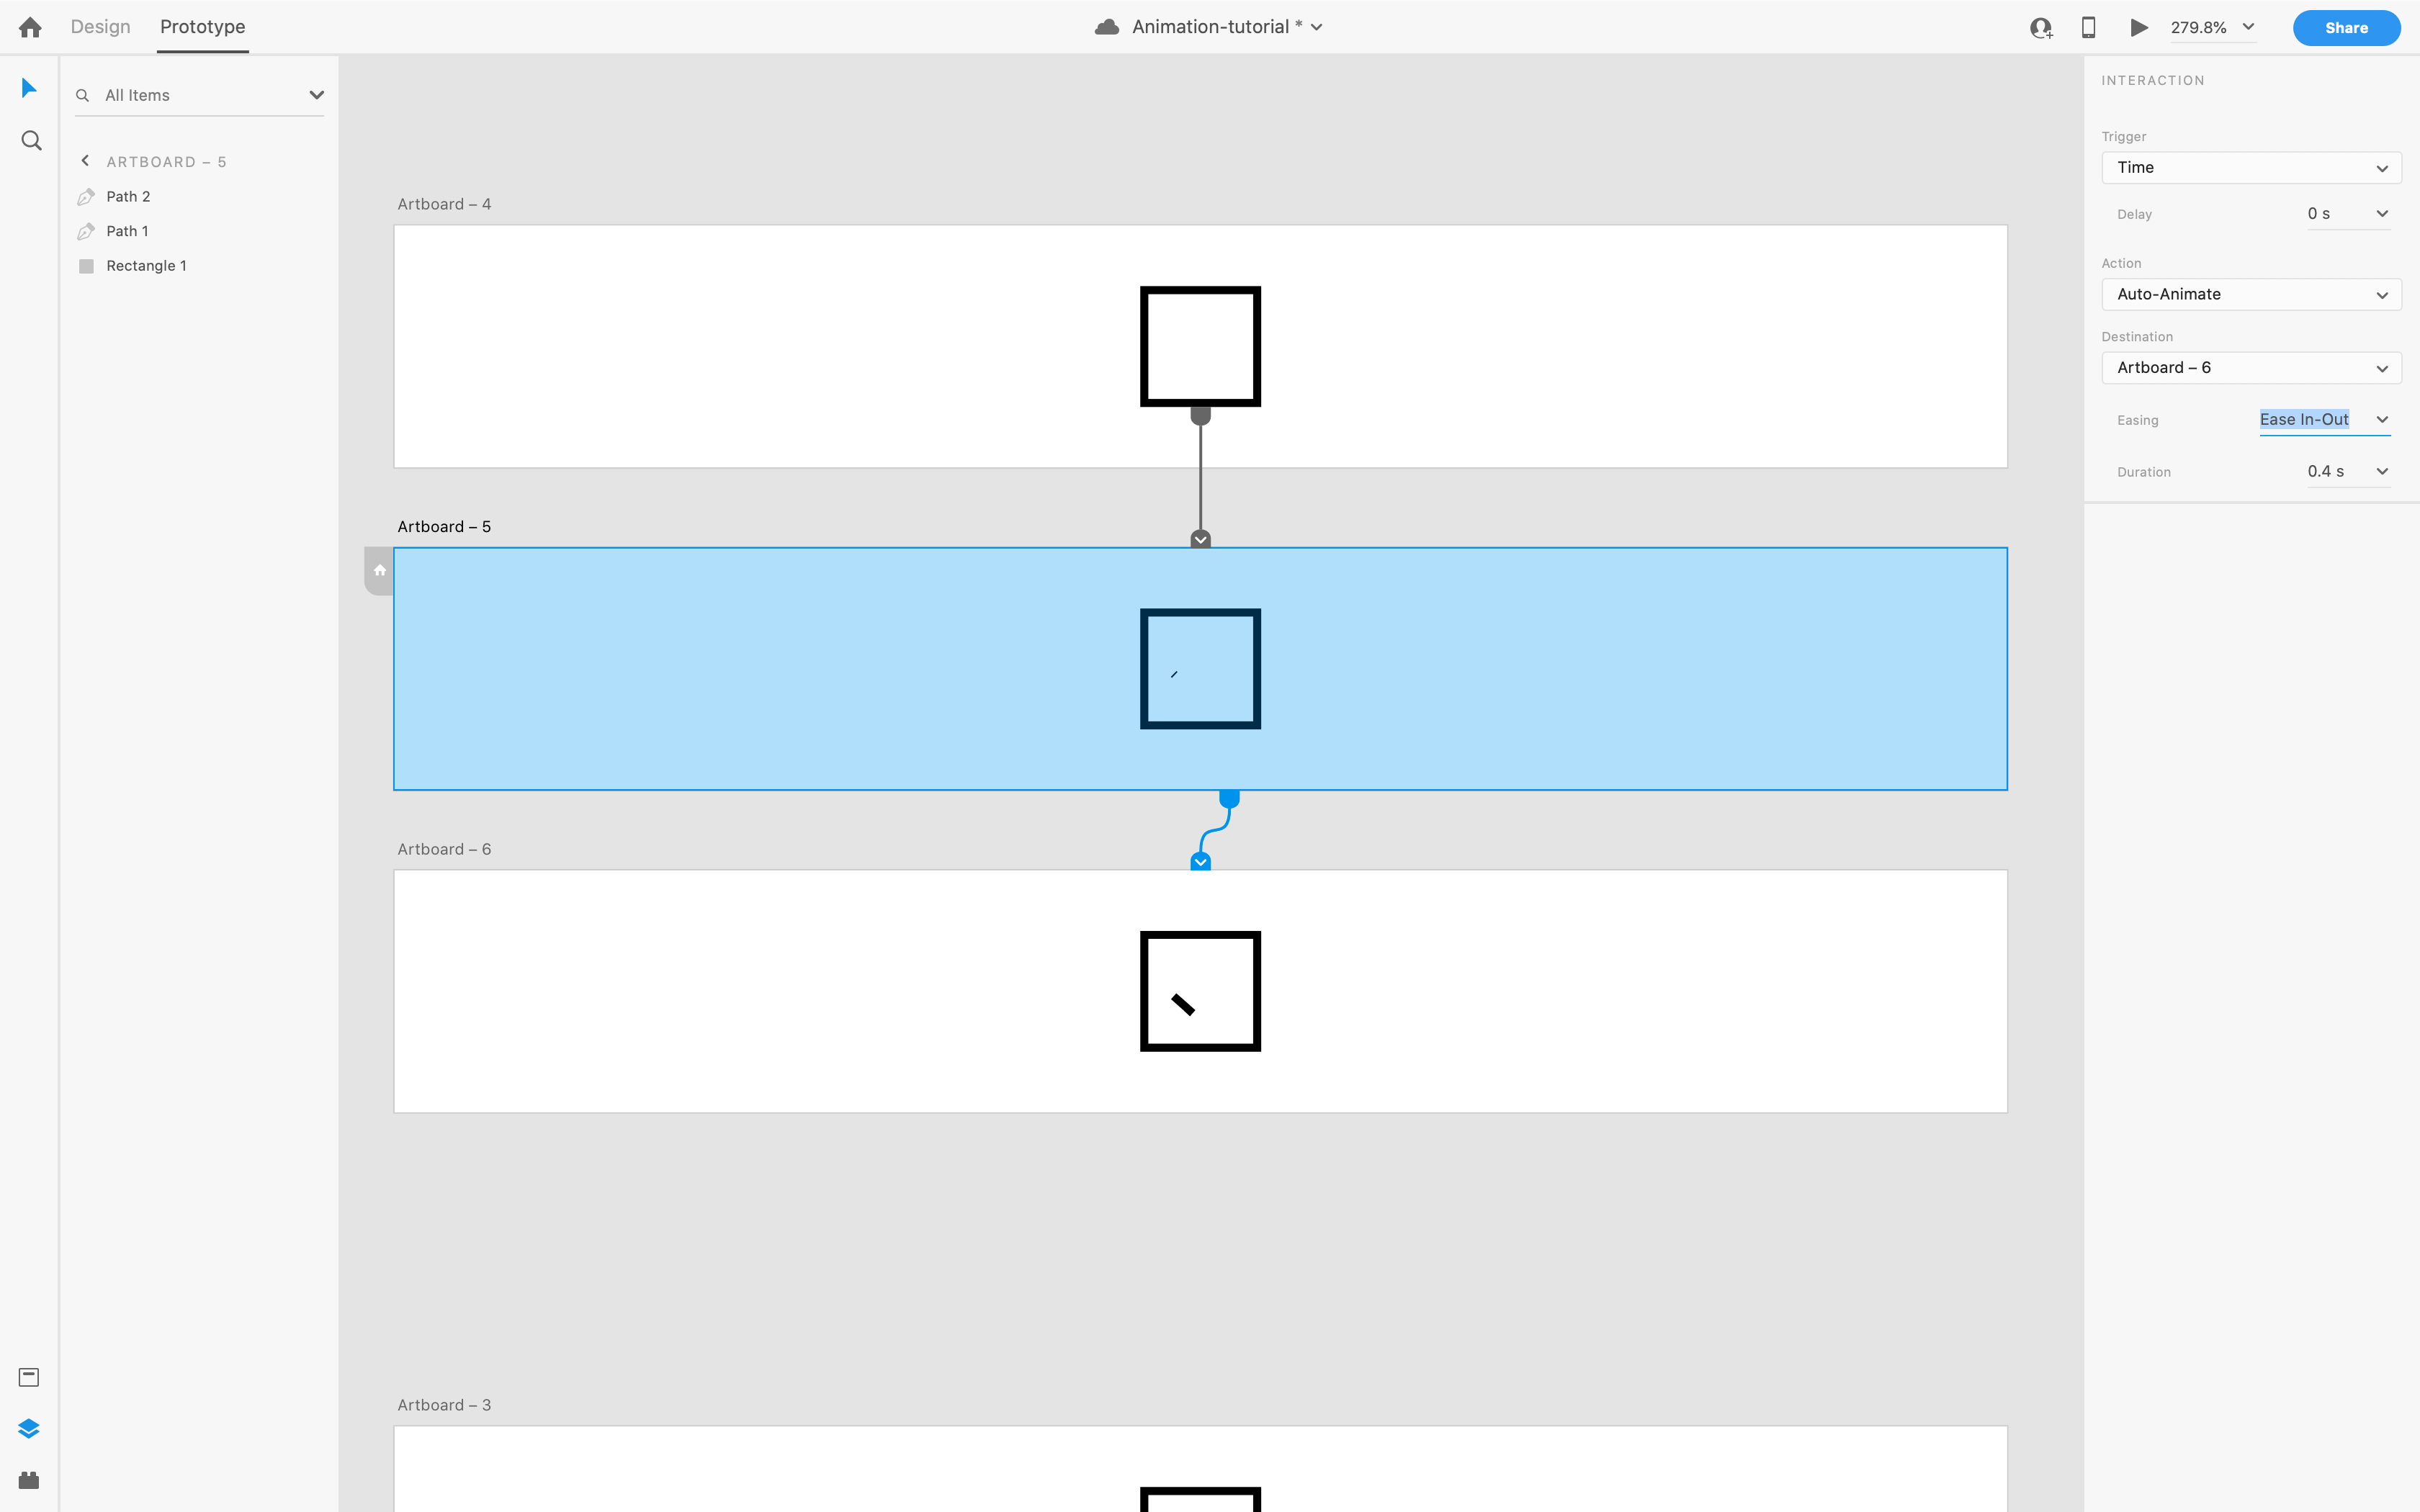
Instead, in the properties panel on the right, set the trigger to “time”. Time is only available when using an artboard as the trigger object, which is why we used that rather than the previous box. We don’t want the animation to pause here, so we set the delay to 0s. Use the settings seen in the image below:
而是在右侧的属性面板中将触发器设置为“时间”。 只有将画板用作触发对象时,时间才可用,这就是为什么我们使用它而不是前一个框的原因。 我们不希望动画在此处暂停,因此我们将延迟设置为0s。 使用下图所示的设置:
Now when you click the first artboard and hit play, your animation should look like this:
现在,当您单击第一个画板并点击播放时,您的动画应如下所示:

Check it out! You have a nice drawing effect for the first line in your check mark! Let’s break down what’s happening here.
看看这个! 您的复选标记的第一行具有不错的绘图效果! 让我们分解一下这里发生的事情。
The first artboard is your click, which triggers the opacity change on the first line, which then automatically (via a time trigger) moves to the third artboard, which animates the line from it’s length in the second artboard, to it’s new legth in the third artboard. Read that a few times until it makes sense!
第一个画板是您的点击,它会触发第一行的不透明度更改,然后自动(通过时间触发器)移动到第三个画板,该动画将从第二个画板的长度到第二个画板的长度进行动画处理。第三画板。 读几次,直到有道理!
Really all you are doing is defining a step-by-step sequence of events. Once you have this concept down, you can create virtually anything with auto-animate.
实际上,您要做的只是定义事件的逐步步骤。 一旦有了这个概念,您几乎可以使用自动动画创建任何东西。
Knowing what we know about auto-animate, we already have the second line’s opacity back at 100%. So all you need to do is wire up another timed animation to the finished artboard we created a while back, and that longer line will animate to that finished length. Done! Here’s what it looks like:
知道了有关自动动画的知识后,我们已经将第二行的不透明度恢复为100%。 因此,您需要做的就是将另一个定时动画连接到我们不久前创建的成品画板上,并且更长的线将动画化为该成品长度。 做完了! 看起来是这样的:

Feel free to play around with the different types of easing, and durations for each stage. Toying with these values will help you create interesting effects. Remember though to keep it realistic and not go overboard! Overcomplicating the animation, making it too short or too long, could be irritating to the user.
随意体验不同类型的宽松政策以及每个阶段的持续时间。 玩弄这些值将有助于您创建有趣的效果。 请记住,尽管要保持现实性,不要过分! 使动画过于复杂,使动画太短或太长,可能会给用户带来不便。
So keep playing around with what you’ve learned so far, and in my next article we will look into composing multiple animations at the same time to create yet more interesting effects!
因此,请继续学习到目前为止所学的知识,在我的下一篇文章中,我们将研究同时合成多个动画以创建更有趣的效果!
翻译自: https://uxdesign.cc/easing-and-timing-animations-in-adobe-xd-b002a0758007
adobe xd


 被折叠的 条评论
为什么被折叠?
被折叠的 条评论
为什么被折叠?
 到【灌水乐园】发言


