


netflix设置语言
Let’s start writing some small snippet of code in the favorite Jupyter notebook. Please see below video snippet:
让我们开始在最喜欢的Jupyter笔记本中编写一些小代码段。 请参见下面的视频片段:
As you see, the output is changing depending on which cell we execute. At the end, if we remove all assignments, you will see the variable is still accessible, as Notebook does not understand whether the variable was deleted. Cells can be executed in any order, mutating this global hidden state that in turn affects the execution of other cells. And you don’t have any mechanism to share the executional order you might have used during development.
如您所见,输出根据我们执行的单元而变化。 最后,如果我们删除所有分配,您将看到该变量仍可访问,因为Notebook不了解该变量是否已删除。 单元可以以任何顺序执行,从而使此全局隐藏状态发生变化,从而影响其他单元的执行。 而且您没有任何机制可以共享您在开发过程中可能使用的执行顺序。
欢迎宝利通 (Welcome Polynote)
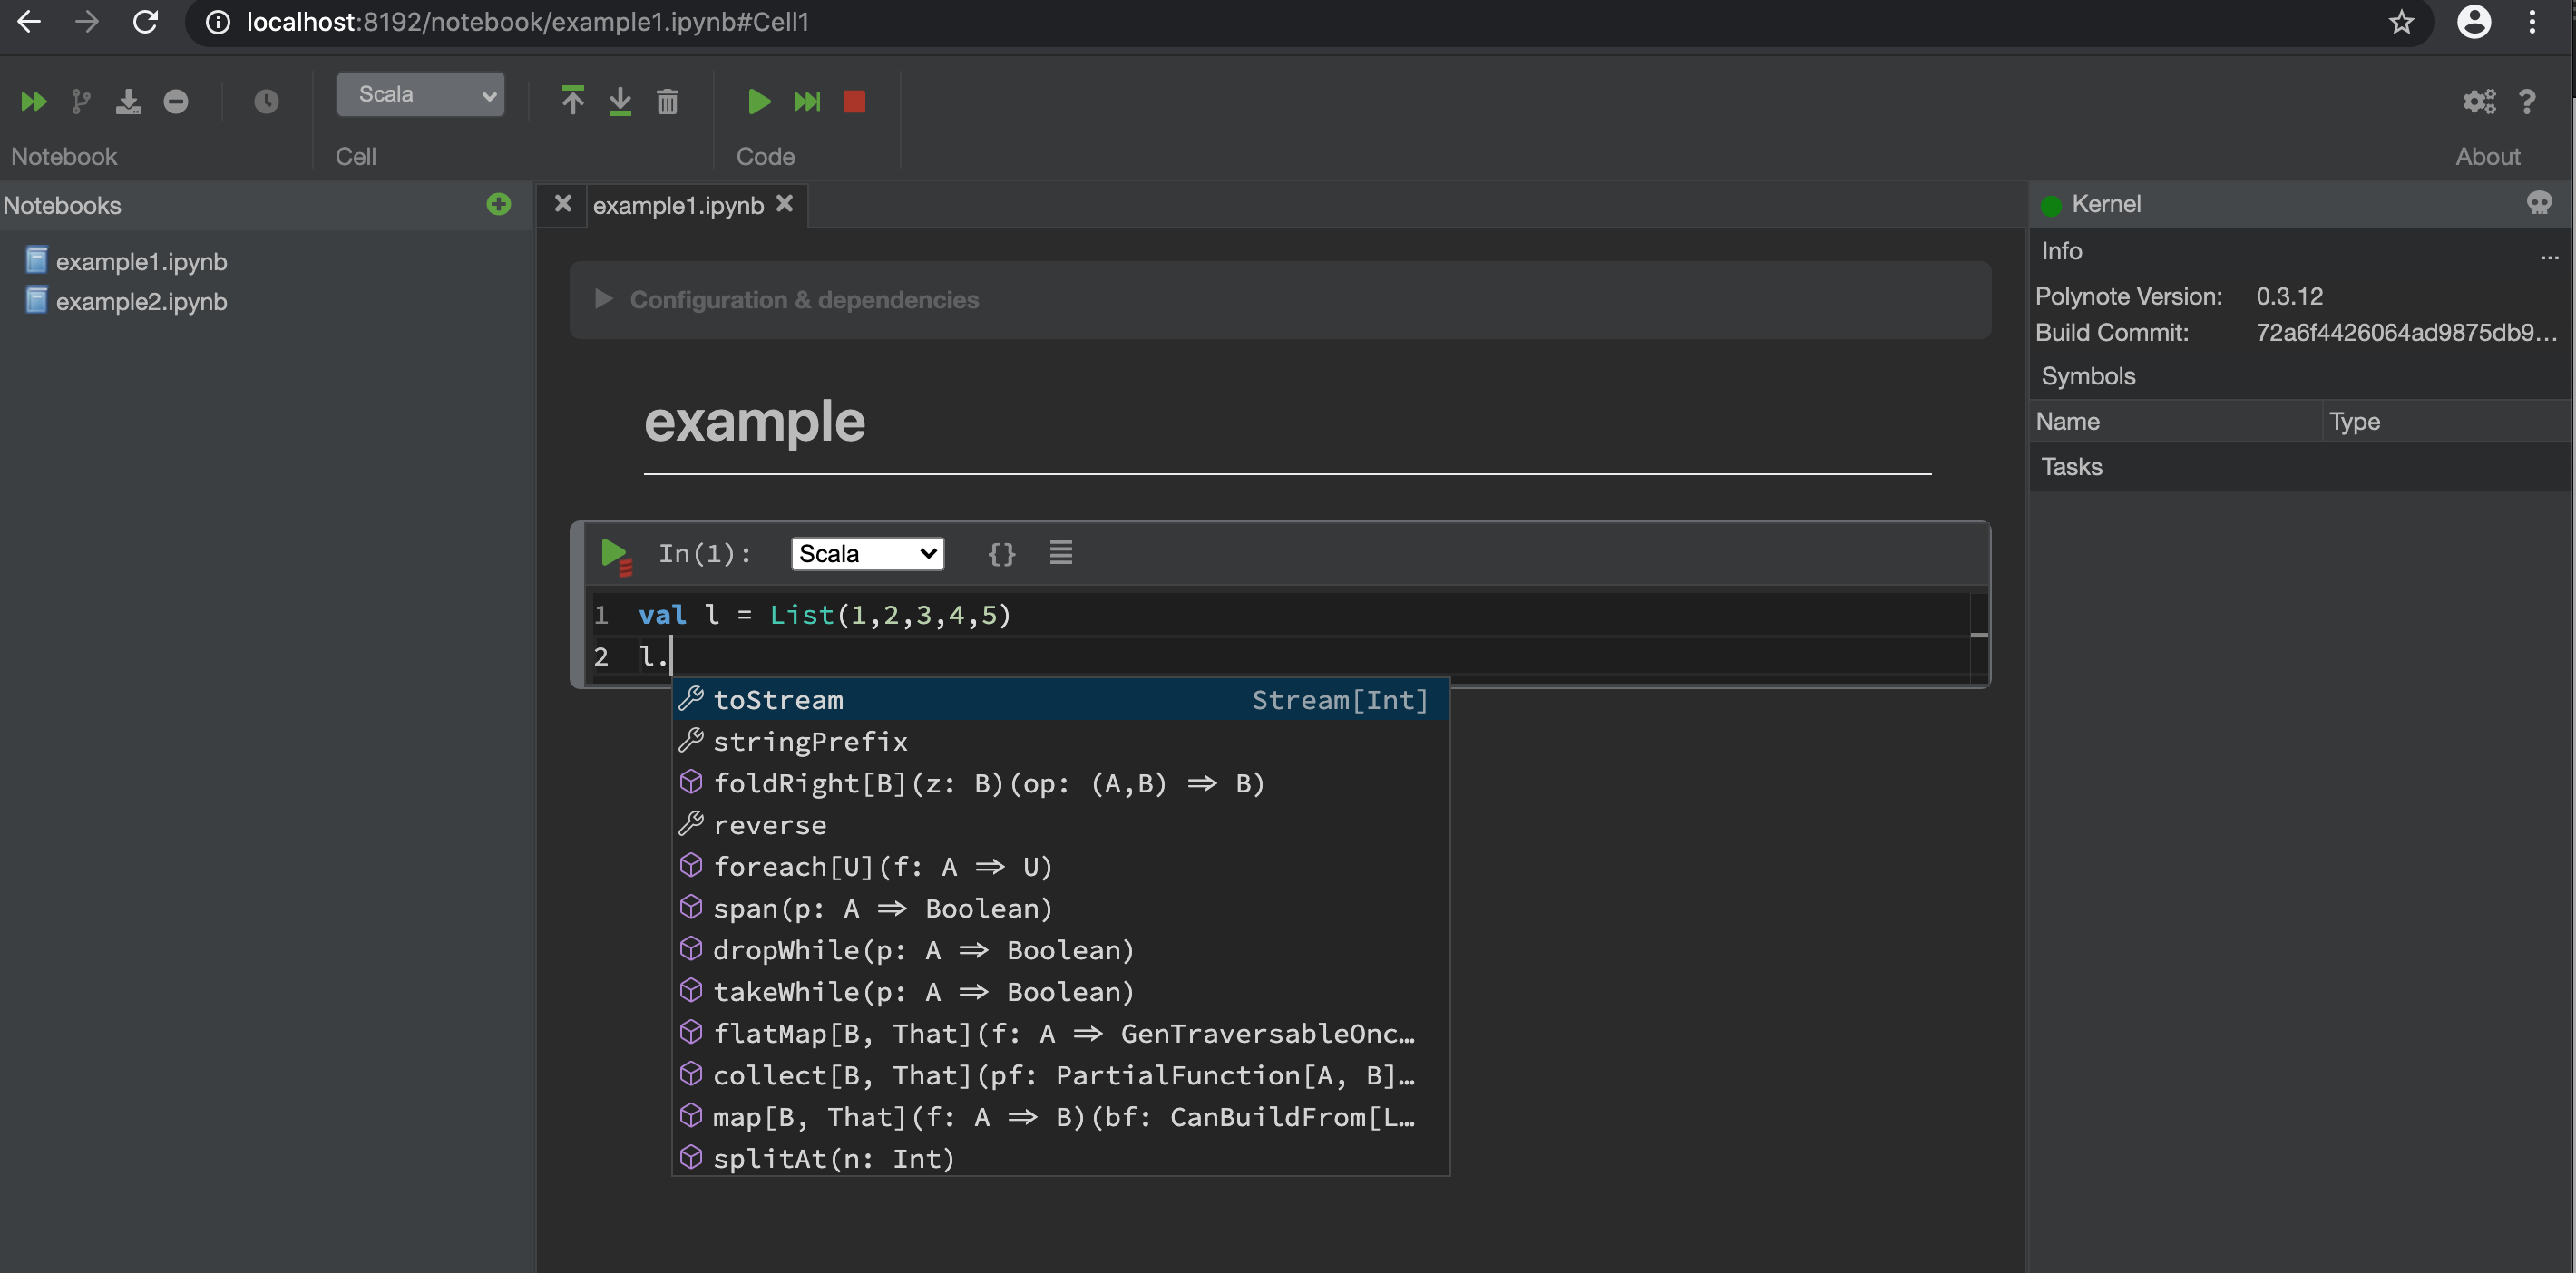
Netflix has come up with a nice approach to overcome this situation. Code interpretation from scratch allowed Polynote to do away with the global, mutable state. By keeping track of the variables defined in each cell, Polynote constructs the input state for a given cell based on the cells that have run above it. First let’s install it and get started:
Netflix提出了一种很好的方法来克服这种情况。 从头开始的代码解释使Polynote可以消除全局的可变状态。 通过跟踪每个单元格中定义的变量,Polynote会基于在其上方运行的单元格为给定单元格构建输入状态。 首先让我们安装它并开始:
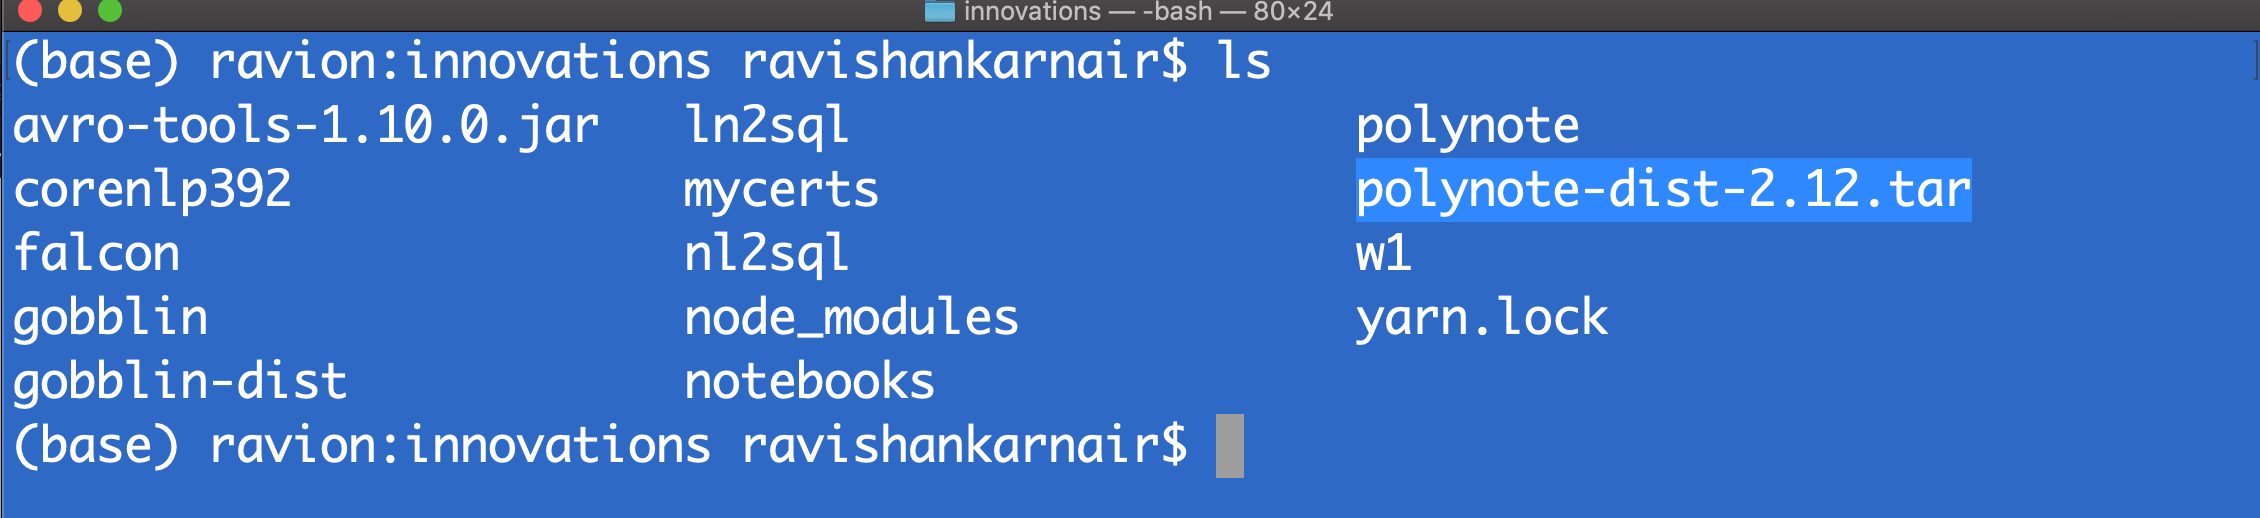
Currently Polynote is available in Linux and Mac. Polynote consists of a JVM-based server application, which serves a web-based client. To try it locally, find the latest release on the releases page and download the attached polynote-dist.tar.gz file (you’ll find it under Assets). Unpack the archive:
目前,Polynote在Linux和Mac中可用。 Polynote包含一个基于JVM的服务器应用程序,该应用程序为基于Web的客户端提供服务。 要在本地尝试,请在发布页面上找到最新版本,然后下载附件的polynote-dist.tar.gz文件(您可以在Assets下找到它)。 解压缩档案:
tar -zxvpf polynote-dist.tar.gz
tar -zxvpf polynote-dist.tar.gz
Copy the config-template.yml to config.yml, in case you want to change default settings.
如果您想更改默认设置,请将config-template.yml复制到config.yml。

Assume that you have the basic Spark installed, install Pythong dependecies and start polynote:
假设您已经安装了基本的Spark,请安装Pythong依赖项并启动polynote:
pip3 install -r ./requirements.txt./polynote.pyYou get below screen, if everything is fine:
如果一切正常,您将进入屏幕下方:
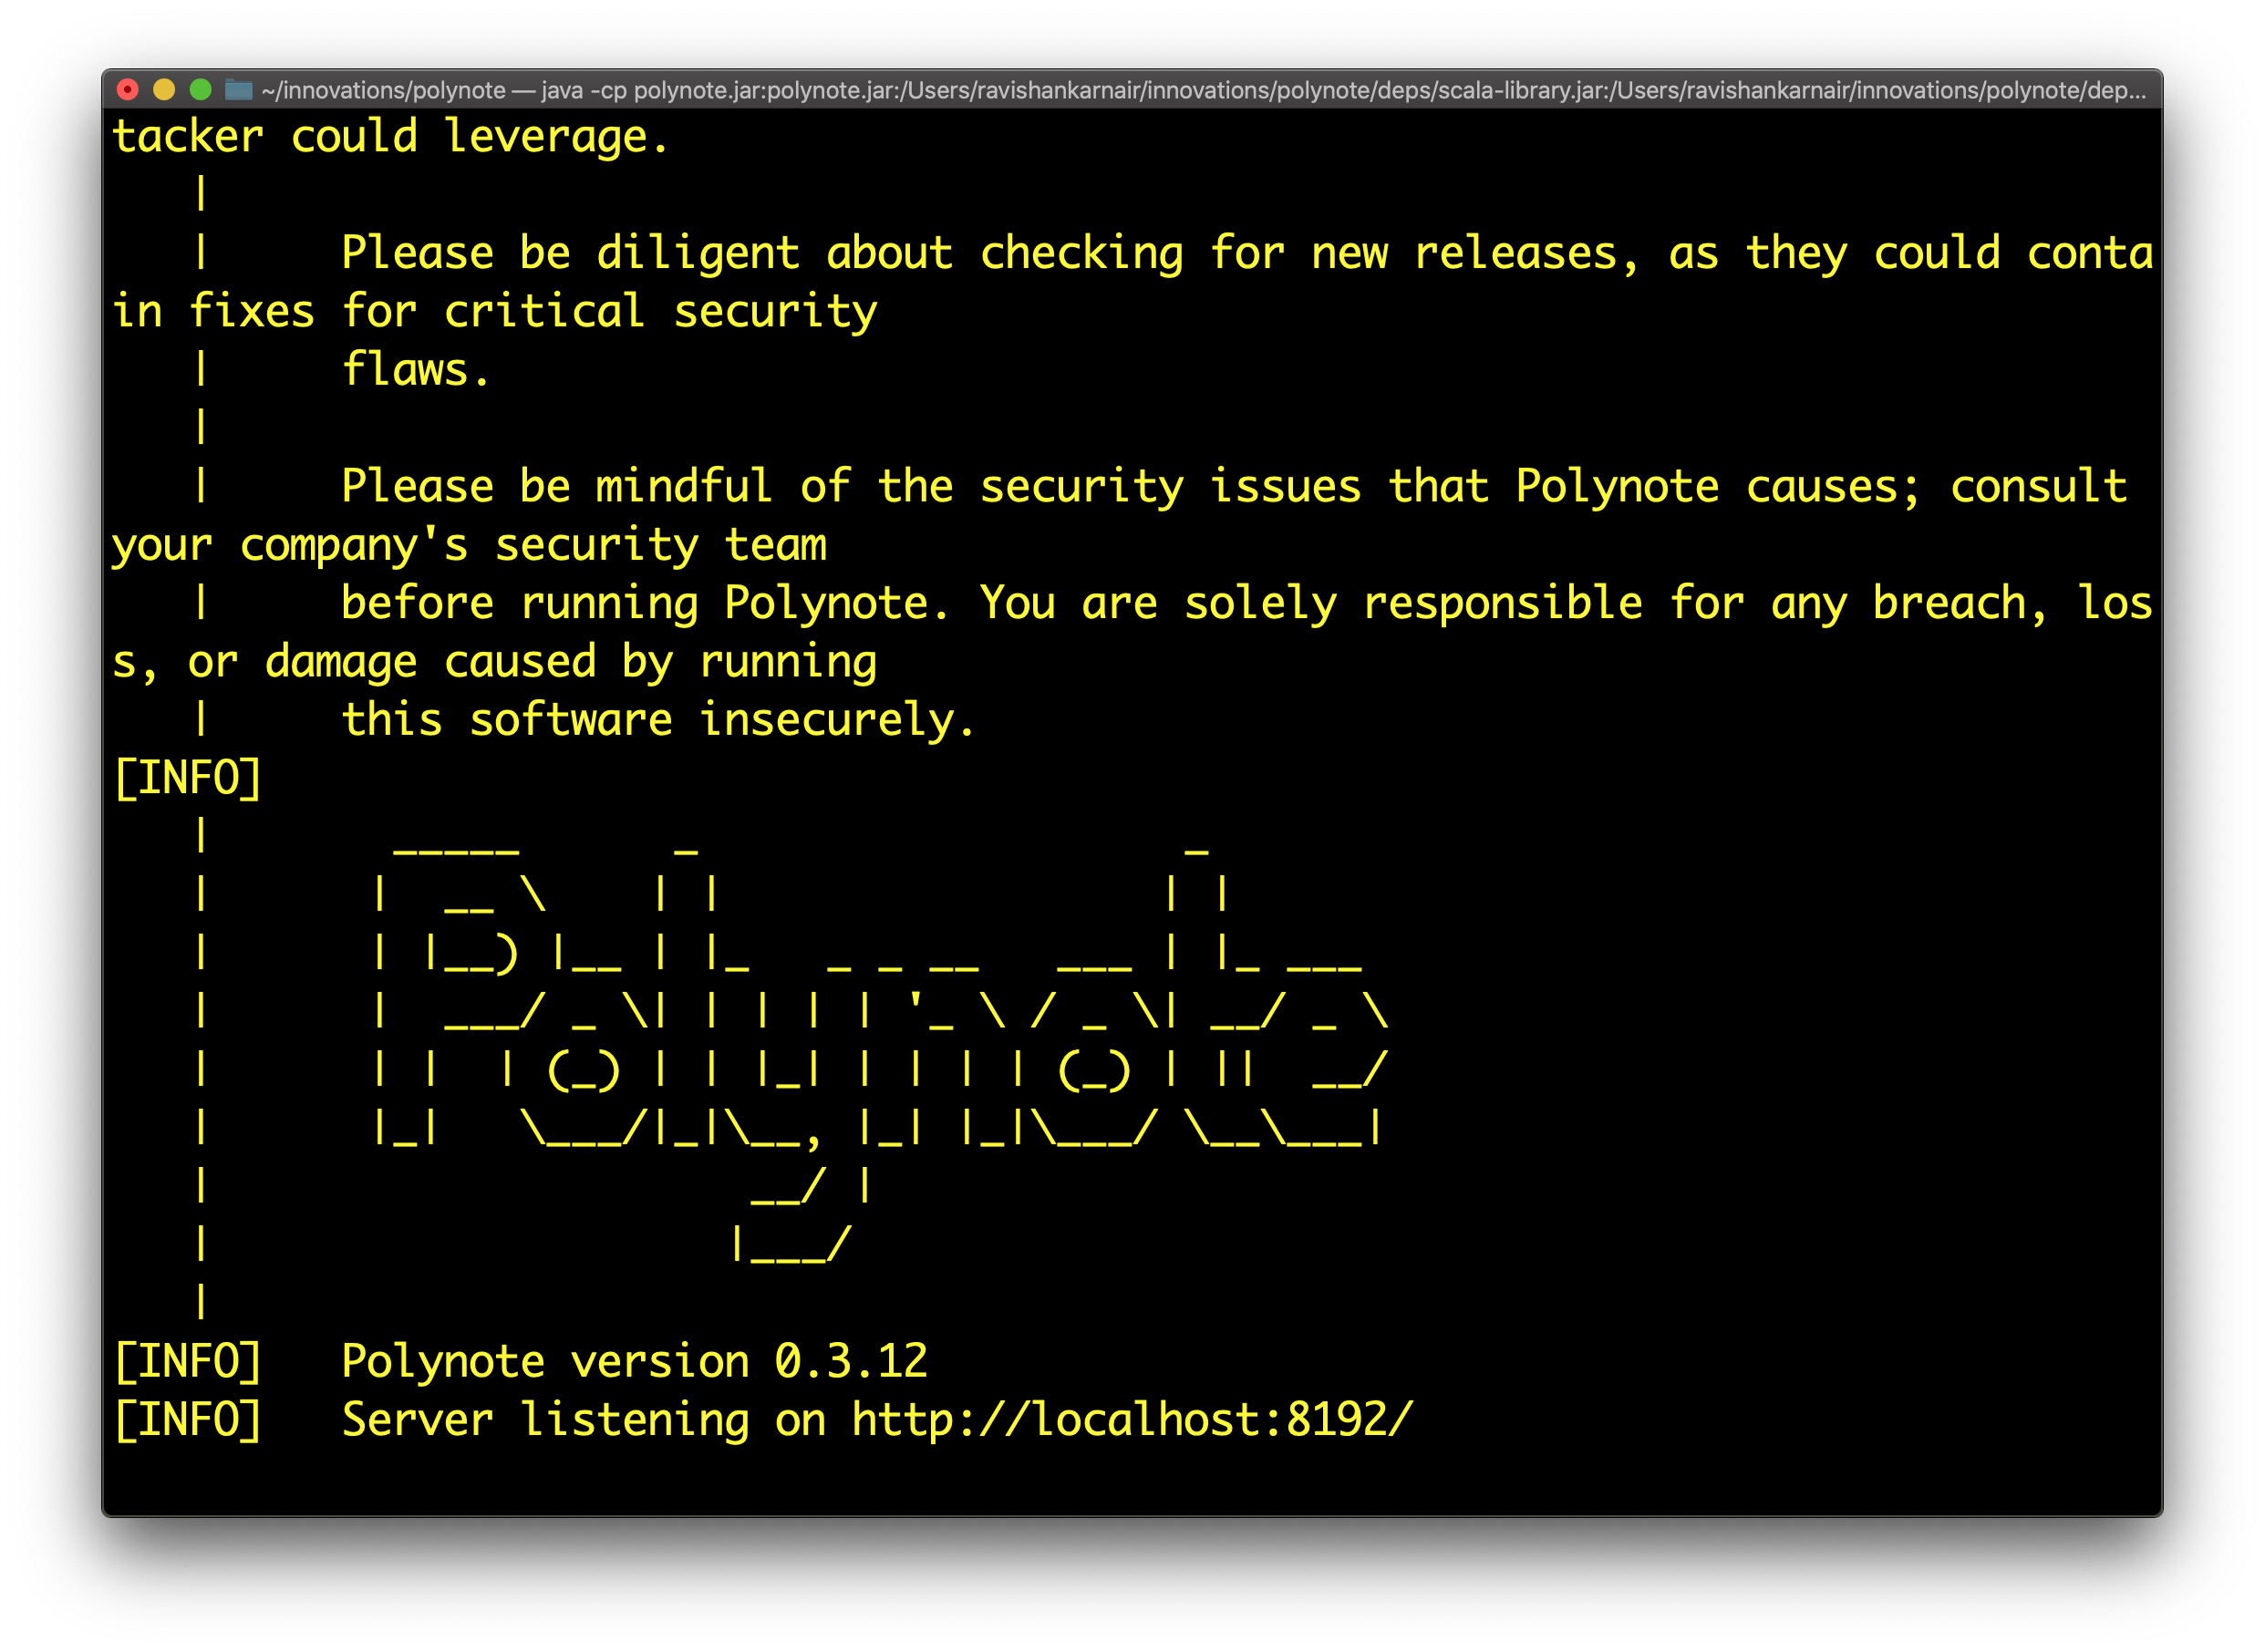
Go to localhost:8192, as the message above indicates:
转到localhost:8192,如上面的消息所示:
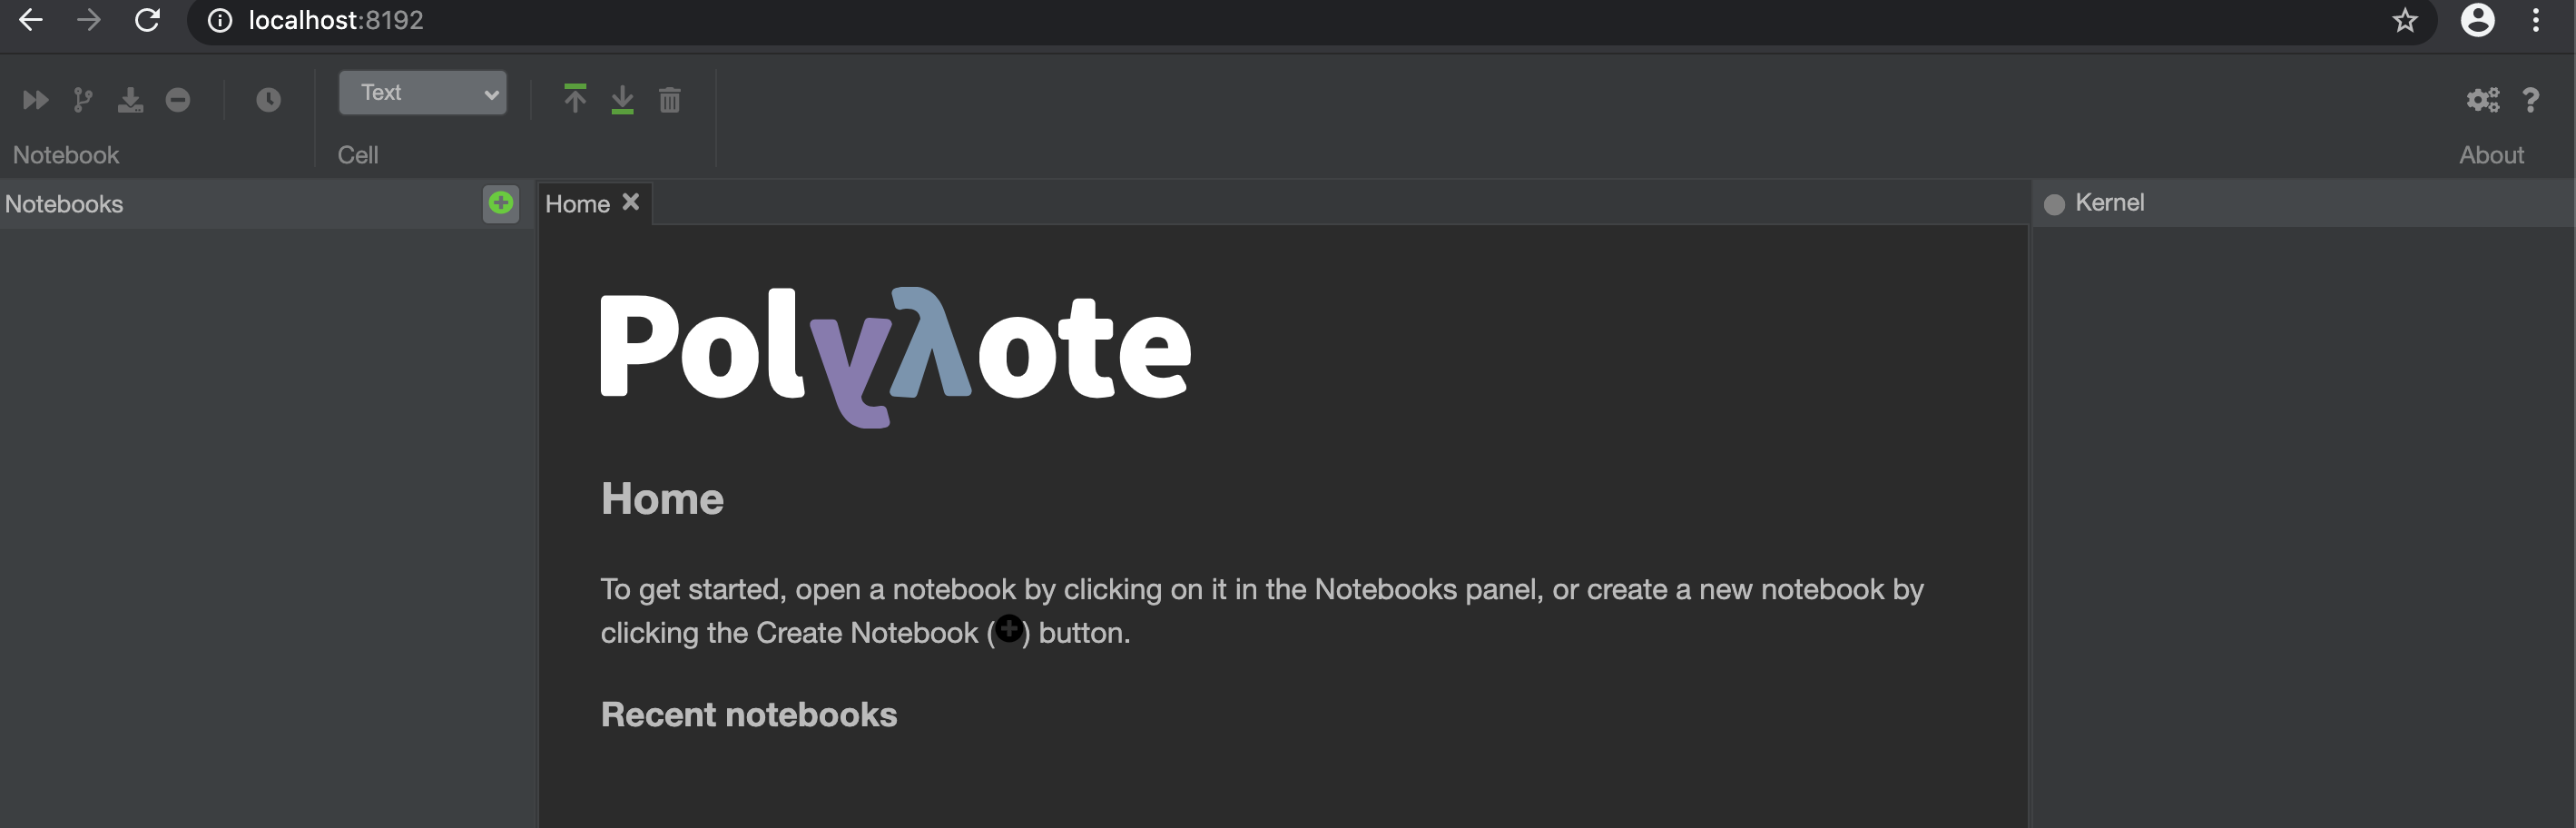
On the left side, you will see a + button from where you can start writing your first notebook. Press shift + Enter to create a new cell
在左侧,您将看到一个+按钮,您可以从此处开始编写第一个笔记本。 按Shift + Enter创建一个新的单元格
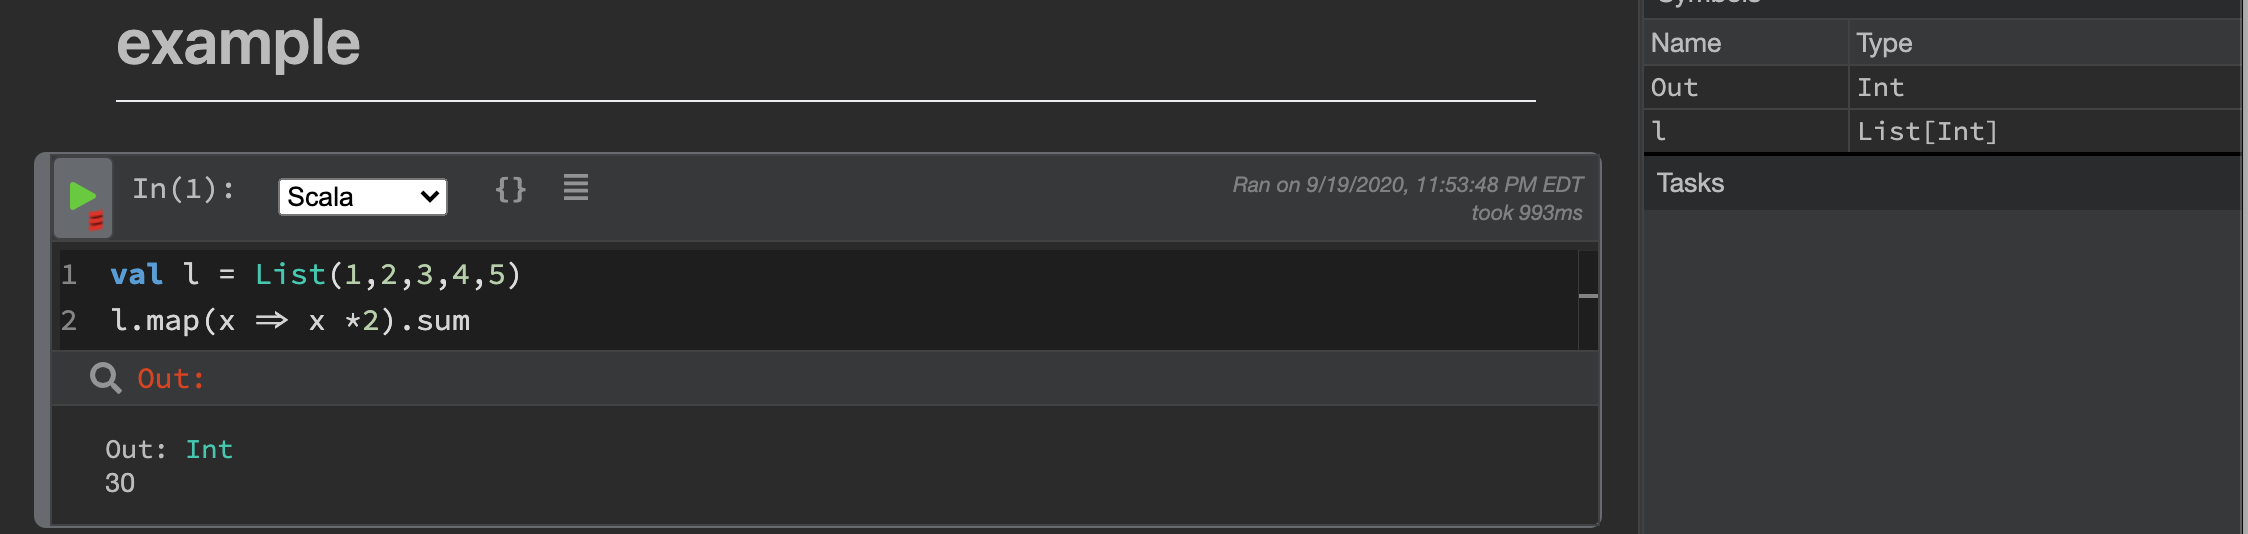
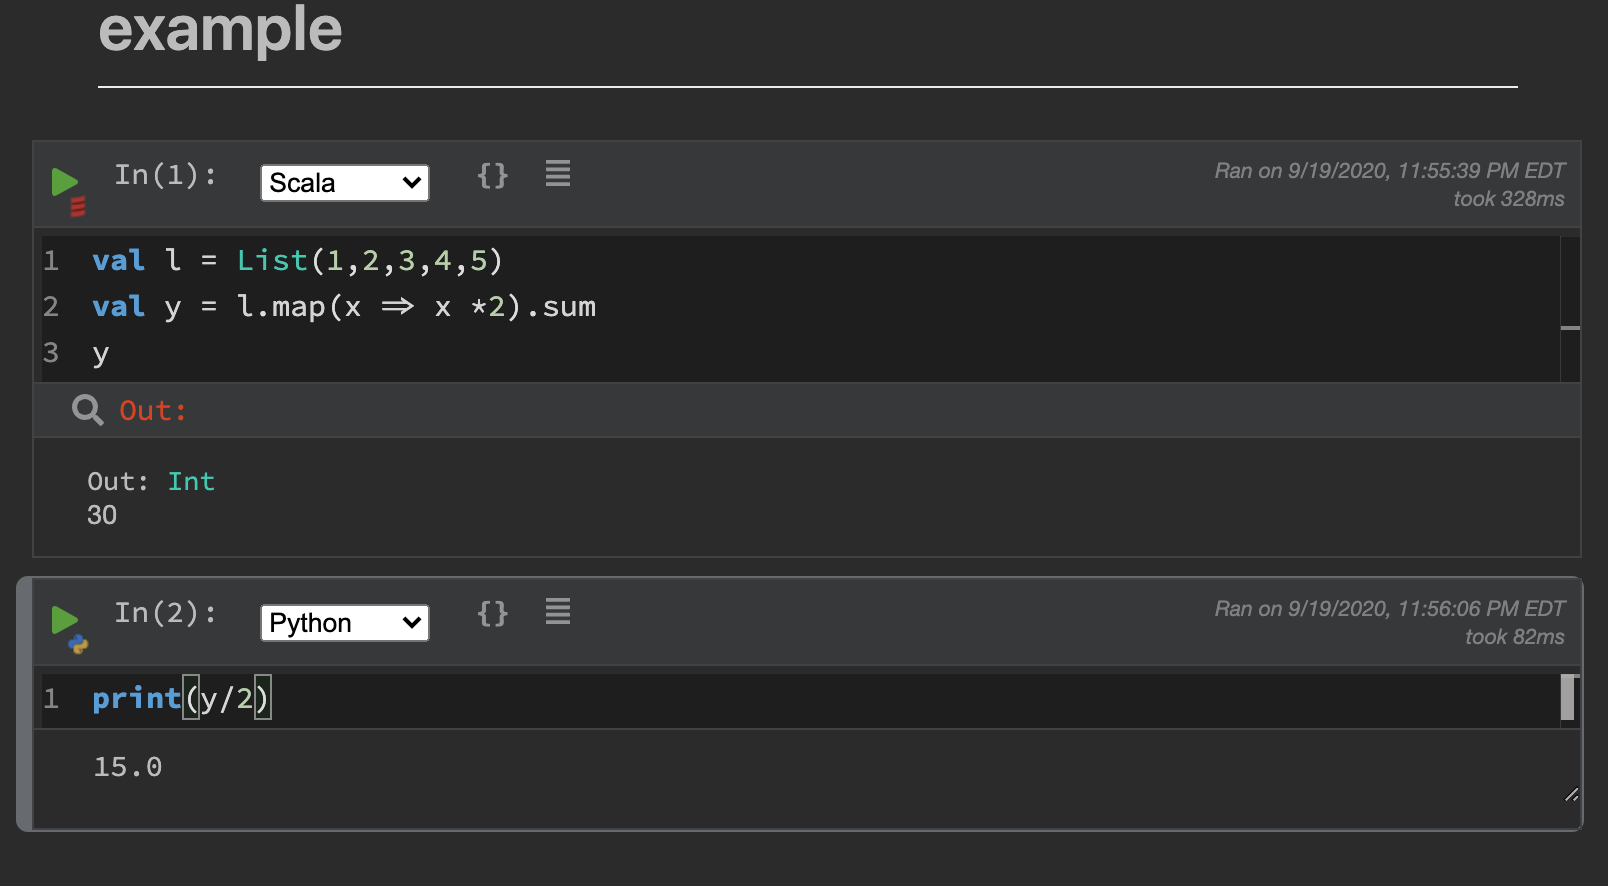
Now comes the most impressive part — Assume that we have created above sum (value 30) in a variable called “y”. Can I write a Python code in the same notebook, where I can pass this Scala object to Python?
现在是最令人印象深刻的部分-假设我们在名为“ y”的变量中创建了总和(值30)以上。 我可以在同一笔记本中编写Python代码,然后将Scala对象传递给Python吗?
Defintely.
肯定地。
Now go ahead and start Spark.
现在开始启动Spark。
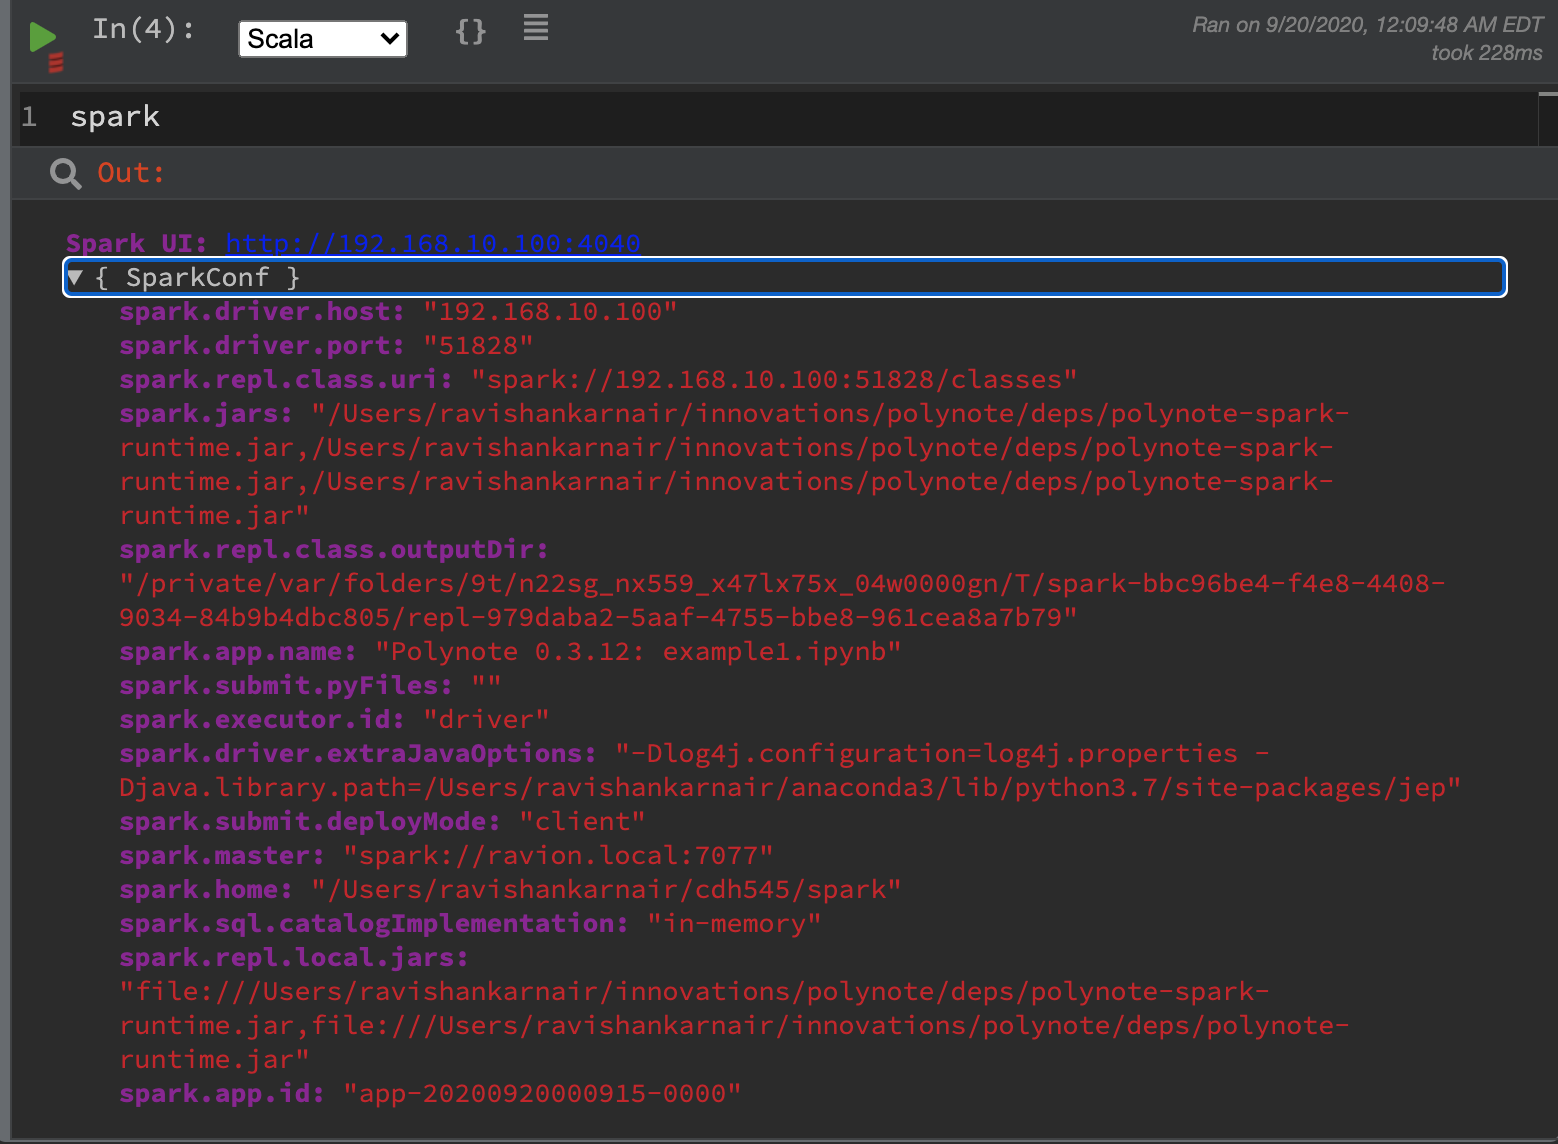
Let’s add configuration variable in Polynote to point to our Spark cluser started above. You can add these by expanding the configuration section on top of your notebook. PLease see the section under “Spark Config”.
让我们在Polynote中添加配置变量,以指向上面开始的Spark cluser。 您可以通过展开笔记本顶部的“配置”部分来添加它们。 请参见“ Spark Config”下的部分。

Save and restart. Come back to our notebook.Just use “scala” as the language for new cell, and type “spark”
保存并重新启动。 回到笔记本。只需使用“ scala”作为新单元格的语言,然后键入“ spark”
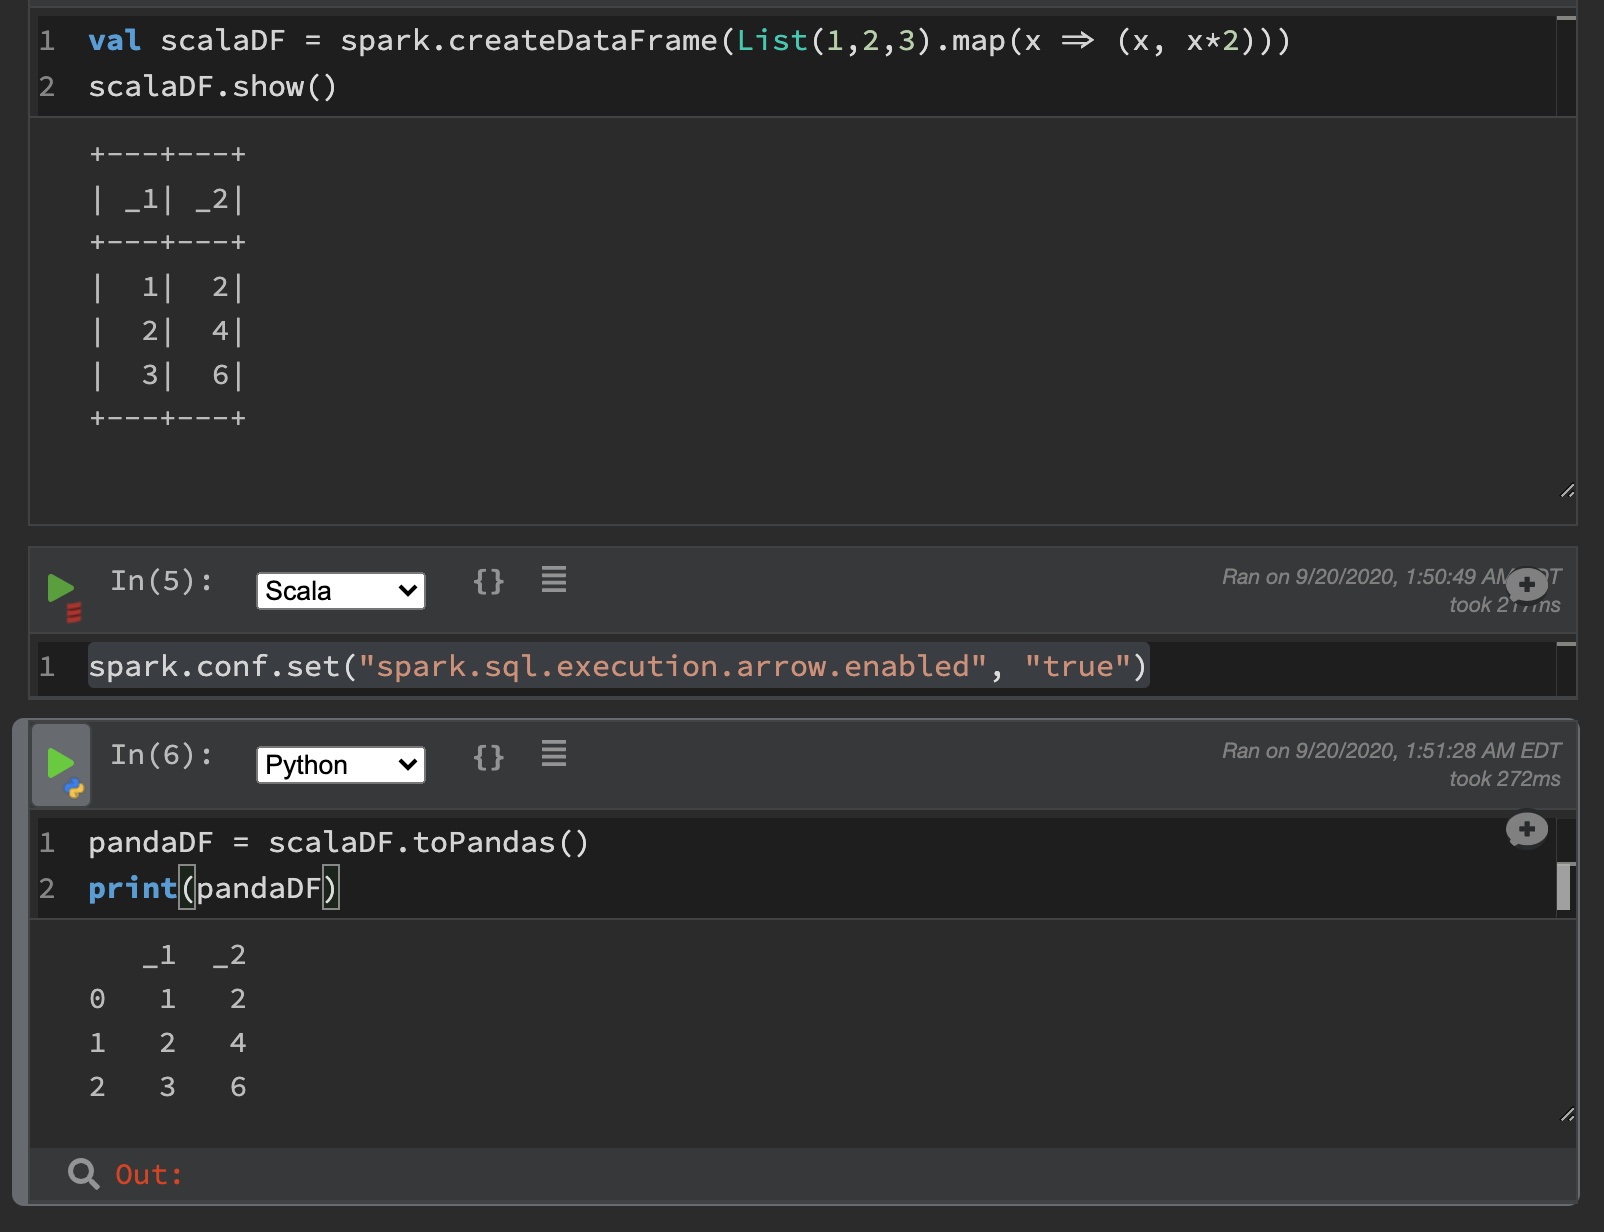
Now see the fun — we can play with Scala and Python. With Arrow execution enabled, the performance is much better too
现在看到的乐趣–我们可以使用Scala和Python。 启用Arrow执行后,性能也会好得多
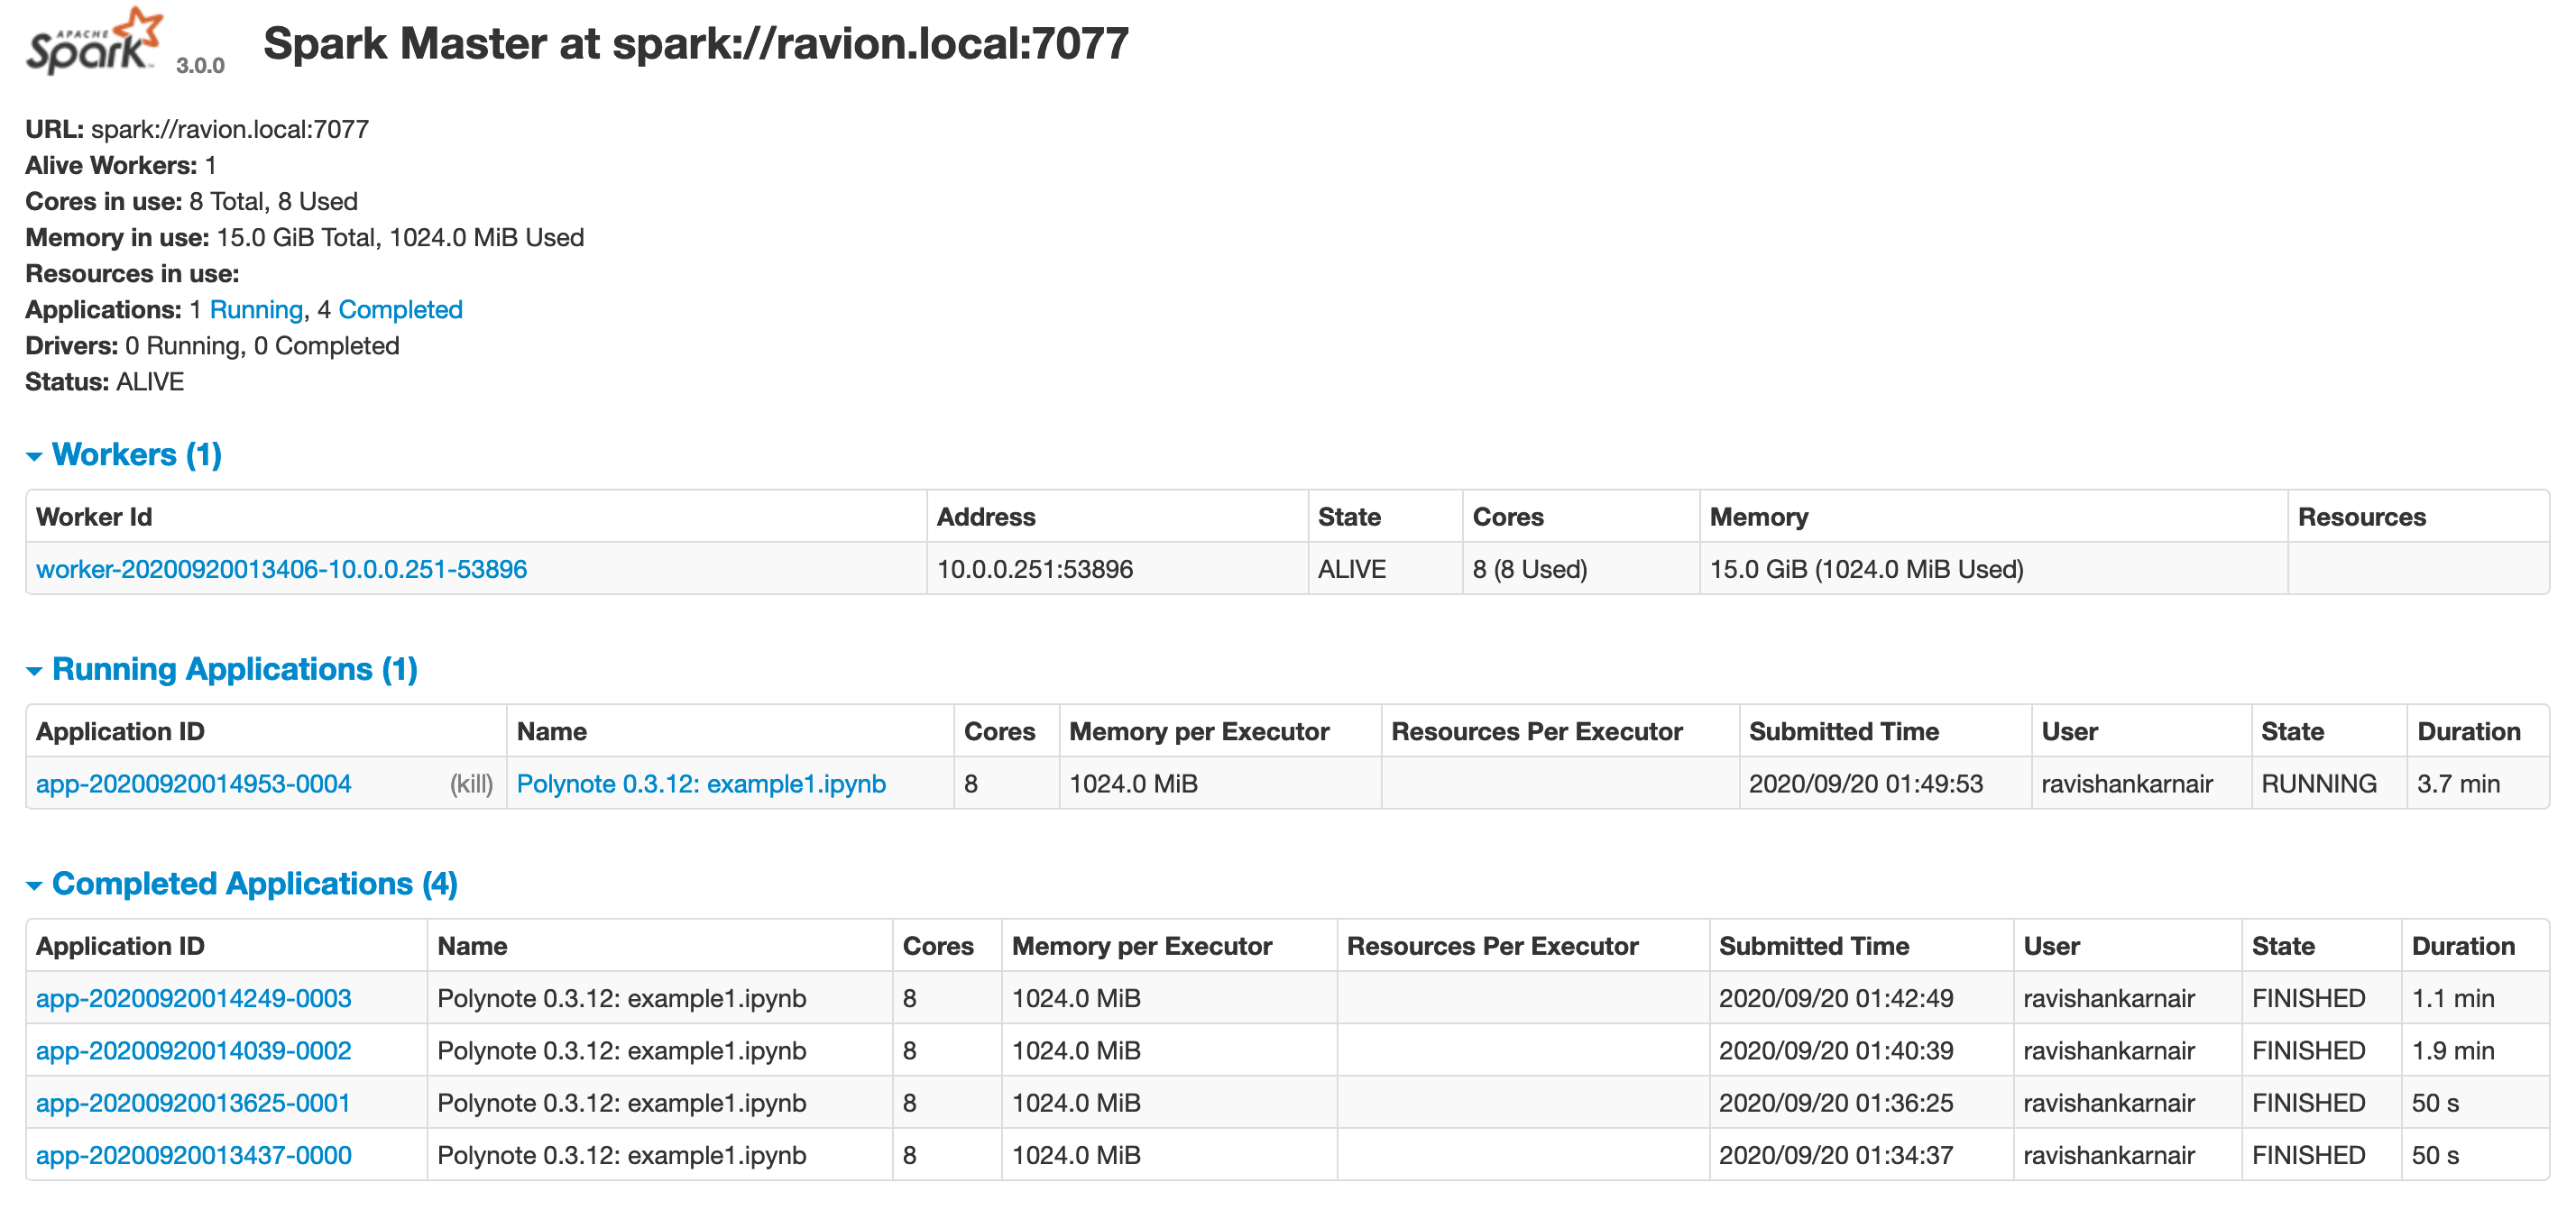
Finally, if you look at Spark UI (default: localhost:8080), you will see PolyNote is submitting jobs to Spark
最后,如果您查看Spark UI(默认值:localhost:8080),您将看到PolyNote正在将作业提交给Spark
There is this excellent article by Netflix which gives you more details of using Polynote here.
有通过Netflix的这一优秀的文章,让你使用Polynote的更多细节在这里。
Thanks for reading. You can connect with me at LinkedIn.
谢谢阅读。 您可以通过LinkedIn与我联系。
netflix设置语言


 2万+
2万+

 被折叠的 条评论
为什么被折叠?
被折叠的 条评论
为什么被折叠?
 到【灌水乐园】发言


