


Hello all. In this blog, I am explaining how to perform routing with Node JS. Routing is one of the most important parts of any Web framework since it defines how our application should handle all the HTTP requests by the client.
大家好。 在此博客中,我将说明如何使用Node JS执行路由。 路由是任何Web框架中最重要的部分之一,因为它定义了我们的应用程序应如何处理客户端的所有HTTP请求。
Creating a Node JS Project
创建一个节点JS项目
Create a new directory and initialize node with the command npm init.
创建一个新目录并使用命令npm init初始化节点。
mkdir helloworld
cd helloworld/
npm init -y
After executing the command, a package.json file generated in the project’s root directory. This holds all the metadata relevant to the project.
执行该命令后,将在项目的根目录中生成一个package.json文件。 这将保存与项目相关的所有元数据。
On this file, we see something called scripts. This is the place where we add our own commands for the project. I am creating a new command which starts my server when I type npm start. The script tells node that it should run the command node index.js every time when I execute the command npm start.
在此文件上,我们看到了称为脚本的内容。 在这里,我们为项目添加了自己的命令。 我正在创建一个新命令,当我键入npm start时,它将启动服务器。 该脚本告诉节点,每当我执行命令npm start时,它应该运行命令node index.js 。
package.json
package.json
"scripts": {"start": "node index.js",
   "test": "echo \"Error: no test specified\" && exit 1"
},
2. Creating a simple Server with Express JS
2. 使用Express JS创建一个简单的服务器
Now let’s create our server. Here we are creating our server using Express.js. Express JS is an open-source web framework for node JS. It is designing for building web apps and APIs. The below command installs express to our project.
现在,让我们创建服务器。 在这里,我们使用Express.js创建服务器。 Express JS是用于节点JS的开源Web框架。 它是为构建Web应用程序和API而设计的。 下面的命令将express安装到我们的项目中。
npm install express --saveWe are using express to create a new server that will be running on the port 8000. Also for the demonstration, I am creating a route that returns hello world.
我们正在使用express创建一个新的服务器,该服务器将在8000端口上运行。同样,为了进行演示,我正在创建一个返回hello world的路由。
index.js
index.js
var express = require('express');
var app = express();app.get('/', function (req, res) {
  res.send('Hello World!');
});app.listen(8000, function () {
  console.log('Listening to Port 8000');
});
Now start the server, you should see hello world being displayed in the browser.
现在启动服务器,您应该看到浏览器中显示了hello world。
npm start3. Organizing Routes in the Main File
3. 在主文件中组织路线
We have successfully created a server and a basic route. Now let’s begin with creating some more routes as done below.
我们已经成功创建了服务器和基本路由。 现在让我们开始创建更多的路由,如下所示。
index.js
index.js
var express = require('express');
var app = express();app.get('/', function (req, res) {
res.send('Hello Joan!');
});app.get('/settings', function (req, res) {
res.send('Settings Page');
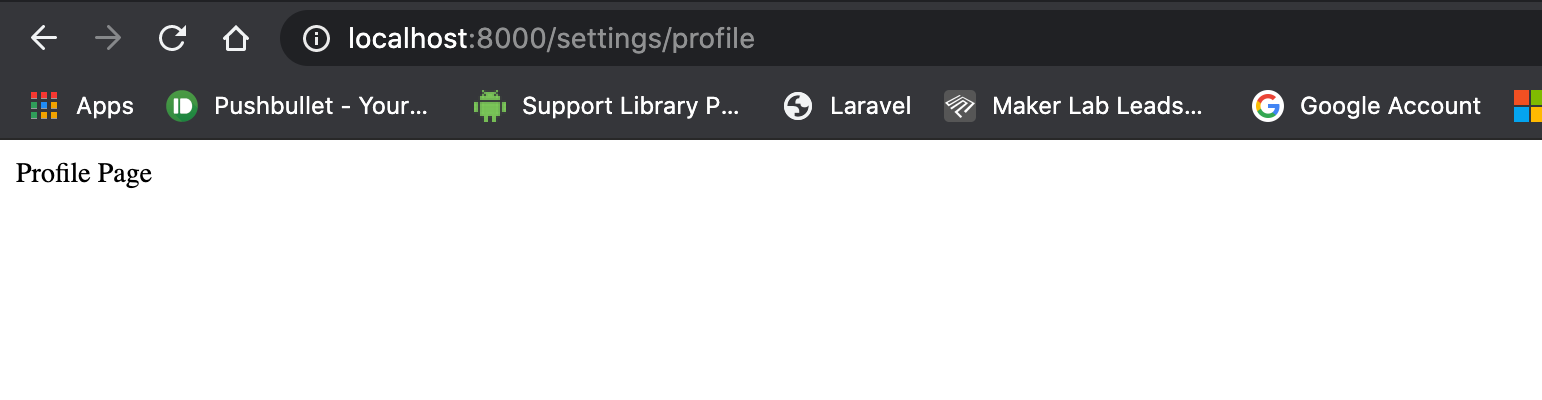
});app.get('/settings/profile', function (req, res) {
res.send('Profile Page');
});app.get('/blogs', function (req, res) {
res.send('All Blogs');
});app.get('/blogs/:id', function (req, res) {
res.send('View Blogs');
});app.listen(8000, function () {
console.log('Listening to Port 8000');
});Once done, visit all the routes. You should see all the responses of respective routes being displayed on the browser.
完成后,访问所有路线。 您应该看到浏览器上显示了各个路由的所有响应。
4. Organizing all routes in a Separate file
4.将所有路线组织在一个单独的文件中
Declaring all the routes in the main file is not a good practice. When there is a situation where we are creating 1000s of routes, it makes our main file look messy, and also debugging becomes so tough. In order to get rid of this problem, we can write all these routes in a separate file and just call them in the main file.
在主文件中声明所有路由不是一个好习惯。 在某些情况下,我们要创建1000条路由,这会使我们的主文件看起来很乱,而且调试也变得如此困难。 为了解决这个问题,我们可以将所有这些路由写入一个单独的文件中,然后在主文件中调用它们。
As seen above, we have created three main routes for settings, blogs, and dashboard. So I am creating three javascript files named settings.js, blogs.js, dashboard.jsunder a newly created Routes folder. My project structure looks like this.
如上所示,我们为settings, blogs,和dashboard.创建了三个主要路线dashboard. 因此,我正在新创建的Routes文件夹下创建三个名为settings.js, blogs.js, dashboard.js javascript文件。 我的项目结构如下所示。

The dashboard.js file handles all the routes with a prefix /.
dashboard.js文件处理所有带有前缀/.的路由/.
Blogs.js file handles all the routes with a prefix /blogs.
Blogs.js文件使用前缀/blogs.处理所有路由/blogs.
Settings.js file handles all the routes with a prefix /settings.
Settings.js文件处理所有带有/settings前缀的路由。
Routes/blogs.js
Routes/blogs.js
const express = require('express')
let app = express.Router()app.get('/', function (req, res) {
res.send('All Blogs');
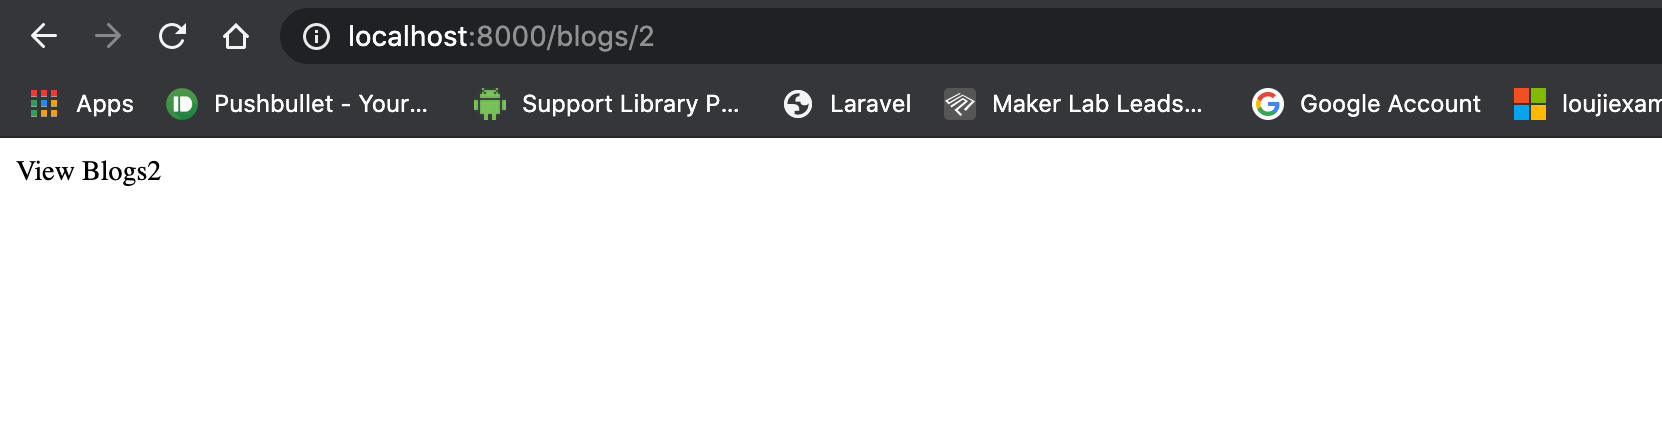
});app.get('/:id', function (req, res) {
res.send('View Blogs' + req.params.id);
});module.exports = appRoutes/dashboard.js
Routes/dashboard.js
const express = require('express')
let app = express.Router()app.get('/', function (req, res) {
    res.send('Dashboard Page');
});module.exports = app
Routes/settings.js
Routes/settings.js
const express = require('express')
let app = express.Router()app.get('/', function (req, res) {
    res.send('Settings Page');
});app.get('/profile', function (req, res) {
    res.send('Profile Page');
});module.exports = app
After creating these files, I am just using them as an express middleware in my main file which is our index.js file. Now just start the server and check if it still works fine. It will.
创建完这些文件后,我只是将它们用作我的主文件(即我们的index.js文件)中的快速中间件。 现在,只需启动服务器并检查它是否仍然可以正常工作。 它会。
index.js
index.js
var express = require('express');
var app = express();const settings = require('./Routes/settings')
const dashborad = require('./Routes/dashboard')
const blogs = require('./Routes/blogs')app.use('/',dashborad)
app.use('/blogs',blogs)
app.use('/settings',settings)app.listen(8000, function () {
    console.log('Listening to Port 8000');
});
Without separating the routes, we need to call routers with the same prefix again and again. Like, If two routers have the same prefix as settings, we need to call both the routers with the prefix name settings again and again. It will be good if we are using only two routers. But it is not the same everywhere right. In a real-world application, we will be using 1000s of routes. This is the reason why we are separating the routes.
在不分离路由的情况下,我们需要一次又一次调用具有相同前缀的路由器。 就像,如果两个路由器具有与settings相同的前缀,我们需要一次又一次调用两个具有前缀名称settings的路由器。 如果我们仅使用两个路由器,那就太好了。 但是到处都是不一样的。 在实际应用中,我们将使用1000条路由。 这就是我们分开路线的原因。
5. Installing Logger Middleware — Morgan
5. 安装Logger中间件-Morgan
In other frameworks like Django, Laravel, we might have seen all the requests and responses we make will be logged in the terminal. So that we can easily identify if our request is valid or has any error. But till now, our server hasn’t logged anything in the terminal. There are some traditional ways to log all the requests. But to make it simple, I am using an express middleware called Morgan.
在Django,Laravel等其他框架中,我们可能已经看到我们发出的所有请求和响应都将记录在终端中。 这样我们就可以轻松确定我们的请求是否有效或有任何错误。 但是到目前为止,我们的服务器尚未在终端中记录任何内容。 有一些传统方法可以记录所有请求。 但是为了简单起见,我使用的是名为Morgan的快速中间件。
Morgan is a middleware that allows us to easily log requests, errors, and more to the console. It’s easy to use, but still powerful and customizable.
Morgan是一种中间件,使我们可以轻松地将请求,错误等记录到控制台。 它易于使用 ,但功能强大且可自定义。
npm install morganConfiguring this is so simple. Just pass morgan within app.use().
配置起来非常简单。 只需在app.use()传递morgan app.use() 。
index.js
index.js
var morgan = require('morgan')app.use(morgan('combined'))
app.use('/',dashborad)
app.use('/blogs',blogs)
app.use('/settings',settings)
Now run the server, so that all the requests will be consoled in the terminal.
现在运行服务器,以便所有请求都将在终端中进行控制台。

Do check my previous blog, where I have explained the basics of Node.js.
Feel free to contact me for any queries.
如有任何疑问,请随时与我联系。
Email: sjlouji10@gmail.com
电子邮件:sjlouji10@gmail.com
Linkedin: https://www.linkedin.com/in/sjlouji/
Linkedin: https : //www.linkedin.com/in/sjlouji/
Complete code on my GitHub: https://github.com/sjlouji/Node-JS-Basics---Medium
我的GitHub上的完整代码: https : //github.com/sjlouji/Node-JS-Basics---Medium
Happy coding…
编码愉快!
翻译自: https://medium.com/swlh/node-js-router-and-routes-a4a3cfced5c4


 1450
1450

 被折叠的 条评论
为什么被折叠?
被折叠的 条评论
为什么被折叠?
 到【灌水乐园】发言


