


 openid示例A walk-through of a concrete implementation of an OpenID Connect Client. OpenID Connect客户端具体实现的演练。 In this article we will walk through the code of an example Client participating in an OAuth...
openid示例
A walk-through of a concrete implementation of an OpenID Connect Client.
OpenID Connect客户端具体实现的演练。
In this article we will walk through the code of an example Client participating in an OAuth 2.0, with OpenID Connect, Authorization Code Grant Flow. The Authorization Server in this example is the Google Identity Platform. The example client consists of an Express (Node.js) backend (download) and React frontend (download). This article is inspired by the excellent material found in An Illustrated Guide to OAuth and OpenID Connect by David Neal which I would recommend reading before diving in further here.
在本文中,我们将通过OpenID Connect(授权代码授予流程)介绍参与OAuth 2.0的示例客户端的代码。 本示例中的授权服务器是Google身份平台 。 该示例客户端由一个Express (Node.js)后端( 下载 )和React前端( 下载 )组成。 本文的灵感来自《 OAuth和OpenID Connect插图指南》中的出色材料。 David Neal撰写的文章,我建议在深入研究之前先阅读一下。
Step 1: The resource owner wants the client to use the identity from the authorization server
步骤1:资源所有者希望客户端使用授权服务器中的身份
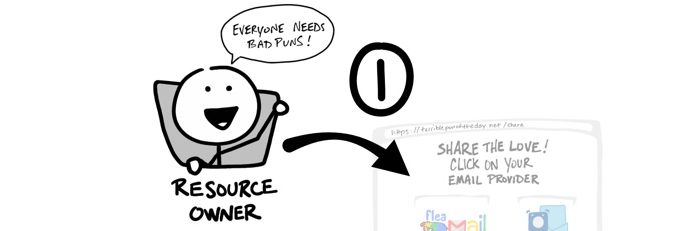
The most relevant code snippet is from the frontend module src/api/oidc.js that prepares the application for login and loads the login screen.
最相关的代码段来自前端模块src / api / oidc.js 准备登录的应用程序并加载登录屏幕。
Points to observe:
注意点:
The login-screen endpoint is provided by the backend application as we will see in the next step
登录屏幕端点由后端应用程序提供,我们将在下一步中看到
We will discuss the purpose of the uniquely generated strings, state, and nonce, in a later section; an important observation here, however, is that we persist in using them in the browser using localStorage
我们将讨论的唯一生成的字符串,州和随机数,在后面的章节的目的; 但是,这里的一个重要观察是,我们坚持使用localStorage在浏览器中使用它们
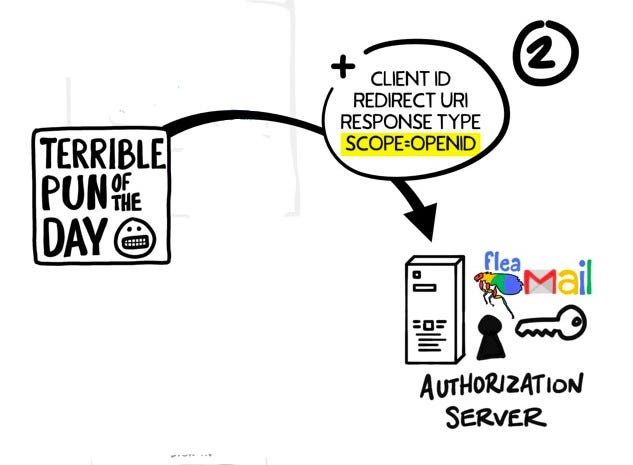
Step 2: Client redirects the browser to the authorization server
步骤2:客户端将浏览器重定向到授权服务器
The m
 最低0.47元/天 解锁文章


 1312
1312


 被折叠的 条评论
为什么被折叠?
被折叠的 条评论
为什么被折叠?
 到【灌水乐园】发言


