


打开所有灯
Undoubtedly one of the most annoying side effects our phones have is its ability to change screen brightness dynamically. Whether it’s a setting enabled on your device to automatically adjust brightness based on your environment, or an app you downloaded manipulates it based on its needs, sometimes it’s just out of your control.
毫无疑问,我们的手机最烦人的副作用之一就是它具有动态更改屏幕亮度的能力。 无论是设备上启用的一项设置来根据您的环境自动调整亮度,还是您下载的应用程序根据其需要对其进行操作,有时它都超出了您的控制范围。
Maybe you’re an avid digital content creator and having your screen brightness at its max is to help your content be “pixel-perfect” and edited just the way you want. Maybe you’re visiting a store and need to scan your screen to quickly and easily pay for something without fumbling through your wallet or purse. Or, maybe you’re at a show or at home for a movie night and having your screen brightness as low as possible is important to one, not blind you, and two, not blind your neighbors. Whatever the backstory, it’s important for the apps we use to consider how we use our phones in our day-to-day lives to create a seamless experience that users will enjoy.
也许您是一个狂热的数字内容创建者,而让屏幕亮度达到最大,则可以使您的内容“像素完美”并按照您想要的方式进行编辑。 也许您正在逛一家商店,需要扫描屏幕才能快速轻松地付款,而又不会弄乱钱包或钱包。 或者,也许您正在看一场演出或在家中度过电影之夜,并且让屏幕亮度尽可能低对于一个人(不要让您蒙蔽您的眼睛,而另一个,而不是让您的邻居蒙蔽您)很重要。 无论背景如何,对于我们用来考虑我们在日常生活中如何使用手机的应用程序以创造无缝的用户体验都非常重要。
Let’s look at how we can help with this experience in native development using Ionic React with Ionic React Hooks (recently renamed to React Hooks for Capacitor). Keep reading if you have basic experience with React and React Hooks. If not, I would suggest getting familiar with React and then hop back on over!
让我们看一下如何使用Ionic React和Ionic React Hooks(最近更名为电容器的React Hooks)在原生开发中提供帮助。 如果您具有React和React Hooks的基本经验,请继续阅读。 如果没有,我建议您熟悉React ,然后再跳过去!
为什么选择离子React? (Why Ionic React?)
Short answer? Ionic React is ultimately just… React. Music to my ears.
简短的答案? 离子React最终就是……React。 音乐在我耳边。
Ionic React is also built using web components, making it compatible with a multitude of web libraries and supports iOS, Android, Desktop, and PWA (i.e. progressive web apps) all by using one shared codebase (I‘m hearing music again…).
Ionic React也使用Web组件构建,使其与众多Web库兼容,并通过使用一个共享代码库(我再次听到音乐…)来支持iOS,Android,桌面和PWA(即,渐进式Web应用程序)。
离子React钩重新引入 (Ionic React Hooks Re-introduced)
Ionic announced their launch of Ionic React Hooks back in December of 2019. It has recently been renamed and moved to the Capacitor Community org — @capacitor-community/react-hooks. This package provides a collection of wrappers around Capacitor APIs along with a few other Ionic platform-specific features.
Ionic于2019年12月宣布推出Ionic React Hooks 。它最近已重命名并移至Capacitor Community组织- @ capacitor-community / react-hooks 。 该软件包提供了围绕电容器API的包装器集合以及其他一些特定于Ionic平台的功能。
Alright, cool. But, why do we need this? Well, our work is cut out for us when it comes to answering the question: Is my app currently in the foreground (active) or in the background (inactive)?
好吧,酷。 但是,为什么我们需要这个呢? 好吧,在回答这个问题时,我们的工作很辛苦:我的应用程序当前处于前台(活动)还是处于后台(不活动)?
I stumbled upon this package in my quest for learning how to keep track of app state in the most efficient and accurate way possible, and this was a nice surprise to find. Even better, it was started by the Capacitor team themselves and welcomes new ideas for hooks from the community — yet another benefit of using Ionic React. With this package, we’ll be able to keep track of whether our app is active or inactive in a very concise and straightforward way. So, let’s get started on building our app and seeing how this all comes together.
在尝试学习如何以最有效和最准确的方式跟踪应用程序状态时,我偶然发现了这个软件包,这真是一个惊喜。 更好的是,它是由电容器团队自己发起的,并欢迎社区提出新的想法-使用Ionic React的另一个好处。 有了这个软件包,我们将能够以一种非常简洁明了的方式来跟踪我们的应用程序是处于活动状态还是非活动状态。 因此,让我们开始构建我们的应用程序,看看这一切如何结合在一起。
创建我们的Ionic React应用 (Creating Our Ionic React App)
First, let’s build a very basic Ionic React App that will display a card letting us know what our screen brightness currently is. We will also add a button to route us to a page where our screen brightness will automatically change to maximum brightness. From there, we can dig into how we can make seamless changes in screen brightness that feels “natural” to the user.
首先,让我们构建一个非常基本的Ionic React App,它将显示一张卡片,让我们知道当前屏幕的亮度。 我们还将添加一个按钮,将我们路由到页面亮度将自动更改为最大亮度的页面。 从那里,我们可以深入研究如何对用户感到“自然”的屏幕亮度进行无缝更改。
- We will need to install the latest version of the Ionic CLI. 我们将需要安装最新版本的Ionic CLI。
npm i -g @ionic/cli2. Now we can create our new project and get it running in the browser. Ionic React will automatically create your project using Typescript, by the way 😏.
2.现在,我们可以创建我们的新项目,并使其在浏览器中运行。 Ionic React将通过Typescript使用Typescript自动创建您的项目。
ionic start my-screen-brightness blank --type=react
ionic serve
3. Let’s make sure we also have what we need for manipulating screen brightness, tracking app state, and then sync your project.
3.确保我们也拥有操纵屏幕亮度,跟踪应用程序状态以及同步项目所需的功能。
npm i @ionic-native/core --save
npm i cordova-plugin-brightness
npm i @ionic-native/brightness
npm i @capacitor-community/react-hooks
npx cap sync
4. Lastly, we need to create iOS and Android apps to run locally on our device. Read the docs for iOS and Android to be sure you have all dependencies installed prior to taking this step.
4.最后,我们需要创建iOS和Android应用程序以在设备上本地运行。 在执行此步骤之前,请阅读适用于iOS和Android的文档,以确保已安装所有依赖项。
npx cap add ios
npx cap add android
npx cap sync
From here we can create a simple functional component as the Home page that will render a card letting us know how bright our screen is and a button that will take us to a page with a QR code to scan.
在这里,我们可以创建一个简单的功能组件作为主页,该组件将呈现一张卡片,使我们知道屏幕的亮度,以及一个按钮,该按钮会将我们带到带有QR码的页面进行扫描。
import React, { useState, useEffect } from 'react';
import { IonContent, IonHeader, IonPage, IonTitle, IonToolbar, IonCard, IonCardHeader, IonCardSubtitle, IonCardTitle, IonCardContent, IonItem, IonIcon, IonLabel, IonButton } from '@ionic/react';
import { arrowForwardOutline } from 'ionicons/icons';
import { Brightness } from '@ionic-native/brightness';
import { useHistory } from "react-router-dom";
import './Home.css';


const Home: React.FC = () => {
  const history = useHistory();
  const goToScan = () => history.push('/scan-code');
  return (
    <IonPage>
      <IonHeader>
        <IonToolbar>
          <IonTitle>My Screen Brightness</IonTitle>
        </IonToolbar>
      </IonHeader>
      <IonContent>
        <IonCard>
          <IonCardHeader>
            <IonCardSubtitle>Current Brightness Level</IonCardSubtitle>
            <IonCardTitle>"Our Brightness Level Goes Here"</IonCardTitle>
          </IonCardHeader>
        </IonCard>
        <IonCard>
          <IonItem onClick={goToScan} className="ion-activated">
            <IonIcon icon={arrowForwardOutline} slot="start" size="small"/>
            <IonLabel>Take me to the light</IonLabel>
          </IonItem>
        </IonCard>
      </IonContent>
    </IonPage>
  );
};


export default Home;
它有多亮? (How Bright Is It?)
Now that we have built our Ionic React app, let’s look at how we can get the brightness level of our device screen. This is where @ionic-native/brightness comes in. We simply import the Brightness methods to be able to get the brightness level and set the brightness level we want. For now, we just want to get the current value. So, let’s add a simple useEffect that will give us the value of our screen’s brightness when the home page mounts.
现在我们已经构建了Ionic React应用程序,让我们看一下如何获取设备屏幕的亮度。 这是@ ionic-native / brightness的来源。我们只需导入Brightness方法即可获取亮度级别并设置所需的亮度级别。 现在,我们只想获取当前值。 因此,让我们添加一个简单的useEffect,当安装主页时,它将为我们提供屏幕亮度的值。
import React, { useState, useEffect } from 'react';
import { IonContent, IonHeader, IonPage, IonTitle, IonToolbar, IonCard, IonCardHeader, IonCardSubtitle, IonCardTitle, IonCardContent, IonItem, IonIcon, IonLabel, IonButton } from '@ionic/react';
import { arrowForwardOutline } from 'ionicons/icons';
import { Brightness } from '@ionic-native/brightness';
import { useHistory } from "react-router-dom";
import './Home.css';


const Home: React.FC = () => {
  const history = useHistory();
  const goToScan = () => history.push('/scan-code');
  const [brightnessLevel, setBrightnessLevel] = useState(0);
  useEffect(() => {
    Brightness.getBrightness()
      .then(brightness => {
        setBrightnessLevel(brightness)
      })
  }, []);
  return (
    <IonPage>
      <IonHeader>
        <IonToolbar>
          <IonTitle>My Screen Brightness</IonTitle>
        </IonToolbar>
      </IonHeader>
      <IonContent>
        <IonCard>
          <IonCardHeader>
            <IonCardSubtitle>Current Brightness Level</IonCardSubtitle>
            <IonCardTitle>{brightnessLevel}</IonCardTitle>
          </IonCardHeader>
        </IonCard>


        <IonCard>
          <IonItem onClick={goToScan} className="ion-activated">
            <IonIcon icon={arrowForwardOutline} slot="start" size="small"/>
            <IonLabel>Take me to the light</IonLabel>
          </IonItem>
        </IonCard>
      </IonContent>
    </IonPage>
  );
};


export default Home;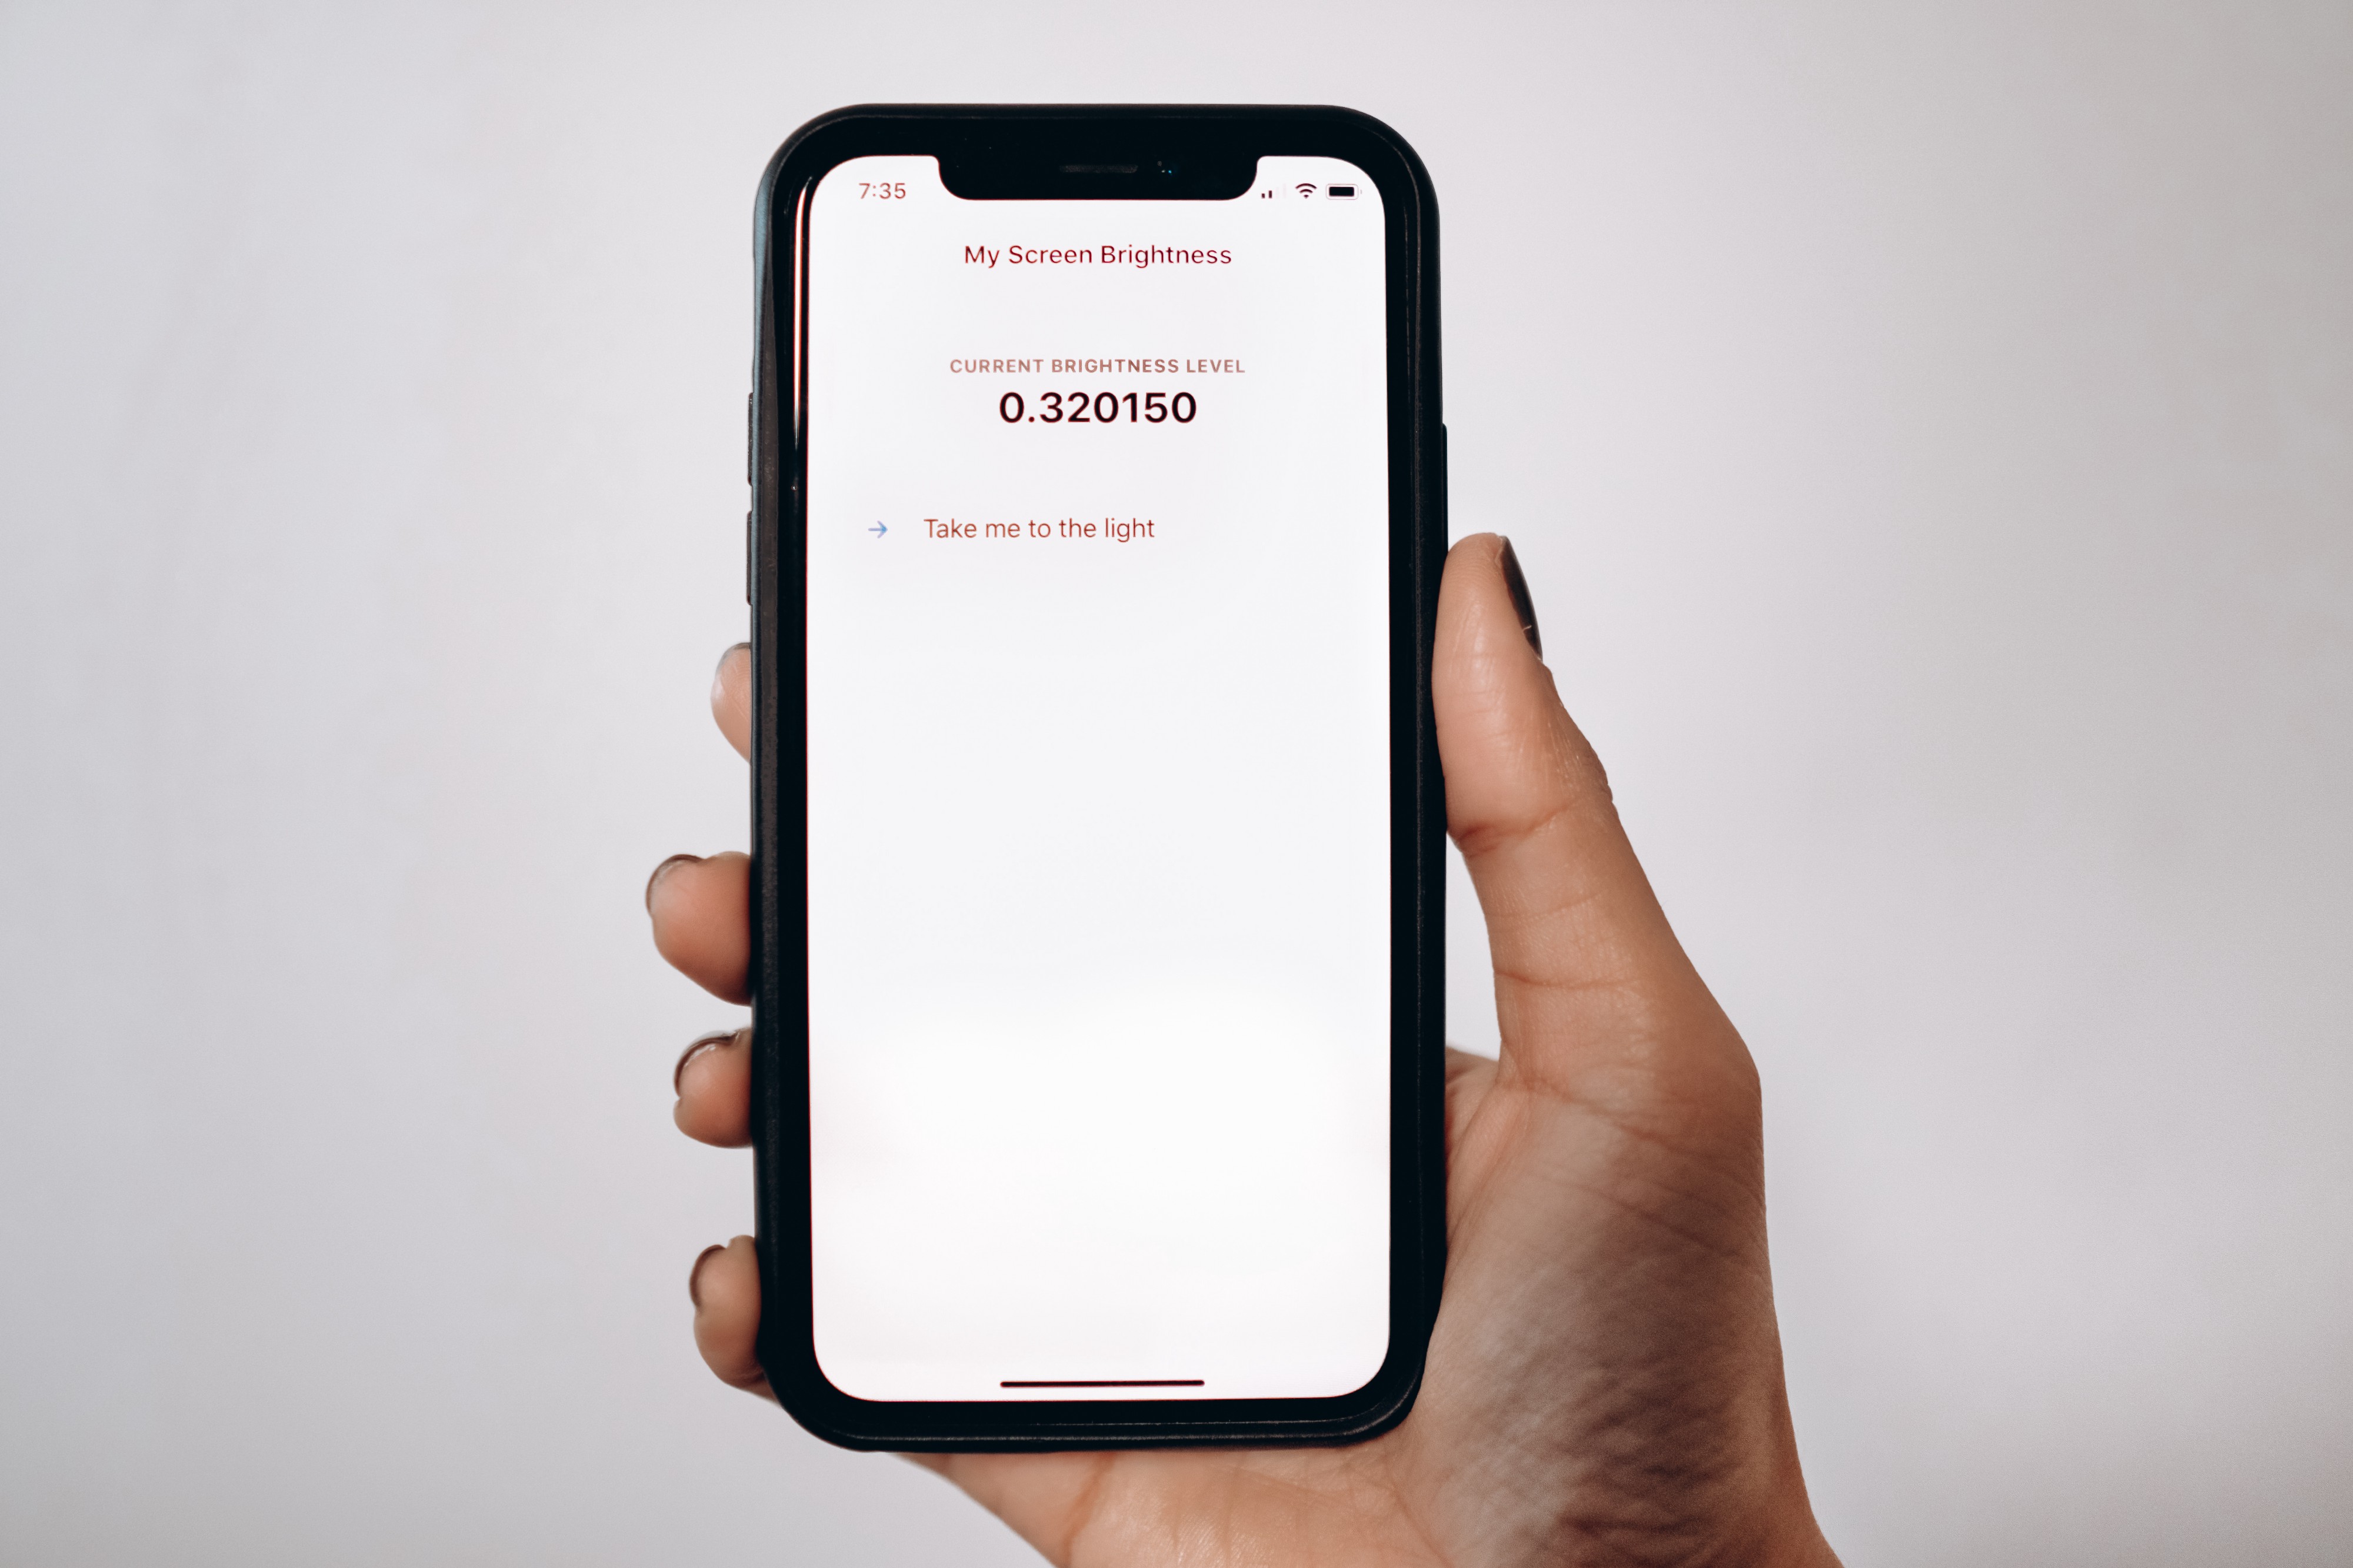
Let’s Manipulate!
让我们来操纵!
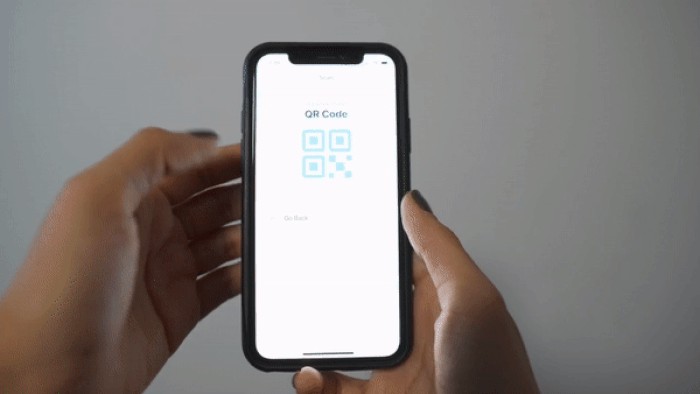
Now that we know what our brightness level is, let’s navigate over to a page that requires us to have the maximum brightness level. This is common in any app where you may need to scan a QR/bar code or watching a video. Here, we will want to scan a QR code.
现在我们知道了亮度水平,让我们导航到一个要求我们具有最大亮度水平的页面。 这在您可能需要扫描QR /条形码或观看视频的任何应用中都很常见。 在这里,我们将要扫描QR码。
import React from 'react';
import { IonContent, IonHeader, IonPage, IonTitle, IonToolbar, IonCard, IonCardHeader, IonCardSubtitle, IonCardTitle, IonCardContent, IonItem, IonIcon, IonLabel } from '@ionic/react';
import { arrowBackOutline, qrCodeOutline } from 'ionicons/icons';
import useBrightness from '../../hooks/useBrightness';
import { useHistory } from "react-router-dom";
import './Scan.css';


const Scan: React.FC = (props) => {
  // Here we call our custom hook that will allow us to manipulate the screen brightness.
  useBrightness();
  const { push } = useHistory();
  const goHome = () => push('/home');
  return (
    <IonPage>
      <IonHeader>
        <IonToolbar>
          <IonTitle>Scan</IonTitle>
        </IonToolbar>
      </IonHeader>
      <IonContent>
        <IonCard>
          <IonCardHeader>
            <IonCardSubtitle>Use Scan To Pay</IonCardSubtitle>
            <IonCardTitle>QR Code</IonCardTitle>
          </IonCardHeader>
          <IonCardContent>
            <IonIcon icon={qrCodeOutline} slot="start" size="large" />
          </IonCardContent>
        </IonCard>
        <IonCard>
          <IonItem onClick={goHome} className="ion-activated">
            <IonIcon icon={arrowBackOutline} slot="start" size="small"/>
            <IonLabel>Go Back</IonLabel>
          </IonItem>
        </IonCard>
      </IonContent>
    </IonPage>
  );
};


export default Scan;
Let’s create a custom useBrightness hook (that we are calling in the above Scan page) to set maximum brightness on this page while storing the user’s initial brightness.
让我们创建一个自定义的useBrightness挂钩(在上面的“扫描”页面中调用),以在存储用户的初始亮度的同时在此页面上设置最大亮度。
import { useEffect, useState } from 'react';
import { Brightness } from '@ionic-native/brightness';
import { useAppState } from '@capacitor-community/react-hooks/app';


const useBrightness = () => {
  // This allows us to know when the app is being foregrounded or backgrounded.
  const { state: appIsActive } = useAppState();
  // Store the user's current brightness level.
  const [originalBrightness, setOriginalBrightness] = useState(0);


  // Get the brightness level when the component mounts.
  useEffect(() => {
    let initialBrightness: number;
    Brightness.getBrightness()
      // Store the user's initial brightness.
      .then(brightness => {
        console.log({ brightness });
        initialBrightness = brightness;
        setOriginalBrightness(brightness)
      })
      // Set the brightness to the max value.
      .then(() => Brightness.setBrightness(1));


    // if the user leaves while remaining in the app,
    // revert the brightness to the initial value.
    return () => {
      Brightness.setBrightness(initialBrightness);
    }
  }, []);
}


export default useBrightness;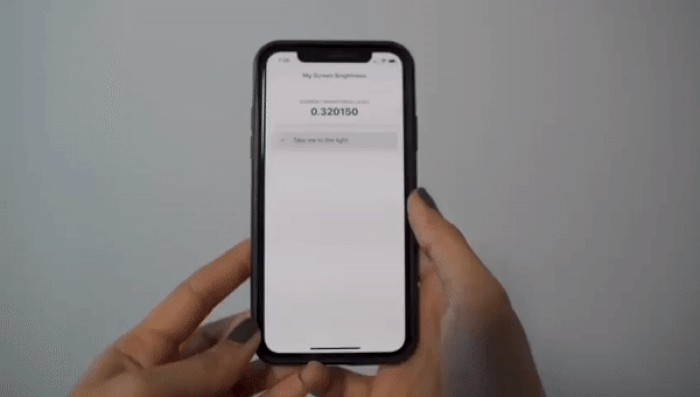
Who turned on the lights?! Oh, that’s right…we did 🙂. But, we need to consider the behavior of your everyday user. Chances are, they will get distracted at some point in their journey on our app and will switch over to another app or return to their home screen. No fear! We have the perfect cocktail for this — our custom useBrightness hook combined with the appState Capacitor hook. So, let’s go ahead and import the appState hook into our custom hook and see what this will look like.
谁打开了灯? 哦,是的...我们做到了。 但是,我们需要考虑您日常用户的行为。 在应用程序的旅途中,他们有时会分心,并会切换到另一个应用程序或返回主屏幕。 不怕! 为此,我们有一个完美的鸡尾酒-我们的自定义useBrightness挂钩与appState电容器挂钩相结合。 因此,我们继续将appState挂钩导入到我们的自定义挂钩中,看看会是什么样。
import { useEffect, useState } from 'react';
import { Brightness } from '@ionic-native/brightness';
import { useAppState } from '@capacitor-community/react-hooks/app';


const useBrightness = () => {
  // This allows us to know when the app is being foregrounded or backgrounded.
  const { state: appIsActive } = useAppState();
  // Store the user's current brightness level.
  const [originalBrightness, setOriginalBrightness] = useState(0);


  // Get the brightness level when the component mounts.
  useEffect(() => {
    let initialBrightness: number;
    Brightness.getBrightness()
      // Store the user's initial brightness.
      .then(brightness => {
        initialBrightness = brightness;
        setOriginalBrightness(brightness)
      })
      // Set the brightness to the max value.
      .then(() => Brightness.setBrightness(1));


    // if the user leaves while remaining in the app,
    // revert the brightness to the initial value.
    return () => {
      Brightness.setBrightness(initialBrightness);
    }
  }, []);


  // This allows us to toggle brightness when our app is
  // backgrounded while on a page requiring max brightness.
  useEffect(() => {
    if (originalBrightness) {
      const brightnessLevel = appIsActive ? 1 : originalBrightness;
      Brightness.setBrightness(brightnessLevel);
    }
  }, [appIsActive, originalBrightness]);
}


export default useBrightness;
Great! So we are now able to keep track of when our app is active or inactive, allowing us to easily revert the user’s screen brightness:
大! 因此,我们现在可以跟踪应用程序何时处于活动状态或不活动状态,从而使我们可以轻松地还原用户的屏幕亮度:
任务完成 (Mission Accomplished)
With these changes, users won’t be as frustrated when switching through their apps. The change in brightness will feel temporary to them and specific to the QR code screen they were on — hence, a more natural feeling they may not think twice about. There’s definitely further tweaking we can do in this scenario when we really dive in deep to consider all vantage points. For example, what if a user decides to adjust their screen brightness WHILE on a page where the app has already manipulated the brightness 🤔? But, we’ll save that discussion for another day.
通过这些更改,用户在切换其应用程序时不会感到沮丧。 对于他们来说,亮度的变化将是暂时的,并且特定于他们所在的QR码屏幕-因此,他们可能不会三思而后行。 当我们深入研究所有优势时,在这种情况下我们肯定可以做进一步的调整。 例如,如果用户决定在应用程序已经操纵了亮度a的页面上调整屏幕亮度,该怎么办? 但是,我们会将讨论保留另一天。
翻译自: https://medium.com/rbi-tech/who-turned-on-the-lights-579c12fda6b
打开所有灯


 311
311

 被折叠的 条评论
为什么被折叠?
被折叠的 条评论
为什么被折叠?
 到【灌水乐园】发言


