


TailwindCSS is a hot topic in the web development world and Angular devs want in on the action. I’ve been seeing developers asking how to use Angular and TailwindCSS together all over the internet, from Stack Overflow, to Twitter and blog post comments. If you haven’t heard of TailwindCSS, it is a fantastic utility-first CSS framework. If you want to build Angular apps fast, this is the framework for you! Continue reading for a simple explanation on how to integrate TailwindCSS with Angular.
TailwindCSS是Web开发世界中的热门话题,Angular开发人员希望参与其中。 我一直在看到开发人员询问如何在Internet上(从Stack Overflow,Twitter和博客文章评论)一起使用Angular和TailwindCSS。 如果您还没有听说过TailwindCSS ,那么它是一个奇妙的实用程序优先CSS框架。 如果您想快速构建Angular应用,这就是适合您的框架! 继续阅读以获取有关如何将TailwindCSS与Angular集成的简单说明。
创建您的Angular应用 (Create Your Angular App)
First, let’s create our angular application.
首先,让我们创建角度应用程序。
ng new tailwindcss-angular-appWhen the CLI asks you which styling framework to use, choose SCSS.
当CLI询问您使用哪种样式框架时,请选择SCSS。
设置TailwindCSS (Set Up TailwindCSS)
安装依赖项 (Install dependencies)
Next, let's install TailwindCSS.
接下来,让我们安装Tailwind CSS。
npm install tailwindcss -DNext, we will install @angular-builders/custom-webpack for a custom webpack build step and the various postcss packages for building Tailwind.
接下来,我们将为自定义Webpack构建步骤安装@ angular-builders / custom-webpack以及用于构建Tailwind的各种postcss软件包。
npm install @angular-builders/custom-webpack 创建webpack.config.js (Create webpack.config.js)
Create a webpack.config.js file at the root of your project with the following contents:
在项目的根目录下创建一个webpack.config.js文件,其内容如下:
module.exports = {
  module: {
    rules: [
      {
        test: /\.scss$/,
        loader: 'postcss-loader',
        options: {
          ident: 'postcss',
          syntax: 'postcss-scss',
          plugins: () => [
            require('postcss-import'),
            require('tailwindcss'),
            require('autoprefixer'),
          ]
        }
      }
    ]
  }
};
修改angular.json (Modify angular.json)
This will tell our application to use our custom builder for Angular’s CLI build and serve commands.
这将告诉我们的应用程序将自定义生成器用于Angular的CLI构建和服务命令。
ng config projects.<your-project>.architect.build.builder @angular-builders/custom-webpack:browserng config projects.<your-project>.architect.build.options.customWebpackConfig.path webpack.config.jsng config projects.<your-project>.architect.serve.builder @angular-builders/custom-webpack:dev-serverng config projects.<your-project>.architect.serve.options.customWebpackConfig.path webpack.config.js初始化TailwindCSS (Initialize TailwindCSS)
To create the configuration file for TailwindCSS, execute the following:
要为TailwindCSS创建配置文件,请执行以下操作:
npx tailwind initTailwindCSS ships with default styles, but you can use this file to customize themes, breakpoints, colors, spacing, and more!
TailwindCSS附带默认样式,但是您可以使用此文件来自定义主题,断点,颜色,间距等!
注入尾风的样式 (Inject Tailwind’s Styles)
In your root style sheet src/styles.scss inject Tailwind’s base, component, and utilities styles:
在你的根样式表src/styles.scss注入顺风的base , component ,以及utilities样式:
@import 'tailwindcss/base';
@import 'tailwindcss/components';
@import 'tailwindcss/utilities';
测试一下! (Test it Out!)
Paste the following code into your app.component.html file, run your app ng serve, and see TailwindCSS working in your own Angular application!
将以下代码粘贴到您的app.component.html文件中,运行您的应用程序ng serve ,并查看TailwindCSS在您自己的Angular应用程序中工作!
<h1 class="my-8 text-center text-6xl font-bold"><span class="text-teal-500">TailwindCSS</span> and <span class="text-red-600">Angular</span> is awesome!</h1>
<p class="text-center text-3xl">Thanks for reading!</p>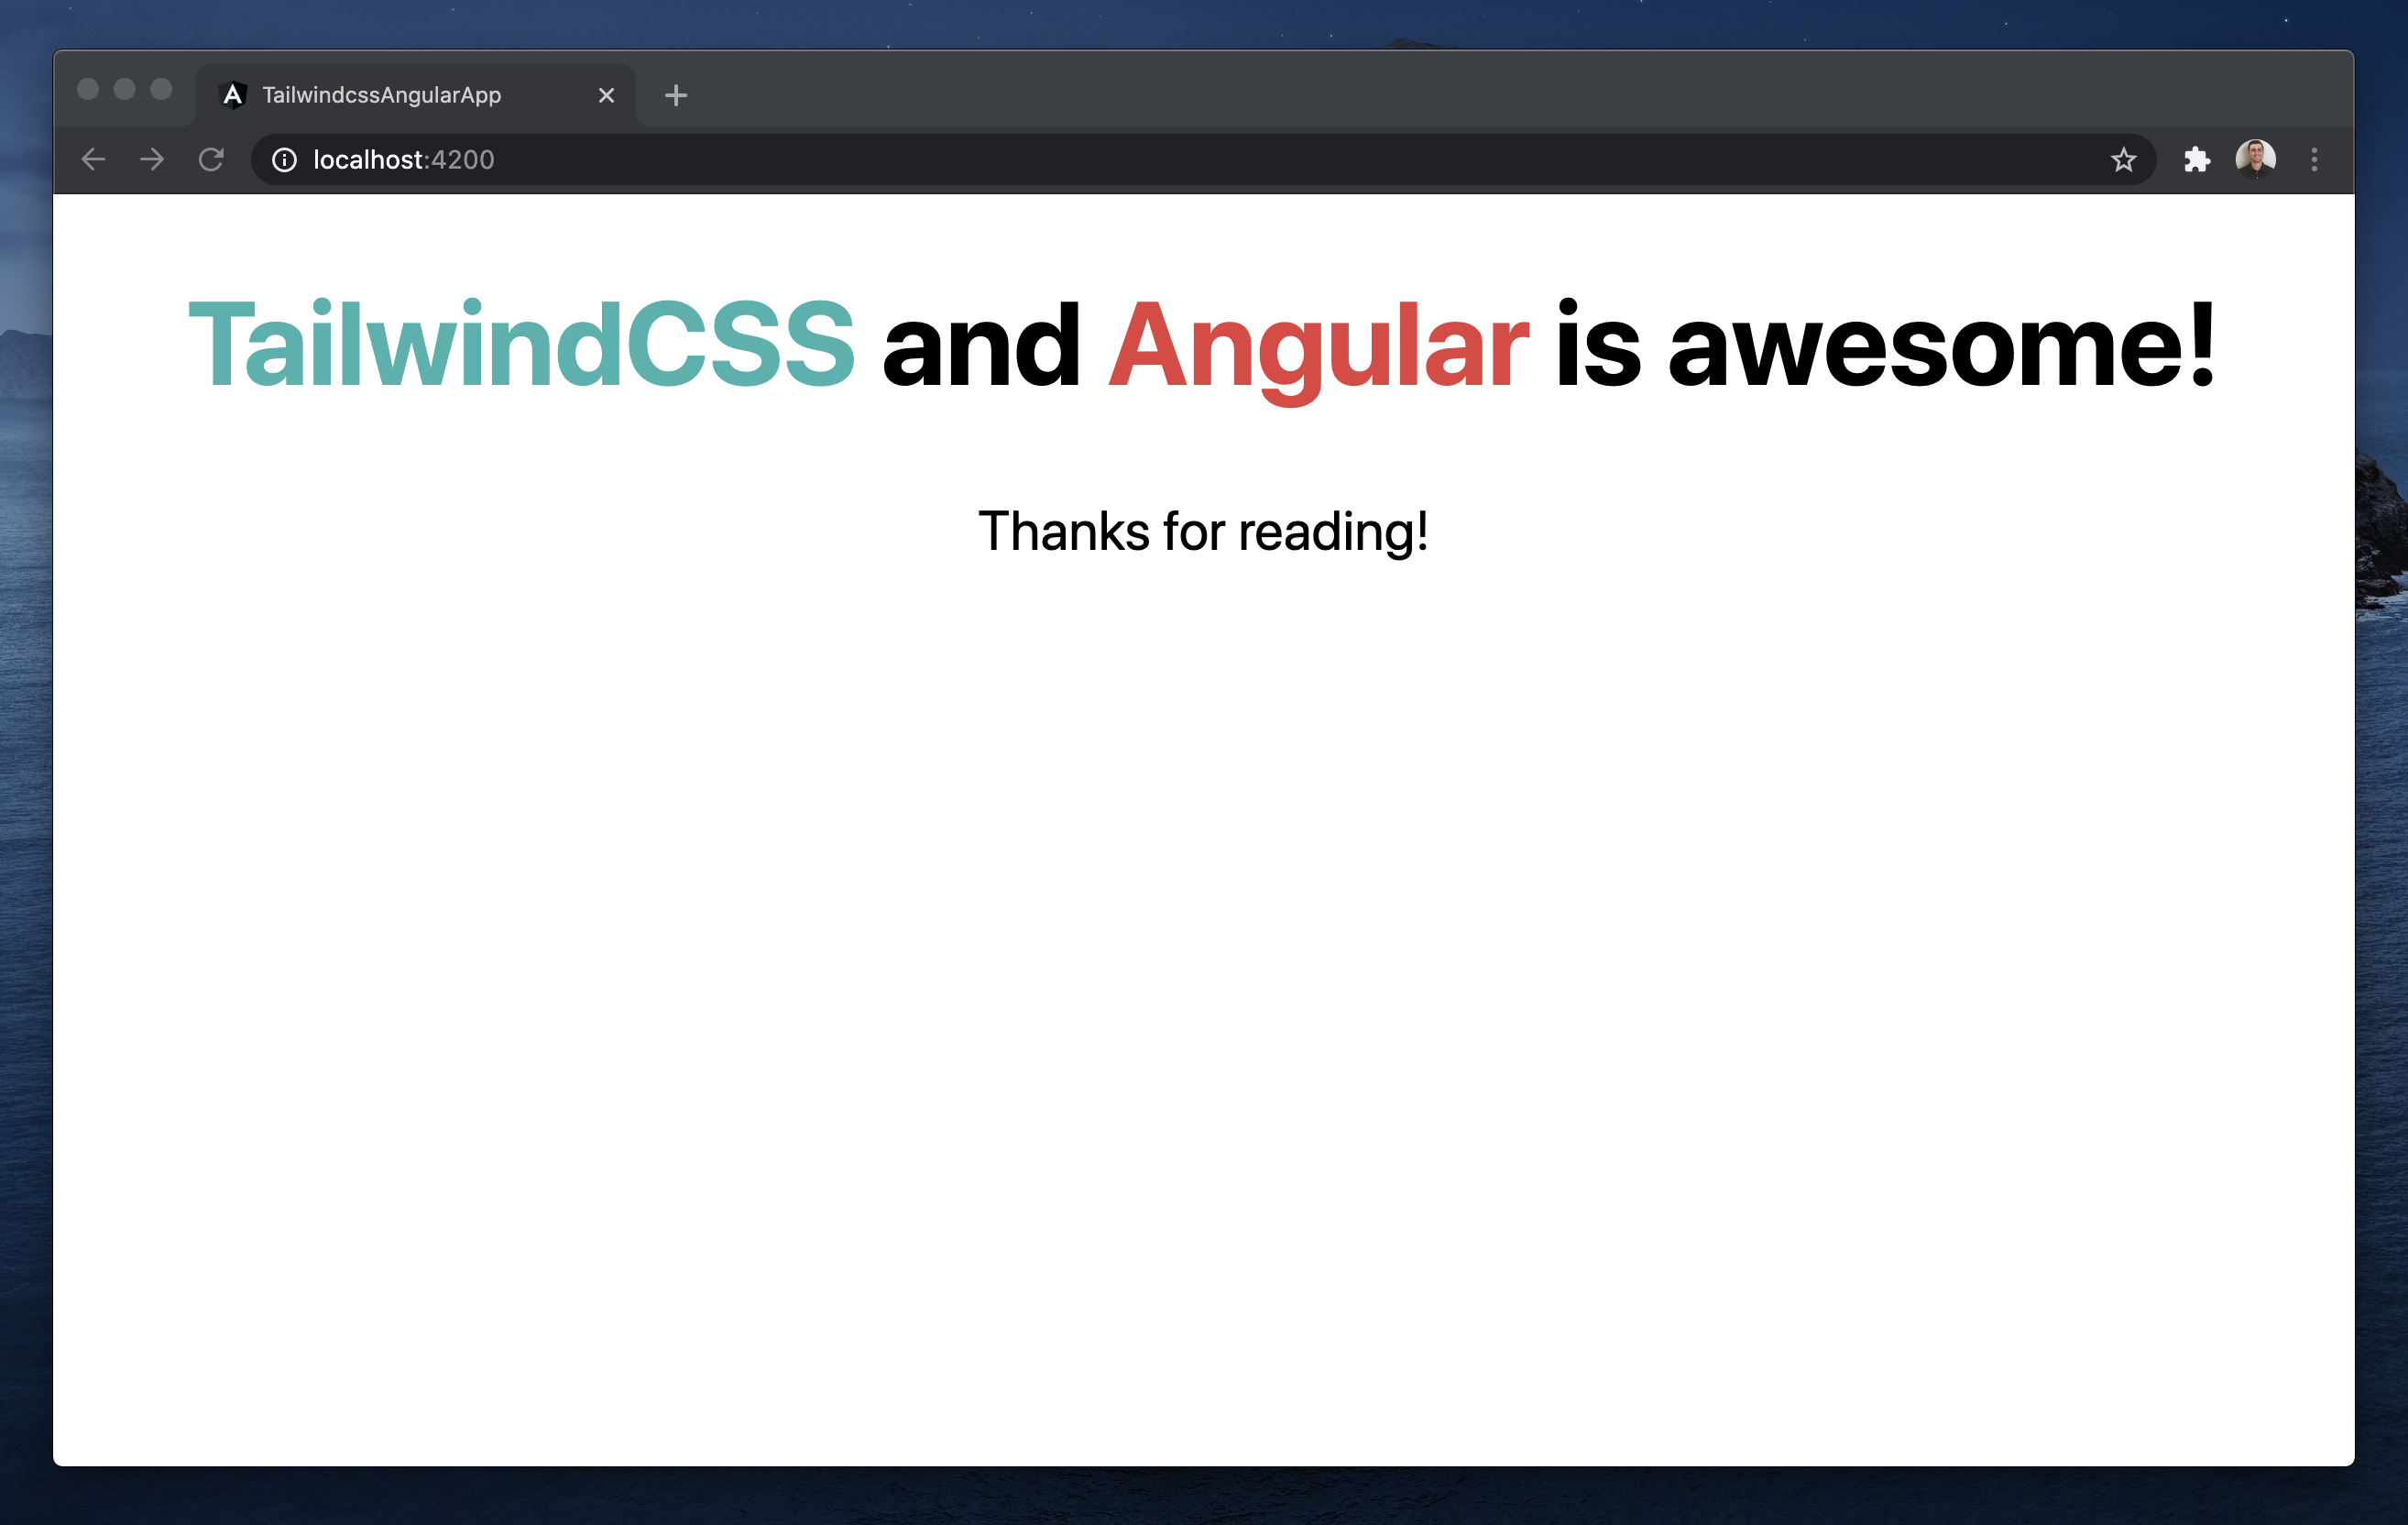
奖励:清除未使用的TailwindCSS类 (Bonus: Purge Unused TailwindCSS Classes)
At this point, when building our application for production ng build --prod, you will see a whopping 1.3MB styles.css file 😳.
此时,在构建用于生产ng build --prod应用程序时,您将看到一个巨大的1.3MB的styles.css文件😳。

In general, you are only going to use a fraction of the classes that TailwindCSS provides, so we can safely purge any unused classes.
通常,您将只使用TailwindCSS提供的部分类,因此我们可以安全地清除任何未使用的类。
First, install dotenv.
首先,安装dotenv 。
npm install dotenv -DWe will use dotenv for loading an environment variable that tells Tailwind if we need to purge unused classes or not.
我们将使用dotenv加载一个环境变量,该变量告诉Tailwind是否需要清除未使用的类。
Next, let’s modify our tailwind.config.js file to purge any unused classes. We simply require dotenv, access the ENABLE_PURGE environment variable (if not found, say in your local environment, defaults to false), set purge enabled to true if purge is true, and search any *.html and *.scss files for classes that we’ve used.
接下来,让我们修改我们的tailwind.config.js文件以清除所有未使用的类。 我们只需要dotenv ,访问ENABLE_PURGE环境变量(如果未找到,例如在您的本地环境中,默认为false),如果purge为true,则将purge enabled设置为true,并在任何*.html和*.scss文件中搜索以下类:我们已经习惯了。
+require('dotenv').config();
+const enablePurge = process.env.ENABLE_PURGE || false;
module.exports = {
-  purge: [],
+  purge: {
+    enabled: enablePurge,
+    content: [
+      './src/**/*.html',
+      './src/**/*.scss'
+    ]
+  },
  theme: {
    extend: {},
  },
  variants: {},
  plugins: [],
}
Lastly, don’t forget to create your .env file with ENABLE_PURGE set to true. As a note, you don’t need to do this for local development, but I do urge purging any unused classes in higher environments like test and production.
最后,不要忘记在ENABLE_PURGE设置为true的情况下创建.env文件。 需要注意的是,您无需在本地开发中执行此操作,但是我强烈要求清除更高级别的环境(如测试和生产)中所有未使用的类。
ENABLE_PURGE=trueNow if you run ng build --prod your styles.css file will look much, much smaller, a solid 5.24KB 😁.
现在,如果您运行ng build --prod您的styles.css文件将看起来ng build --prod很多,坚实的5.24KB😁。

Check out my GitHub repo that demonstrates this tutorial!
查看我的GitHub存储库 ,以演示本教程!
最后的想法 (Final Thoughts)
Integrating TailwindCSS into your Angular app is as simple as that. I use it for almost all of my Angular applications. It makes development lightning fast and I would recommend it to everyone! Do you have any additional questions regarding using TailwindCSS with Angular? Post your questions in the comments and I’ll get back to you! Thanks for reading!
将TailwindCSS集成到Angular应用程序就这么简单。 我几乎将其用于所有Angular应用程序。 它使开发闪电般快速,我会推荐给所有人! 关于将TailwindCSS与Angular结合使用,您还有其他疑问吗? 在评论中发表您的问题,我会尽快回复您! 谢谢阅读!
You can find me on Twitter, GitHub, LinkedIn, and my website!
翻译自: https://medium.com/@jacobneterer/angular-and-tailwindcss-2388fb6e0bab


 509
509

 被折叠的 条评论
为什么被折叠?
被折叠的 条评论
为什么被折叠?
 到【灌水乐园】发言


