


In a recent project of mine I decided to add a ‘lightbox’ that allows users to zoom in on and click through images, and rather than creating all of that code from scratch, I turned to React Image Lightbox.
在我最近的一个项目中,我决定添加一个“灯箱”,该灯箱允许用户放大并单击图像,而不是从头开始创建所有代码,我转向了React Image Lightbox 。
On its Readme, RIL is described as a ‘flexible lightbox component for displaying images in a React project’. It comes prepackaged with all the standard features of a lightbox, and it’s also mobile-friendly with a pinch-to-zoom feature.
在其自述文件中,RIL被描述为“用于在React项目中显示图像的灵活灯箱组件”。 它预先包装了灯箱的所有标准功能,并且具有捏合缩放功能,便于移动使用。
In this tutorial I’ll go through the process of installing React Image Lightbox and show you step-by-step how to build your lightbox component.
在本教程中,我将介绍安装React Image Lightbox的过程,并逐步向您展示如何构建灯箱组件。
将React Image Lightbox添加到您的项目中 (Adding React Image Lightbox to Your Project)
Installing RIL is straightforward. Simply use npm:
安装RIL非常简单。 只需使用npm:
$ npm install react-image-lightboxNow that you’ve got RIL installed we can start creating our lightbox. First you need to add the custom CSS that comes with RIL to your project. Import it into the top of your App.js file:
现在您已经安装了RIL,我们可以开始创建灯箱了。 首先,您需要将RIL附带的自定义CSS添加到您的项目中。 将其导入到App.js文件的顶部:
// in App.js
import 'react-image-lightbox/style.css';
生成灯箱文件 (Building the Lightbox File)
Now we’ll set up the file that holds our lightbox — my file is called Photos.js.
现在,我们将设置保存灯箱的文件-我的文件称为Photos.js。
First, we’ll import the Lightbox component from ‘react-image-lightbox’ and add the URLs of our images. To add the URLs create a const (outside of the class) called ‘images’ that is equal to an array of your image URLs:
首先,我们将从'react-image-lightbox'导入Lightbox组件,然后添加图像的URL。 要添加URL,请创建一个名为“ images”的const(在类外部),该const等于图像URL的数组:
Next we’ll add the constructor for our class. We’ll have two things in our state: ‘photoIndex’ and ‘isOpen’.
接下来,我们将为我们的类添加构造函数。 我们的状态将有两件事:“ photoIndex”和“ isOpen”。
Now that our state is set up, we’ll create two constants that match our state inside of the render block:
现在,我们已经建立了状态,我们将在render块中创建两个与我们的状态相匹配的常量:
Next we’ll fill out the return block for our page. My page consists of a heading and three rows of pictures.
接下来,我们将为页面填写return块。 我的页面包含一个标题和三行图片。
First, you’ll notice that on each of my images I have an ‘onClick’ function. This opens the lightbox and sets the starting image to whichever image was clicked.
首先,您会注意到,在我的每张图像上,我都有一个“ onClick”功能。 这将打开灯箱,并将起始图像设置为单击的图像。
My component is styled using a custom Bootstrap class to create a 3x3 grid. I also have 9 pictures in my ‘images’ array, one for each square on the grid, so you’ll have to update the photoIndex in your onClick function to match which image in the array you want to open on click.
我的组件使用自定义的Bootstrap类设置样式,以创建3x3网格。 我的“图像”数组中也有9张图片,网格上的每个正方形一张,因此您必须更新onClick函数中的photoIndex以匹配您要在单击时打开的数组中的哪张图像。
Second, you’ll notice the Javascript that makes RIL function; this is placed just below the closing div tag in the return statement. This code is straight from the RIL example page, and it’s what makes the lightbox function. For my project I didn’t have to modify it at all to get the functionality I was looking for, which is what makes RIL so great.
其次,您会注意到使RIL起作用的Javascript。 它被放置在return语句中的div标记的正下方。 这段代码直接来自RIL示例页面 ,这就是使灯箱起作用的原因。 对于我的项目,我无需进行任何修改即可获得我一直在寻找的功能,这就是RIL如此出色的原因。
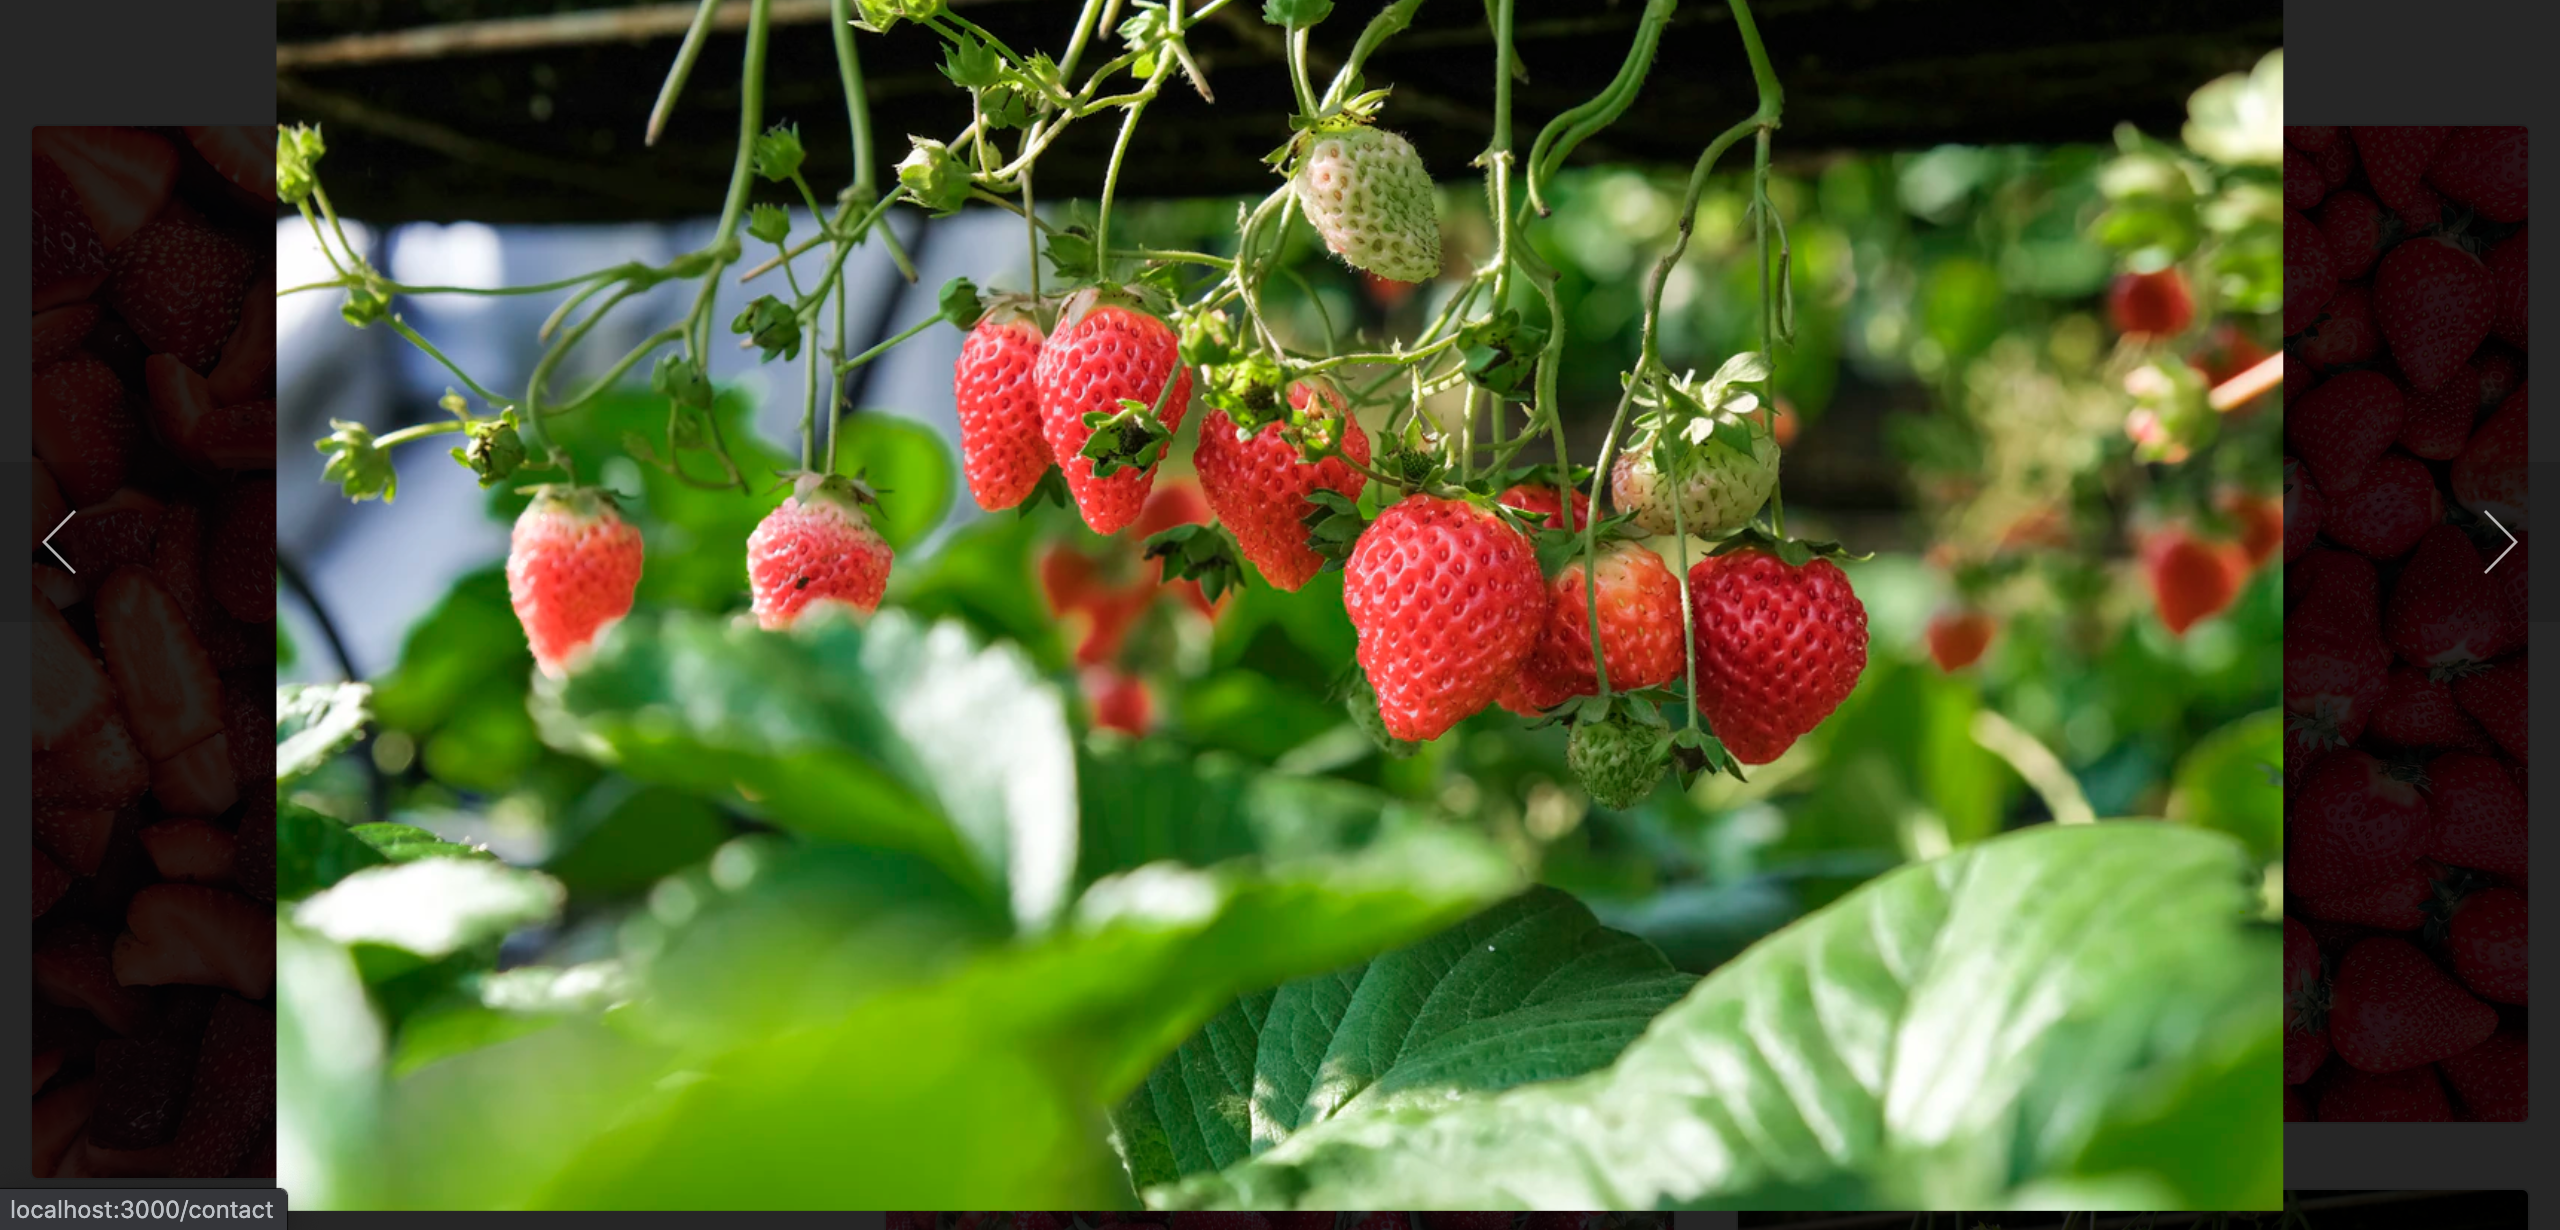
After all that your lightbox should be up and running! You can sift through photos using either your keypad or the arrows on the lightbox. To close the lightbox just click off of the photo.
毕竟,您的灯箱应该已经启动并运行了! 您可以使用键盘或灯箱上的箭头浏览照片。 要关闭灯箱,只需点击图片旁边的即可。
Thanks for reading!
谢谢阅读!
翻译自: https://medium.com/swlh/how-to-use-react-image-lightbox-b29b55f3da62


 322
322

 被折叠的 条评论
为什么被折叠?
被折叠的 条评论
为什么被折叠?
 到【灌水乐园】发言


