storybook
技术 (TECHNOLOGY)
In this article, I will guide you step by step to set up Storybook with Next, Typescript, SCSS, and Jest.
在本文中,我将逐步指导您使用Next,Typescript,SCSS和Jest设置Storybook。
Storybook is an open-source tool for developing UI components in isolation. It makes building stunning UIs organized and efficient. However, it can be quite tricky to set up with Nextjs.
故事书是用于隔离开发UI组件的开源工具。 它使构建令人惊叹的UI变得井井有条,高效。 但是,设置Nextjs可能非常棘手。

要求 (Requirements)
Node.js 10.13 or later
Node.js 10.13或更高版本
- MacOS, Windows (including WSL), and Linux are supported 支持MacOS,Windows(包括WSL)和Linux
创建Nextjs应用 (Create Nextjs App)
Create a new Next.js app using create-next-app, which sets up everything automatically for you. To create a project, run this command:
使用create-next-app创建一个新的Next.js应用,该create-next-app自动为您设置所有内容。 要创建项目,请运行以下命令:
$ npx create-next-app
✔ What is your project named? … my-app
✔ Pick a template › Default starter app- Enter your project name + hit return 输入您的项目名称+点击返回
You will be asked to choose a template: Use arrow key ⬇to choose a Default starter app and hit return
系统将要求您选择一个模板:使用箭头键⬇选择默认启动程序,然后按回车键
After the installation is complete, to start the development server:
安装完成后,要启动开发服务器:
cd my-app
yarn run dev
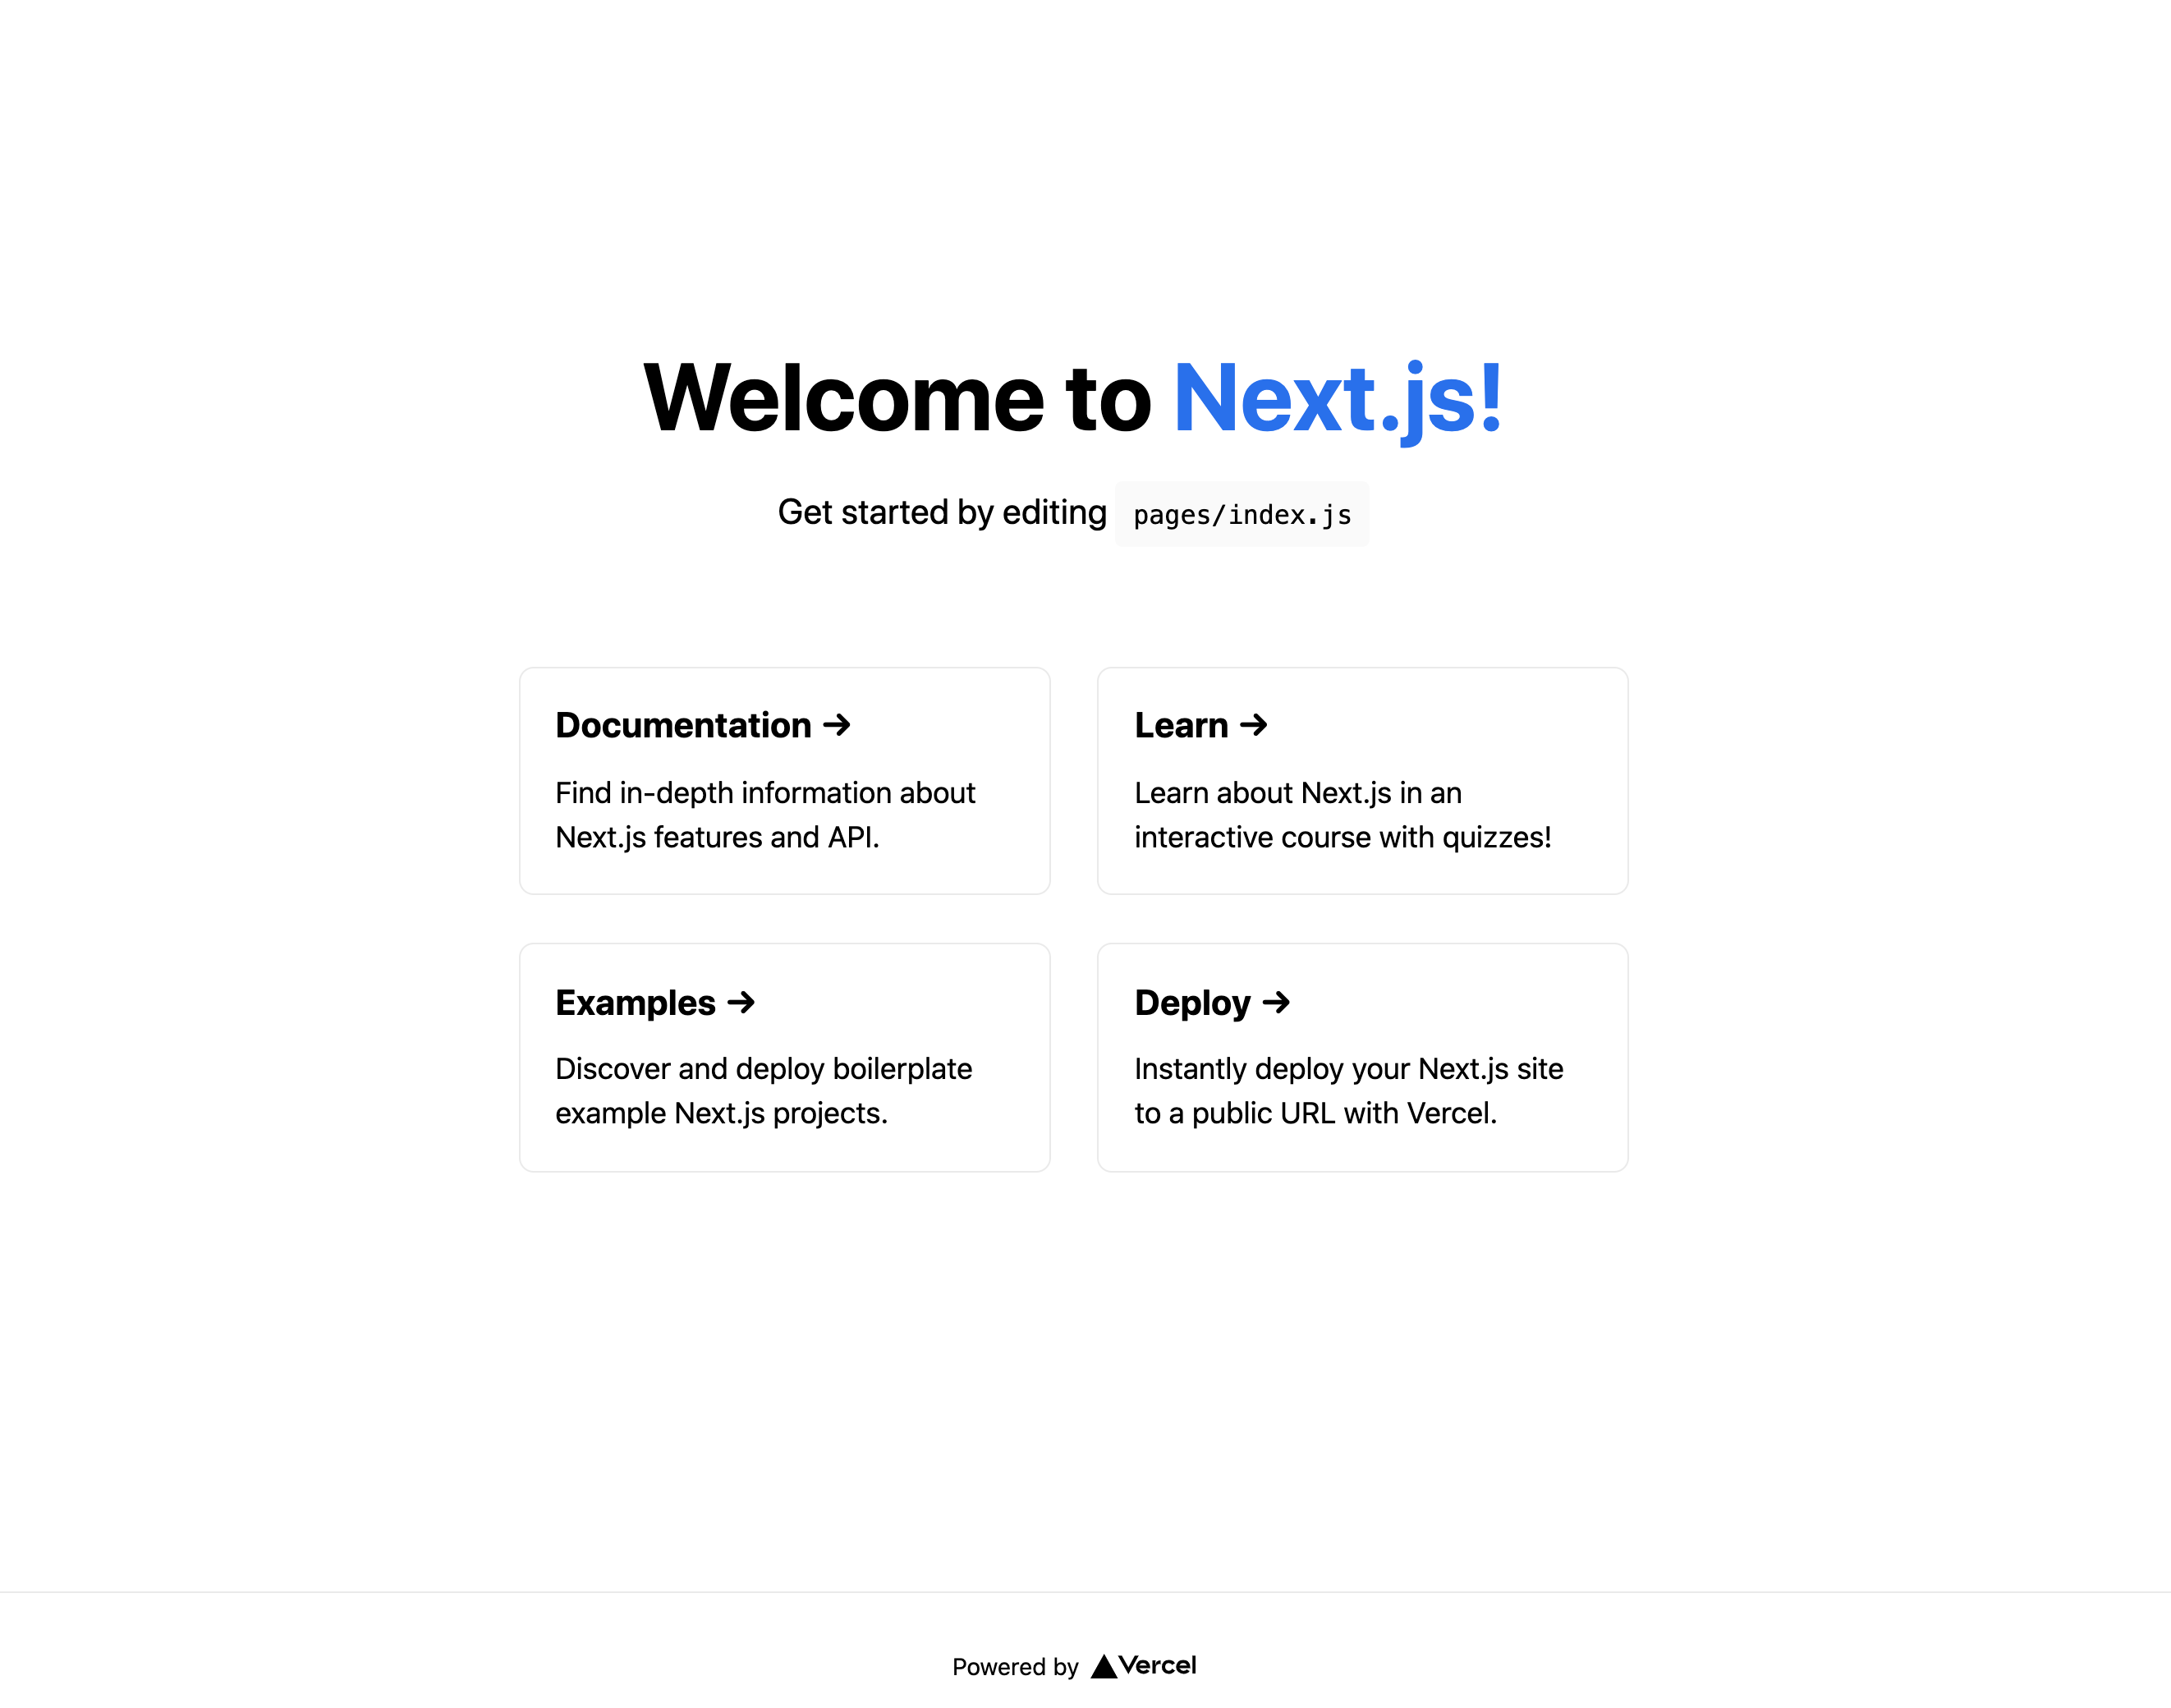
You should see this page on localhost:3000
您应该在localhost:3000上看到此页面
打字稿 (TypeScript)
Next, let’s configure Typescript for our Next app
接下来,让我们为Next应用程序配置Typescript
$ yarn add -D typescript @types/react @types/nodeCreate a tsconfig.json in the root folder — this is where you will put your typescript configurations.
在根文件夹中创建一个tsconfig.json ,这是您放置打字稿配置的位置。
/* root folder */$ touch tsconfig.jsonAnd add the following config to the file:
并将以下配置添加到文件中:
Remove index.js and create index.tsx file. You can do it manually or use these commands in the root folder
删除index.js并创建index.tsx文件。 您可以手动执行此操作,也可以在根文件夹中使用以下命令
/* root folder */rm -f pages/index.js
touch pages/index.tsx
Add the following to index.tsx:
将以下内容添加到index.tsx :
Restart your server and check out your http://localhost:3000/ by running:
重新启动服务器,并通过运行以下命令来检查http://localhost:3000/
$ yarn run dev
故事书 (Storybook)
Next, we’ll configure Nextjs, SCSS, and Typescript for Storybook
接下来,我们将为Storybook配置Nextjs,SCSS和Typescript
$ yarn add -D @storybook/react @storybook/preset-typescriptCreate .storybook folder and storybook config files:
创建.storybook文件夹和.storybook配置文件:
/* root folder */
mkdir .storybook
cd .storybook
touch .storybook/main.js .storybook/next-preset.js .storybook/preview.js
Now we will go over how to configure these files.
现在,我们将介绍如何配置这些文件。
next-preset.js (next-preset.js)
In this file, we will configure Typescript and SCSS to work with Storybook
在此文件中,我们将配置Typescript和SCSS与Storybook一起使用
$ yarn add -D sass style-loader css-loader sass-loader @babel/core babel-loader babel-preset-react-appAdd the following configuration to next-preset.js
将以下配置添加到next-preset.js
SCSS (SCSS)
Create your style folder in the root and add global scss file.
在根目录中创建样式文件夹,然后添加全局scss文件。
/* root folder */
mkdir styles
touch styles/global.scss
Preview.js (preview.js)
In this file, we configure the “preview” iframe that renders your components. We will import your global scss file here.
在此文件中,我们配置用于渲染组件的“预览” iframe。 我们将在此处导入您的全局scss文件。
main.js (main.js)
main.js is the most important config file. This is where we place the main configuration of Storybook.
main.js是最重要的配置文件。 这是我们放置Storybook的主要配置的地方。
建立故事 (Create a story)
Let’s create a simple Button component and a story to test our Storybook setup. First, create a components folder and 2 files Button.tsx and Button.stories.tsx in the folder.
让我们创建一个简单的Button组件和一个故事来测试我们的Storybook设置。 首先,创建一个components文件夹,并在该文件夹中创建两个文件Button.tsx和Button.stories.tsx 。
/* root folder*/
mkdir components
touch components/Button.tsx components/Button.stories.tsx
Then, add the following contents into 2 files:
然后,将以下内容添加到2个文件中:
Finally, add npm script to package.json to start storybook.
最后,将npm脚本添加到package.json以启动Storybook。
{
  ...
  "scripts": {

    "build": "next build",
    "start": "next start",
    "storybook": "start-storybook -p 6006 -c .storybook"
  }
}
Now, let’s run our Storybook.
现在,让我们运行我们的故事书。
$ yarn storybook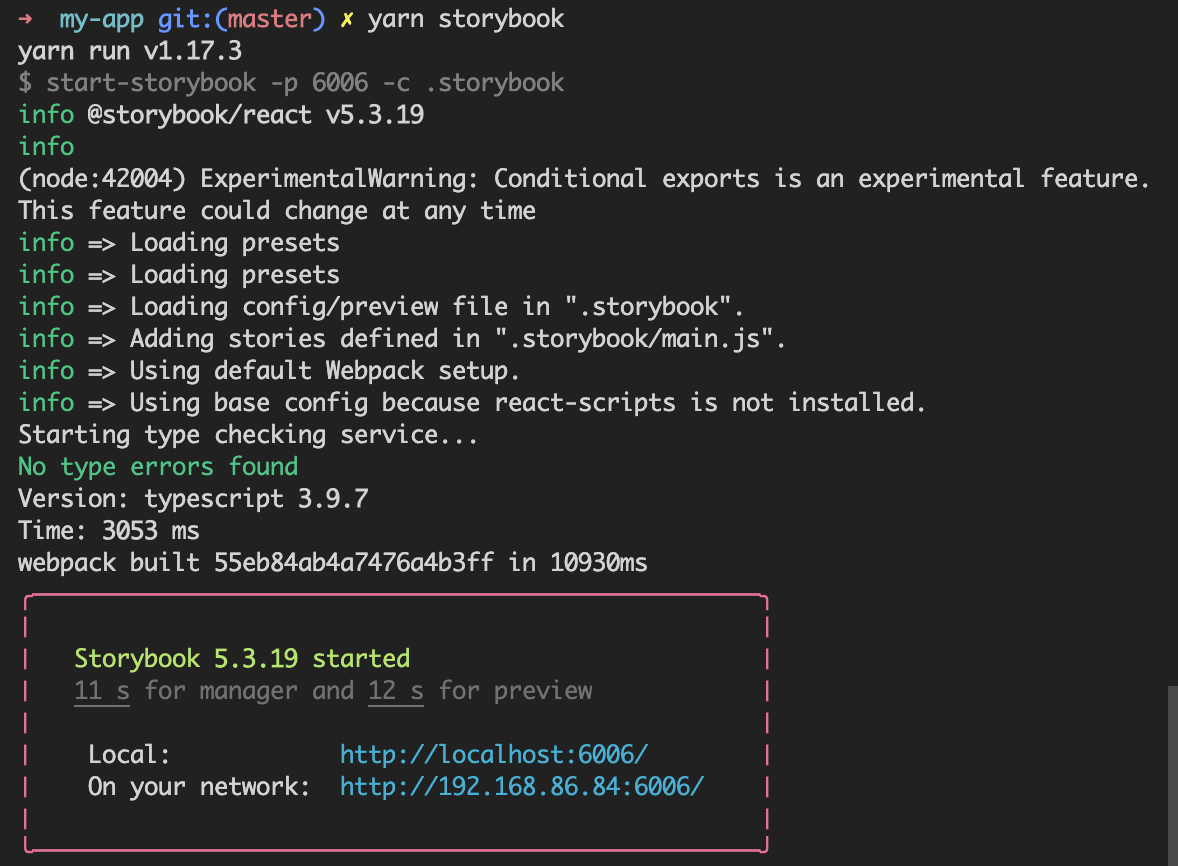
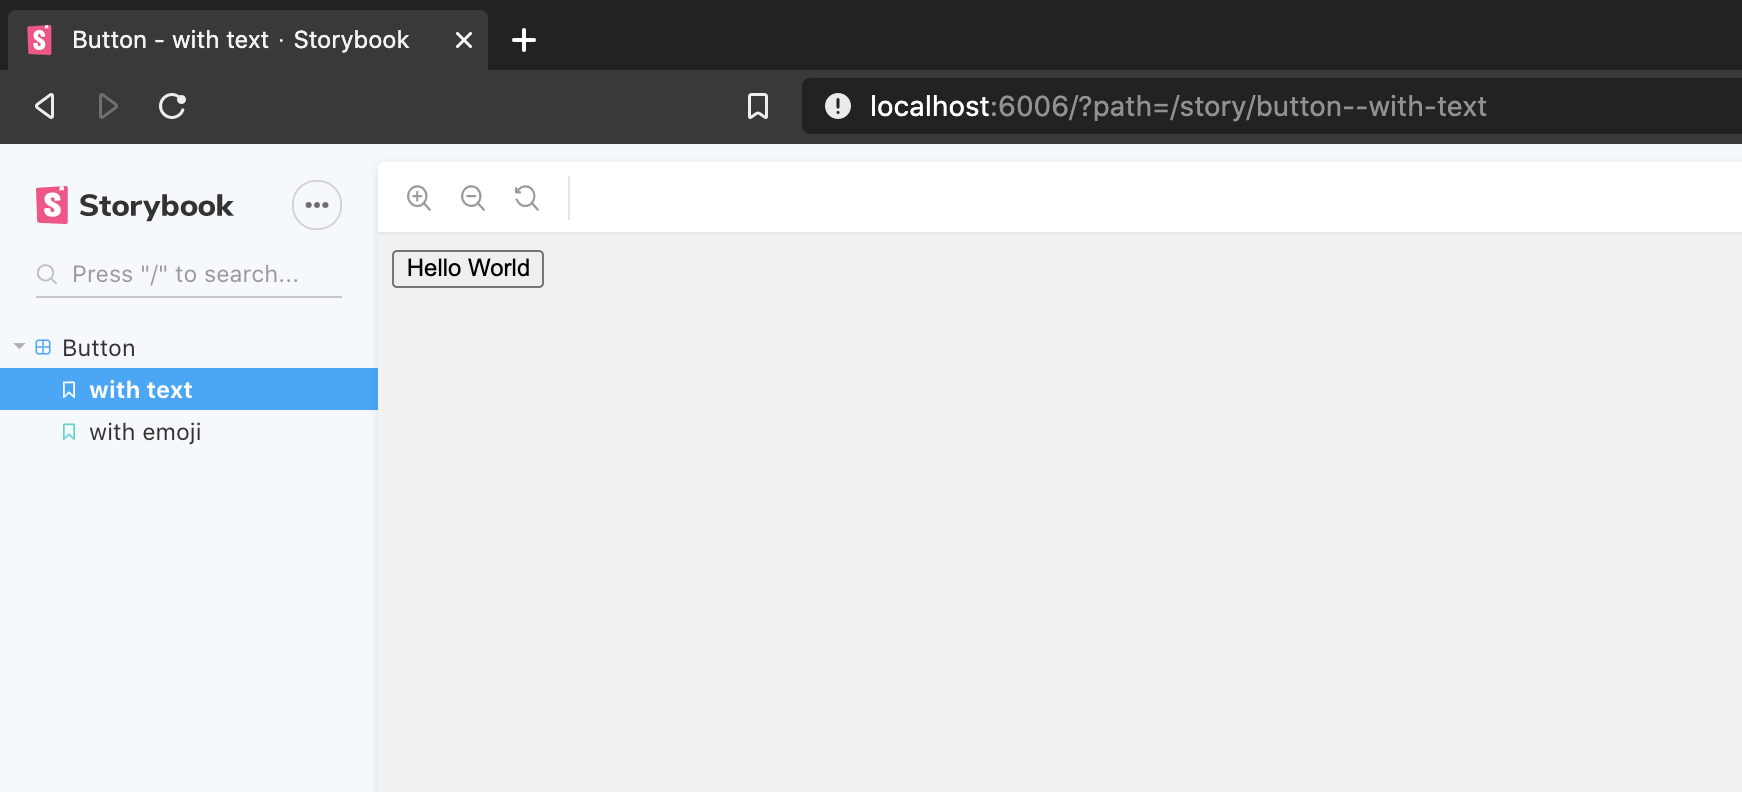
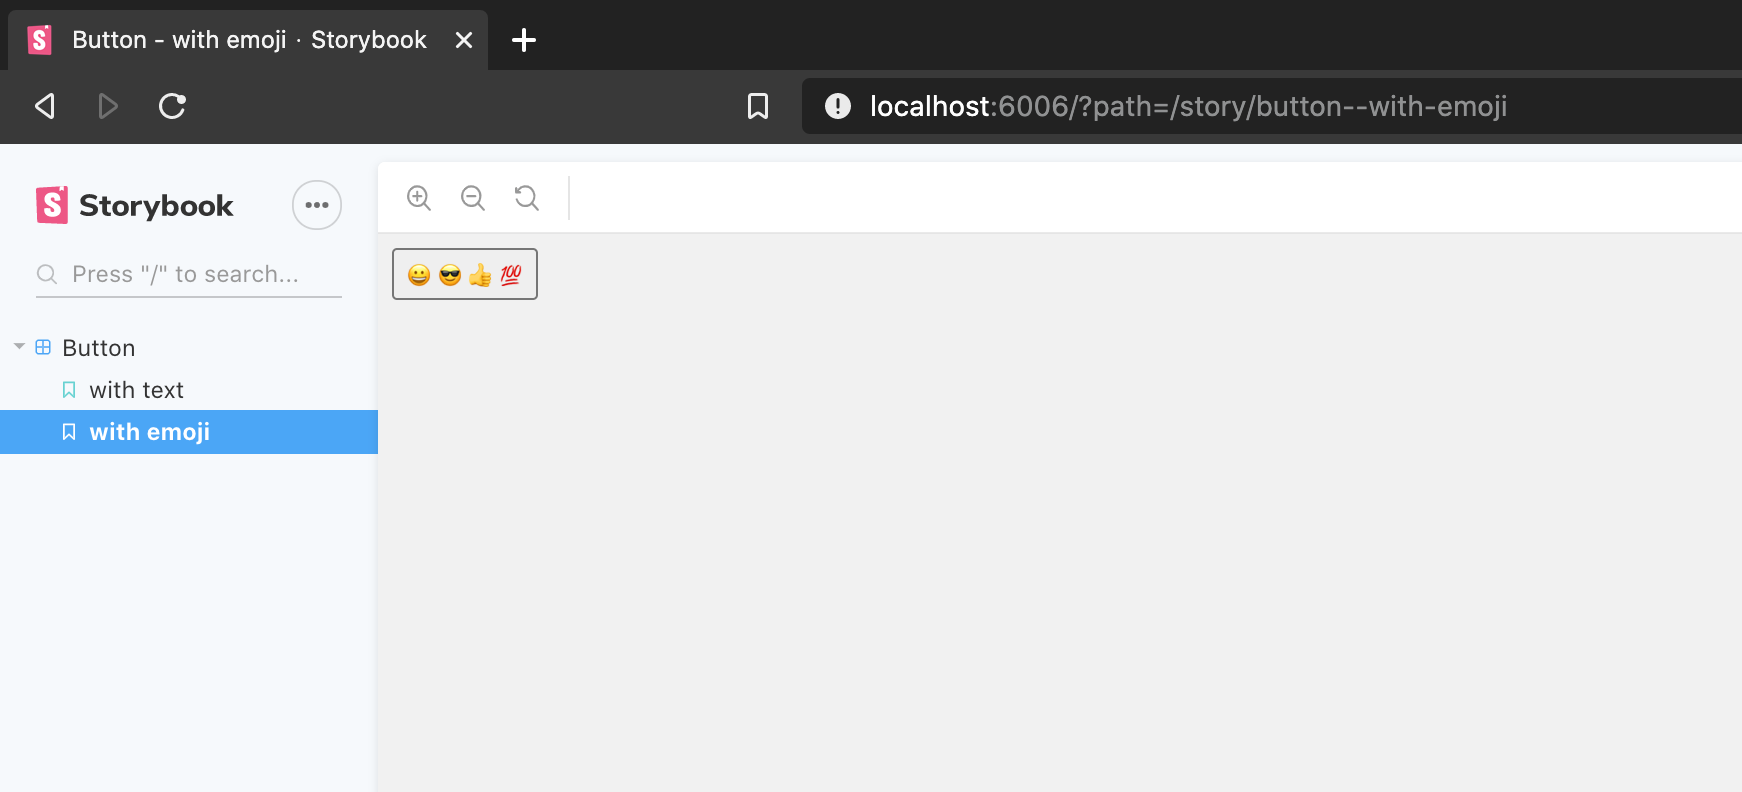
You should see our global scss style took affect and 2 stories that we have created earlier to test the Button.
您应该看到我们的全局scss样式生效了,并且我们创建了两个故事来测试Button。
笑话 (Jest)
Next, we will add unit tests and snapshot tests in Jest for testing components in Nextjs and Typescript.
接下来,我们将在Jest中添加单元测试和快照测试 ,以测试Nextjs和Typescript中的组件。
First, let’s install these development dependencies for Jest.
首先,让我们为Jest安装这些开发依赖项。
$ yarn add -D jest @types/jest ts-jest babel-jest @types/enzyme enzyme enzyme-adapter-react-16We’ll need to configure Enzyme to use the adapter, which we can do in Jest’s bootstrap file. Let’s create a config folder and place the setup file in there.
我们需要将Enzyme配置为使用适配器,这可以在Jest的引导文件中进行。 让我们创建一个config文件夹,并将安装文件放置在其中。
/* root folder */
mkdir config
touch config/setup.js
This code will run also before each test but after the testing framework gets executed:
该代码还将在每次测试之前但在执行测试框架之后运行:
Now let’s create a config file for jest. If you place your setup file above at a different location then make sure to change your setupFiles: […] in jest.config.js.
现在让我们为笑话创建一个配置文件。 如果你把你的安装文件上面在不同的位置,然后一定要改变你的setupFiles:[...]在jest.config.js。
/* root folder */$ touch jest.config.js配置babel.config.json (Config babel.config.json)
Lastly, we will add babel configurations. Let’s add these dev dependencies to our package.json by running the following command:
最后,我们将添加babel配置。 通过运行以下命令,将这些开发依赖项添加到package.json中:
yarn add -D @babel/preset-env @babel/preset-react @babel/preset-flow @babel/plugin-transform-runtime babel-plugin-transform-es2015-modules-commonjsIn the root folder, create a babel config file. For some reasons, babel.rc does not work and I have to replace it with babel.config.json
在根文件夹中,创建一个babel配置文件。 由于某些原因,babel.rc无法正常工作,我必须将其替换为babel.config.json
/* root folder */$ touch babel.config.json让我们创建一个测试 (Let’s create a test)
Now, let’s run a simple unit test to test the index file that we created earlier to make sure that it has the welcome message “Welcome to My Next App!” as a “h1” element.
现在,让我们运行一个简单的单元测试来测试我们之前创建的索引文件,以确保它具有欢迎消息“ Welcome to My Next App!”。 作为“ h1”元素。
First, create a __test__ folder to keep our test files in one place and create index.test.tsx file.
首先,创建一个__test__文件夹以将我们的测试文件保存在一个位置,然后创建index.test.tsx文件。
/* root folder */
mkdir components/__test__
touch components/__test__/index.test.tsx
快照测试 (Snapshot testing)
Finally, I will show you how to create a simple snapshot test. We use Snapshot testing to keep a copy of the structure of the UI component or a snapshot so when after we make any changes we can review the changes and update the snapshots. You can read more about Snapshot testing here.
最后,我将向您展示如何创建一个简单的快照测试。 我们使用快照测试来保留UI组件或快照的结构的副本,因此在进行任何更改后,我们可以查看更改并更新快照。 您可以在此处阅读有关快照测试的更多信息。
To start, let’s install react-test-renderer, a library that enables you to render React components as JavaScript objects without the need for a DOM.
首先,让我们安装react-test-renderer ,这个库使您可以将React组件呈现为JavaScript对象,而无需DOM。
$ yarn add -D react-test-rendererNow, create a file called Button.snapshot.test.tsx to test create new snapshots for the Button component.
现在,创建一个名为Button.snapshot.test.tsx的文件,以测试为Button组件创建新的快照。
$ touch components/__test__/Button.snapshot.test.tsxNow, add the add npm script to package.json to run your tests
现在,将add npm脚本添加到package.json以运行测试
{
  ...
  "scripts": {
    ...
    "test": "jest",
    "test:watch": "jest --watch",
    "test:coverage": "jest --coverage"
  }
}
Go ahead and run your tests.
继续进行测试。
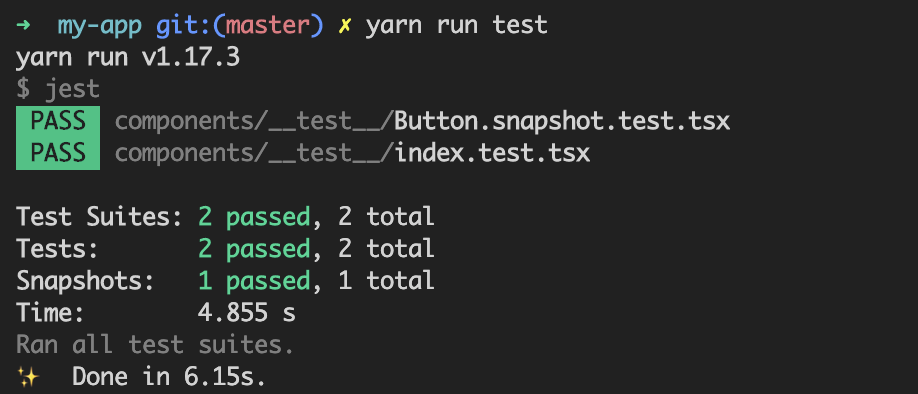
$ yarn run testYou should see 1 unit test and 1 snapshot test are passed
您应该看到通过了1个单元测试和1个快照测试
If you run into errors such as “The default export is not a React Component in page: ‘/’” or “ReferenceError: regeneratorRuntime is not defined”, try to delete package-lock.json, node_modules folder, and .next folder and then restart your server, storybook and rerun your test again.
如果遇到诸如“ The default export is not a React Component in page: '/' ”或“ ReferenceError: regeneratorRuntime is not defined ”之类的错误,请尝试删除package-lock.json , node_modules文件夹和.next文件夹,然后重新启动服务器,故事书并重新运行测试。
结论 (Conclusion)
Thank you for reading and let me know in the comment or contact me if you run into any problems. I will be happy to help you or make changes to the blog.
感谢您的阅读,如果有任何问题,请在评论中告知我或与我联系。 我很乐意为您提供帮助或对博客进行更改。
You can also clone the source code here to get started on your development right away: https://github.com/trinwin/storybook-next-ts-template
您也可以在此处克隆源代码以立即开始开发: https : //github.com/trinwin/storybook-next-ts-template
storybook


 本文详细介绍了如何将Storybook与Next.js、TypeScript、SCSS和Jest进行完整的配置集成,提供了一种现代前端开发的全面解决方案。


 1385
1385

 被折叠的 条评论
为什么被折叠?


