


1.Jupyter安装
http://jupyter.org/install.html
While Jupyter runs code in many programming languages, Python is a requirement (Python 3.3 or greater, or Python 2.7) for installing the Jupyter Notebook itself.
网站介绍安装Jupyter有两种方法:
Installing Jupyter using Anaconda
Installing Jupyter with pip
本文都是基于第二种方法来安装的,现在详细介绍一下
As an existing or experienced Python user, you may wish to install Jupyter using Python’s package manager, pip, instead of Anaconda.
If you have Python 3 installed (which we recommended):
1.python3 -m pip install --upgrade pip
2.python3 -m pip install jupyter
不建议 upgrade pip,我用的是 1.9.0 版本
注意upgrade前面是两个-符号
接下来进行Jupyter的配置
---------------------
2.Jupyter配置:
2.1生成配置文件
jupyter notebook --generate-config
注意generate前面两个-,如果提示–allow-root,就在上面指令后面加上–allow-root,注意allow前面是两个-
1.jupyter notebook --generate-config --allow-root
会在 /your_home/.jupyter 目录下生成一个名为 jupyter_notebook_config.py 的配置文件
2.2准备配置的密码
打开python,输入以下内容
http://1.In [1]: from notebook.auth import passwd
http://2.In [2]: passwd()
3.Enter password:
4.Verify password:
5.Out[2]: 'sha1:67c9e60bb8b6:9ffede0825894254b2e042ea597d771089e11aed'
注意保存上面的Out[2]中生成的内容,用来在以下界面输入。
2.3生成pem和key文件
使用如下命令会在当前路径下生成一个mykey.key和一个mycert.pem文件,这两个文件会在后面的配置中使用到。下面的命令会生成有效期为365天的certificate文件。
openssl req -x509 -nodes -days 365 -newkey rsa:1024 -keyout mykey.key -out mycert.pem
(其中包括国家,省份,住址,工作单位等,如实填写就好)

2.4配置配置文件
打开第一步中的jupyter_notebook_config.py文件。
1.vim ~/.jupyter/jupyter_notebook_config.py
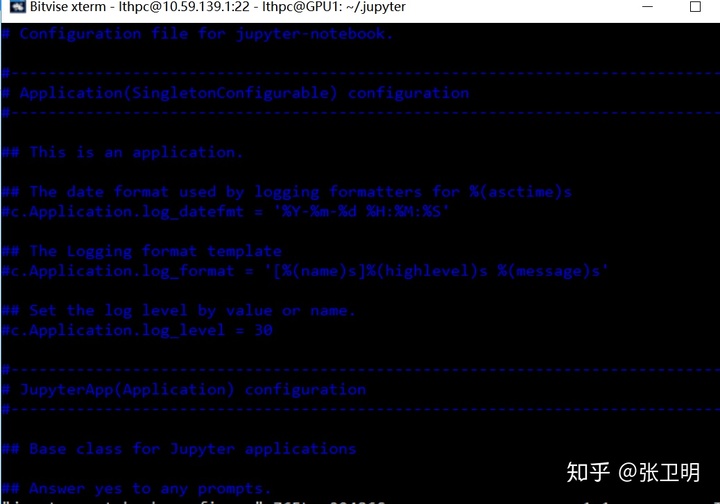
需要配置的选项如下,vim中**:wq** 是保存并退出,:/XXX 可以快速查找 XXX
1.c.NotebookApp.certfile = u'/absolute/path/to/your/certificate/mycert.pem'
2.c.NotebookApp.keyfile = u'/absolute/path/to/your/certificate/mykey.key'
3.c.NotebookApp.ip = '*'
4.c.NotebookApp.password = u'sha1:bcd259ccf...<your hashe
d password here>'
5.c.NotebookApp.open_browser = False
6.c.NotebookApp.port = 8888
注释:
c.NotebookApp.certfile设置为步骤2.2.3中生成mycert.pem文件所在的位置
c.NotebookApp.keyfile设置为步骤2.2.3中生成mykey.key文件所在的位置
c.NotebookApp.ip设置为*目的是 bind on all interfaces (ips) for the public server
c.NotebookApp.password设置为2.2.2中out[2]的内容
c.NotebookApp.port 是服务器端口号,结合自己的情况来,8888只是一个示例
例如
c.NotebookApp.certfile = u'/root/userfolder/mycert.pem'
c.NotebookApp.keyfile = u'/root/userfolder/mykey.key'
c.NotebookApp.ip = '*'
c.NotebookApp.password = u'sha1:bcd259ccf...<your hashed password here>'
c.NotebookApp.open_browser = False
c.NotebookApp.port = 8888
---------------------
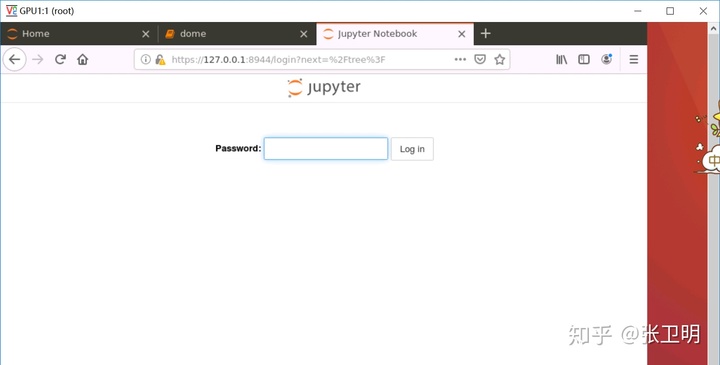
配置完成后,在TensorFlow环境下输入jupyter notebook --allow-root 命令,在远程中打开Chrome浏览器,输入https://ip:8888,提示你输入密码。然后就可以远程访问并使用 jupyter notebook 了。
Note:ip是服务器的ip地址,不是本地的,8888替换连接服务器的端口号。QQ浏览器,360浏览器也行。
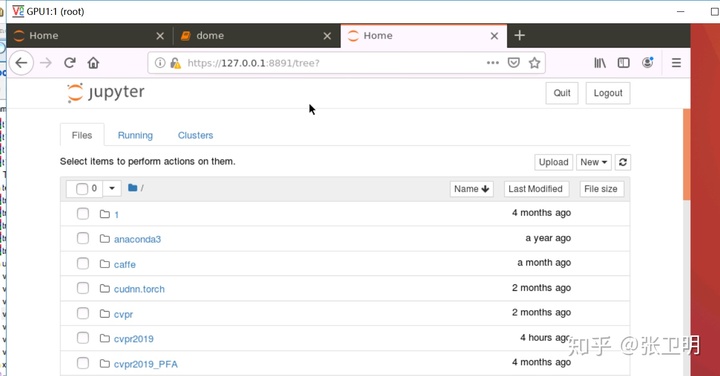
2.5更改成功后启动 jupyter notebook:
1.jupyter notebook #可能该命令不行,可以输入jupyter-notebook
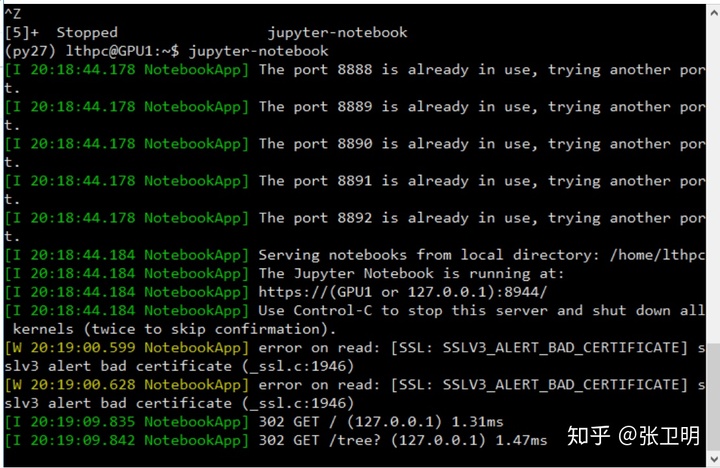
2.# 如果命令行提示需要添加 --allow-root 根据提示添加即可
3.jupyter notebook --allow-root
在高版本的 jupyter 中可能存在报错:socket.gaierror: [Errno -2] Name or service not known ,此时解决方法在这里。将上述 c.NotebookApp.ip = '*' 改为c.NotebookApp.ip = '0.0.0.0' 即可。
---------------------
3 错误总结
3.1 No address associated with hostname
jupyter notebook -socket.gaierror: [Errno -5] No address associated with hostname錯誤及解決方式
jupyter notebook --allow-root --no-browser --ip=0.0.0.0
或者 vim ~/.jupyter/jupyter_notebook_config.py,把 ip 修改成如下的形式
1.c.NotebookApp.ip = '0.0.0.0'
3.2 ValueError: signal only works in main thread
Python之Anaconda启动过程中的异常错误的解决
卸了 tornado 再重装
conda uninstall jupyter tornado
conda install jupyter tornado
---------------------


 2610
2610

 被折叠的 条评论
为什么被折叠?
被折叠的 条评论
为什么被折叠?
 到【灌水乐园】发言


