


1.新建一个maven工程,选webapp模板

2.安装tomcat
ps:在全局变量加上JAVA_HOME变量指向JDK(例如:D:\Java\v1.8),tomcat才能正常运行
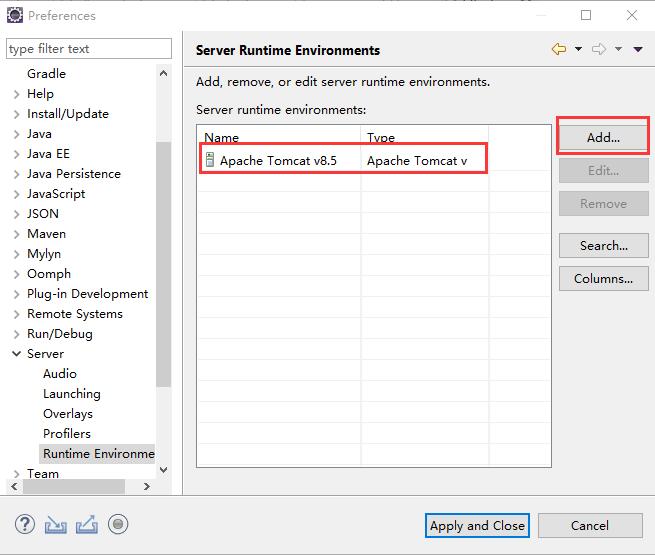
3.eclipse配置server
Windows-->Preferences-->Server-->Runtime Environments
添加tomcat
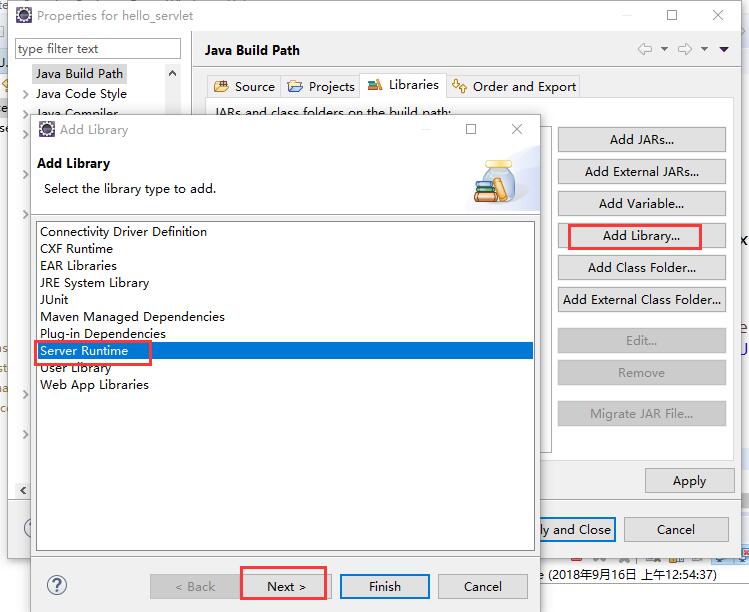
4.增加tomcat的libary
工程右击--->Build Path --->Configure Build path
选择刚刚加到eclipse的tomcat
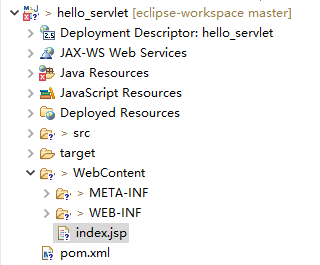
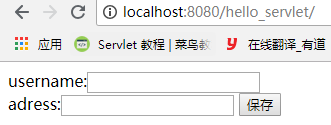
5.编写jsp
username:
adress:
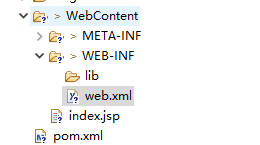
6.编写映射到servlet接口类的配置文件,web.xml
http://java.sun.com/xml/ns/javaee/web-app_2_5.xsd">
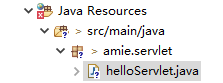
hello
amie.servlet.helloServlet
hello
/saveUserInfo
7.编写servlet类
从上面可以得到,tomcat服务器的路径“/saveUserInfo”已经映射到“amie.servlet.helloServlet”这个类上了
packageamie.servlet;importjava.io.IOException;importjavax.servlet.ServletException;importjavax.servlet.http.HttpServlet;importjavax.servlet.http.HttpServletRequest;importjavax.servlet.http.HttpServletResponse;importjdbc.jdbc;public class helloServlet extendsHttpServlet {protected voiddoGet(HttpServletRequest request, HttpServletResponse response)throwsServletException, IOException {
response.setCharacterEncoding("gbk");
String username= new String(request.getParameter("username").getBytes("UTF8"));
String address= new String(request.getParameter("address").getBytes("UTF8"));
jdbc mj= newjdbc();try{
mj.insert(username, address);
response.getWriter().println("写入成功");
}catch(Exception e) {
response.getWriter().print(e);
}
}
}
doGet、doPost等方法会对应路径“/saveUserInfo”的GET、POST的方法
8.编写jdbc
我们上面用了一个jdbc.jdbc类的insert方法
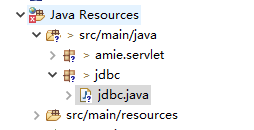
packagejdbc;importjava.sql.Connection;importjava.sql.DriverManager;importjava.sql.PreparedStatement;public classjdbc {public void insert(String name, String address) throwsException{
String url= "jdbc:mysql://localhost:3306/20171113";
String userName= "root";
String password= "";
Connection conn=DriverManager.getConnection(url,userName,password);
String sql= "INSERT INTO user(username,address) VALUES(?,?)";
PreparedStatement ps=conn.prepareStatement(sql);
ps.setString(1, name);
ps.setString(2, address);
ps.execute();
conn.close();
}
}
这里值得一提的是:jdbc的mysql驱动(mysql-connector-java-x.x.x-bin)一定要加在jre\lib\ext下,因为此时已经运行在tomcat上脱离了eclipse,runtime的依赖包一定要到java的安装目录下获取。
9.运行
项目右击,run as --> run on server

保存后

数据库也成功存入数据


 1700
1700


 被折叠的 条评论
为什么被折叠?
被折叠的 条评论
为什么被折叠?
 到【灌水乐园】发言


