


=========================使用synchronized,配合Object的wait()/notify()实现生产者消费者======================
思考问题:
1.为什么用wait()+notify()实现生产者消费者模式?
wait()方法可以暂停线程,并释放对象锁
notify()方法可以唤醒需要该对象锁的其他线程,并在执行完后续步骤,到了synchronized临界区后,才会把锁释放
2.为什么wait()、notify()、notifyAll()方法需要放在同步代码块中执行?
wait()方法暂停线程执行,并立即释放对象锁
notify()/notifyAll() 方法唤醒其他等待该对象锁的线程,并在执行完同步代码块中的后续步骤后,释放对象锁
notify()和notifyAll()的区别在于:
notify只会唤醒其中一个线程,
notifyAll则会唤醒全部线程。
至于notify会唤醒哪个线程,是由线程调度器决定的。
因为这三个方法都需要获取到对象锁才能有效执行。否则就会抛异常:java.lang.IllegalMonitorStateException
3.wait()是暂停的哪个线程?notify()唤醒的是哪个线程?
wait()是暂停当前线程。
notify()则是唤醒等待当前对象锁的线程
4.什么是生产者消费者模式
一个产数据,一个用数据,中间最多再加上个存取仓库
生产者消费者模式 就是java多线程通信一个很好的例子
5.生产着消费者模式特点是什么
1.解耦,生产者干生产者的事情,消费者干消费者的事情2.支持高并发,可以同时多个生成,多个消费,互不影响
6.一对一的生产者消费者模式:
1>早餐类:


packagecom.sxd.swapping.test.ProducerAndConsumerTest;/*** 早餐基础类
*
* wait()
* notify()
* notifyAll()
* 三个方法 需要放在同步代码块中执行 因为要获取对象锁*/
public classBreakfast{privateString food;privateString drink;private boolean flag = false;//flag = false 表示需要生产 flag = true 表示需要消费
public synchronized voidmakeBreakfast(String food,String drink){
System.out.println("生产者进入--->标志值为:"+flag);if(flag){try{
System.out.println("make---wait()暂停,释放对象锁");
wait();
}catch(InterruptedException e) {
e.printStackTrace();
}
}this.food =food;try{
System.out.println("make---sleep()休眠,不释放对象锁");
Thread.sleep(1000);
}catch(InterruptedException e) {
e.printStackTrace();
}this.drink =drink;
System.out.println("make---生产者制造东西完成----");this.flag = true;
System.out.println("make---notify()唤醒,标志值为"+flag);
notify();
}public synchronized voideatBreakfast(){
System.out.println("消费者进入--->标志值为:"+flag);if(!flag){try{
System.out.println("eat---wait()");
wait();
}catch(InterruptedException e) {
e.printStackTrace();
}
}try{
System.out.println("eat---sleep()");
Thread.sleep(1000);
}catch(InterruptedException e) {
e.printStackTrace();
}
System.out.println("吃东西---"+this.food+";喝东西---"+this.drink);this.flag = false;
System.out.println("eat---notify()唤醒,标志值为"+flag);
notify();
}
}
View Code
2> 生产者类:
packagecom.sxd.swapping.test.ProducerAndConsumerTest;public class Producer implementsRunnable{privateBreakfast breakfast;publicProducer(Breakfast breakfast) {this.breakfast =breakfast;
}
@Overridepublic voidrun() {int i = 7;for (int i1 = 0; i1 < i; i1++) {if (i1 %2 == 0){this.breakfast.makeBreakfast("馒头","豆浆");
}else{this.breakfast.makeBreakfast("面包","冷饮");
}
}
}
}
View Code
3>消费者类:
packagecom.sxd.swapping.test.ProducerAndConsumerTest;public class Consumer implementsRunnable{privateBreakfast breakfast;publicConsumer(Breakfast breakfast) {this.breakfast =breakfast;
}
@Overridepublic voidrun() {int i = 7;for (int i1 = 0; i1 < i; i1++) {
System.out.println("星期"+(i1+1)+"---消费者要来吃东西了");this.breakfast.eatBreakfast();
}
}
}
View Code
4>线程启动主测试类:
packagecom.sxd.swapping.test.ProducerAndConsumerTest;public classTest {public static voidmain(String[] args) {
Breakfast breakfast= newBreakfast();new Thread(newProducer(breakfast)).start();new Thread(newConsumer(breakfast)).start();
}
}
View Code
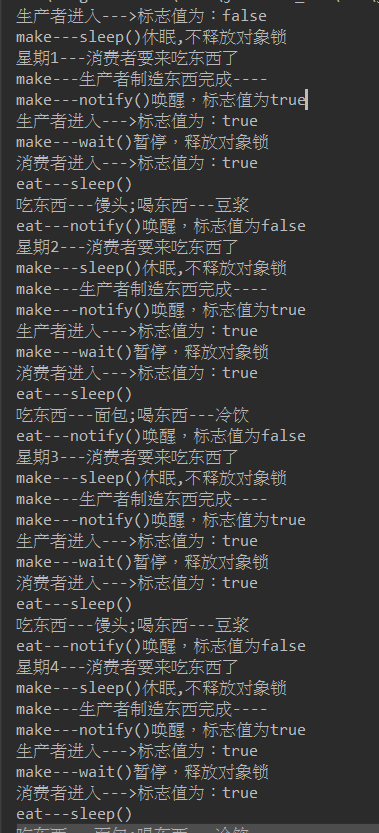
5>展示结果:
===========================使用Lock,配合Condition的await()/signal()实现生产者消费者============================
1.早饭类,提供生产方法和消费方法
packagecom.sxd.swapping.test.ProducerAndConsumerTest;importjava.util.LinkedList;importjava.util.concurrent.locks.Condition;importjava.util.concurrent.locks.Lock;importjava.util.concurrent.locks.ReentrantLock;/***
* Lock配合condition实现生产者消费者模式
*
*@authorsxd
* @date 2019/8/6 9:08*/
public classCondition_Breakfast {private LinkedList breakfastList;//早饭资源容器
private int maxSize;//最大量早饭资源数量 自定义
private Lock lock; //锁
private Condition comsumerCondition;//满条件【即代表消费者等待队列】
private Condition producerCondition;//不满条件【即代表生产者等待队列】//自定义 最大共享资源数量
public Condition_Breakfast(intmaxSize) {this.maxSize =maxSize;
breakfastList= new LinkedList<>();
lock= newReentrantLock();
comsumerCondition=lock.newCondition();
producerCondition=lock.newCondition();
}public voidproduce(String str){
lock.lock();try{while (maxSize ==breakfastList.size()){
System.out.println("如果早餐共享资源已经满足最大量,则进入本方法的当前线程们,进入notFullCondition的等待队列中,线程挂起");
producerCondition.await();
}
breakfastList.add(str);
System.out.println("生产早饭:"+str);
System.out.println("早饭已经被生产了,唤醒消费者等待队列中的线程,可以继续开始消费了");
comsumerCondition.signal();
}catch(InterruptedException e) {
e.printStackTrace();
}finally{
lock.unlock();
}
}publicString consume(){
String str= null;
lock.lock();try{while (breakfastList.size() == 0){
System.out.println("如果早饭共享资源完全==0,就将消费者们挂起,等待生产者生产后再去唤醒消费者们");
comsumerCondition.await();
}
str=breakfastList.poll();
System.out.println("消费早饭:"+str);
System.out.println("早饭已经被消费了,唤醒生产者等待队列中的 线程,可以继续生产了");
producerCondition.signal();
}catch(InterruptedException e) {
e.printStackTrace();
}finally{
lock.unlock();
}returnstr;
}
}
View Code
2.早饭类的生产者
packagecom.sxd.swapping.test.ProducerAndConsumerTest;/***@authorsxd
* @date 2019/8/6 9:26*/
public class Condition_Producer implementsRunnable {
Condition_Breakfast breakfast;publicCondition_Producer(Condition_Breakfast breakfast) {this.breakfast =breakfast;
}
@Overridepublic voidrun() {int i = 7;
String threadName=Thread.currentThread().getName();for (int i1 = 0; i1 < i; i1++) {if (i1 %2 == 0){this.breakfast.produce(threadName+"大馒头"+i1);
}else{this.breakfast.produce(threadName+"大包子"+i1);
}
}
}
}
View Code
3.早饭类的消费者
packagecom.sxd.swapping.test.ProducerAndConsumerTest;/***@authorsxd
* @date 2019/8/6 9:28*/
public class Condition_Comsumer implementsRunnable{
Condition_Breakfast breakfast;publicCondition_Comsumer(Condition_Breakfast breakfast) {this.breakfast =breakfast;
}
@Overridepublic voidrun() {int i = 7;for (int i1 = 0; i1 < i; i1++) {this.breakfast.consume();
}
}
}
View Code
4.测试类
packagecom.sxd.swapping.test.ProducerAndConsumerTest;/***@authorsxd
* @date 2019/8/6 9:30*/
public classTest2 {public static voidmain(String[] args) {
Condition_Breakfast breakfast= new Condition_Breakfast(16);new Thread(newCondition_Producer(breakfast)).start();new Thread(newCondition_Producer(breakfast)).start();new Thread(newCondition_Producer(breakfast)).start();new Thread(newCondition_Comsumer(breakfast)).start();new Thread(newCondition_Comsumer(breakfast)).start();new Thread(newCondition_Comsumer(breakfast)).start();
}
}
View Code
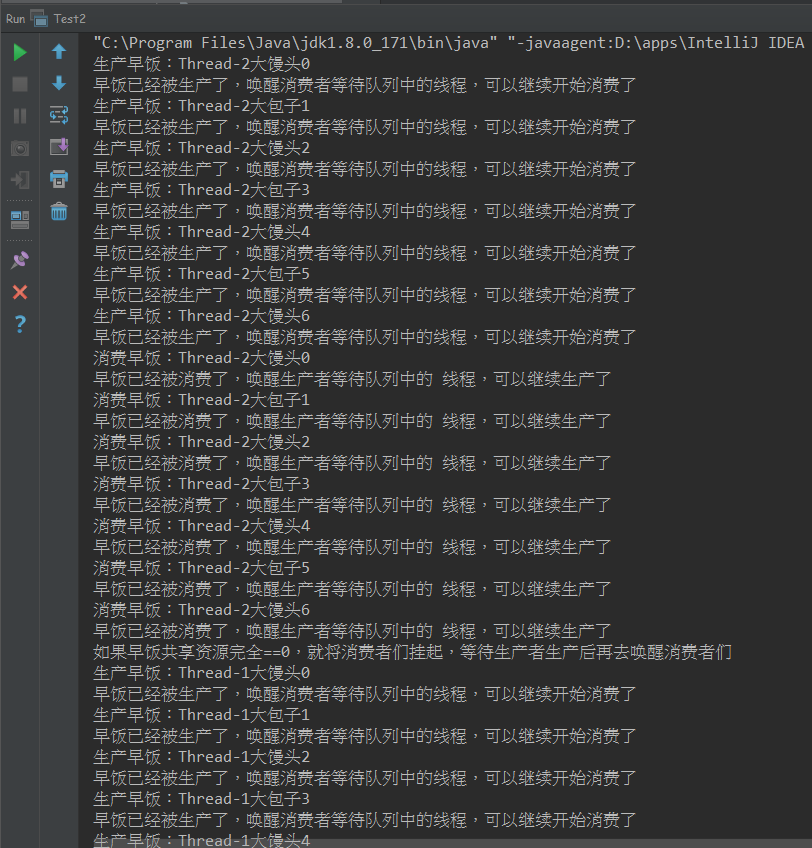
5.启动效果


 925
925


 被折叠的 条评论
为什么被折叠?
被折叠的 条评论
为什么被折叠?
 到【灌水乐园】发言


