Bmp To Mif 转换器
// (karimov 2005)
// This program was originnaly written by one of the ECE241 students to convert an image
// supplied in a BMP file into an MIF file format for use with Quartus II.
//
// This program has recently been modified to work with the new VGA controller used with the DE2
// board.
//
// What to do:
// 1. Create an image in Microsoft paint (or other program). The image must be 160 pixels wide, 120 pixels high and
// use 24-bits to represent colour information.
// 2. Once you create the image you need, flip it up-side down. Then save the BMP file. (example: foo.bmp)
// 3. Run this converter in command prompt using the name of the BMP file you created as a command-line parameter.
// For example:
// bmp2mif foo.bmp
// 4. The program generates two files:
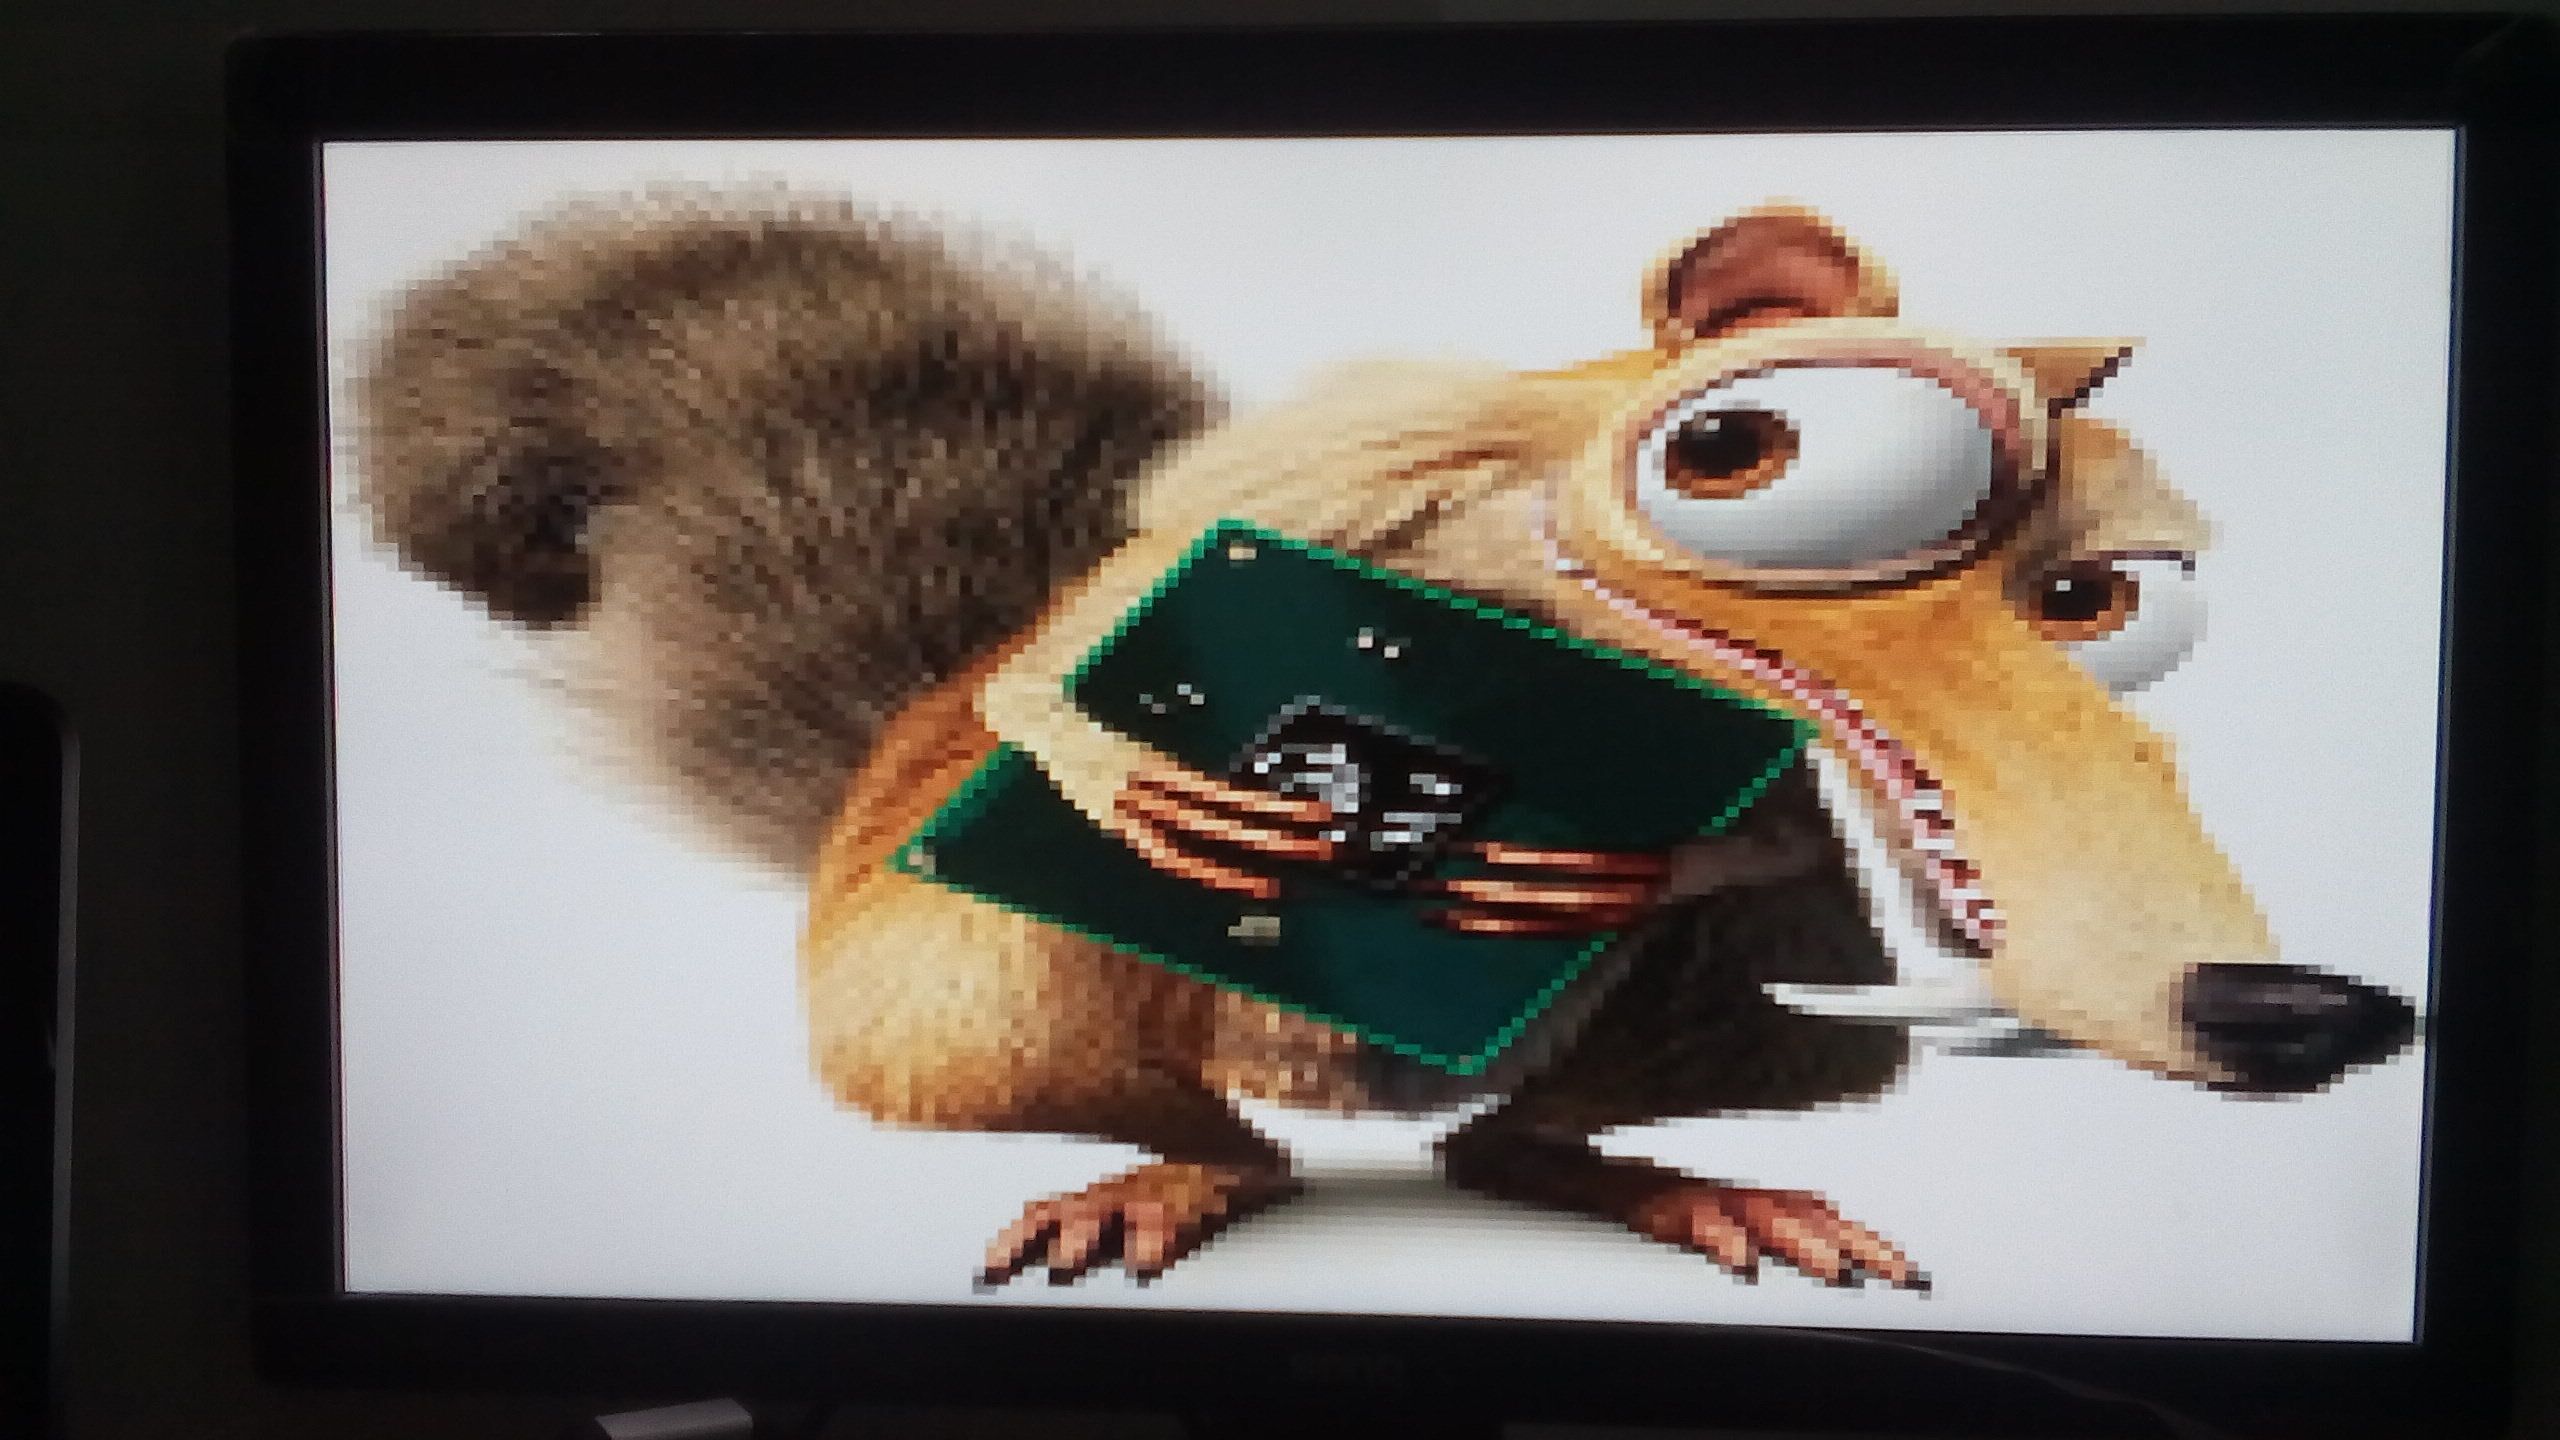
// image.colour.mif - an MIF file with 3 bits colour information obtained from the BMP file you supplied
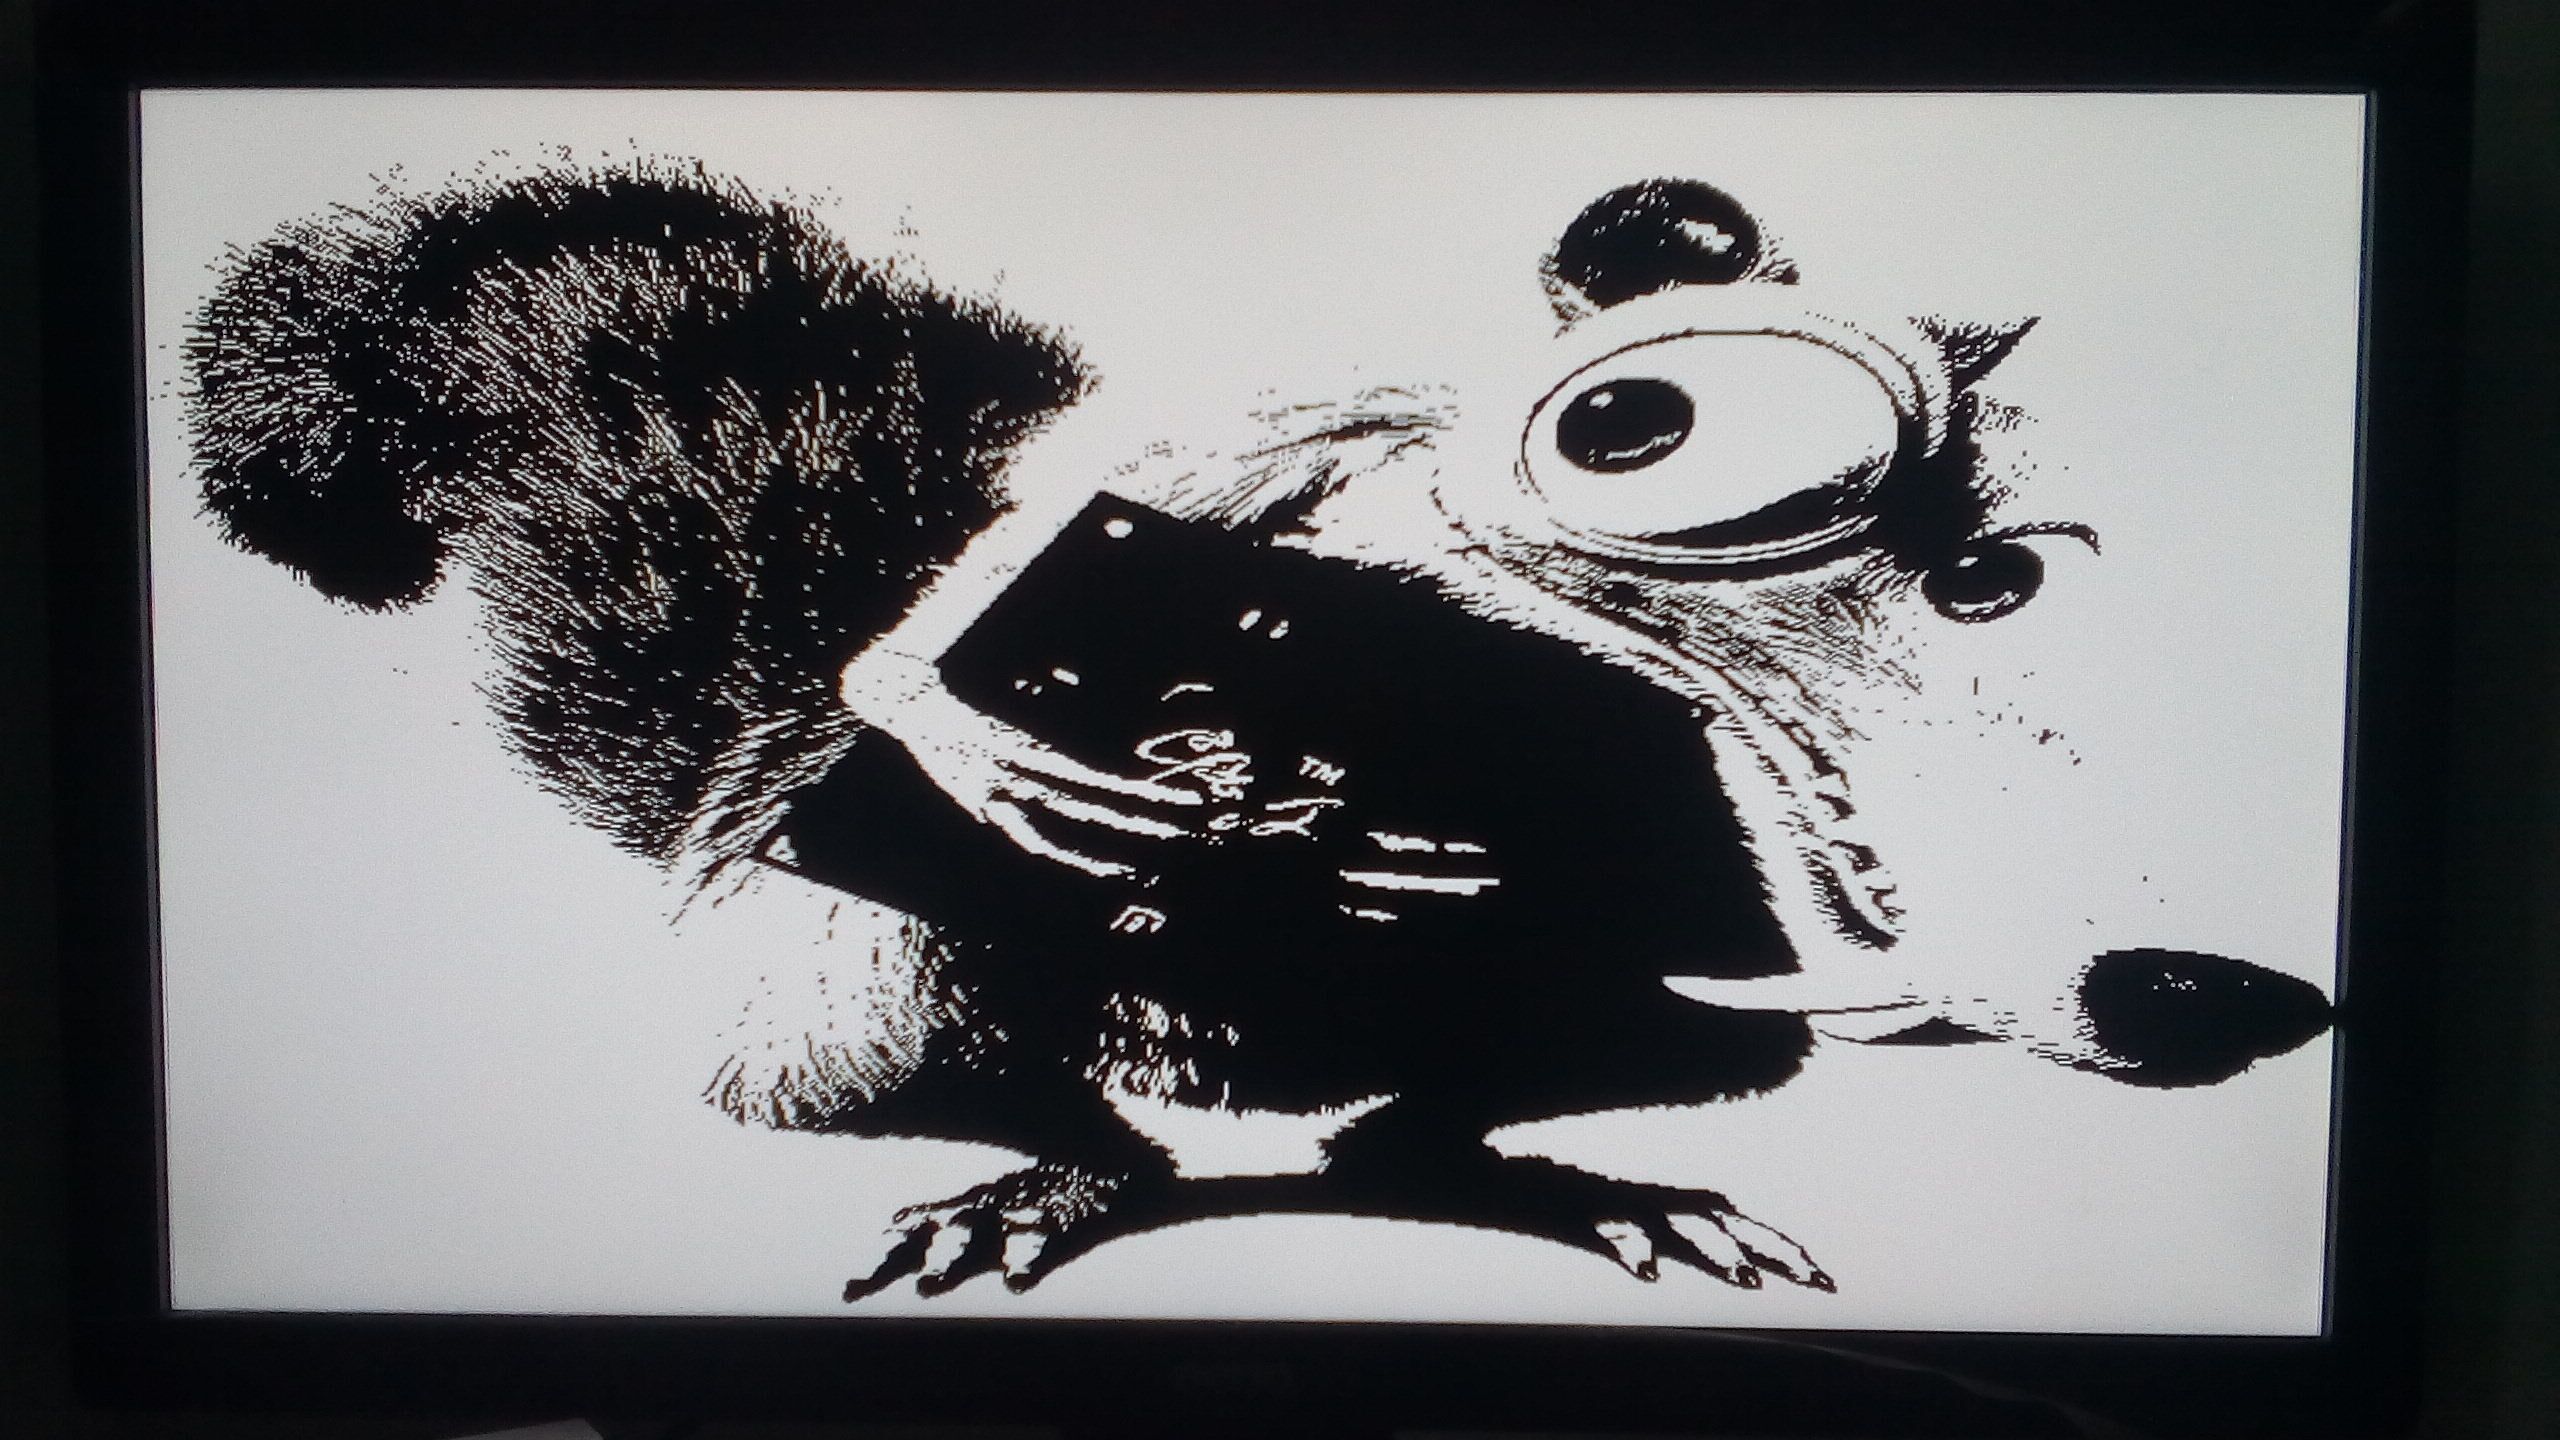
// image.mono.mif - an MIF file containing 1 bit of colour for every pixel on the screen. The dot will either be
// black or white.
// You can change the file names once they are created, but they should still have the .mif extension.
//
// 5. Copy the proper MIF file to the directory where your design is located and include it in your project.
// 6. Change the BACKGROUND_IMAGE parameter of the VgaAdapter to indicate your MIF file.
// 7. The COLOR_CHANNEL_DEPTH parameter must be set to 1 to work with the image.colour.mif file.
#include
#include
#define FLIP_INT(c) ((c >> 24) & 0x000000FF) | ((c & 0x00FF0000) >> 8) | ((c & 0x0000FF00) << 8) | ((c & 0x000000FF) <> 8) | ((c & 0x00FF) << 8)
typedef struct s_header {
unsigned short bfType;
unsigned int bfSize;
unsigned short reserved1;
unsigned short reserved2;
unsigned int offset;
} t_bmp_header;
typedef struct s_bmp_info {
unsigned int biSize;
unsigned int biWidth;
unsigned int biHeight;
unsigned short biPlanes;
unsigned short biBitCount;
unsigned int biCompression;
unsigned int biSizeImage;
unsigned int biXPelsPerMeter;
unsigned int biYPelsPerMeter;
unsigned int biClrUsed;
unsigned int biClrImportant;
} t_bmp_info;
int faprint(FILE *fcol, FILE *fm, const char *pattern) {
fprintf(fcol, pattern);
return fprintf(fm, pattern);
}
int main(int argc, char* argv[]) {
FILE *f, *fcol, *fm;
int y;
unsigned int x, c, r, g, b;
unsigned int width, height;
if (argc != 2)
{
printf("Usage: bmp2mif \n");
return 0;
}
else
{
printf("Input file is: %s\n", argv[1]);
}
printf("This program converts n x m 24-bit .BMP image to MIF file\n");
printf("There are 2 files produced:\n");
printf("\timage.colour.mif - 8-colour channel, n x m x 3\n");
printf("\timage.mono.mif - black and white image, n x m x 1\n\n");
f = fopen(argv[1], "rb");
fcol = fopen("image.colour.mif", "wb");
fm = fopen("image.mono.mif", "wb");
if (f) {
t_bmp_header header;
t_bmp_info info;
fread(&header, 14, 1, f); /* sizeof(t_bmp_header) returns 16 instead of 14. Should be 14. */
fread(&info, sizeof(t_bmp_info), 1, f);
#if !defined (WIN32)
header.bfSize = FLIP_INT(header.bfSize);
header.bfType = FLIP_SHORT(header.bfType);
header.offset = FLIP_INT(header.offset);
header.reserved1 = FLIP_SHORT(header.reserved1);
header.reserved2 = FLIP_SHORT(header.reserved2);
info.biSize = FLIP_INT(info.biSize);
info.biWidth = FLIP_INT(info.biWidth);
info.biHeight = FLIP_INT(info.biHeight);
info.biPlanes = FLIP_SHORT(info.biPlanes);
info.biBitCount = FLIP_SHORT(info.biBitCount);
info.biCompression = FLIP_INT(info.biCompression);
info.biSizeImage = FLIP_INT(info.biSizeImage);
info.biXPelsPerMeter = FLIP_INT(info.biXPelsPerMeter);
info.biYPelsPerMeter = FLIP_INT(info.biYPelsPerMeter);
info.biClrUsed = FLIP_INT(info.biClrUsed);
info.biClrImportant = FLIP_INT(info.biClrImportant);
#endif
printf("Input file is %ix%i %i-bit depth\n", info.biWidth, info.biHeight, info.biBitCount);
if (info.biBitCount == 24) {
char temp[100];
width = info.biWidth;
height = info.biHeight;
printf("Converting...\n");
sprintf(temp, "Depth = %i;\r\n",width*height);
faprint(fcol, fm, temp);
fprintf(fcol, "Width = 3;\r\n");
fprintf(fm, "Width = 1;\r\n");
faprint(fcol, fm, "Address_radix=dec;\r\n");
faprint(fcol, fm, "Data_radix=bin;\r\n");
faprint(fcol, fm, "Content\r\n");
faprint(fcol, fm, "BEGIN\r\n");
sprintf(temp, "\t[0..%i] : 000;\r\n", width*height - 1);
fprintf(fcol, temp);
sprintf(temp, "\t[0..%i] : 0;\r\n", width*height - 1);
fprintf(fm, temp);
fseek(f, 54, SEEK_SET);
for(y=height-1; y >=0; y--) {
x = 0;
fprintf(fcol, "\t%i :", y*width+x);
fprintf(fm, "\t%i :", y*width+x);
for(x=0; x 0) && ((x % 40) == 0))
{
fprintf(fcol, ";\r\n\t%i :", y*width + x);
fprintf(fm, ";\r\n\t%i :", y*width + x);
}
#if defined (WIN32)
c = ((c >> 24) & 0x000000FF) | ((c & 0x00FF0000) >> 8) | ((c & 0x0000FF00) << 8) | ((c & 0x000000FF) <>= 8;
b = (c & 0xFF0000) >> 16;
g = (c & 0x00FF00) >> 8;
r = (c & 0x0000FF);
c = r + g + b;
c /= 3;
r = (r >= 128 ? 1 : 0);
g = (g >= 128 ? 1 : 0);
b = (b >= 128 ? 1 : 0);
c = (c >= 128 ? 1 : 0);
fprintf(fcol, " %i%i%i", r, g, b);
fprintf(fm, " %i", c);
}
faprint(fcol, fm, ";\r\n");
if ((x*3) % 4 != 0)
{
fread(&c, 4-((x*3) % 4), 1, f);
}
}
faprint(fcol, fm, "End;\r\n");
} else printf("Input file image.bmp is not in a 24-bit colour format!\n");
fclose(fm);
fclose(fcol);
fclose(f);
printf("All done.\n");
} else printf("Cannot open input file. Check for input.bmp\n");
}






 1074
1074


 被折叠的 条评论
为什么被折叠?


