


一、运行环境说明
运行环境推荐使用
Apache + PHP(7.0/7.1/7.2版本) + MySQL(5.5/5.6版本)/mariadb组合
,Nginx其次。
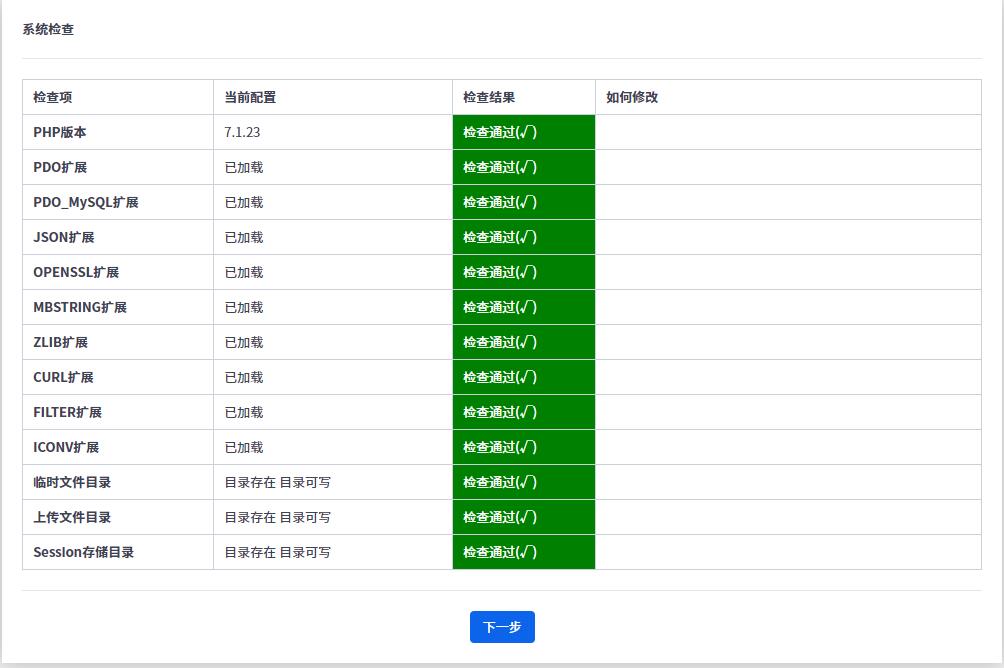
禅道需要使用pdo, pdo_mysql, json, filter, openssl, mbstring, zlib, curl, gd, iconv这几个模块,需要确保PHP环境有加载这几个模块。
二、安装httpd
centos7.5中自带了httpd源文件,我们使用yum命令直接安装就可以。
1、 检查下是否安装了httpd.
rpm -qa httpd
如图:执行结果是没有安装过httpd,如果有安装httpd,可以直接进行使用,无需安装。

2、如果没有安装httpd 我们使用命令安装下httpd.
sudo yum install httpd
3、设置httpd开机启动/关闭
systemctl enable httpd.service #开机启动
systemctl disable httpd.service #开机不启动
systemctl status httpd.service #检查httpd状态
4、httpd服务启动/停止/重启命令
systemctl start httpd.service //启动httpd服务
systemctl stop httpd.service //停止httpd服务
systemctl restart httpd.service //重启httpd服务
5、关闭selinux和设置防火墙打开80端口(httpd的端口有修改的话,防火墙可以打开修改后的端口)。
关闭selinux
setenforce 0 //临时关闭selinux,服务器重启后需要重新执行这个命令
防火墙打开端口
防火墙打开80端口
firewall-cmd --zone=public --add-port=80/tcp --permanent (--permanent永久生效,没有此参数重启后失效)
重新载入
firewall-cmd --reload
查看
firewall-cmd --zone=public --query-port=80/tcp
删除
firewall-cmd --zone=public --remove-port=80/tcp --permanent
启动关闭防火墙相关命令(如果已经使用上面命令打开防火墙端口,这一步可以忽略)
systemctl start firewalld.service #启动一个服务
systemctl stop firewalld.service #关闭一个服务
systemctl restart firewalld.service #重启一个服务
systemctl status firewalld.service #显示一个服务的状态
systemctl enable firewalld.service #在开机时启用一个服务
systemctl disable firewalld.service #在开机时禁用一个服务
systemctl is-enabled firewalld.service #查看服务是否开机启动
systemctl list-unit-files|grep enabled #查看已启动的服务列表
systemctl --failed #查看启动失败的服务列表
6、验证httpd是否安装成功,浏览器访问http://ip:端口,结果如下
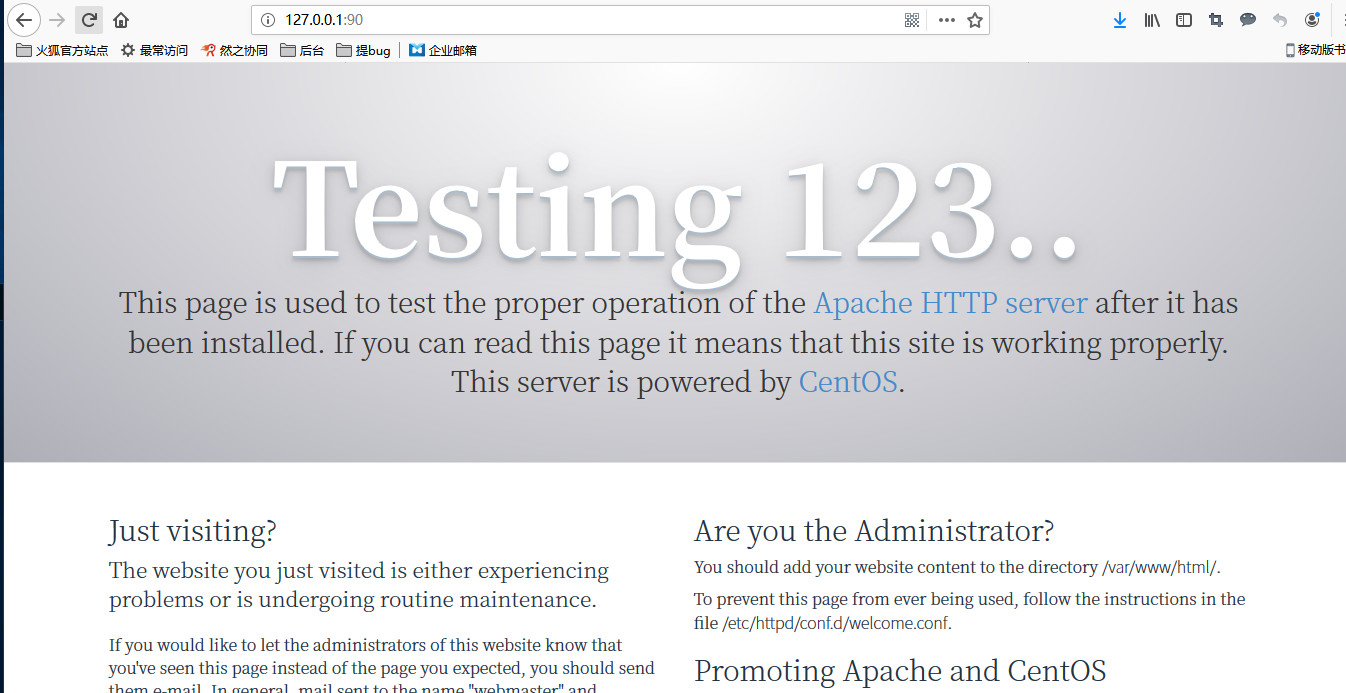
7、如上图所示,httpd安装成功.
三、安装php7.2
centos7.5没有php7.2源,我们需要先安装下php7.2源
1、安装php7源文件
rpm -Uvh https://mirror.webtatic.com/yum/el7/epel-release.rpm
rpm -Uvh https://mirror.webtatic.com/yum/el7/webtatic-release.rpm
2、在源文件中搜索php7.2
yum search php72w
3、安装php7.2以及扩展
yum install php72w php72w-devel php72w-gd php72w-pdo php72w-mysql php72w-mbstring php72w-bcmath php72w-ldap php72w-gd php72w-json php72w-xml
验证php是否安装成功,执行命令创建index.php文件
vi /var/www/html/index.php
插入以下内容:
phpinfo();
浏览器访问http://ip:端口/index.php,结果如下

4、如图,php7.2安装成功,删除index.php
四、安装mariaDB
注:如果已经安装了mysql或者mariaDB数据库,就无需执行下面安装数据库的命令。
Centos 7
之后已经使用
mariaDB
替换
Mysql
Mysql
已经不在包含在
Centos 7
源中,而改用里
MariaDB.
1、使用rpm -qa | grep mariadb搜索 MariaDB 现有的包
rpm -qa | grep mariadb

2、开始安装,创建MariaDB.repo文件
vi /etc/yum.repos.d/MariaDB.repo
插入以下内容:
# MariaDB 10.2.4 CentOS repository list - created 2017-05-05 16:13 UTC
# http://downloads.mariadb.org/mariadb/repositories/
[mariadb]
name = MariaDB
baseurl = http://yum.mariadb.org/10.2.4/centos7-amd64
gpgkey=https://yum.mariadb.org/RPM-GPG-KEY-MariaDB
gpgcheck=1
系统及版本选择:
3、执行安装命令
yum -y install MariaDB-server MariaDB-client
4、设置mariaDB服务开机启动
systemctl enable mariadb #设置开机启动
systemctl disable mariadb #设置开机不启动
systemctl status mariadb #检查mariadb状态
5、启动mariaDB 服务
systemctl start mariadb #启动服务
systemctl restart mariadb #重新启动
systemctl stop mariadb.service #停止MariaDB
6、登录到数据库
用mysql -uroot
命令登录到
MariaDB
,此时
root
账户的密码为空。

7、进行MariaDB的相关简单配置,使用mysql_secure_installation命令进行配置。
首先是设置密码,会提示先输入密码
Enter current password for root (enter for none):
设置密码
Set root password? [Y/n]
New password:
Re-enter new password:
其他配置
Remove anonymous users? [Y/n]
Disallow root login remotely? [Y/n]
Remove test database and access to it? [Y/n]
Reload privilege tables now? [Y/n]
初始化MariaDB完成,接下来测试登录
五、安装禅道企业版
1、可以参考手册安装下ioncube
解密扩展 :
2、在禅道官网下载企业版php7.2对应的安装包(
可以联系禅道商务同事要一下安装包)
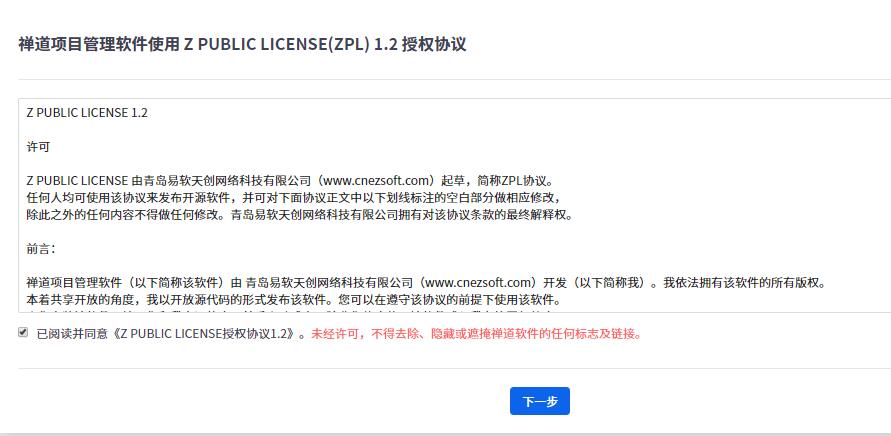
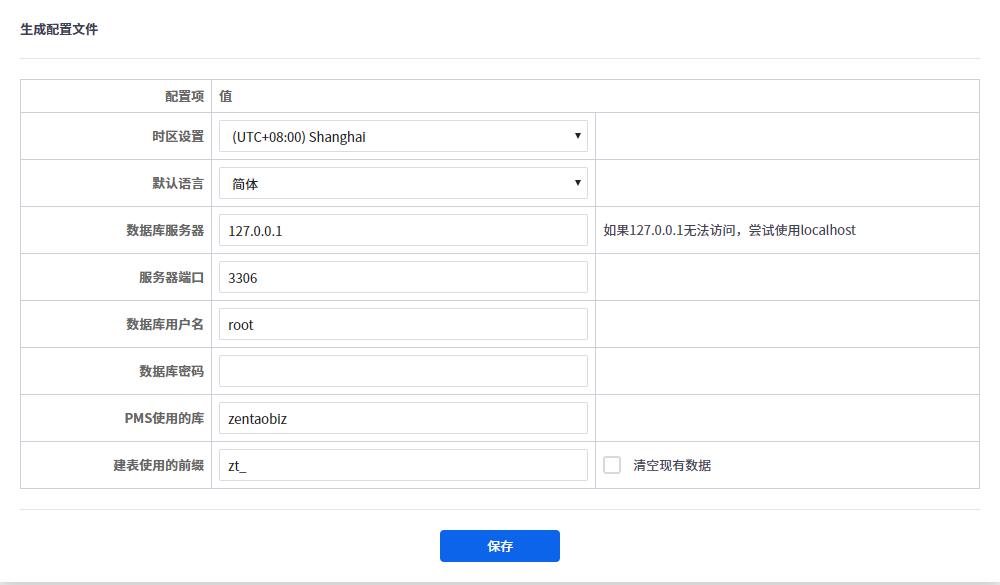
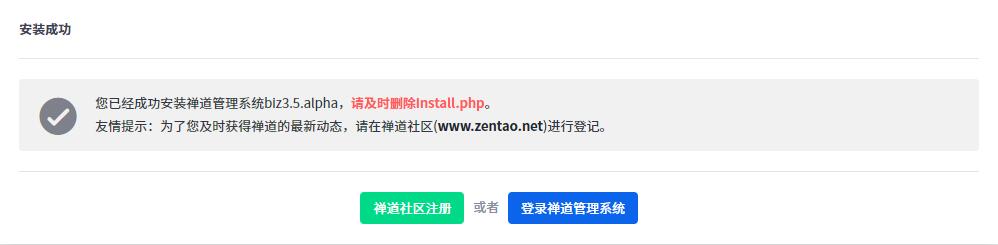
3、下载安装包后放到服务器/var/www/html目录下,解压安装包的到zentaopms目录。浏览器访问http://ip:端口/zentaopms/www/install.php 进行安装禅道。

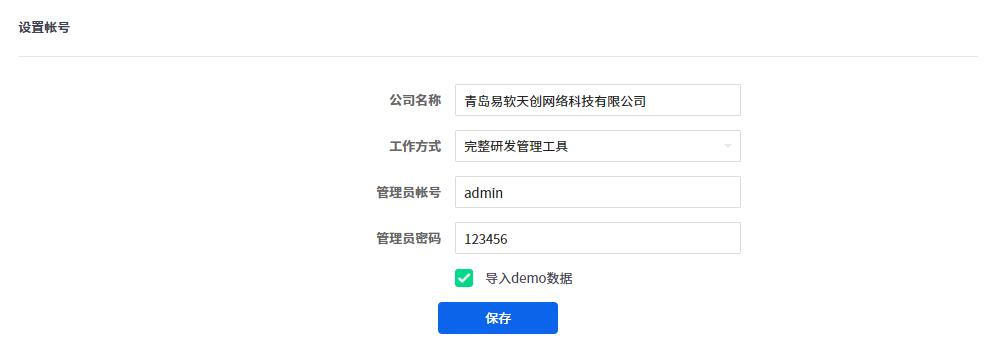
4、设置虚拟主机
vi /etc/httpd/conf/httpd.conf
检查是否加载conf配置,没有的话,可以手动增加一下
IncludeOptional conf.d/*.conf
另外,把 Require all denied默认拒绝访问设置为允许访问: Require all granted,方便测试。
AllowOverride none
# Require all denied
Require all granted
新增虚拟主机配置文件
vi /etc/httpd/conf.d/zentao.conf
插入内容:
ServerName localhost:80
#换成你具体的域名。
DocumentRoot "/var/www/html/zentaopms/www/"
#换成具体的zentaopms下面的www目录。
Options FollowSymLinks
AllowOverride All
重启httpd
systemctl restart httpd.service
5、使用http://ip:端口 ,访问禅道.
6、联系禅道商务同事索要授权文件,超级管理员登录禅道后台- 系统 - 授权信息-替换授权(老版本位置是在 后台 -授权信息-替换授权) 上传这个zip文件。


 717
717


 被折叠的 条评论
为什么被折叠?
被折叠的 条评论
为什么被折叠?
 到【灌水乐园】发言


