


1:安装nginx
先安装一些扩展:
yum -y install wget sudo
yum-y install gcc gcc-c++ g++ cpp make cmake ncurses-devel automake autoconf tcl-devel rdate rsync pcre-devel gd-devel bison bison-devel
yum-y install zlib zlib-devel curl curl-devel libcurl-devel openssl openssl-devel libopenssl-devel libtermcap-devel libc-client-devel bzip2-devel libtool
yum-y install libxml2-devel libpng-devel freetype-devel freetype2-devel gmp-devel libmcrypt libmcrypt-devel gd libjpeg-devel glibc glibc-devel glib2 glib2-devel GeoIP*yum-y remove gcc.x86_64 gcc-c++.x86_64 wget.x86_64 bzip2-devel.x86_64 pkgconfig.x86_64 openssl-devel.x86_64 make.x86_64 man.x86_64 nasm.x86_64 gmp.x86_64 gdbm-devel.x86_64 readline-devel.x86_64 compat-readline43.x86_64 ncurses-devel.x86_64 db4-devel.x86_64 automake* autoconf*
创建www用户给web使用
groupadd -f www
useradd-g www www
下载nginx稳定版本安装包
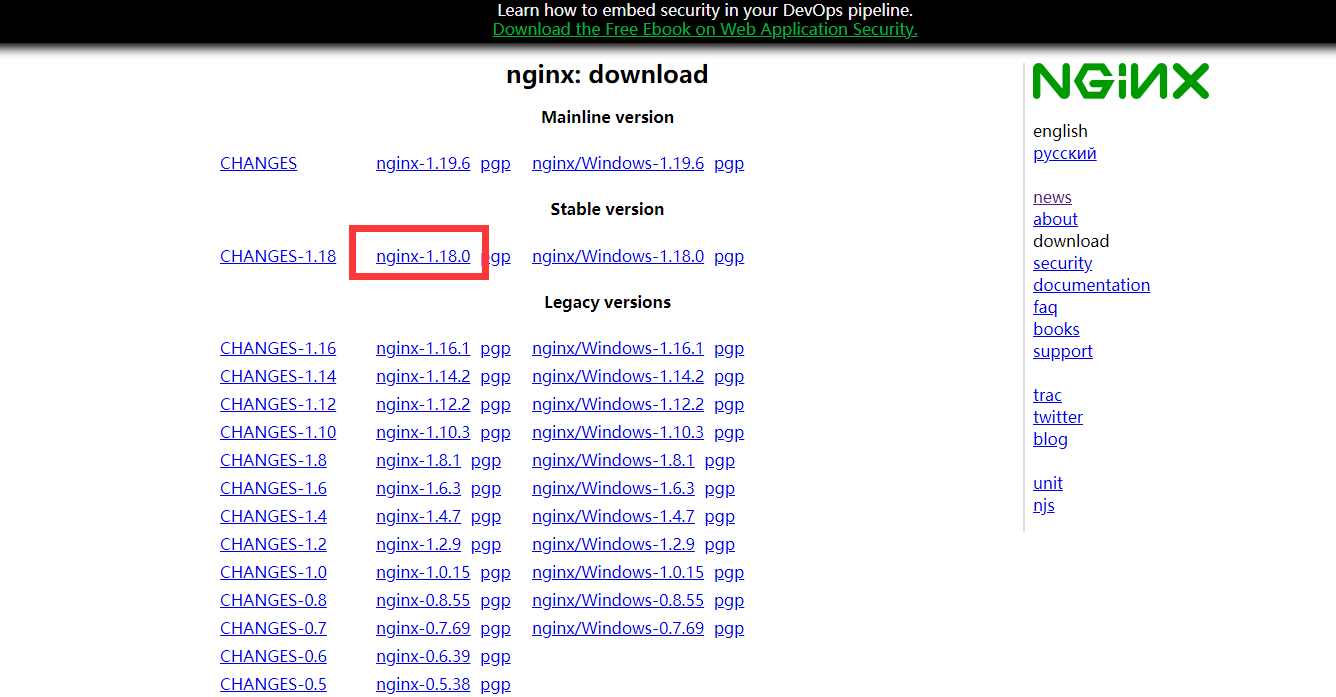
wget http://nginx.org/download/nginx-1.18.0.tar.gz
解压安装包:
tar zxvf nginx-1.18.0.tar.gz
进入解压的安装包安装nginx
cd nginx-1.18.0./configure --user=www --group=www --prefix=/usr/local/nginx --with-http_stub_status_module --with-http_ssl_module --with-http_v2_module --with-http_gzip_static_module --with-ipv6 --with-http_sub_module --with-openssl=/usr/local/src/openssl-1.0.2l
由于后面配置了openssl,所以这里要下载openssl(地址:http://www.linuxfromscratch.org/blfs/view/8.1/postlfs/openssl10.html)
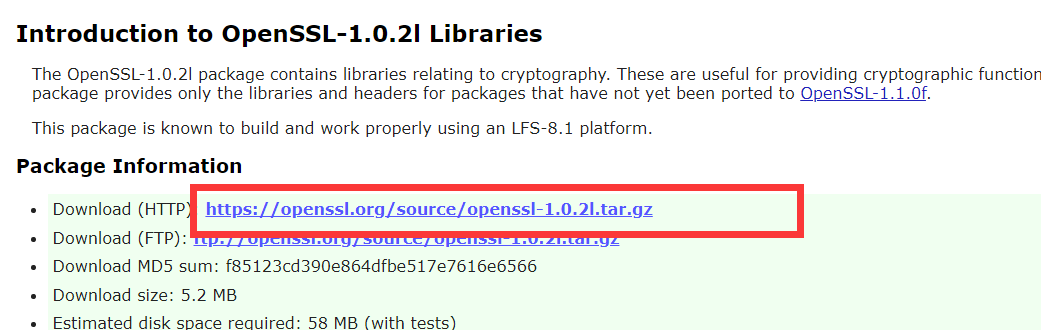
cd /usr/local/src
wget https://openssl.org/source/openssl-1.0.2l.tar.gz
tar zxvf openssl-1.0.2l.tar.gz
或者这样编译
--user=www --group=www --prefix=/usr/local/nginx --with-http_stub_status_module --with-http_ssl_module --with-http_v2_module --with-http_gzip_static_module --with-http_sub_module --with-stream --with-stream_ssl_module --with-openssl=/usr/local/src/openssl-1.1.1g --with-openssl-opt='enable-weak-ssl-ciphers'
等待nginx配置完成,这里进行编译
make && make install
等待流程完毕,我们就算是安装完成Nginx了,可以打开nginx来看看
配置nginx启动脚本
vim /etc/init.d/nginx
#! /bin/sh
# chkconfig:2345 55 25# Description: Startup scriptfor nginx webserver on Debian. Place in /etc/init.d and
# run'update-rc.d -f nginx defaults', or use the appropriate command on your
# distro. For CentOS/Redhat run: 'chkconfig --add nginx'### BEGIN INIT INFO
# Provides: nginx
# Required-Start: $all
# Required-Stop: $all
# Default-Start: 2 3 4 5# Default-Stop: 0 1 6# Short-Description: starts the nginx web server
# Description: starts nginxusing start-stop-daemon
### END INIT INFO
NGINX_BIN='/usr/local/nginx/sbin/nginx'CONFIG='/usr/local/nginx/conf/nginx.conf'
case "$1" instart)
echo-n "Starting nginx..."PID=$(ps -ef | grep "$NGINX_BIN" | grep -v grep | awk '{print $2}')if [ "$PID" != ""]; then
echo"nginx (pid $PID) already running."exit1fi
$NGINX_BIN-c $CONFIGif [ "$?" != 0]; then
echo"failed"exit1
elseecho"done"fi
;;
stop)
echo-n "Stoping nginx..."PID=$(ps -ef | grep "$NGINX_BIN" | grep -v grep | awk '{print $2}')if [ "$PID" = ""]; then
echo"nginx is not running."exit1fi
$NGINX_BIN-s stopif [ "$?" != 0] ; then
echo"failed. Use force-quit"$0 force-quitelseecho"done"fi
;;
status)
PID=$(ps -ef | grep "$NGINX_BIN" | grep -v grep | awk '{print $2}')if [ "$PID" != ""]; then
echo"nginx (pid $PID) is running..."
elseecho"nginx is stopped."exit0fi
;;
force-quit|kill)
echo-n "Terminating nginx..."PID=$(ps -ef | grep "$NGINX_BIN" | grep -v grep | awk '{print $2}')if [ "$PID" = ""]; then
echo"nginx is is stopped."exit1fi
kill $PIDif [ "$?" != 0]; then
echo"failed"exit1
elseecho"done"fi
;;
restart)
$0stop
sleep1$0start
;;
reload)
echo-n "Reload nginx..."PID=$(ps -ef | grep "$NGINX_BIN" | grep -v grep | awk '{print $2}')if [ "$PID" != ""]; then
$NGINX_BIN-s reload
echo"done"
elseecho"nginx is not running, can't reload."exit1fi
;;
configtest)
echo-n "Test nginx configure files..."$NGINX_BIN-t
;;*)
echo"Usage: $0 {start|stop|restart|reload|status|configtest|force-quit|kill}"exit1;;
esac
chmod 755 /etc/init.d/nginx
然后就可以用脚本启动了
/etc/init.d/nginx start
2:安装Mysql
先建立mysql用户
groupadd mysql
useradd-s /bin/false -g mysql mysql
下载mysql(这里以mysql5.6.40为例)
wget http://mirrors.sohu.com/mysql/MySQL-5.6/mysql-5.6.40.tar.gz
解压安装mysql
tar zxvf wget mysql-5.6.40.tar.gz
cd mysql-5.6.40cmake \-DCMAKE_INSTALL_PREFIX=/usr/local/mysql \-DWITH_EXTRA_CHARSETS=all \-DMYSQL_DATADIR=/usr/local/mysql/data \-DENABLED_LOCAL_INFILE=1\-DWITH_INNOBASE_STORAGE_ENGINE=1\-DMYSQL_UNIX_ADDR=/tmp/mysql.sock \-DSYSCONFDIR=/usr/local/mysql \-DDEFAULT_CHARSET=utf8 \-DDEFAULT_COLLATION=utf8_general_ci \-DWITH_EXTRA_CHARSETS=all \-DMYSQL_TCP_PORT=3306\-DENABLE_DTRACE=0make&&make install
echo/usr/local/mysql/lib > /etc/ld.so.conf.d/mysql.conf && ldconfig
修改配置文件
vim /etc/my.cnf
[client]
port= 3306socket= /tmp/mysql.sock
[mysqld]
port= 3306socket= /tmp/mysql.sock
datadir= /usr/local/mysql/data
skip-external-locking
key_buffer_size=32M
max_allowed_packet=1M
table_open_cache= 128sort_buffer_size=768K
net_buffer_length=8K
read_buffer_size=768K
read_rnd_buffer_size=512K
myisam_sort_buffer_size=8M
thread_cache_size= 16query_cache_size=16M
tmp_table_size=32M
max_connections= 500max_connect_errors= 100open_files_limit= 65535log-bin=mysql-bin
binlog_format=mixed
server-id = 1expire_logs_days= 10default_storage_engine=InnoDB
innodb_file_per_table= 1innodb_data_home_dir= /usr/local/mysql/data
innodb_data_file_path=ibdata1:10M:autoextend
innodb_log_group_home_dir= /usr/local/mysql/data
innodb_buffer_pool_size=128M
innodb_additional_mem_pool_size=2M
innodb_log_file_size=32M
innodb_log_buffer_size=8M
innodb_flush_log_at_trx_commit= 1innodb_lock_wait_timeout= 50[mysqldump]
quick
max_allowed_packet=16M
[mysql]
no-auto-rehash
[myisamchk]
key_buffer_size=32M
sort_buffer_size=768K
read_buffer=2M
write_buffer=2M
[mysqlhotcopy]
interactive-timeout
初始化数据库
cd /usr/local/mysql/./scripts/mysql_install_db --user=mysql --basedir=/usr/local/mysql --datadir=/usr/local/mysql/data
复制mysql启动脚本并赋予权限
cp ./support-files/mysql.server /etc/rc.d/init.d/mysqld
chmod755 /etc/rc.d/init.d/mysqld
修改刚刚复制的脚本:
46 行basedir=/usr/local/mysql47 行datadir=/usr/local/mysql/data
开始mysql
/etc/init.d/mysqld start
设置为开机启动
chkconfig mysqld on
添加环境变量
vim /etc/profile
#在最底部添加一行
export PATH=$PATH:/usr/local/mysql/bin
source /etc/profile
mysql安全配置向导
/usr/local/mysql/bin/mysql_secure_installation
#按照如下操作
NOTE: RUNNING ALL PARTS OF THIS SCRIPT IS RECOMMENDED FOR ALL MySQL
SERVERS IN PRODUCTION USE! PLEASE READ EACH STEP CAREFULLY!In order to log into MySQL to secure it, we'll need the current
password for the root user. If you've just installed MySQL, and
you haven't set the root password yet, the password will be blank,
so you should just press enter here.
Enter current passwordfor root (enter fornone): 此处只需按下回车键
OK, successfully used password, moving on...
Setting the root password ensures that nobody can log into the MySQL
root user without the proper authorisation.
Set root password? [Y/n] y (要为root管理员设置数据库的密码)
New password: 输入要为root管理员设置的数据库密码
Re-enter newpassword: 再输入一次密码
Password updated successfully!Reloading privilege tables..
... Success!Bydefault, a MySQL installation has an anonymous user, allowing anyone
to log into MySQL without having to have a user account createdforthem. Thisis intended only fortesting, and to make the installation
go a bit smoother. You should remove them before moving into a
production environment.
Remove anonymous users? [Y/n] y (删除匿名账户)
... Success!Normally, root should only be allowed to connectfrom 'localhost'. This
ensures that someone cannot guess at the root passwordfromthe network.
Disallow root login remotely? [Y/n] y (禁止root管理员从远程登录)
... Success!Bydefault, MySQL comes with a database named 'test'that anyone can
access. Thisis also intended only fortesting, and should be removed
before moving into a production environment.
Remove test database and access to it? [Y/n] y (删除test数据库并取消对其的访问权限)-Dropping test database...
... Success!
-Removing privileges on test database...
... Success!Reloading the privilege tables will ensure that all changes made so far
will take effect immediately.
Reload privilege tables now? [Y/n] y (刷新授权表,让初始化后的设定立即生效)
... Success!All done! If you've completed all of the above steps, your MySQL
installation should now be secure.
Thanksfor using MySQL!Cleaning up...
重启mysql
/etc/init.d/mysqld restart
3:安装PHP
首先下载PHP安装包,这里以5.3.29为例
wget http://mirrors.sohu.com/php/php-5.3.29.tar.gz
解压php
tar -zxvf php-5.3.29.tar.gz
cd php-5.3.29
安装一些扩展
yum -y install libtidy libtidy-devel libxslt libxslt-devel
yum-y install libtool-ltdl-devel.x86_64
yum install-y epel-release
yum install-y libmcrypt-devel
编译安装PHP
./configure --prefix=/usr/local/php --with-config-file-path=/usr/local/php/etc \--with-config-file-scan-dir=/usr/local/php/conf.d --enable-fpm --with-fpm-user=www \--with-fpm-group=www --with-mysql=mysqlnd --with-mysqli=mysqlnd --with-pdo-mysql=mysqlnd \--with-iconv-dir --with-freetype-dir=/usr/local/freetype --with-jpeg-dir --with-png-dir \--with-zlib --with-libxml-dir=/usr --enable-xml --disable-rpath --enable-magic-quotes \--enable-safe-mode --enable-bcmath --enable-shmop --enable-sysvsem --enable-inline-optimization \--with-curl=/usr/local/curl --enable-mbregex --enable-mbstring --with-mcrypt --enable-ftp \--with-gd --enable-gd-native-ttf --with-openssl --with-mhash --enable-pcntl --enable-sockets \--with-xmlrpc --enable-zip --enable-soap --with-gettext --disable-fileinfo
make php
make && make install
调整配置文件
cp php.ini-production /usr/local/php/etc/php.ini
ln-s /usr/local/php/bin/php /usr/bin/sed-i "s@;date.timezone =@date.timezone = Asia/Shanghai@g" /usr/local/php/etc/php.ini
sed-i "s@max_execution_time = 30@max_execution_time = 300@g" /usr/local/php/etc/php.ini
mv/usr/local/php/etc/php-fpm.conf.default /usr/local/php/etc/php-fpm.conf
修改php-fpn文件(清空php-fpm文件,填入如下文件)
[global]
pid= /usr/local/php/var/run/php-fpm.pid
error_log= /usr/local/php/var/log/php-fpm.log
log_level=notice
emergency_restart_threshold= 10emergency_restart_interval=1m
process_control_timeout=5s
daemonize=yes
rlimit_files= 10240rlimit_core= 0[www]
#listen= /tmp/php-cgi.sock
listen= 127.0.0.1:9000listen.backlog= -1listen.allowed_clients= 127.0.0.1listen.owner=www
listen.group=www
;listen.mode= 0666user=www
group=www
pm= dynamicpm.max_children= 80pm.start_servers= 20pm.min_spare_servers= 20pm.max_spare_servers= 80pm.max_requests= 500access.log= /usr/local/php/logs/access.log
access.format= %R - %u %t "%m %r%Q%q" %s %f %{mili}d %{kilo}M %C%%request_terminate_timeout= 0request_slowlog_timeout= 0slowlog= /disk/logs/php/slow.log
rlimit_files= 10240rlimit_core= 0chroot=no
;chdir= /var/www
catch_workers_output= yes
添加php-fpm启动脚本到/etc/init.d/php-fpm
cp /usr/local/src/php-5.3.29/sapi/fpm/init.d.php-fpm /etc/init.d/php-fpm
chmod755 /etc/init.d/php-fpm
启动php
/usr/local/php/sbin/php-fpm
至此已经全部安装完成!
如果设置nginx支持php
打开nginx配置文件
#在index.htm 后面新增 index.php,下面红色部分
location/{
root html;
index index.html index.htm index.php;
}
#把如下字段全部取消注释,注意修改红色部分
location~\.php$ {
root html;
fastcgi_pass127.0.0.1:9000;
fastcgi_index index.php;
fastcgi_param SCRIPT_FILENAME/usr/local/nginx/html$fastcgi_script_name;
include fastcgi_params;
}
重新加载nginx
/usr/local/nginx/sbin/nginx -s reload
编辑php文件进行访问即可。
如何安装php扩展:
安装pdo_mysql扩展
wget http://pecl.php.net/get/PDO_MYSQL-1.0.2.tgz
tar zxvf PDO_MYSQL-1.0.2.tgz
cd PDO_MYSQL-1.0.2
/usr/local/php/bin/phpize
./configure --with-php-config=/usr/local/php/bin/php-config --with-pdo-mysql=/usr/local/mysql
make
make install
echo"[pcntl]
extension=pdo_mysql.so">> /usr/local/php/etc/php.ini
安装imagick
yum install ImageMagick-devel
./configure --with-php-config=/usr/local/php/bin/php-config
make
make install
echo"[imagick]
extension=imagick.so">> /usr/local/php/etc/php.ini
安装Load Ioncube
wget http://downloads2.ioncube.com/loader_downloads/ioncube_loaders_lin_x86-64.tar.gz
tar xfz ioncube_loaders_lin_x86-64.tar.gz
mv ioncube/usr/local/echo"[ioncube]
zend_extension= /usr/local/ioncube/ioncube_loader_lin_5.3.so">> /usr/local/php/etc/php.ini
安装Load ZendGuardLoader
wget http://downloads.zend.com/guard/5.5.0/ZendGuardLoader-php-5.3-linux-glibc23-x86_64.tar.gz
tar xvfpz ZendGuardLoader-php-5.3-linux-glibc23-x86_64.tar.gz
mkdir/usr/local/zend/cp ZendGuardLoader-php-5.3-linux-glibc23-x86_64/php-5.3.x/ZendGuardLoader.so /usr/local/zend/echo"[Zend]
zend_loader.enable=1zend_loader.disable_licensing=0zend_extension=/usr/local/zend/ZendGuardLoader.so">> /usr/local/php/etc/php.ini
安装yac
wget http://pecl.php.net/package/yac/0.9.2
tar zxvf yac-0.9.2.tgz
cd yac-0.9.2
/usr/local/php/bin/phpize
./configure --with-php-config=/usr/local/php/bin/php-config
make
make install
编辑php文件
vim /usr/local/php/etc/php.ini
#在末尾添加如下内容
[yac]
extension=yac.so
extension_dir=/usr/local/php/lib/php/extensions/no-debug-non-zts-20090626/
报错,如果重启php-fpm的时候出现如下错误:
Gracefully shutting down php-fpm warning, no pid file found - php-fpm is not running ?Starting php-fpm [27-Jan-2021 16:24:17] ERROR: unable to bind listening socket for address '127.0.0.1:9000': Address already in use (98)
[27-Jan-2021 16:24:17] ERROR: FPM initialization failed
说明是日志文件没有弄好,不能正确的打开”日志“文件,我们修改下配置就可以了,具体请网上看我的php-fpm文件


 340
340


 被折叠的 条评论
为什么被折叠?
被折叠的 条评论
为什么被折叠?
 到【灌水乐园】发言


