


 本文介绍了如何结合Expo Router和Supabase构建iOS应用的基础流程,包括项目搭建、开发Tabs结构、实现Auth逻辑。通过创建目录对应路由、设置Stack导航、集成Supabase登录功能,详细阐述了每个步骤的关键代码和配置。
unsetunset前言unsetunset
Expo是一个React-native生态中的一个工具包,提供了非常多的功能,Expo Router是Expo最近推出的功能,其效果类似于Nextjs的router,可以基于目录结构来实现路由。 Supabase是一个开源的postgres数据库,还带有用户体系功能,可以快速实现login、register这些功能。
我将记录一下,我使用这2个工具,构建基础基础IOS APP的流程。
本文不是手把手教程。
unsetunset项目搭建unsetunset
请阅读expo文档:https://docs.expo.dev/router/installation/#quick-start
注意,我这里使用的是expo router的文档,而不是expo的文档,因为单独使用expo也可以构建APP,而我们需要使用expo router,简化我们APP的路由设计。
我们将使用当前最新的expo 50和expo router 3.0来构建项目骨架,按下面的命令,一行行执行则可:
npx create-expo-app
yarn
npx expo install expo-router react-native-safe-area-context react-native-screens expo-linking expo-constants expo-status-bar
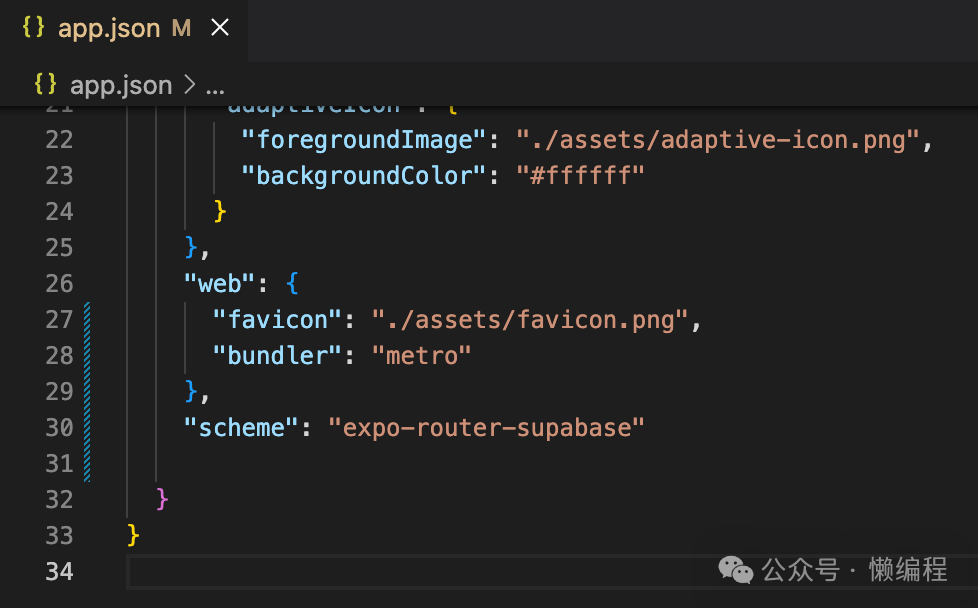
npx expo install react-native-web react-dom在app.json中,添加如scheme和bundler:
{
  "scheme": "your-app-scheme",
  "web": {
    "bundler": "metro"
  }
}
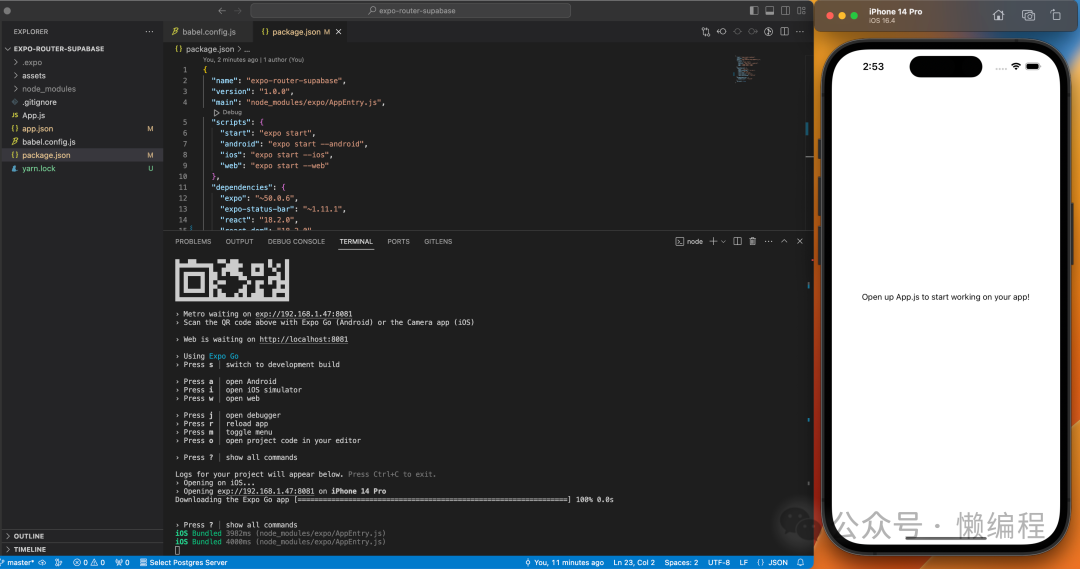
弄好后,直接yarn start启动项目,然后点击【i】,通过IOS simulator(IOS模拟器)打开项目。
unsetunset开发Tabs结构unsetunset
首先,你需要了解一下目录对应路由的基本概念:https://docs.expo.dev/router/create-pages/,然后开始写代码。
首先,在package.json中,修改main,使用expo-router的入口逻辑:
{
  "main": "expo-router/entry"
}
这样,expo就会使用根目录下app文件夹中的index.js作为入口文件了,而App.js就没有用了,可以删掉。
我们创建app/index.js,写入如下代码:
// app/index.js
import { Text } from 'react-native';

export default function Page() {
  return <Text>Home page</Text>;
}
你可以安装下图插件。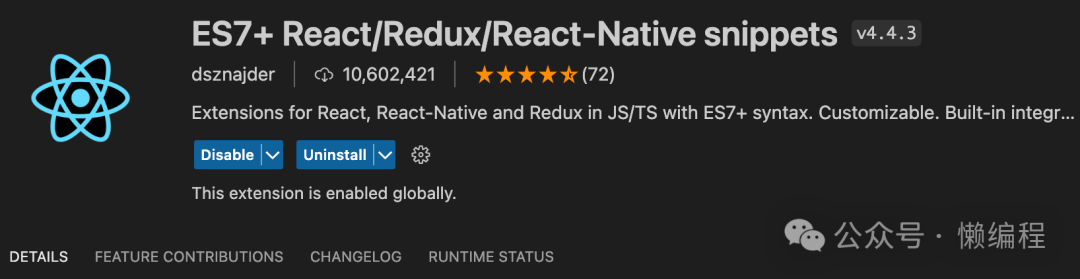
然后使用rnfes,快速构建页面模版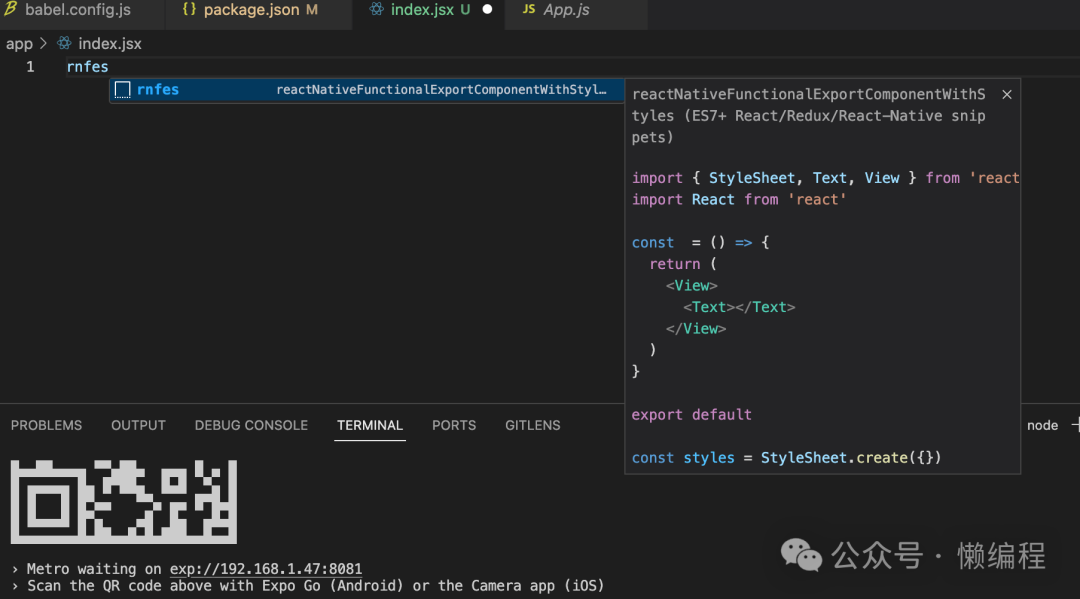
等待expo刷新一下,就可以从模拟器看见Home page字样了,如果等了一会,没有看见,代码也确定没有问题,就退出一下expo,跟在iphone强退应用一样的操作。
然后,我们来写tabs的具
 最低0.47元/天 解锁文章


 被折叠的 条评论
为什么被折叠?
被折叠的 条评论
为什么被折叠?
 到【灌水乐园】发言


