


文章导航-readme
一、配置Spring Boot热部署
技术的发展总是因为人们想偷懒的心理,如果我们不想每次修改了代码,都必须重启一下服务器,并重新运行代码。那么可以配置一下热部署。有了它之后,修改了代码只需要重新build一下,就可以看到效果了,不需要重启服务器。
1.配置热部署
- pom.xml文件中添加如下依赖:
        <dependency>
            <groupId>org.springframework.boot</groupId>
            <artifactId>spring-boot-devtools</artifactId>                                        <optional>true</optional>
</dependency>- 修改pom.xml文件
 <build>
        <plugins>
            <plugin>
                <groupId>org.springframework.boot</groupId>
                <artifactId>spring-boot-maven-plugin</artifactId>
                <configuration>
                    <!--开启热部署-->
                    <fork>true</fork>
                </configuration>
            </plugin>
        </plugins>
</build>修改pom.xml文件后,idea会弹出一个让你自动导入包的文件,点击Import Changes。就会自动将jar包下载到依赖库中。
如此,就实现了Spring Boot的热部署,此时修改我们的代码,只需重新Build一下就可以了。
2. 配置自动build
当然,如果你更懒的话,练build都不想做,也可以在Idea中配置自动Build(自动Build仅支持Spring Boot项目)。
- 打开Idea->File->Settings...可以看到如下界面
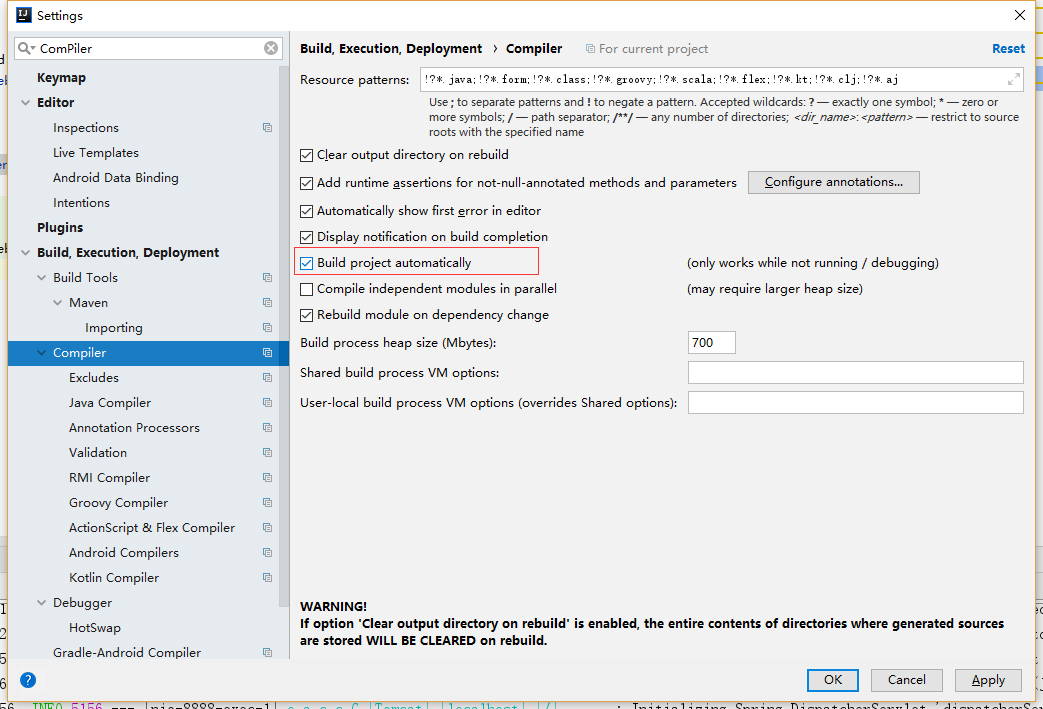
选中上图中的Build Project automatical
- 按组合键
Shift+ALT+Ctrl+/选择Registry可以看到如下界面
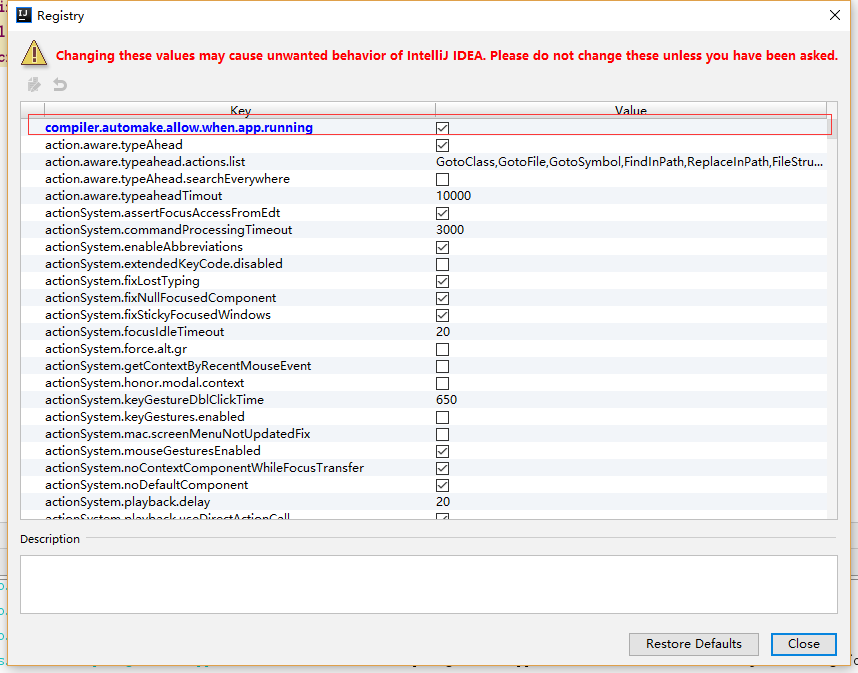
选中上图中的complier.automake.allow.when.app.running
如此,修改我们的代码后,无需重新build也无需重新重启。
二、Spring Boot读取配置文件
- 修改我们的配置文件
application.properties
server.port=8888

<!--网站配置-->
website.name=Loading
website.domin=www.loading.ink
website.title=我的博客网站
website.description=分享我的生活和技术- 新建配置文件类
WebSiteConfig
package spring.boot.web.config;

import org.springframework.beans.factory.annotation.Value;
import org.springframework.boot.context.properties.ConfigurationProperties;
import org.springframework.context.annotation.Configuration;
import org.springframework.context.annotation.PropertySource;

import java.text.MessageFormat;

@Configuration
//@ConfigurationProperties(prefix = "website")
//要读取的配置文件地址
@PropertySource(value = "classpath:application.properties")
public class WebSiteConfig {
    @Value("${website.title}")
    private String title;
    @Value("${website.domain}")
    private String domain;
    @Value("${website.description}")
    private String description;

    public String getTitle() {
        return title;
    }

    public void setTitle(String title) {
        this.title = title;
    }

    public String getDomain() {
        return domain;
    }

    public void setDomain(String domain) {
        this.domain = domain;
    }

    public String getDescription() {
        return description;
    }

    public void setDescription(String description) {
        this.description = description;
    }

    @Override
    public String toString() {
        return MessageFormat.format("Title:{0} Domin:{1} Description:{2}", title, domain, description);
    }
}
读取配置文件中的配置有两种方式
1.@ConfigurationProperties(prefix = "website")用于绑定属性,其中prefix表示所绑定的属性的前缀。如果配置文件中的配置和属性名一致可以用此种方式
2.@Value("${website.title}") 绑定配置文件中的属性
注意:
注解@Configuration用于定义配置类
注解@PropertySource(value = "classpath:application.properties")代表要读取配置文件的路径当配置文件是application.properties时,这个注解可以省略不写
- 新建
WebSiteController
package spring.boot.web.controller;

import org.springframework.beans.factory.annotation.Autowired;
import org.springframework.web.bind.annotation.RequestMapping;
import org.springframework.web.bind.annotation.RequestMethod;
import org.springframework.web.bind.annotation.RestController;
import spring.boot.web.config.WebSiteConfig;

@RequestMapping("/website")
@RestController
public class WebSiteController {

    //通过@Autowired注解注入bean
    @Autowired
    private WebSiteConfig webSiteConfig;

    @RequestMapping(method = RequestMethod.GET)
    public String get() {
        return webSiteConfig.toString();
    }
}
- 测试运行
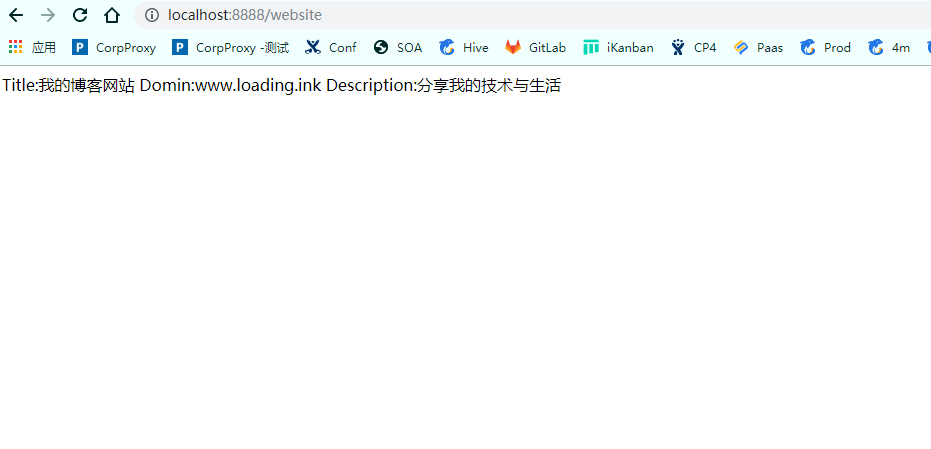
- 注意,如果第一次运行时遇到读取配置文件里的中文乱码的问题。其主要原因可能是因为配置文件的格式并不是utf-8的格式。此时可在idea中进行设置。
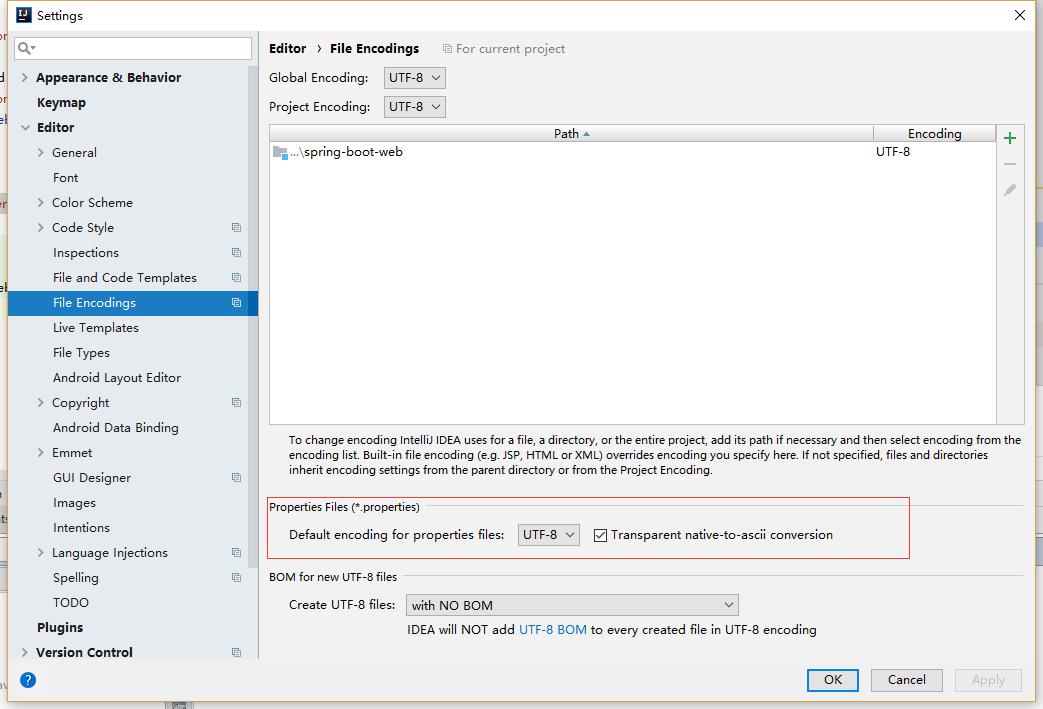
如上图所示更改为uft-8,注意后面的一定要勾选上。
通过上面配置后如果还不行,可以将配置文件删除后重新建一个,问题就可以解决!
三、Spring Boot Profile
Spring Boot 使用一个全局的配置文件 application.properties ,Spring Boot 的全局配置文件的作用是对一些默认配置的配置值进行修改。
在日常开发中,我们常常会遇到一个问题。就是在不同的环境使用不同的配置。比如生产、开发、测试三个不同的环境,我们的配置肯定不一样。这时,我们就要用到Profile。
Profile 是 Spring 用来针对不同的环境对不同的配置提供支持的,全局 Profile 配置使用 application-{profile}.properties(如 application-dev.properties)。通过在 application.properties 中设置 spring.profiles.active = dev 来指定活动的 Profile。
- 依次再目录下面新建三个配置文件,
application-dev.properties、application-test.properties、application-prod.properties。它们分别代表开发环境、测试环境、生产环境的配置文件。
server.port=8887

website.title=我的博客网站--Dev
website.domain=www.loading.ink
website.description=分享我的技术与生活
server.port=8886
website.title=我的博客网站--test
website.domain=www.loading.ink
website.description=分享我的技术与生活server.port=8885
website.title=我的博客网站--prod
website.domain=www.loading.ink
website.description=分享我的技术与生活- 接下来修改
application.properties:表示,将采用application-dev.properties这个配置文件。
spring.profiles.active=dev
测试运行我们可以看到会启动开发环境配置文件的端口8887
注意:配置文件会优先获取Profile中的配置,如果Profile中没有的配置项, 那么会直接取application.properties中的配置


 193
193


 被折叠的 条评论
为什么被折叠?
被折叠的 条评论
为什么被折叠?
 到【灌水乐园】发言


