In this article we will be seeing how to configure Send To connections in SharePoint 2010.
A connection is created for sending documents to the records center or to the document repository; it specifies the web application from which the document has to be sent and the document repository or records center to which documents will be sent.
SharePoint 2010 provides a great way to manage the documents. You have three Send To actions.
- Copy
- Move
- Move and Leave a Link

Copy:
User can create a copy of the document and send the copy to the other location.
Move:
User can move a document from one location to other location.
Move and Leave a Link:
User can move a document from one location to another location, by leaving a link at the current location indicating that the document has been moved and with the new location information.
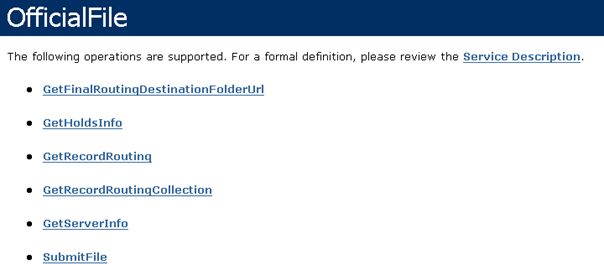
Documents can be sent across a site, a site collection or even farms using the OfficialFile web service
http://server/site Url/_vti_bin/officialfile.asmx.

In the destination document repository or records center the Content Organizer feature should be enabled, then only documents can be sent. If you don't enable this feature you can't create a new Sent To connection.
Activate the feature Content Organizer:
- Content Organizer is a site feature.
- Go to Site Actions => Site Settings => site Actions =>Manage site features.
- Activate the feature Content Organizer.
Create a new Send to connection:
- Go to Central Administration => General Application Settings =>External Service Connections =>Configure send to connections.

- Select the web application from which the documents has to be sent.

- In the "Send To Connections" option select "New Connection".

- In the "Connection Settings" enter the display name.
- In the "Send To URL" enter the web service url of the destination document repository or records center.
- Send To URL:
- In the destination document repository or records center, go to Site Actions => Site settings => Site Administration => Content Organizer settings =>Submission Points.

- Copy the Web Service URL.

- In the destination document repository or records center, go to Site Actions => Site settings => Site Administration => Content Organizer settings =>Submission Points.
- Click on "Click here to test" to test the url.
- Select the "Sent To action ".
- Enter the explanation for the connection.
- Click on "Add Connection".
- A new Sent to connection will be created.
- Click Ok.
Testing the connection:
- Go to the site from where you want to send the document.
- Select the document, go to ECB drop down menu => Send To => Records center.

- A message will pop up, click Ok.

- Document has been sent to the destination successfully.

- Now click on the document; you will be redirected to a page where you will see the link of the document current location.

- Click on the link, it will be redirected to the destination location where the document is present.


 4万+
4万+

 被折叠的 条评论
为什么被折叠?


