


自定义TabBarController、NavigationController 简单使用(复用)
环境:xcode9.4
语言:swift4.0
git:SwiftNotes
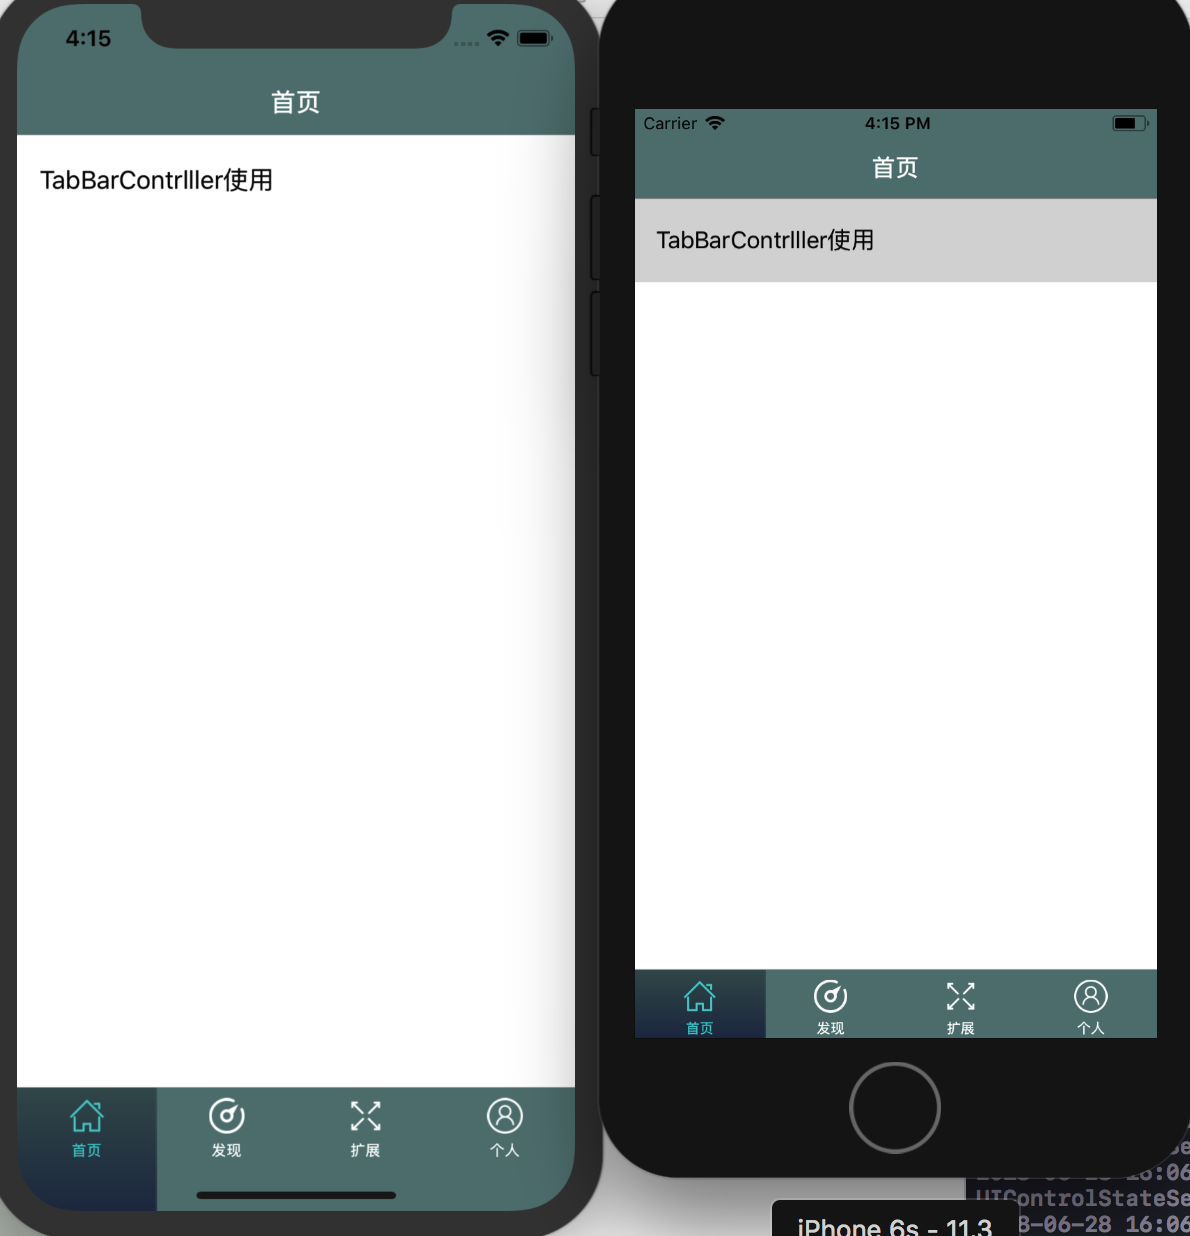
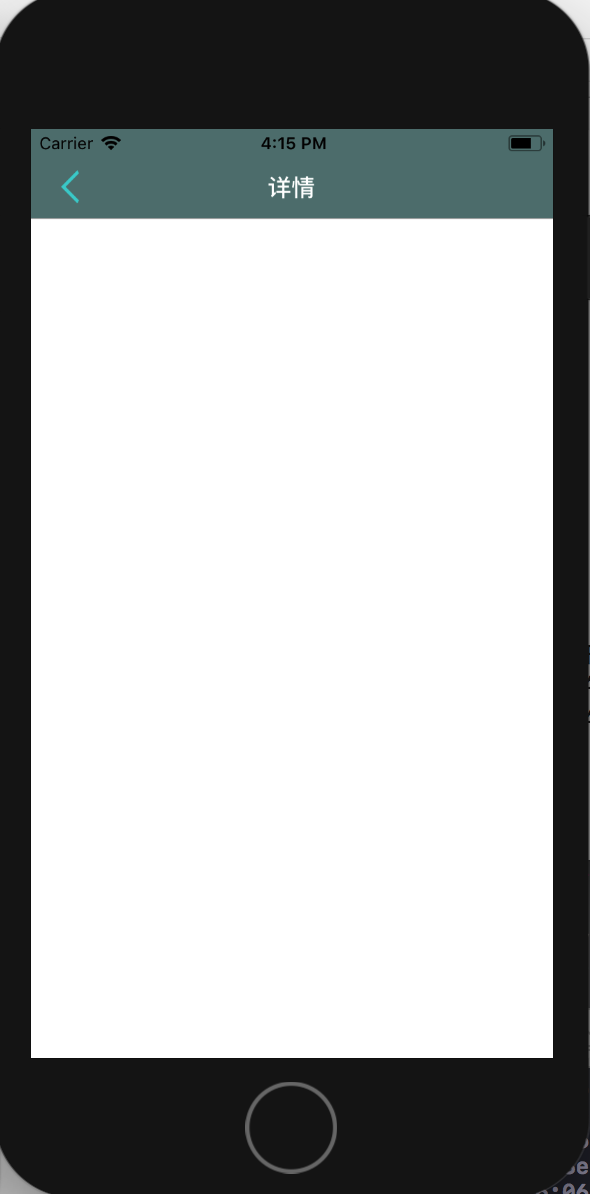
效果图:
SLNavigationController.swift
import UIKit

class SLNavigationController: UINavigationController {

    override func viewDidLoad() {
        super.viewDidLoad()
        navigationBar.isHidden = true
    }

    /// 重写Push方法
    /// 所有的push动作都会调用此方法
    /// - Parameters:
    ///   - viewController: 需要push的VC
    ///   - animated: 是否动画
    override func pushViewController(_ viewController: UIViewController, animated: Bool) {
        //如果不是栈底的控制器才需要隐藏,跟控制器不需要处理
        if childViewControllers.count > 0{
            //隐藏tabBar
            viewController.hidesBottomBarWhenPushed = true
        }
        super.pushViewController(viewController, animated: true)
    }

}
SLTabBarController.swift
import UIKit

class SLTabBarController: UITabBarController {

    override func viewDidLoad() {
        super.viewDidLoad()
        setupChildControllers()
        tabBar.isTranslucent = false
    }

    override func didReceiveMemoryWarning() {
        super.didReceiveMemoryWarning()
        // Dispose of any resources that can be recreated.
    }

}
//extension 类似于OC中的分类,在Swift中还可以用来切分代码块
//可以把相近功能的函数,放在一个extension中
//注意:和OC的分类一样,extension中不能定义属性
//MARK: -设置界面
extension SLTabBarController {

    /// 设置所有子控制器
    private func setupChildControllers(){
        let array = [

          ["clsName":"SLHomeViewController","title":"首页","imageName":"home"],
            ["clsName":"SLFindViewController","title":"发现","imageName":"find"],
            ["clsName":"SLExtendViewController","title":"扩展","imageName":"extend"],
            ["clsName":"SLAccountFourViewController","title":"个人","imageName":"account"]

        ]
        var arrayM = [UIViewController]()

        for dict in array {

            arrayM.append(controller(dict: dict))
        }
        ///Use of unresolved identifier 'viewControllers'
        viewControllers = arrayM

        //tabbar选中背景图重新调整大小
        var imageName = "tabbar_selectedBackImage"
        if IPhoneX {
            imageName = "tabbar_selectedBackImageIphoneX"
        }
        tabBar.selectionIndicatorImage = tabBarSelecedBackImage(imageName: imageName, imageSize: CGSize(width: Main_Screen_Width/CGFloat((viewControllers?.count)!), height: BottomBarHeight()))

        tabBar.barTintColor = tabbarBackColor

    }

    /// 使用字典创建一个子控制器
    ///
    /// - Parameter dict: 信息字典
    /// - Returns: 子视图控制器
    private func controller(dict: [String: String])->UIViewController{

        //1,取得字典内容
        //guard语句判断其后的表达式布尔值为false时,才会执行之后代码块里的代码,如果为true,则跳过整个guard语句
        guard
            let clsName = dict["clsName"],
            let title = dict["title"],
            let imageName = dict["imageName"],
            //命名空间 项目的名字 + "." + "类名"
            let cls = NSClassFromString(Bundle.main.namespace + "." + clsName) as? UIViewController.Type
        else{
                return UIViewController()
        }

        //2.创建视图控制器
        let vc = cls.init()

        vc.title = title
        //3.设置图像
        vc.tabBarItem.image = UIImage(named:imageName + "_normal")?.withRenderingMode(.alwaysOriginal)
        vc.tabBarItem.selectedImage = UIImage(named: imageName + "_highlight")?.withRenderingMode(.alwaysOriginal)
        //4.设置tabBar的标题字体(大小)
        vc.tabBarItem.setTitleTextAttributes([NSAttributedStringKey.foregroundColor : UIColor.white], for: UIControlState.normal)
        vc.tabBarItem.setTitleTextAttributes([NSAttributedStringKey.foregroundColor : textHeightColor], for: UIControlState.highlighted)
        //系统默认是12号字,修改字体大小,要设置Normal的字体大小
        //vc.tabBarItem.setTitleTextAttributes([NSAttributedStringKey.font : UIFont.systemFont(ofSize: 12)], for: .normal)
        //5.设置tabbarItem选中背景图
        //实例化导航控制器的时候,会调用重载的push方法 将rootVC进行压栈
        let nav = SLNavigationController(rootViewController: vc)

        return nav

    }
    func tabBarSelecedBackImage(imageName:String,imageSize:CGSize) ->  UIImage {
        let originalImage = UIImage(named: imageName)
        let rect : CGRect = CGRect(x: 0, y: 0, width: imageSize.width, height: imageSize.height)
        UIGraphicsBeginImageContext(rect.size)
        originalImage?.draw(in: rect)
        let image : UIImage = UIGraphicsGetImageFromCurrentImageContext()!

        UIGraphicsEndImageContext()

        return image
    }
}
上面代码中包含其他swift文件,这里只有SLTabBarController.swift及SLNavigationController.swift,其他文件在git上面。
参考:视频学习(忘了链接)


 381
381


 被折叠的 条评论
为什么被折叠?
被折叠的 条评论
为什么被折叠?
 到【灌水乐园】发言


