


1:首先,我们需要struts2的依赖包,可以去官网下载 http://struts.apache.org/download
一般我们下载精简版就可以了

下载好解压 -->打开文件夹下面的lib
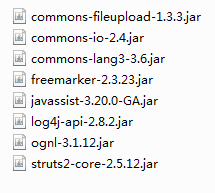
一般都有这几个基本包
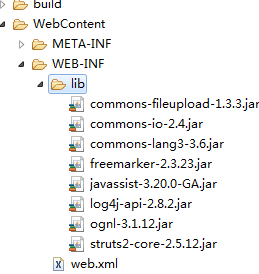
2:将jar包放进你的项目lib里面
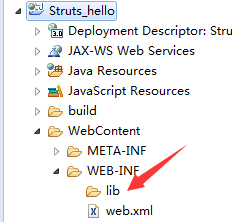
然后配置web.xml文件
<?xml version="1.0" encoding="UTF-8"?>
<web-app xmlns:xsi="http://www.w3.org/2001/XMLSchema-instance" xmlns="http://java.sun.com/xml/ns/javaee" xsi:schemaLocation="http://java.sun.com/xml/ns/javaee http://java.sun.com/xml/ns/javaee/web-app_3_0.xsd" id="WebApp_ID" version="3.0">
  <display-name>Struts_hello</display-name>
  <welcome-file-list>
    <welcome-file>index.html</welcome-file>
    <welcome-file>index.htm</welcome-file>
    <welcome-file>index.jsp</welcome-file>
    <welcome-file>default.html</welcome-file>
    <welcome-file>default.htm</welcome-file>
    <welcome-file>default.jsp</welcome-file>
  </welcome-file-list>

  <filter>
    <filter-name>struts2</filter-name>
    <filter-class><!-- 这里struts2的版本不一样,配置也有点区别 -->
            org.apache.struts2.dispatcher.filter.StrutsPrepareAndExecuteFilter
        </filter-class>
  </filter>
  <filter-mapping>
    <filter-name>struts2</filter-name>
    <url-pattern>/*</url-pattern>
  </filter-mapping>

</web-app>
3:接下来构建一个index.html页面
<!DOCTYPE html>
<html>
<head>
<meta charset="UTF-8">
<title>Insert title here</title>
</head>
<body>
    <form action="userAction" method="post">
        内容:<input type="text" name="testName">
            <input type="submit" value="确认">
    </form>
</body>
</html>
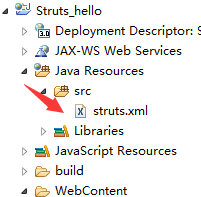
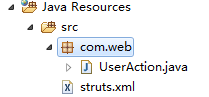
然后配置struts.xml配置文件-->在srx下构建一个xml文件
内容如下:
<?xml version="1.0" encoding="UTF-8"?>
   <!DOCTYPE struts PUBLIC
    "-//Apache Software Foundation//DTD Struts Configuration 2.5//EN"
    "http://struts.apache.org/dtds/struts-2.5.dtd">
<struts>

<!-- 定义一个包,包里面可以定义多个Action -->
    <package name="com.test" extends="struts-default">
        <action name="userAction"  method="showText" class="com.web.UserAction">
            <result name="main">/main.jsp</result>
        </action>
    </package>

</struts>
创建一个名字为 com.web 的包
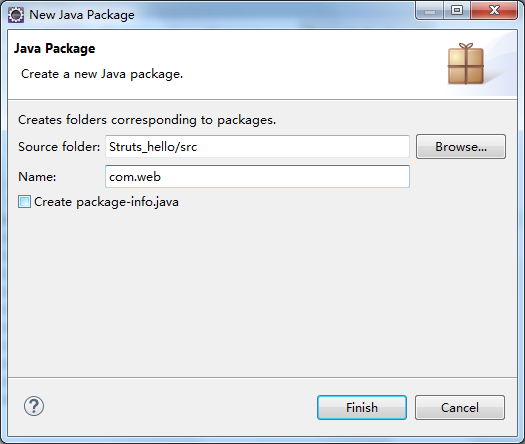
在下面创建一个 UserAction.java
内容如下:
package com.web;


public class UserAction {
    private String testName;//封装请求信息

    public String showText(){
        System.out.println(testName);
        return "main";
    }
    public String getTestName() {
        return testName;
    }
    public void setTestName(String testName) {
        this.testName = testName;
    }


}
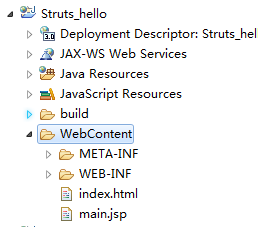
在WebContent创建一个 main.jsp 页面
内容如下:
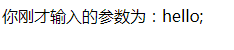
<%@ page language="java" contentType="text/html; charset=UTF-8"
    pageEncoding="UTF-8"%>
<!DOCTYPE html PUBLIC "-//W3C//DTD HTML 4.01 Transitional//EN" "http://www.w3.org/TR/html4/loose.dtd">
<html>
<head>
<meta http-equiv="Content-Type" content="text/html; charset=UTF-8">
<title>Insert title here</title>
</head>
<body>
    你刚才输入的参数为:${testName};
</body>
</html>
4:将项目导入 tomcat 中 运行
启动后要看有没有错误

没有错误后 用浏览器访问你tomcat下面的项目
首先会index页面
输入内容:

点击确定 会转发到另一个页面!
-------------------------------------------->本人还是小白,有什么不足,请多多指出。谢谢!


 194
194


 被折叠的 条评论
为什么被折叠?
被折叠的 条评论
为什么被折叠?
 到【灌水乐园】发言


