


最近项目需要修改下拉通知栏面板的宽度,完成后,写个Blog做个总结,也提供给需要的开发人员参考。
本文介绍了DDMS中 Dump View Hierarchy for UI Automator 工具的使用方法,通过该工具找到一些应用的布局,快速定位我们需要修改的源码位置。
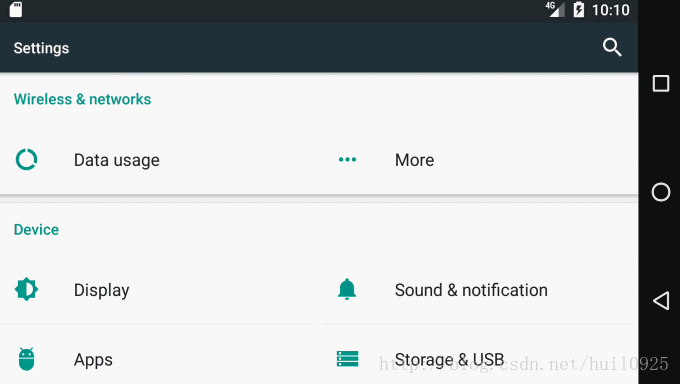
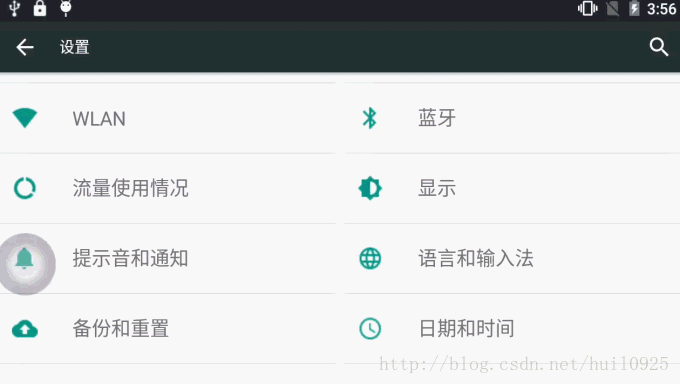
1 先看下效果图
修改前,横屏状态的下拉通知栏,距离屏幕左右两边还有段距离。(模拟器中的截图,Android原生的状态)
修改后,横屏状态的下拉通知栏,宽度铺满屏幕。(真实设备截图, 修改后刷机效果)
2 找到这部分的相关布局。
SystemUI下拉通知栏的布局为super_status_bar.xml
代码如下
xmlns:android="http://schemas.android.com/apk/res/android"
android:layout_width="match_parent"
android:layout_height="match_parent"
android:fitsSystemWindows="true">
android:id="@+id/backdrop"
android:layout_width="match_parent"
android:layout_height="match_parent"
android:visibility="gone"
>
android:layout_width="match_parent"
android:scaleType="centerCrop"
android:layout_height="match_parent" />
android:layout_width="match_parent"
android:layout_height="match_parent"
android:scaleType="centerCrop"
android:visibility="invisible" />
android:layout_width="match_parent"
android:layout_height="match_parent"
android:importantForAccessibility="no" />
android:layout_width="match_parent"
android:layout_height="@dimen/status_bar_height" />
android:layout_width="@dimen/notification_panel_width"
android:layout_height="wrap_content"
android:layout_gravity="@integer/notification_panel_layout_gravity"
android:paddingLeft="@dimen/notification_side_padding"
android:paddingRight="@dimen/notification_side_padding"
android:visibility="gone">
android:layout_width="match_parent"
android:layout_height="match_parent"
android:elevation="2dp"
android:background="@drawable/brightness_mirror_background">
android:layout_width="match_parent"
android:layout_height="wrap_content" />
android:id="@+id/panel_holder"
android:layout_width="match_parent"
android:layout_height="match_parent"
android:background="@color/transparent" >
android:layout_width="match_parent"
android:layout_height="match_parent"
android:visibility="gone" />
android:layout_width="match_parent"
android:layout_height="match_parent"
android:importantForAccessibility="no" />
1
2
3
4
5
6
7
8
9
10
11
12
13
14
15
16
17
18
19
20
21
22
23
24
25
26
27
28
29
30
31
32
33
34
35
36
37
38
39
40
41
42
43
44
45
46
47
48
49
50
51
52
53
54
55
56
57
58
59
60
61
62
63
64
65
66
67
68
几个关键的字眼:
| “@layout/status_bar” ————–> 状态栏
| “@+id/brightness_mirror” ——–> 下拉通知栏中调节亮度时,只剩下亮度调节弹出框,位置与下拉通知栏亮度调节位置一样的。
| “@+id/panel_holder”—————>下拉通知栏载体
| “@layout/status_bar_expanded”->下拉通知栏布局
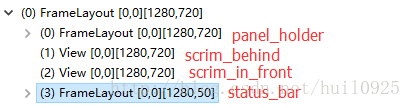
super_status_bar.xml包含了状态栏,下拉通知栏等布局
3 找到下拉通知栏相关布局
通过 DDMS 的 Dump View Hierarchy for UI Automator 工具,我们可以抓取一些布局的ID。

-3.1 header
通知栏上半部分是 com.android.systemui:id/header,那我们在SystemUI的res中,搜索这个“header” 。
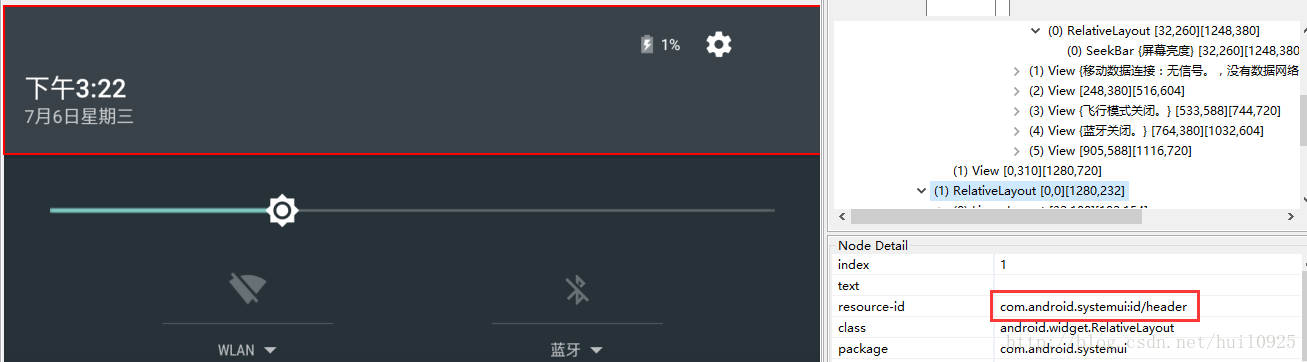
搜索到layout中带有header的,有status_bar_expanded_header.xml,只有这个布局有这个ID
xmlns:android="http://schemas.android.com/apk/res/android"
xmlns:systemui="http://schemas.android.com/apk/res-auto"
android:id="@+id/header"
android:layout_width="@dimen/notification_panel_width"
android:layout_height="@dimen/status_bar_header_height"
android:layout_gravity="@integer/notification_panel_layout_gravity"
android:paddingStart="@dimen/notification_side_padding"
android:paddingEnd="@dimen/notification_side_padding"
android:baselineAligned="false"
android:elevation="4dp"
android:background="@drawable/notification_header_bg"
android:clickable="true"
android:focusable="true"
1
2
3
4
5
6
7
8
9
10
11
12
13
14
15
如果需要修改header的尺寸,可将
android:layout_width="@dimen/notification_panel_width"
1
修改为
android:layout_width="match_parent"
1
重新编译,这个header的宽度就和屏幕一样了。
-3.2 scroll_view
可上下滑动的快捷开关布局。
上图所示的布局代码如下
android:id="@+id/scroll_view"
android:layout_width="@dimen/notification_panel_width"
android:layout_height="match_parent"
android:layout_gravity="@integer/notification_panel_layout_gravity"
android:scrollbars="none"
android:overScrollMode="never"
android:fillViewport="true">
1
2
3
4
5
6
7
8
将宽度属性改成:
android:layout_width="match_parent"
1
-3.3 notification_stack_scroller
通知列表布局
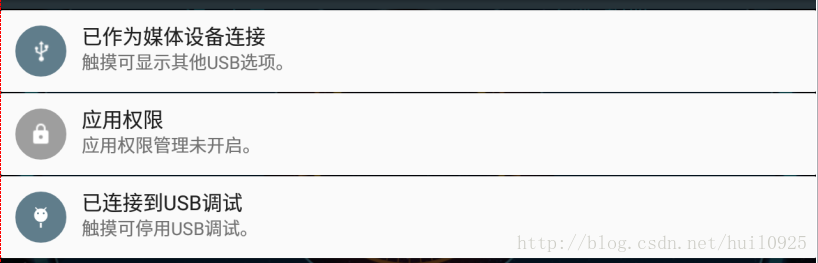
上图所示的布局代码如下
android:id="@+id/notification_stack_scroller"
android:layout_width="@dimen/notification_panel_width"
android:layout_height="match_parent"
android:layout_gravity="@integer/notification_panel_layout_gravity"
android:layout_marginBottom="@dimen/close_handle_underlap"
android:importantForAccessibility="no" />
1
2
3
4
5
6
7
宽度属性改成:
android:layout_width="match_parent"
1
4 重新编译,打包ROM
make源码,重新刷机查看效果,可以看到文章开头的gif图所示的效果


 1528
1528


 被折叠的 条评论
为什么被折叠?
被折叠的 条评论
为什么被折叠?
 到【灌水乐园】发言


