


一、目标
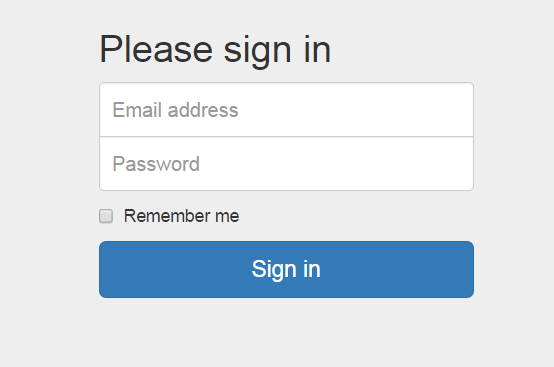
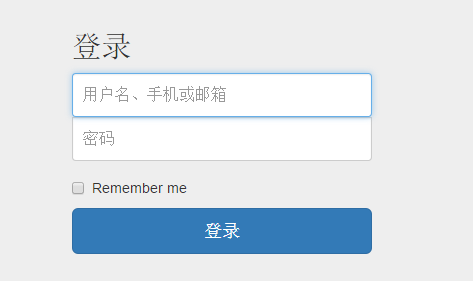
1.用ThinkPHP和Bootstrap实现用户登录设
2.初步界面如下
二、用到的工具及框架
1.ThinkPHP
2.Bootstrap
3.Subline
三、开发环境搭建
1.下载ThinkPHP,解压并重命名为自己的项目名称,复制到C:\xampp\htdocs路径下
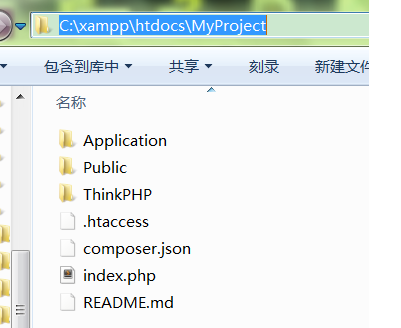
启动xampp,在浏览器中输入http://localhost/MyProject/能看到以下界面则为成功安i装ThinkPHP

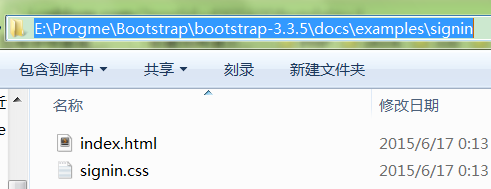
2.下载bootstrap文件,解压,复制相关文件(css,js,字体文件)以下路径的文件到ThinkPHP的相关路径中,如图

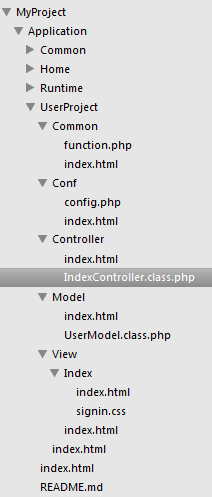
3.以项目模块为"UserProject",修改根目录下的入口文件index.php,增加"define('BIND_MODULE', 'UserProject');"绑定模块,刷新浏览器后会在目录中自动增加文件夹"UserProject"
<?php
// +----------------------------------------------------------------------
// | ThinkPHP [ WE CAN DO IT JUST THINK ]
// +----------------------------------------------------------------------
// | Copyright (c) 2006-2014 http://thinkphp.cn All rights reserved.
// +----------------------------------------------------------------------
// | Licensed ( http://www.apache.org/licenses/LICENSE-2.0 )
// +----------------------------------------------------------------------
// | Author: liu21st <liu21st@gmail.com>
// +----------------------------------------------------------------------

// 应用入口文件

// 检测PHP环境
if(version_compare(PHP_VERSION,'5.3.0','<'))  die('require PHP > 5.3.0 !');

// 开启调试模式 建议开发阶段开启 部署阶段注释或者设为false
define('APP_DEBUG',True);

//绑定入口模块
define('BIND_MODULE', 'UserProject');

// 定义应用目录
define('APP_PATH','./Application/');

// 引入ThinkPHP入口文件
require './ThinkPHP/ThinkPHP.php';


// 亲^_^ 后面不需要任何代码了 就是如此简单
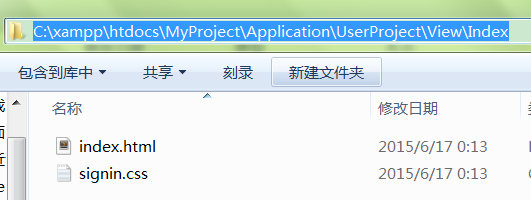
4.把bootstrap的登录模板文件考到View下的Index目录
复制到如下路径
在此模块下的控制器IndexController.class.php增加"$this->display();"以显示View下的文件
<?php
namespace UserProject\Controller;
use Think\Controller;
class IndexController extends Controller {
    public function index(){
    	$this->display();
    }
}
显示效果如下:

效果显示不全是因为bootstrap的引用路径没修改为正确的路径,修改为正确的路径,显示如下:
<!DOCTYPE html>
<html lang="en">
  <head>
    <meta charset="utf-8">
    <meta http-equiv="X-UA-Compatible" content="IE=edge">
    <meta name="viewport" content="width=device-width, initial-scale=1">
    <!-- The above 3 meta tags *must* come first in the head; any other head content must come *after* these tags -->
    <meta name="description" content="">
    <meta name="author" content="">
    <link rel="icon" href="../../favicon.ico">

    <title>Signin Template for Bootstrap</title>

    <!-- Bootstrap core CSS -->
    <link href="Public/Css/bootstrap.css" rel="stylesheet">

    <!-- Custom styles for this template -->
    <link href="Application\UserProject\View\Index\signin.css" rel="stylesheet">

    <!-- Just for debugging purposes. Don't actually copy these 2 lines! -->
    <!--[if lt IE 9]><script src="../../assets/js/ie8-responsive-file-warning.js"></script><![endif]-->
    <!--<script src="../../assets/js/ie-emulation-modes-warning.js"></script>-->

    <!-- HTML5 shim and Respond.js for IE8 support of HTML5 elements and media queries -->
    <!--[if lt IE 9]>
      <script src="https://oss.maxcdn.com/html5shiv/3.7.2/html5shiv.min.js"></script>
      <script src="https://oss.maxcdn.com/respond/1.4.2/respond.min.js"></script>
    <![endif]-->
  </head>

  <body>

    <div class="container">

      <form form action="__SELF__" method="POST" class="form-signin form-horizontal" role="form">
        <h2 class="form-signin-heading">登录</h2>
        <label for="inputEmail" class="sr-only">Email address</label>
        <input type="text" id="username" class="form-control" placeholder="用户名、手机或邮箱" required autofocus>
        <label for="inputPassword" class="sr-only">Password</label>
        <input type="password" id="inputPassword" class="form-control" placeholder="密码" required>
        <div class="checkbox">
          <label>
            <input type="checkbox" value="remember-me"> Remember me
          </label>
        </div>
        <button class="btn btn-lg btn-primary btn-block" type="submit">登录</button>
      </form>

    </div> <!-- /container -->


    <!-- IE10 viewport hack for Surface/desktop Windows 8 bug -->
    <!--<script src="../../assets/js/ie10-viewport-bug-workaround.js"></script>-->
  </body>
</html>
5.在数据库中新建tab_user表,以验证数据
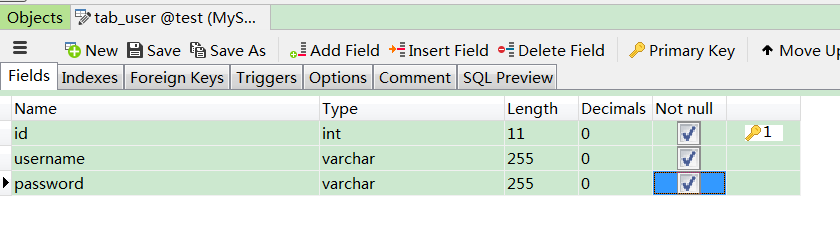
插入数据

6.在ThinkPHP中建立对应的UserModel
UserModel.class.php代码如下:
<?php

/**
 * Class and Function List:
 * Function list:
 * Classes list:
 * - UserModel extends Model
 */
namespace UserProject\Model;

use Think\Model;

class UserModel extends Model
{
    protected $patchValidate = true;

    //静态定义,定义好验证规则后,就可以在使用create方法创建数据对象的时候自动调用:
    protected $_validate = array(
        array(
            'username',
            'require',
            '用户名必须填写',
            self::EXISTS_VALIDATE,
            'regex',
            self::MODEL_INSERT
        ) ,
        array(
            'username',
            'filter_username',
            '含有敏感字眼',
            self::EXISTS_VALIDATE,
            'function'
        ) ,
        array(
            'username',
            '',
            '用户名被别人占用了',
            self::EXISTS_VALIDATE,
            'unique',
            self::MODEL_INSERT
        ) ,
        array(
            'password',
            'require',
            '密码必须填写'
        )
    );

}
7.在IndexController.class.php中完成判定用户登录逻辑
<?php
namespace UserProject\Controller;
use Think\Controller;
class IndexController extends Controller {
    public function index(){
    	$userModel = D('User');

        if (IS_POST) {
            if ($this->checkUser(I('post.username'),I('post.password'))) {
            	dump(I('post.'));
                //$this->success($userModel->username . '登录成功');
                echo($userModel->username . '登录成功');
            }
            else {
                //如果某一条验证规则没有通过,则会报错,getError方法返回的错误信息(字符串)
                //就是对应字段的验证规则里面的错误提示信息。
                // dump($userModel->getError());
                // dump(I('post.'));
                $this->assign('errors', $userModel->getError());
                $this->assign('old', I('post.'));
                $this->display();
            }
        }
        else {
            $this->display();
        }
    }

    //读取某个用户
    private function checkUser($usernaem,$password) {
    	//数组
		$conditionArray=array(
				'username'=>$usernaem,
				'password'=>$password,
			);
        return D('User')->where($conditionArray)->find();
    }

}
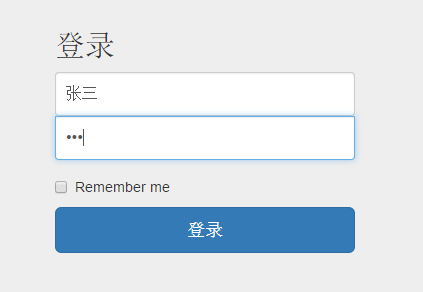
登录如下:
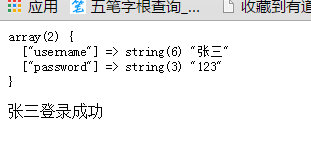
PS:不知道为什么UserModel中的$_validate不起作用????是因为/静态定义,只在使用create方法创建数据对象的时候自动调用:
项目源码:http://files.cnblogs.com/files/shamgod/MyProject.zip


 1131
1131


 被折叠的 条评论
为什么被折叠?
被折叠的 条评论
为什么被折叠?
 到【灌水乐园】发言


