


 本博客详细介绍了如何使用SpringBoot和Android Studio搭建一个员工管理系统,包括环境搭建、首页实现、页面国际化、登录功能、拦截器、展示员工信息、增加、修改和删除功能,以及404页面定制和注销操作。项目提供了完整的代码和实现教程。

本员工管理系统基于狂神老师的SpringBoot教程:https://www.bilibili.com/video/BV1PE411i7CV?p=20
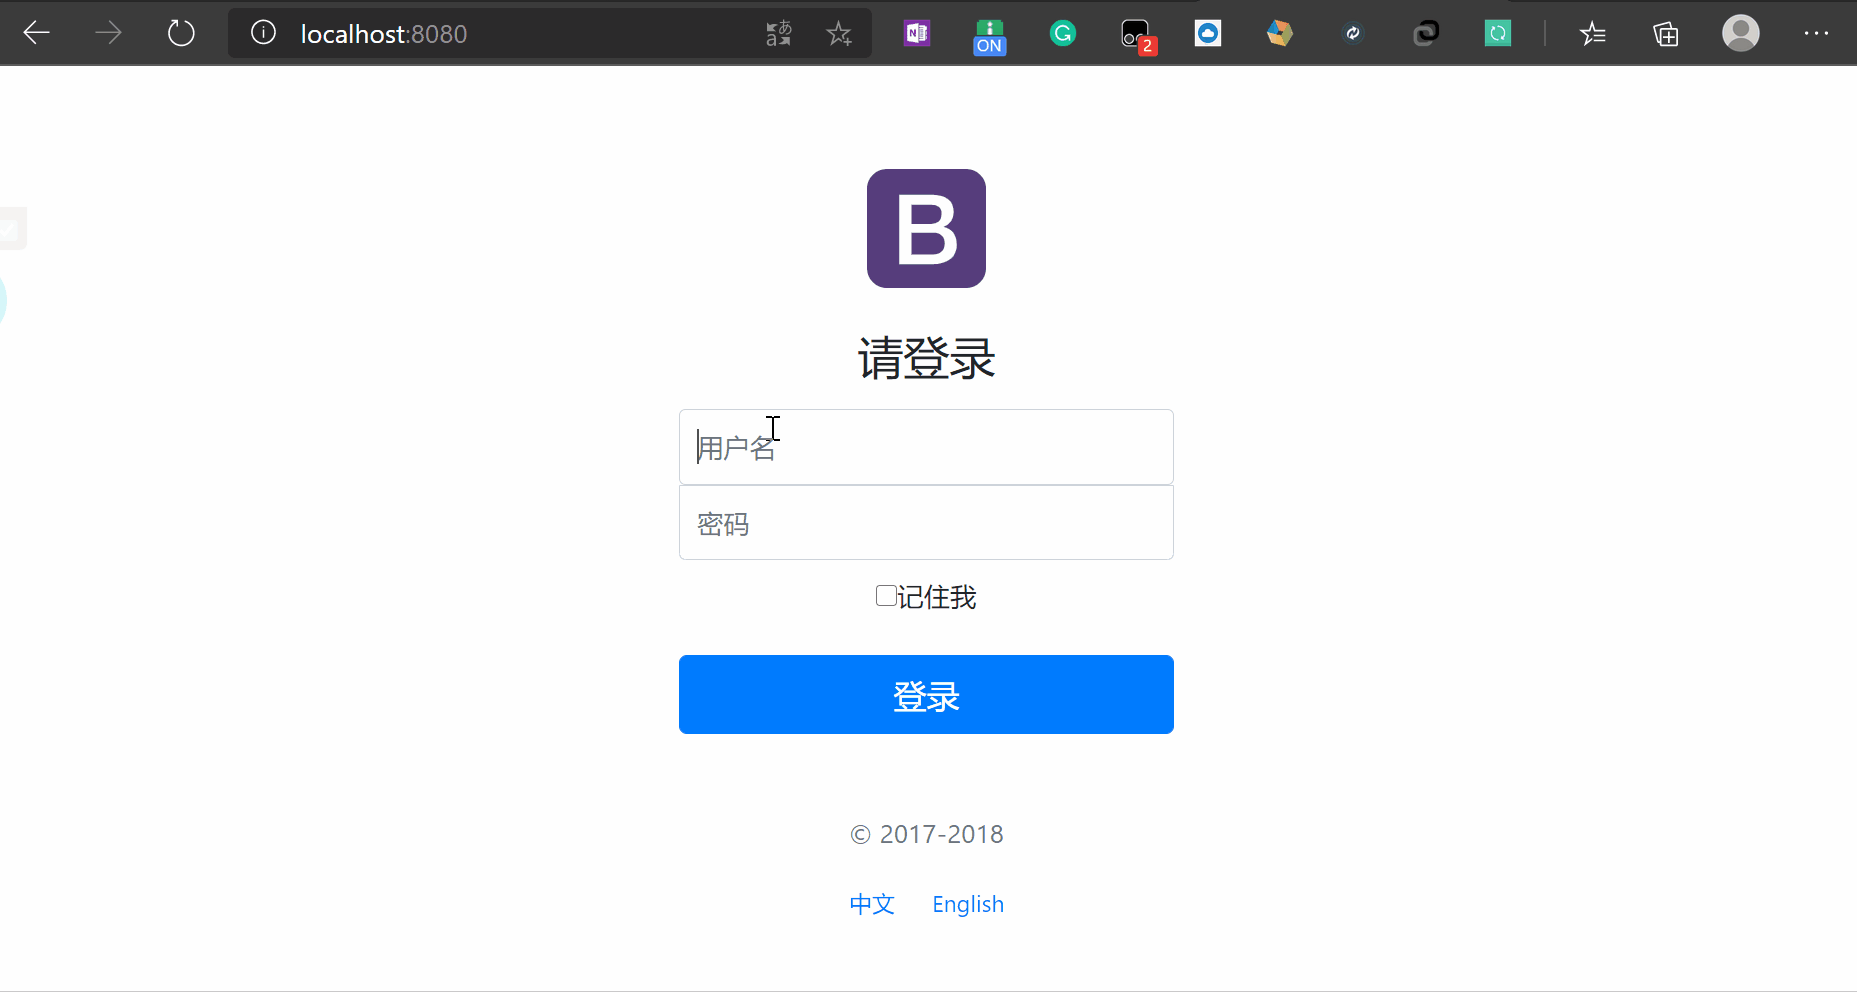
项目成效图:
(一)环境搭建
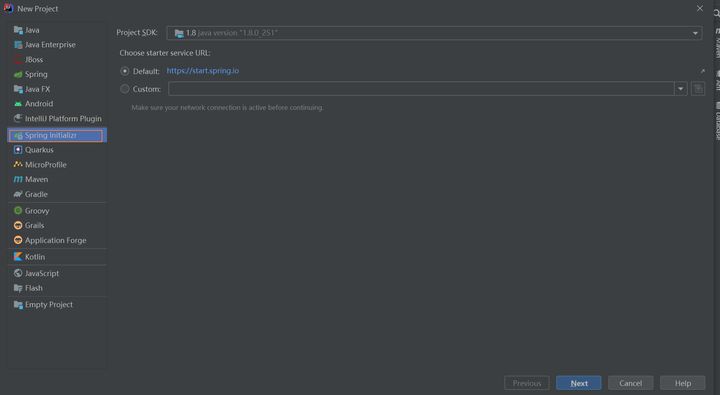
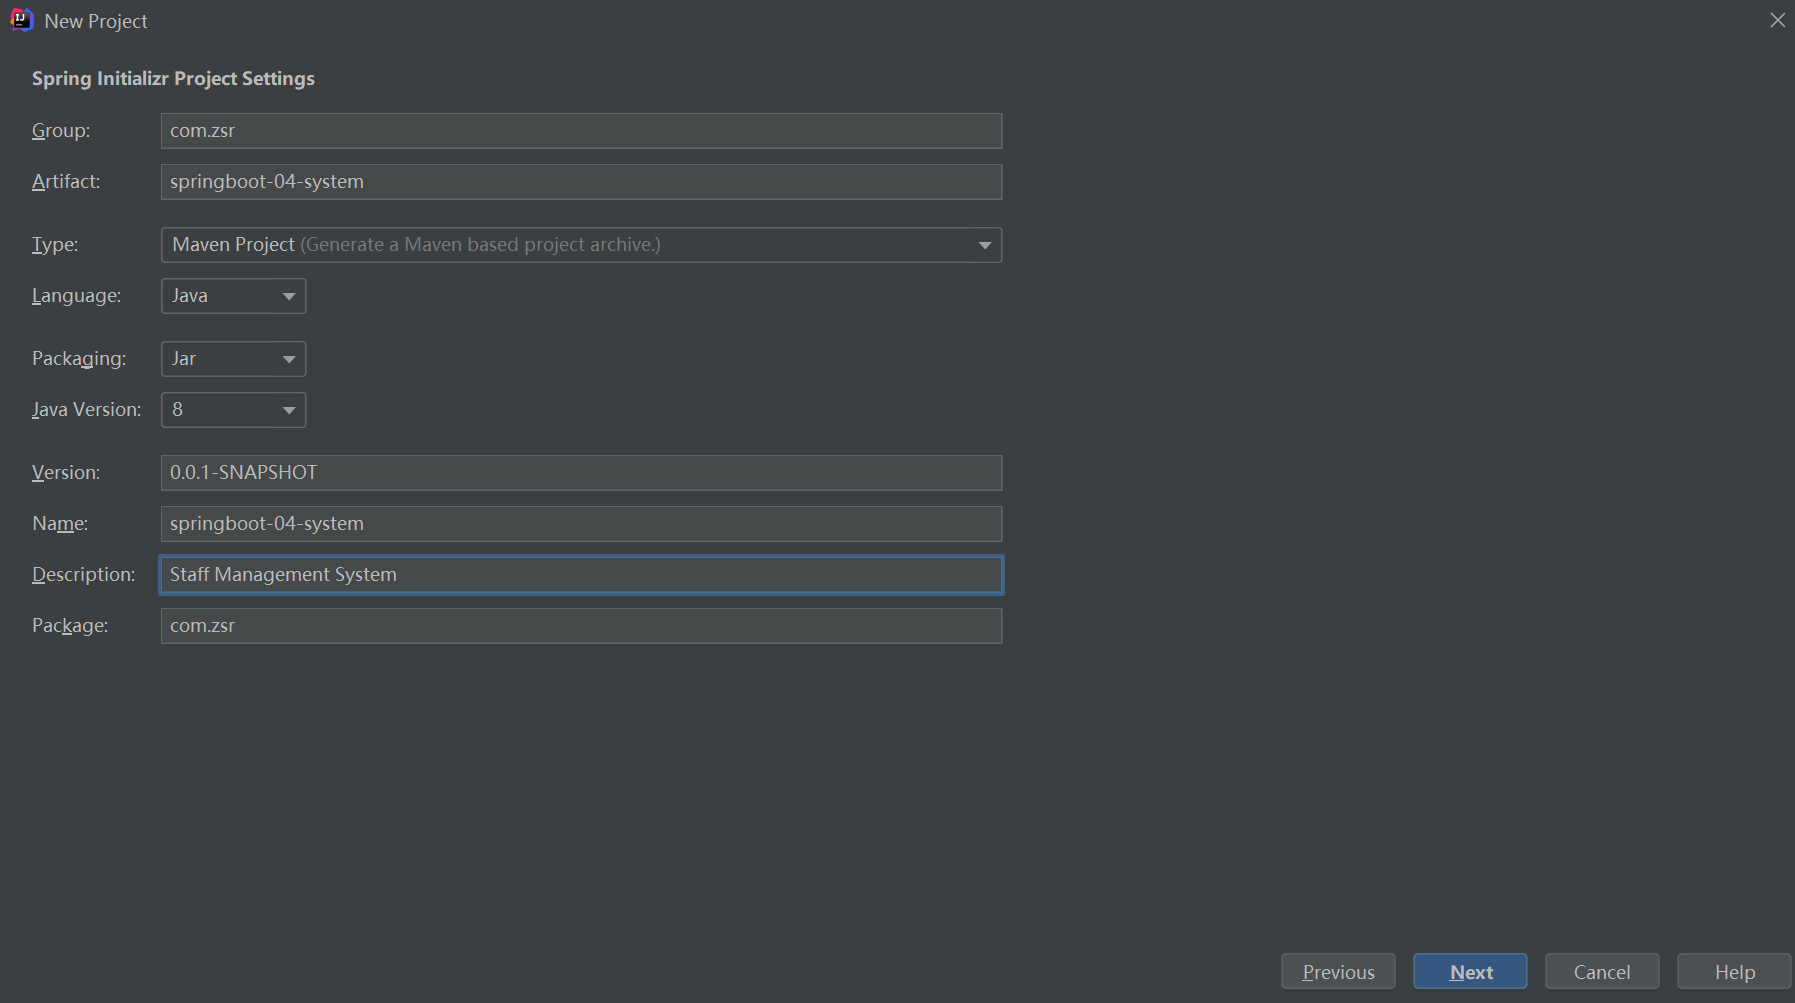
1. 新建一个SpringBoot项目
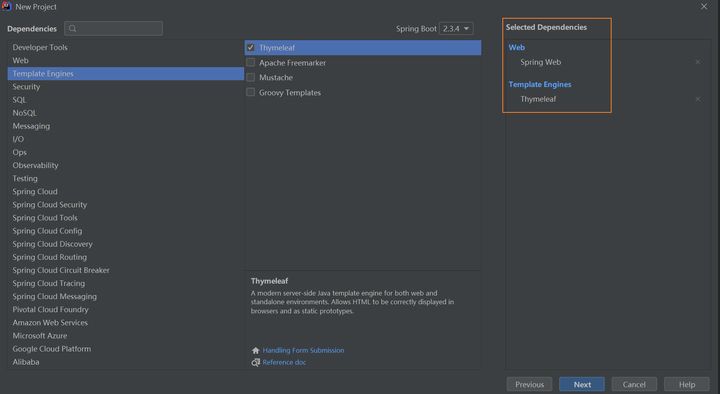
选择配件时勾选SpringWeb和Thymeleaf
点击next,然后finish创建完成即可
2. 导入静态资源
首先创建不存在的 静态资源目录public和resources
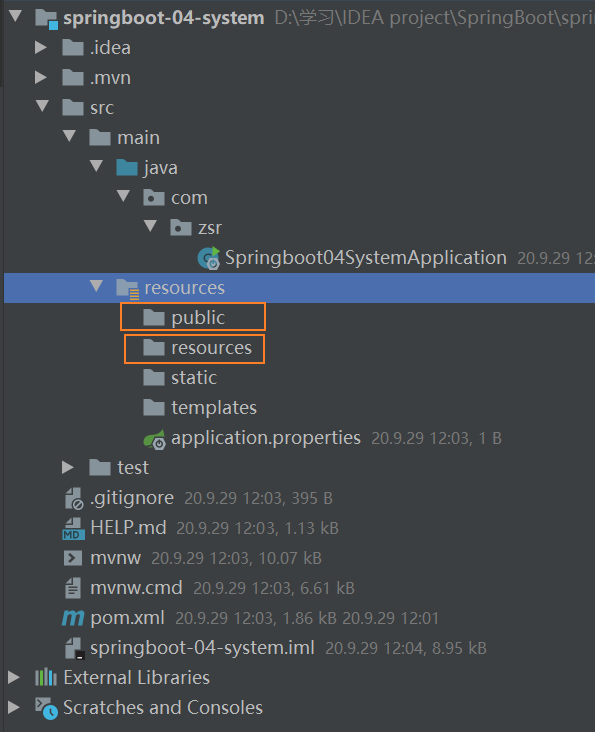
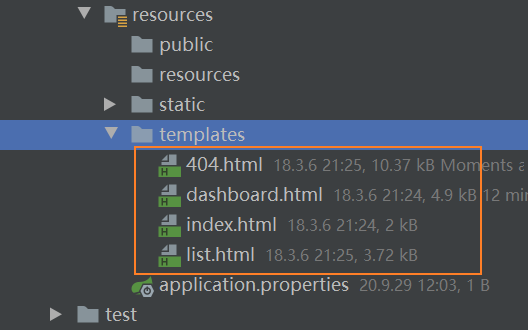
将html静态资源放置templates目录下
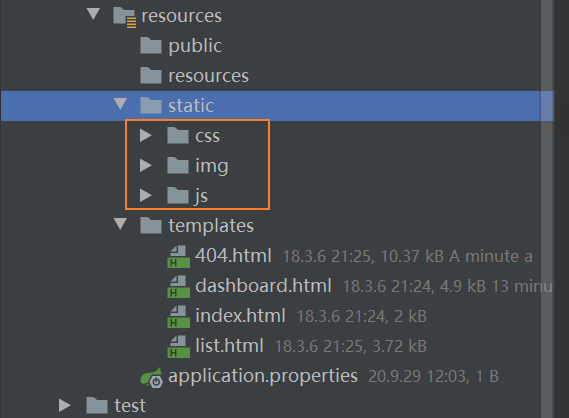
将asserts目录下的css、img、js等静态资源放置static目录下
3. 模拟数据库
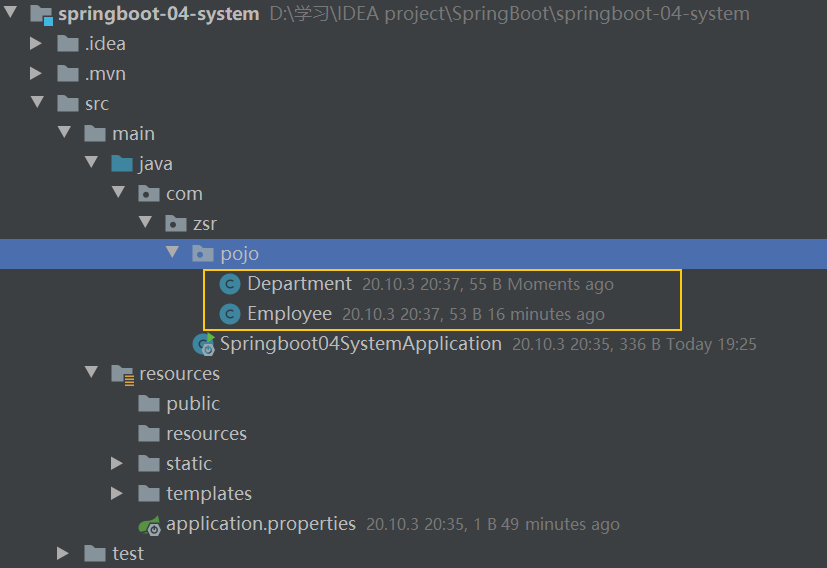
1. 创建数据库实体类
在主程序同级目录下新建pojo包,用来存放实体类
在pojo包下创建一个部门表Department和一个员工表Employee
为了方便,我们导入lombok
<dependency>
 <groupId>org.projectlombok</groupId>
 <artifactId>lombok</artifactId>
</dependency>部门表:
package com.zsr.pojo;

import lombok.AllArgsConstructor;
import lombok.Data;
import lombok.NoArgsConstructor;

//部门表
@Data
@NoArgsConstructor
@AllArgsConstructor
public class Department {

    private Integer id;
    private String departmentName;
}员工表:
package com.zsr.pojo;

import lombok.AllArgsConstructor;
import lombok.Data;
import lombok.NoArgsConstructor;
import java.util.Date;

//员工表
@Data
@NoArgsConstructor
@AllArgsConstructor
public class Employee {

    private Integer id;
    private String lastName;
    private String email;
    private Integer gender;//0:女 1:男
    private Department department;
    private Date date;
}
2. 编写dao层(模拟数据)
在主程序同级目录下新建dao包
然后分别编写DepartmentDao和EmployeeDao,并在其中模拟数据库的数据
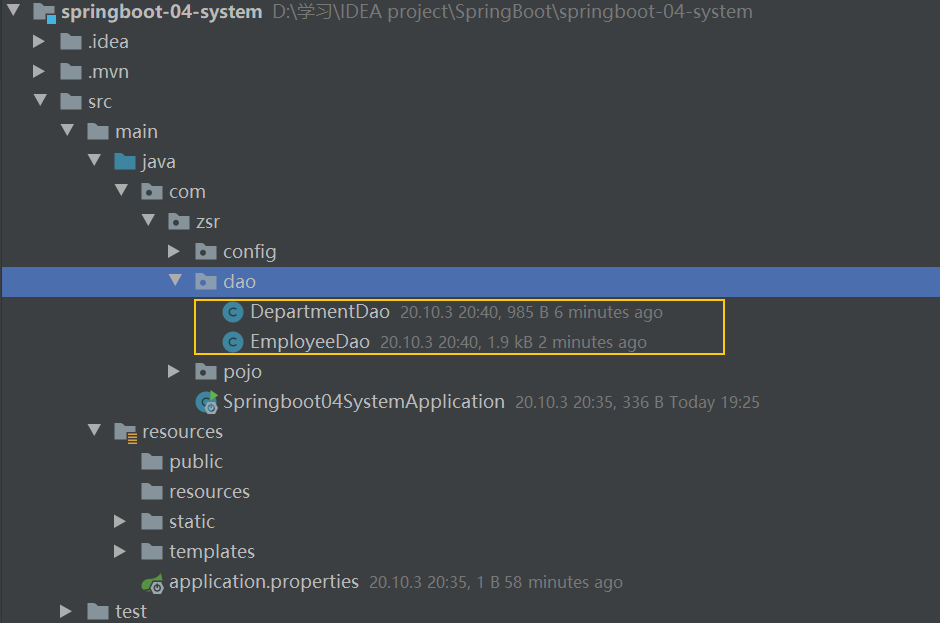
DepartmentDao:
package com.zsr.dao;

import com.zsr.pojo.Department;
import org.springframework.stereotype.Repository;

import java.util.Collection;
import java.util.HashMap;
import java.util.Map;

//注册到IOC容器中
@Repository
public class DepartmentDao {

    //模拟数据库中的数据
    private static Map<Integer, Department> departments = null;

    static {

        departments = new HashMap<>();//创建一个部门表
        departments.put(1, new Department(1, "技术部"));
        departments.put(2, new Department(2, "市场部"));
        departments.put(3, new Department(3, "调研部"));
        departments.put(4, new Department(4, "后勤部"));
        departments.put(5, new Department(5, "运营部"));
    }

    //获得部门的所有信息
    public Collection<Department> departments() {

        return departments.values();
    }

    //通过id得到部门
    public Department getDepartmentById(int id) {

        return departments.get(id);
    }
}EmployeeDao:
package com.zsr.dao;

import com.zsr.pojo.Department;
import com.zsr.pojo.Employee;
import org.springframework.beans.factory.annotation.Autowired;
import org.springframework.stereotype.Repository;

import java.util.Collection;
import java.util.Date;
import java.util.HashMap;
import java.util.Map;

//注册到IOC容器中
@Repository
public class EmployeeDao {

    //模拟数据库中员工表的数据
    static private Map<Integer, Employee> employees;

    @Autowired//自动
    private DepartmentDao departmentDao;

    static {

        employees = new HashMap<>();//创建一个员工表
        employees.put(1, new Employee(1, "zsr", "1234@qq.com", 1, new Department(1, "技术部"), new Date()));
        employees.put(2, new Employee(2, "lyr", "1345@qq.com", 1, new Department(2, "市场部"), new Date()));
        employees.put(3, new Employee(3, "gcc", "5665@qq.com", 0, new Department(3, "调研部"), new Date()));
        employees.put(4, new Employee(4, "zyx", "7688@qq.com", 1, new Department(4, "后勤部"), new Date()));
        employees.put(5, new Employee(5, "zch", "8089@qq.com", 1, new Department(5, "运营部"), new Date()));
    }

    //主键自增
    private static Integer initialID = 6;

    //增加一个员工
    public void addEmployee(Employee employee) {

        if (employee.getId() == null)
            employee.setId(initialID);
        employee.setDepartment(departmentDao.getDepartmentById(employee.getDepartment().getId()));
        employees.put(employee.getId(), employee);
    }

    //查询全部员工信息
    public Collection<Employee> getAllEmployees() {

        return employees.values();
    }

    //通过id查询员工
    public Employee getEmployeeByID(Integer id) {

        return employees.get(id);
    }

    //通过id删除员工
    public void deleteEmployeeByID(int id) {

        employees.remove(id);
    }
}
(二)首页实现
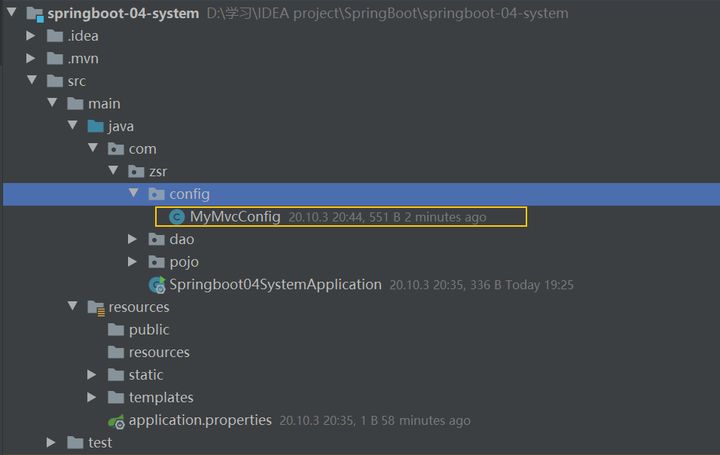
在主程序同级目录下新建config包用来存放自己的配置类
在其中新建一个自己的配置类MyMvcConfig,进行视图跳转
package com.zsr.config;

import org.springframework.context.annotation.Configuration;
import org.springframework.web.servlet.config.annotation.ViewControllerRegistry;
import org.springframework.web.servlet.config.annotation.WebMvcConfigurer;

@Configuration
public class MyMvcConfig implements WebMvcConfigurer {

    @Override
    public void addViewControllers(ViewControllerRegistry registry) {

        registry.addViewController("/").setViewName("index");
        registry.addViewController("/index.html").setViewName("index");
    }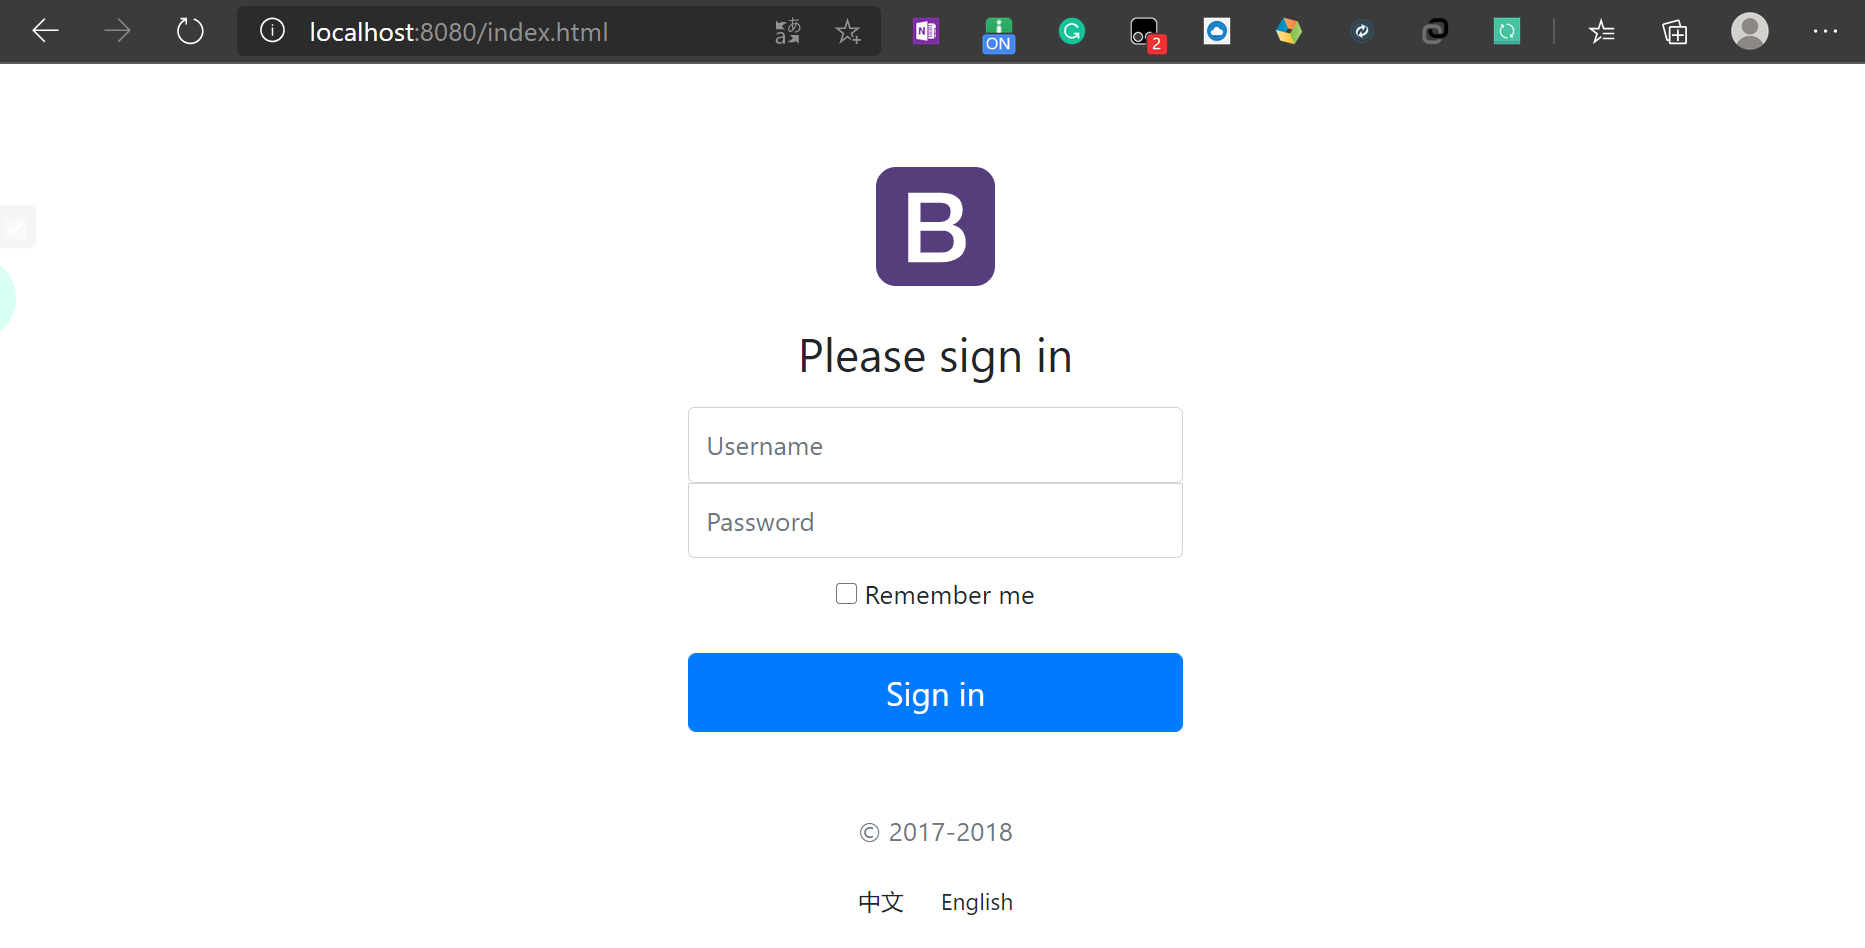
}我们启动主程序访问测试一下,访问localhost:8080/或者locahost:8080/index.html
出现以下页面则成功
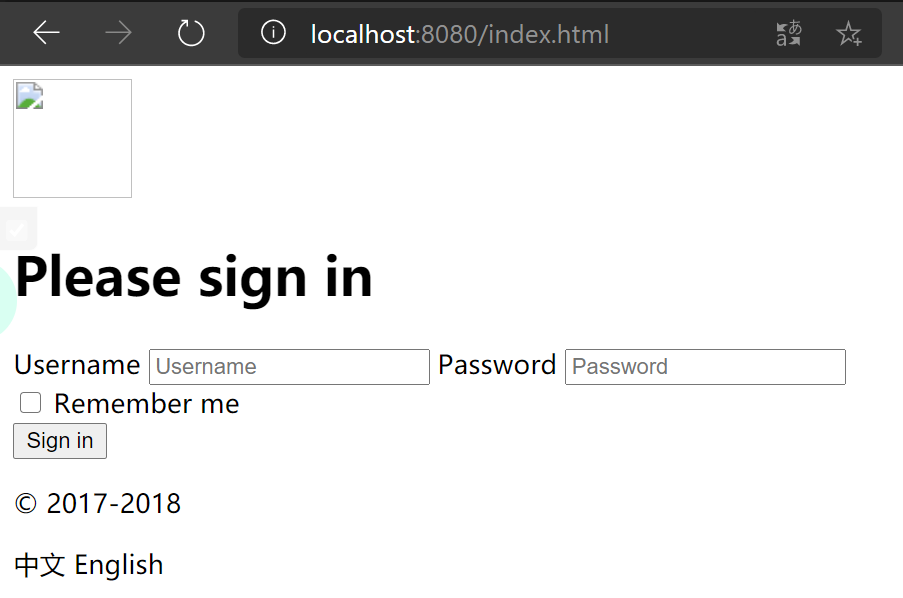
上述测试可以看到页面有图片没有加载出来,且没有css和js的样式,这就是因为我们html页面中静态资源引入的语法出了问题,在SpringBoot中,推荐使用Thymeleaf作为模板引擎,我们将其中的语法改为Thymeleaf,所有页面的静态资源都需要使用其接管
注意所有html都需要引入Thymeleaf命名空间
xmlns:th="http://www.thymeleaf.org"然后修改所有页面静态资源的引入,使用@{...} 链接表达式
例如index.html中:
注意:第一个/代表项目的classpath,也就是这里的resources目录
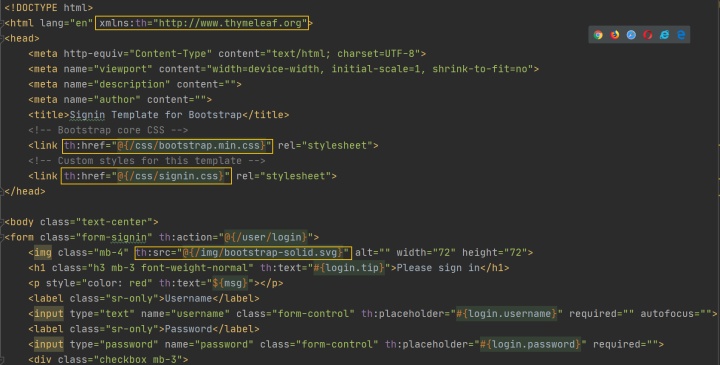
其他页面亦是如此,再次测试访问,正确显示页面
(三)页面国际化
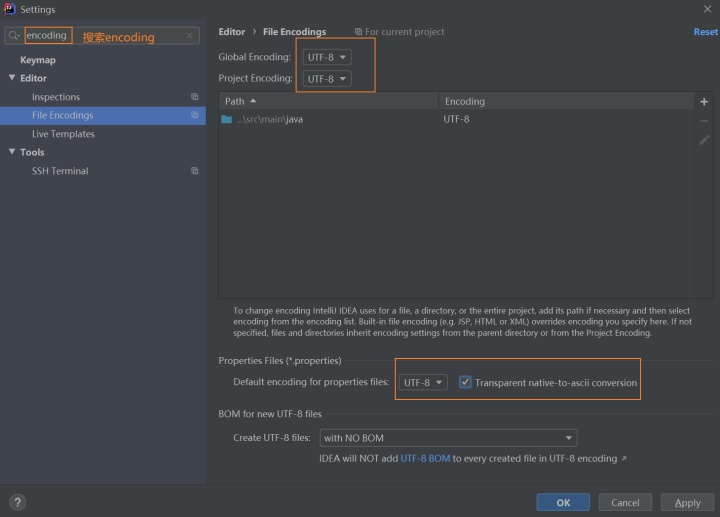
1. 统一properties编码
首先在IDEA中统一设置properties的编码为
UTF-8
2. 编写i18n国际化资源文件
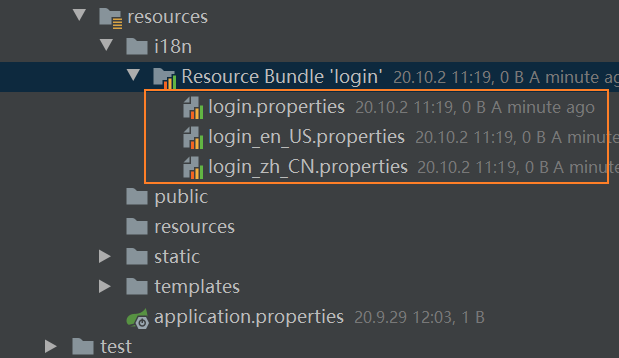
在resources目录下新建一个i18n包,其中放置国际化相关的配置
其中新建三个配置文件,用来配置语言:
login.properties:无语言配置时候生效login_en_US.properties:英文生效login_zh_CN.properties:中文生效
命名方式是下划线的组合:文件名_语言_国家.properties;
以此方式命名,IDEA会帮我们识别这是个国际化配置包,自动绑定在一起转换成如下的模式:
绑定在一起后,我们想要添加更过语言配置,只需要在大的资源包右键添加到该绑定配置文件即可
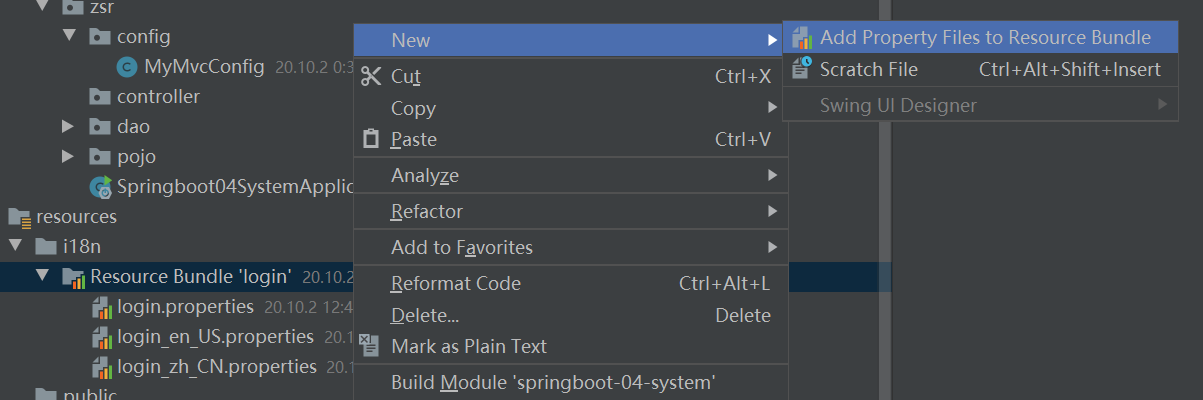
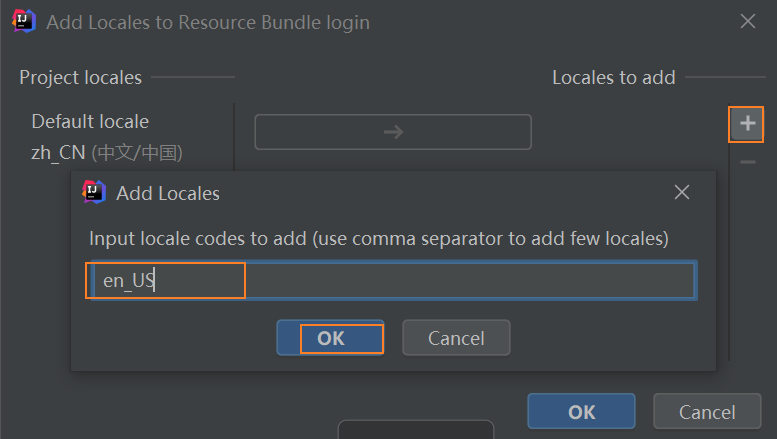
此时只需要输入区域名即可创建成功,比如输入en_US,就会自动识别
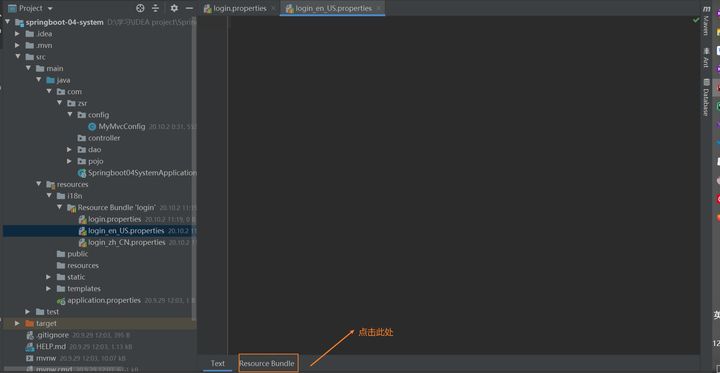
然后打开英文或者中文语言的配置文件,点击Resource Bundle进入可视化编辑页面
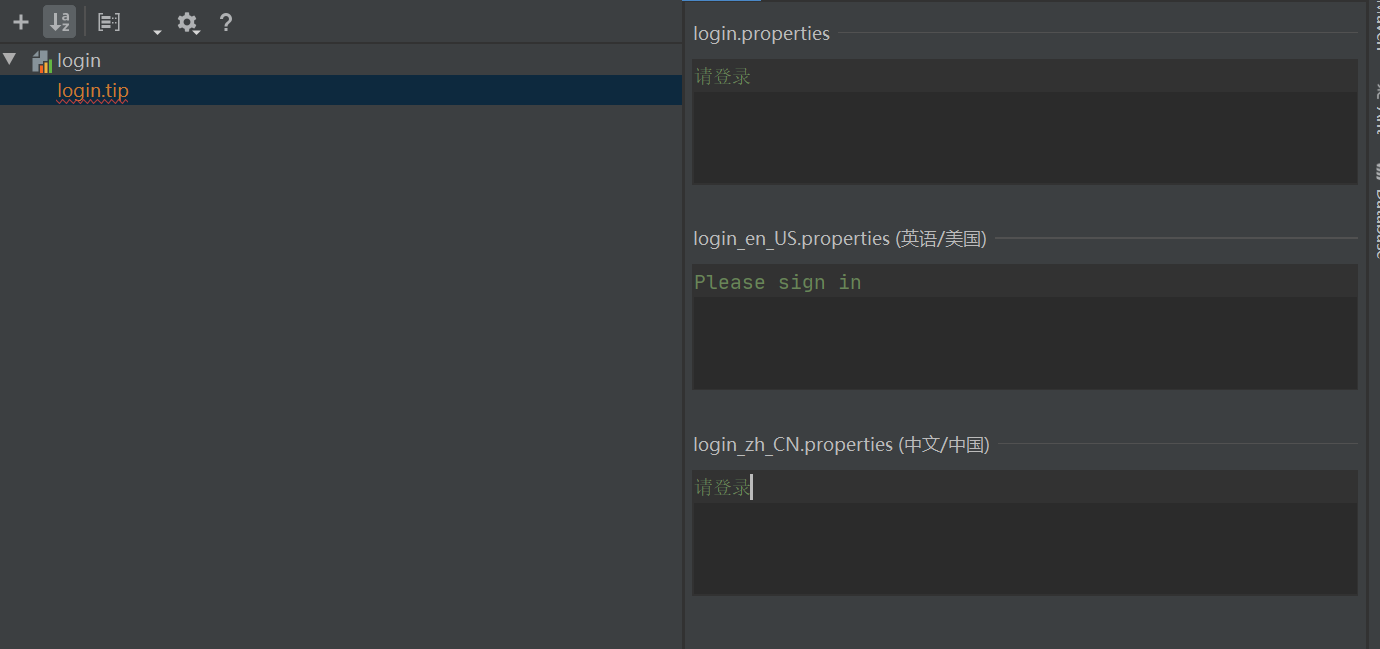
进入到可视化编辑页面后,点击加号,添加属性,首先新建一个login.tip代表首页中的提示
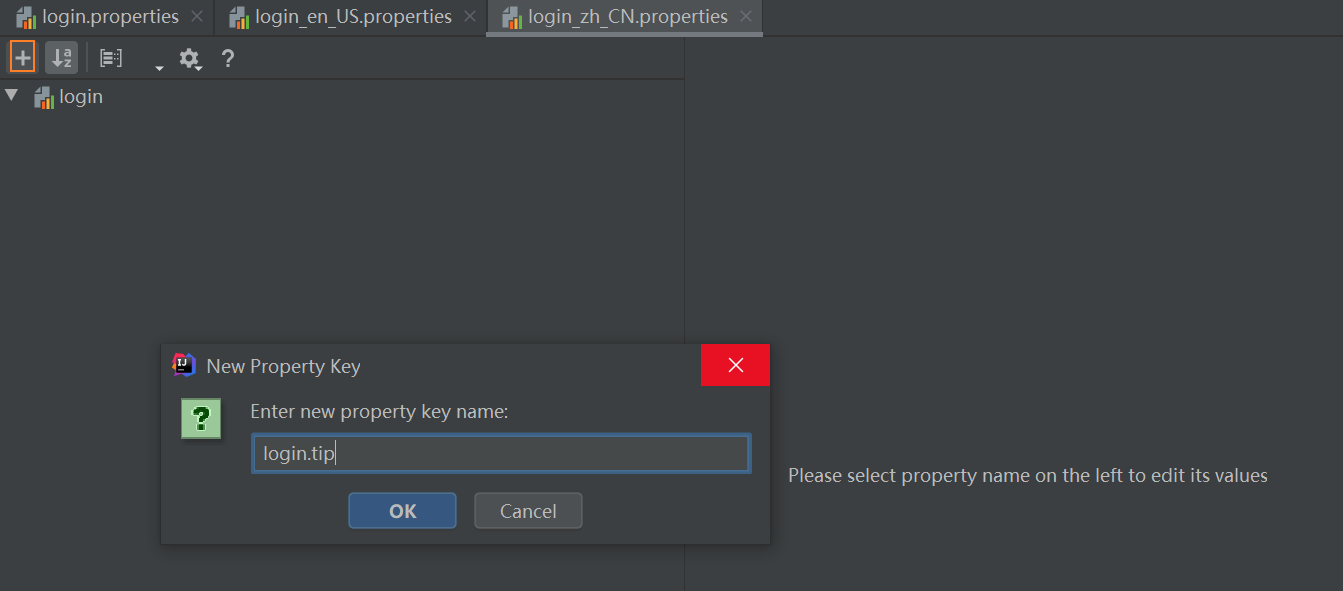
然后对该提示分别做三种情况的语言配置,在三个对应的输入框输入即可(注意:IDEA2020.1可能无法保存,建议直接在配置文件中编写)
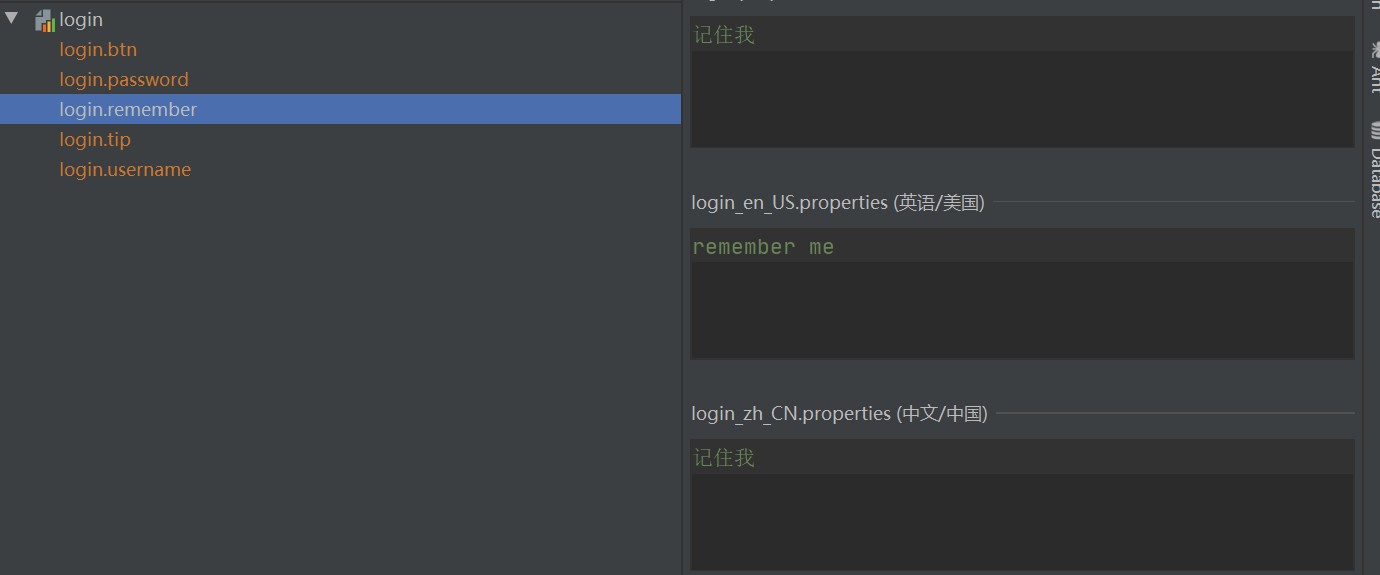
接下来再配置所有要转换语言的变量(注意:IDEA2020.1可能无法保存,建议直接在配置文件中编写)
然后打开三个配置文件的查看其中的文本内容,可以看到已经做好了全部的配置
login.properties
login.tip=请登录
login.password=密码
login.remember=记住我
login.btn=登录
login.username=用户名
login_en_US.properties
login.tip=Please sign in
login.password=password
login.remember=remember me
login.btn=login
login.username=username
login_zh_CN.properties
login.tip=请登录
login.password=密码
login.remember=记住我
login.btn=登录
login.username=用户名
3. 配置国际化资源文件名称
在Spring程序中,国际化主要是通过ResourceBundleMessageSource这个类来实现的
Spring Boot通过MessageSourceAutoConfiguration为我们自动配置好了管理国际化资源文件的组件
我们在IDEA中查看以下MessageSourceAutoConfiguration类
@Configuration(proxyBeanMethods = false)
@ConditionalOnMissingBean(name = AbstractApplicationContext.MESSAGE_SOURCE_BEAN_NAME, search = SearchStrategy.CURRENT)
@AutoConfigureOrder(Ordered.HIGHEST_PRECEDENCE)
@Conditional(ResourceBundleCondition.class)
@EnableConfigurationProperties
public class MessageSourceAutoConfiguration {


	private static final Resource[] NO_RESOURCES = {};

	@Bean
	@ConfigurationProperties(prefix = "spring.messages")
	public MessageSourceProperties messageSourceProperties() {

		return new MessageSourceProperties();
	}

	@Bean
	public MessageSource messageSource(MessageSourceProperties properties) {

		ResourceBundleMessageSource messageSource = new ResourceBundleMessageSource();
		if (StringUtils.hasText(properties.getBasename())) {

			messageSource.setBasenames(StringUtils
					.commaDelimitedListToStringArray(StringUtils.trimAllWhitespace(properties.getBasename())));
		}
		if (properties.getEncoding() != null) {
 最低0.47元/天 解锁文章


 589
589

 被折叠的 条评论
为什么被折叠?
被折叠的 条评论
为什么被折叠?
 到【灌水乐园】发言


