


可自定义元素样式 - 通过自己写css来控制元素样式
好看的代码样式 - 支持多种编程语言,且样式可选
轻松上传多家平台 - 先实现微信公众号,后期再接入知乎、掘金等
技术难点
技术上主要难点有如下几方面编辑器 - 好用且有高亮提示的编辑功能
markdown解析 - 将markdown内容转成html
代码高亮 - markdown中的代码转成html后要有代码格式、关键字高亮
上传平台 - 如何将带有样式如图片等多媒体内容的文章上传(或粘贴)到不同平台
# 克隆工程git clone --depth=1 git@github.com:guofei0723/ltrtb.git stylemd# 进入工程cd stylemd# 删除模板的git数据rm -rf .git# 初始化项目gitgit init# 安装工程依赖yarn# 安装项目需要的库yarn add monaco-editor marked# 启动工程yarn start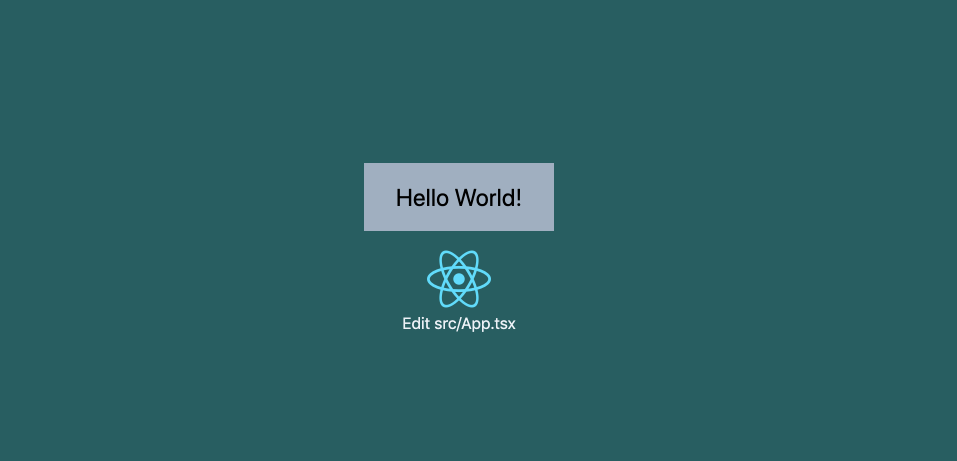 工程可以启动,说明一切正常。下面来做基本的布局,核心区域为左右结构,左侧编辑,右侧预览。修改src/App.tsx如下
export default () => ( <div className="h-screen w-screen flex bg-teal-900"> <div className="main-left flex-1 h-full bg-gray-900 text-white"> 这边是编辑器 div> <div className="slider w-1 h-full" /> <div className="main-right flex-1 h-full bg-white"> 这边是预览 div> div>)
import React from 'react'interface EditorProps {}const Editor: React.FC = () => ( <div className="w-full h-full"> 我是编辑器 div>)export default Editor<div className="main-left flex-1 h-full bg-gray-900 text-white"> <Editor />div>
yarn add -D monaco-editor-webpack-plugin// ...const MonacoWebpackPlugin = require('monaco-editor-webpack-plugin')// ...{ // ... plugins: [ new MonacoWebpackPlugin({ languages: ['css', 'markdown'], }), ]}import React, { useEffect, useRef } from 'react'import * as monaco from 'monaco-editor'interface EditorProps {}const Editor: React.FC = () => { // 外层div的ref const wrapperRef = useRef(null) // 编辑器实例 const editorIns = useRef() // 一些初始化 useEffect(() => { // 创建编辑器实例 editorIns.current = monaco.editor.create(wrapperRef.current as HTMLElement, { language: 'markdown', // 黑色风格 theme: 'vs-dark', }) }, []) return ( "w-full h-full" ref={wrapperRef} /> )}export default Editor

现在可以正常输入内容了,但还不能预览,下面来做预览功能。预览功能首先要处理的是把markdown解析成html,我们通过marked来实现。创建预览器组件previewer.tsx
import React, { useEffect, useState } from 'react'import marked from 'marked'interface PreviewerProps {}const demoMarkdown = `# 这里当作是标题## here should be h2------* list item 1* list item 2> hello> Nice to meet you\`\`\`javascriptconsole.log('Hello, World!');\`\`\`bye`const Previewer: React.FC = () => { const [content, setContent] = useState('') useEffect(() => { setContent(marked(demoMarkdown)) }, []) return ( <div> {content} div> )}export default Previewer这里我们先硬编码了一段markdown内容用于测试,功能没问题后再动态解析左侧输入的内容。将页面右侧改为预览器组件
<div className="main-right flex-1 h-full bg-white"> <Previewer />div>效果如下

因为我们现在是直接输出的内容,并没有作为元素插入页面,所以现在看到的是html源码。现在说明marked是正常工作了,下面来把解析结果插入页面,修改previewer.tsx
// ...return ( // eslint-disable-next-line react/no-danger __html: content }} />)// ...效果如下
现在的确是被作为元素插入页面,但却没有任何样式,这是因为受当前页面全局css的影响。由于工程使用的是tailwindcss,会清除所有默认样式,所以这些插入的元素也没有任何默认样式。为了不让预览的样式受页面样式的影响,我们把预览内容放到iframe中,修改previewer.tsx如下// ...return ( <iframe title="previewer" srcDoc={content} className="w-full h-full" />)// ...
好的,预览内容独立出来后可以看到浏览器的默认样式了。现在考虑动态解析左侧编辑器中的内容。数据共享由于左侧编辑器与右侧预览器是相互独立的,所以考虑使用context将编辑器中的内容共享出来。新建store/docdata.tsx文件import React, { useContext, useState } from 'react'const DocContext = React.createContext string, React.Dispatch>,] | null>(null)export function DocProvider({ children } : React.PropsWithChildren) { const docState = useState('') return ( <DocContext.Provider value={docState}> {children} DocContext.Provider> )}export const useDocState = () => useContext(DocContext) as DocState使用DocProvider包装整个app,修改src/App.tsx// ...export default () => ( <DocProvider> {/* ... */} DocProvider>)修改editor.tsx,使其共享出编辑的文档内容// ...import { useDocState } from '@/store/docdata'// ...// 拿到设置共享doc的方法const [, setDoc] = useDocState()// 一些无需react监听的状态数据const status = useRef({ // 更新内容的计时器 updateTimer: -1,}).current// 一些初始化useEffect(() => { // 创建编辑器实例 editorIns.current = monaco.editor.create(wrapperRef.current as HTMLElement, { language: 'markdown', // 黑色风格 theme: 'vs-dark', }) const { current: edt } = editorIns // 监听内容变化 edt.onDidChangeModelContent(() => { // 如果当前没有倒计时更新,则5秒后更新 if (status.updateTimer < 0) { status.updateTimer = window.setTimeout(() => { // 标识已经完成更新 status.updateTimer = -1 // 更新内容 setDoc(edt.getValue()) }, 5000) } })}, [])修改previewer.tsx,当内容变化时自动解析// ...import { useDocState } from '@/store/docdata'// ...// 获取编辑的内容const [doc] = useDocState()// 文档内容变化时更新useEffect(() => { setContent(marked(doc))}, [doc])// ...
自动解析已经可用,后面重点就是实现样式与插入图片了。今天时间已经不早,姑且先到这,我们明天继续 附
附monaco-editor
https://github.com/microsoft/monaco-editormarked
https://github.com/markedjs/markedhighlight.js
https://highlightjs.org/
~ End ~
分享前端开发知识、所见所闻
欢迎关注公众号 小小前猿


 1069
1069

 被折叠的 条评论
为什么被折叠?
被折叠的 条评论
为什么被折叠?
 到【灌水乐园】发言


