


剖析官方Demo
当我们安装好Fultter后,我们可以看见main.dart预置了一段代码,即官方的一个简单Demo,功能即一个简单的计数器,点击右下角的"+",对应屏幕的数字也会增加,显示效果:
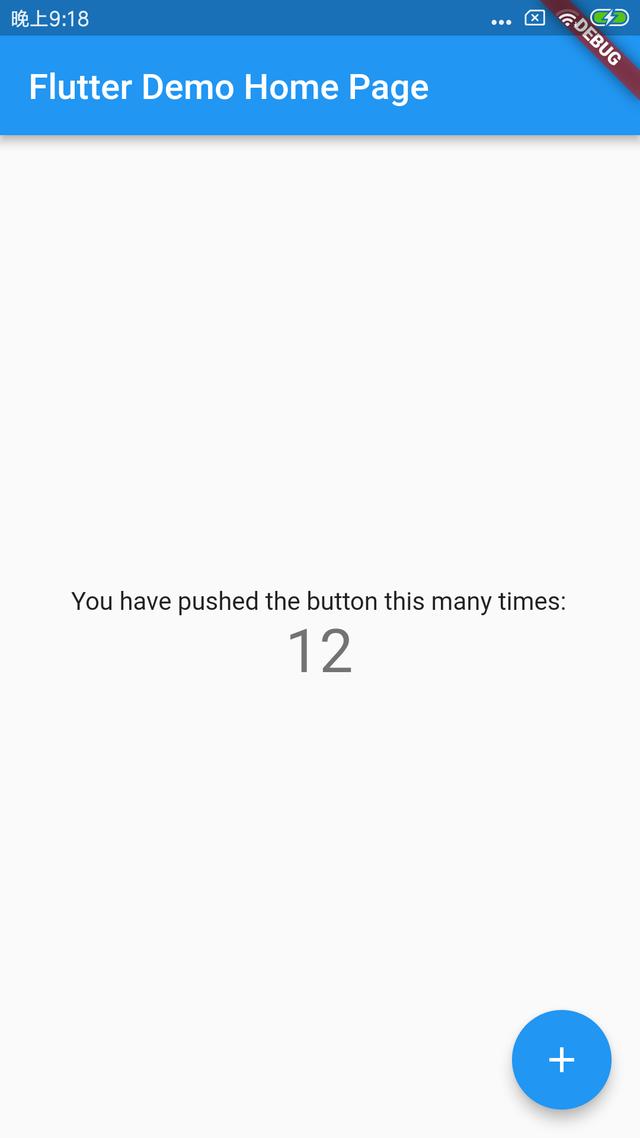
Demo截图
以下为源码:import 'package:flutter/material.dart';void main() => runApp(new MyApp());class MyApp extends StatelessWidget { @override Widget build(BuildContext context) { return new MaterialApp( title: 'Flutter Demo', theme: new ThemeData( primarySwatch: Colors.blue, ), home: new MyHomePage(title: 'Flutter Demo Home Page'), ); }}class MyHomePage extends StatefulWidget { MyHomePage({Key key, this.title}) : super(key: key); final String title; @override _MyHomePageState createState() => new _MyHomePageState();}class _MyHomePageState extends State { int _counter = 0; void _incrementCounter() { setState(() { _counter++; }); } @override Widget build(BuildContext context) { return new Scaffold( appBar: new AppBar( title: new Text(widget.title), ), body: new Center( child: new Column( mainAxisAlignment: MainAxisAlignment.center, children: [ new Text( 'You have pushed the button this many times:', ), new Text( '$_counter', style: Theme.of(context).textTheme.display1, ), ], ), ), floatingActionButton: new FloatingActionButton( onPressed: _incrementCounter, tooltip: 'Increment', child: new Icon(Icons.add), ), // This trailing comma makes auto-formatting nicer for build methods. ); }}简单增改:
以下为main.dart :
// 导入Material UI组件库import 'package:flutter/material.dart';import 'package:english_words/english_words.dart';// 应用程序入口,runApp功能即启动Flutter应用,接收的参数为Widget参数void main() => runApp(new MyApp());// 继承一个无状态Widget组件,MyApp类代表Flutter应用class MyApp extends StatelessWidget { @override Widget build(BuildContext context) { // MaterialApp 设置应用名称、主题、语言、首页及路由列表等,其本身也是个Widget组件 return new MaterialApp( // 应用名称 title: 'Flutter Demos', // 应用主题 theme: new ThemeData( // 蓝色主题 primarySwatch: Colors.blue, ), // 使用命名路由管理route,首先注册路由表 routes: { "new_page": (context) => NewRoute(), }, // 应用首页路由 home: new MyHomePage(title: 'Flutter Demo Home Page'), ); }}// 即继承一个有状态Widget组件class MyHomePage extends StatefulWidget { MyHomePage({Key key, this.title}) : super(key: key); final String title; @override // 对应该类的状态类 _MyHomePageState createState() => new _MyHomePageState();}class _MyHomePageState extends State { // “+” 次数记录 int _counter = 0; // 设置状态的自增函数 void _incrementCounter() { setState(() { _counter++; }); } @override // 构建UI界面的逻辑build方法 Widget build(BuildContext context) { return new Scaffold( appBar: new AppBar( title: new Text(widget.title), ), body: new Center( child: new Column( mainAxisAlignment: MainAxisAlignment.center, // 泛型Widget,即接受Widget组件类型构建列表 children: [ new Text( 'You have pushed the button this many times:', ), new Text( '$_counter', style: Theme.of(context).textTheme.display1, ), new Text('''显示文字 可以多行 书写 '''), // 添加一个按钮组件,用于跳转新路由(新页面) FlatButton( child: Text('open new route'), textColor: Colors.blue, // 导航至新路由 onPressed: () { // 推至路由栈,路由管理Widget组件,通过栈来管理一个路由widget集合 即先进先出管理原则,这样好理解多了 // Navigator.push(context, // new MaterialPageRoute(builder: (context){ // return new NewRoute(); // // 通过路由名称也可以打开新的路由页 // }, // ) // ); Navigator.pushNamed(context, "new_page"); }), // 跳转至新路由的按钮 FlatButton( child: Text('open new counter'), textColor: Colors.blue, onPressed: () => Navigator.pushNamed(context, "new_page"), ), // 通过english_words包随机显示一个英文单词 new RandomWordsWidget(), // 打印文字的组件 Echo( text: "接收输入文字并回显


 1万+
1万+


 被折叠的 条评论
为什么被折叠?
被折叠的 条评论
为什么被折叠?
 到【灌水乐园】发言


