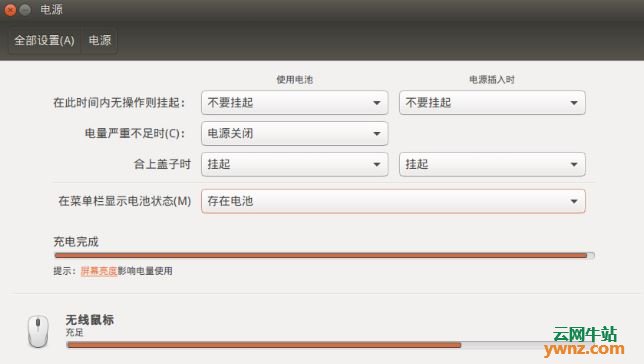
下面我们为你介绍在各大Linux发行版(Ubuntu、Debian、Arch Linux、Fedora、openSUSE)中安装TLP的方法。TLP是运行在Linux终端下的一款电源管理工具,当前的版本是TLP 1.1,已提供下载,不过它有PPA源可以安装在Ubuntu、Linux Mint下,也有tar.gz软件包供安装编译。
使用TLP的好处
TLP可以自动在后台处理相应的任务,它默认带有配置(/etc/default/tlp),使用TLP不需要另外的配置,不过它是可定制以满足你各种要求的工具,多数人使用TLP来调整处理笔记本的电池,以增加电池的寿命。

TLP 1.1更新详情
1.Disks:
SATA_LINKPWR_ON_AC/BAT: try multiple values to support new recommended ALPM policy "med_power_with_dipm" in kernel 4.15
2.Processor:
ENERGY_PERF_POLICY_ON_AC/BAT: support changed values performance, balance-performance, default, balance-power, power
3.ThinkPad Battery:
Support ThinkPad 13 1st & 2nd Gen, E130; new tpacpi-bat version
tlp-stat --psup: show ASLbase for tpacpi-bat (in device/path)
tlp discharge: show state of battery and force_discharge
4.USB:
USB_BLACKLIST_PRINTER: exclude printers from autosuspend
5.Bugfixes
intercept link_power_management_policy write error
fix AC power detection for MacBook Pro 2017
move runtime data from /var/run/tlp to /run/tlp
DEVICES_TO_DISABLE_ON_BAT_NOT_IN_USE="bluetooth" not working as expected
don't detect wireless input devices' batteries as power supply
下载TLP
在Ubuntu系统中安装TLP
1.先添加PPA:
sudo add-apt-repository ppa:linrunner/tlp
2.更新软件列表:
sudo apt-get update
3.安装TLP命令:
sudo apt-get install tlp tlp-rdw
sudo apt-get install tp-smapi-dkms acpi-call-dkms(ThinkPad的附加要求)
在Debian系统中安装TLP
1./etc/apt/sources.list
Debian 9.0 /etc/apt/sources.list:
deb http://ftp.debian.org/debian stretch-backports main
Debian 8.0 /etc/apt/sources.list:
deb http://ftp.debian.org/debian jessie-backports-sloppy main
2.apt-get update
3.apt-get install tlp tlp-rdw
4.使用:
apt-get install -t stretch-backports tlp tlp-rdw
或:
apt-get install -t jessie-backports-sloppy tlp tlp-rdw
5.运行:
apt-get install acpi-support-base pm-utils(Without systemd:if your system runs with sysvinit,make shure the following packages are installed)
apt-get install tp-smapi-dkms acpi-call-dkms(ThinkPad的附加要求)
在Arch Linux系统中安装TLP
1.pacman -S tlp tlp-rdw
2.pacman -S tp_smapi acpi_call(ThinkPad的附加要求)
3.Service Units
To complete the installation you must enable TLP's services:
systemctl enable tlp.service
systemctl enable tlp-sleep.service
Using the Radio Device Wizard (tlp-rdw) requires an additional service:
systemctl enable NetworkManager-dispatcher.service
You should also mask the following services to avoid conflicts and assure proper operation of TLP's radio device switching options:
systemctl mask systemd-rfkill.service
systemctl mask systemd-rfkill.socket
在Fedora系统中安装TLP
dnf install tlp tlp-rdw
在openSUSE系统中安装TLP
zypper install tlp tlp-rdw
附:启动TLP的方法
sudo tlp start
附:tlp-stat
1.Status report with configuration and all active settings:
sudo tlp-stat
2.Show battery information:
sudo tlp-stat -b
sudo tlp-stat --battery
3.Show configuration:
tlp-stat -c
tlp-stat --config
4.Show disk data:
tlp-stat -d
tlp-stat --disk
5.Show PCI(e) device data:
tlp-stat -e
tlp-stat --pcie
6.Show graphics card data:
tlp-stat -g
tlp-stat --graphics
7.Show processor data:
tlp-stat -p
tlp-stat --processor
8.Show radio device state:
tlp-stat -r
tlp-stat --rfkill
9.Show system data:
tlp-stat -s
tlp-stat --system
10.Show temperatures and fan speed:
tlp-stat -t
tlp-stat --temp
11.Show USB device data:
tlp-stat -u
tlp-stat --usb
12.Show more data:
tlp-stat -v
tlp-stat --verbose
13.Show warnings:
tlp-stat -w
tlp-stat --warn
14.Monitor power supply udev events:
tlp-stat -P
tlp-stat --pev
15.Show power supply diagnostic:
tlp-stat --psup
16.Show trace output:
tlp-stat -T
tlp-stat --trace
相关主题


 553
553

 被折叠的 条评论
为什么被折叠?


