


先到插件网站找这个插件
然后找到了这个
通过命令行安装插件cordova plugin add cordova-plugin-splashscreen

安装完之后你发现项目多了点东西比如
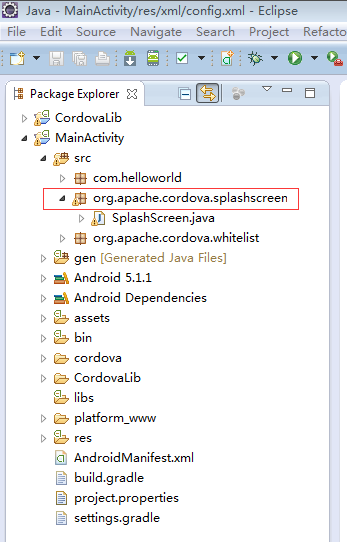
仔细观察下项目的目录结构,你会发现
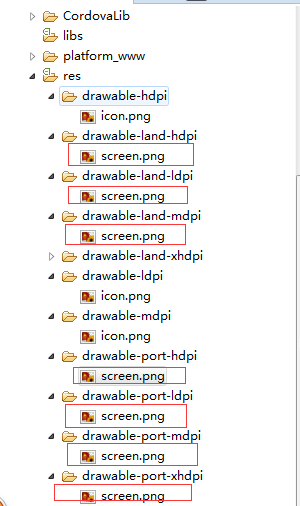
screen.png对应的就是欢迎页面。
你可以将自己的screen.png覆盖掉所有的,当然大小最好按照原来的各个尺寸。。
用eclipse运行一下。结果就ok了。
再说下插件的几个属性
SplashScreen (string). The resource name which is used for the displaying splash screen. Different platforms use values for this.
AutoHideSplashScreen (boolean, default to true). Indicates wherether hide splash screen automatically or not. Splash screen hidden after amount of time specified in the SplashScreenDelay preference.
SplashScreenDelay (number, default to 3000). Amount of time in milliseconds to wait before automatically hide splash screen.
在config.xml中可以配置
resourcename指定的是资源的文件名。假如我们这里不设置。
默认就是
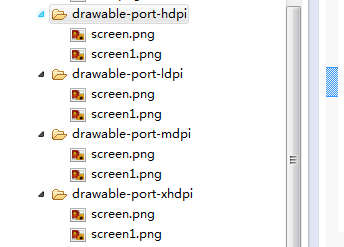
为了做个测试,我在各个文件夹下添加了screen1.png
然后在config.xml中指定
再运行一下发现欢迎页面变成了screen1.png图片
对应这个设置,如果我们首次进入首页会比较慢,比如首页指定的是非本地的html,指定的是一个网络地址的文件,我们可以考虑将value设置为100000 也即是10秒。然后再在
设备准备好之后
执行navigator.splashscreen.hide(); 例子如下
var app = {
// Application Constructor
initialize: function() {
this.bindEvents();
},
// Bind Event Listeners
//
// Bind any events that are required on startup. Common events are:
// 'load', 'deviceready', 'offline', and 'online'.
bindEvents: function() {
document.addEventListener('deviceready', this.onDeviceReady, false);
},
// deviceready Event Handler
//
// The scope of 'this' is the event. In order to call the 'receivedEvent'
// function, we must explicitly call 'app.receivedEvent(...);'
onDeviceReady: function() {
//app.receivedEvent('deviceready');
navigator.splashscreen.hide();
},


 1129
1129


 被折叠的 条评论
为什么被折叠?
被折叠的 条评论
为什么被折叠?
 到【灌水乐园】发言


