


1.
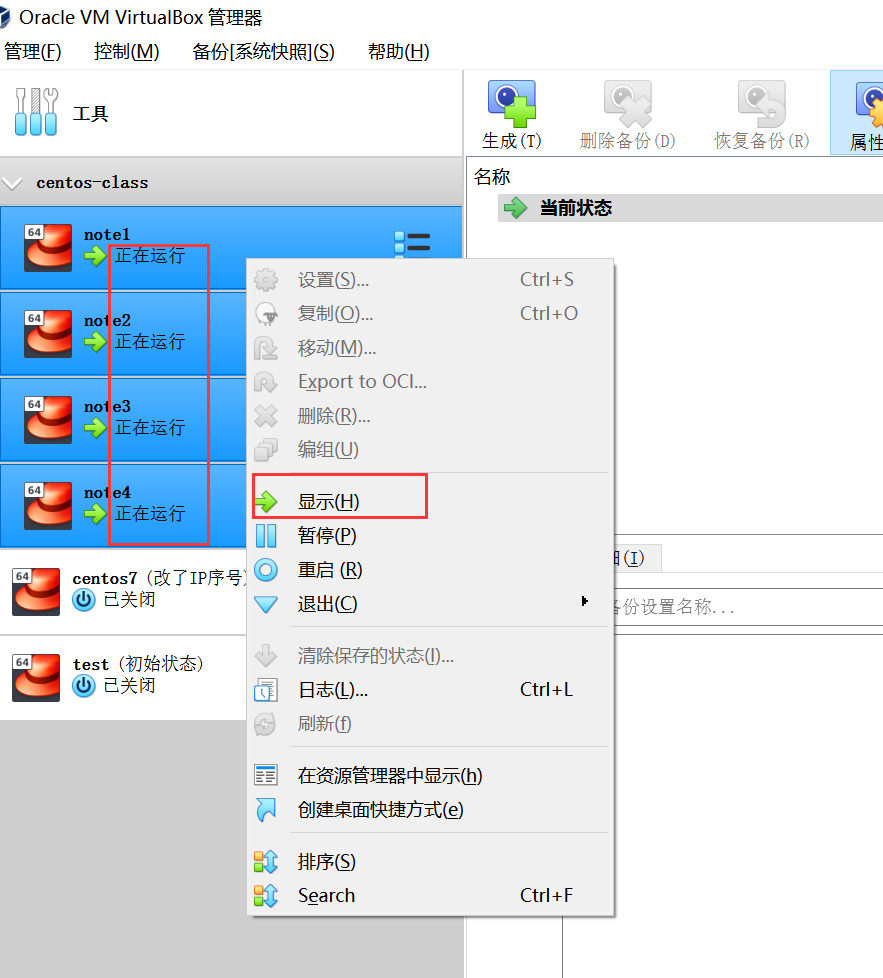
1.1创建四台虚拟机并启动:
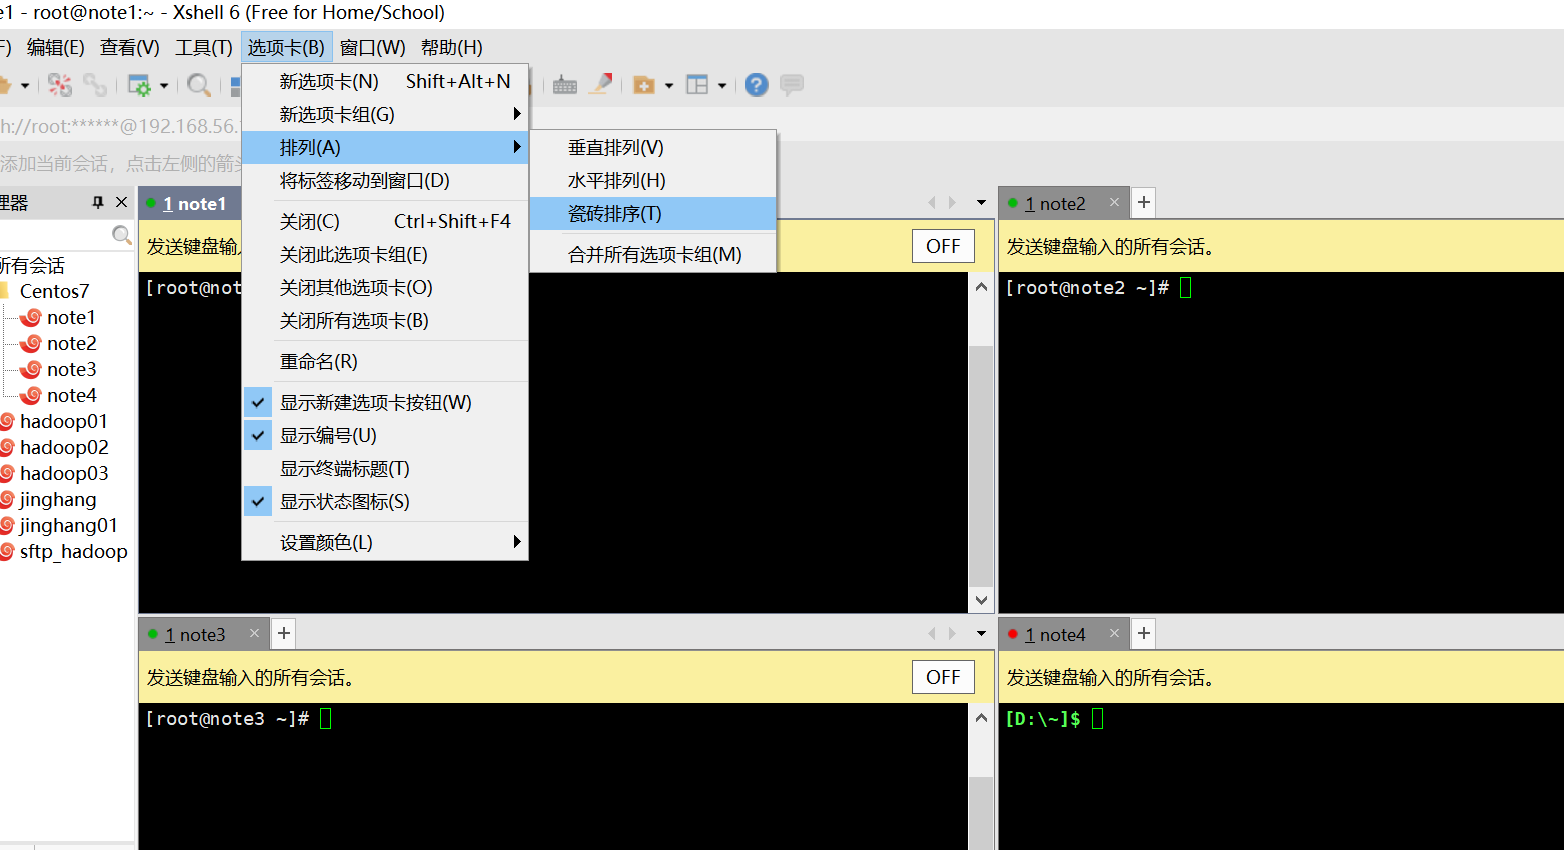
1.2在shell中建立一个centos7的文件夹里边放四个会话,分别note1,note2,note3,note4
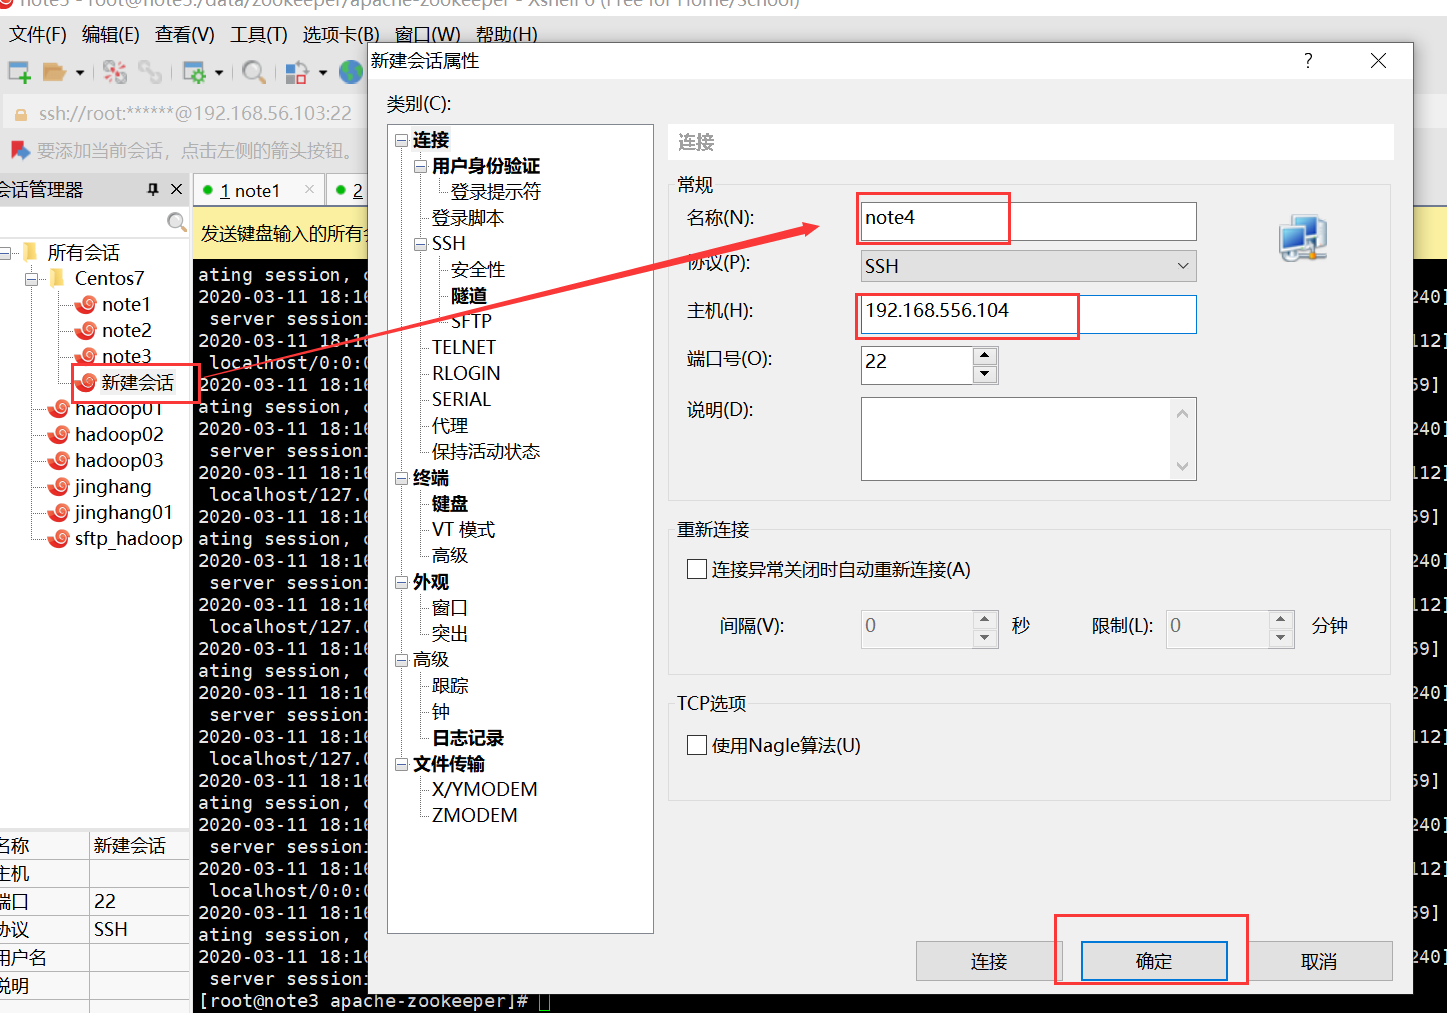
1.3成功建立

2.开始配置
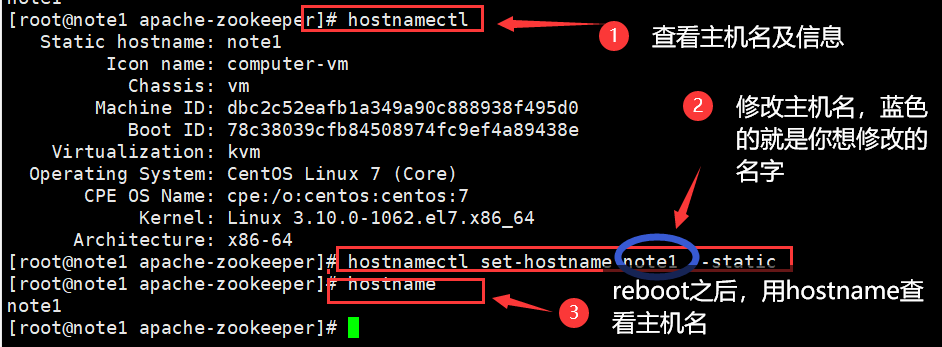
2.1:修改主机名:hostnamectl set-hostname 主机名 --static (永久性的)
重启:reboot
查看主机名:hostname
2.2防火墙的关闭
输入service iptables stop 时,出现下面的错误:

这时就需要安装一个iptables-service:
systemctl stop firewalld
systemctl mask firewalld
yum install iptables-services(安装)
systemctl stop iptables(开机关闭)
service iptables save(保存)
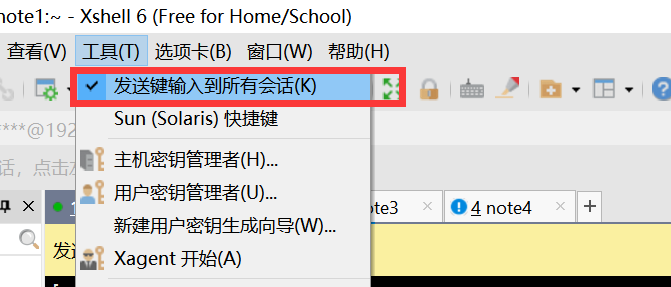
2.3:设置同步按钮
2.4创建zookeeper文件夹


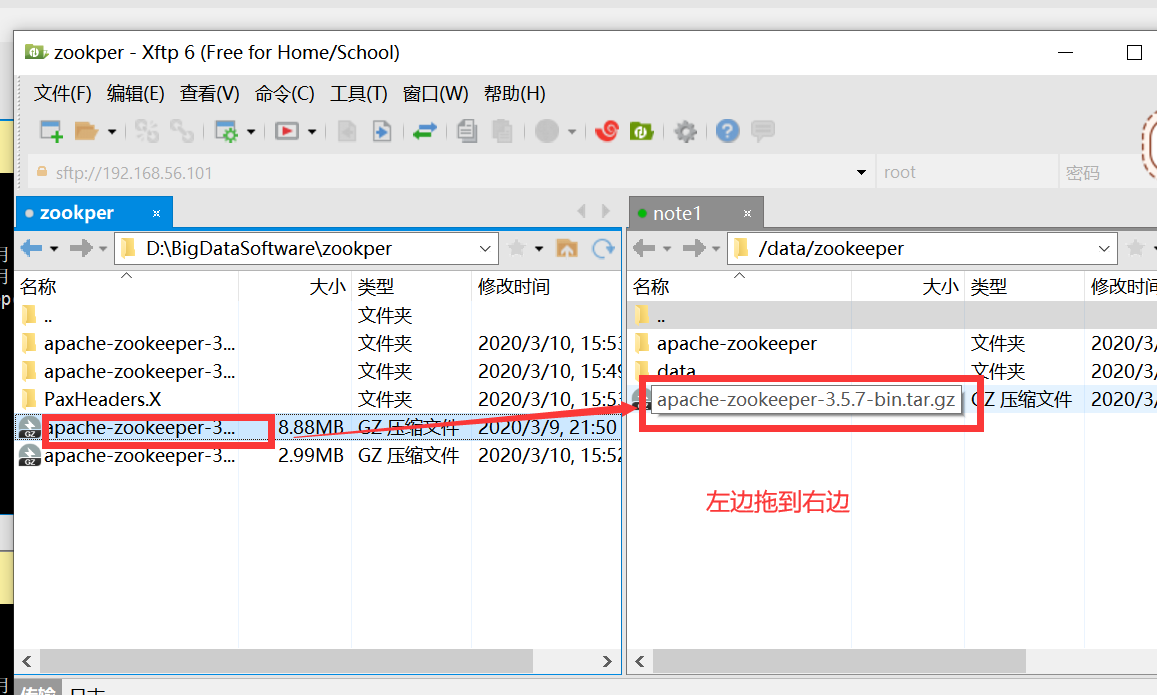
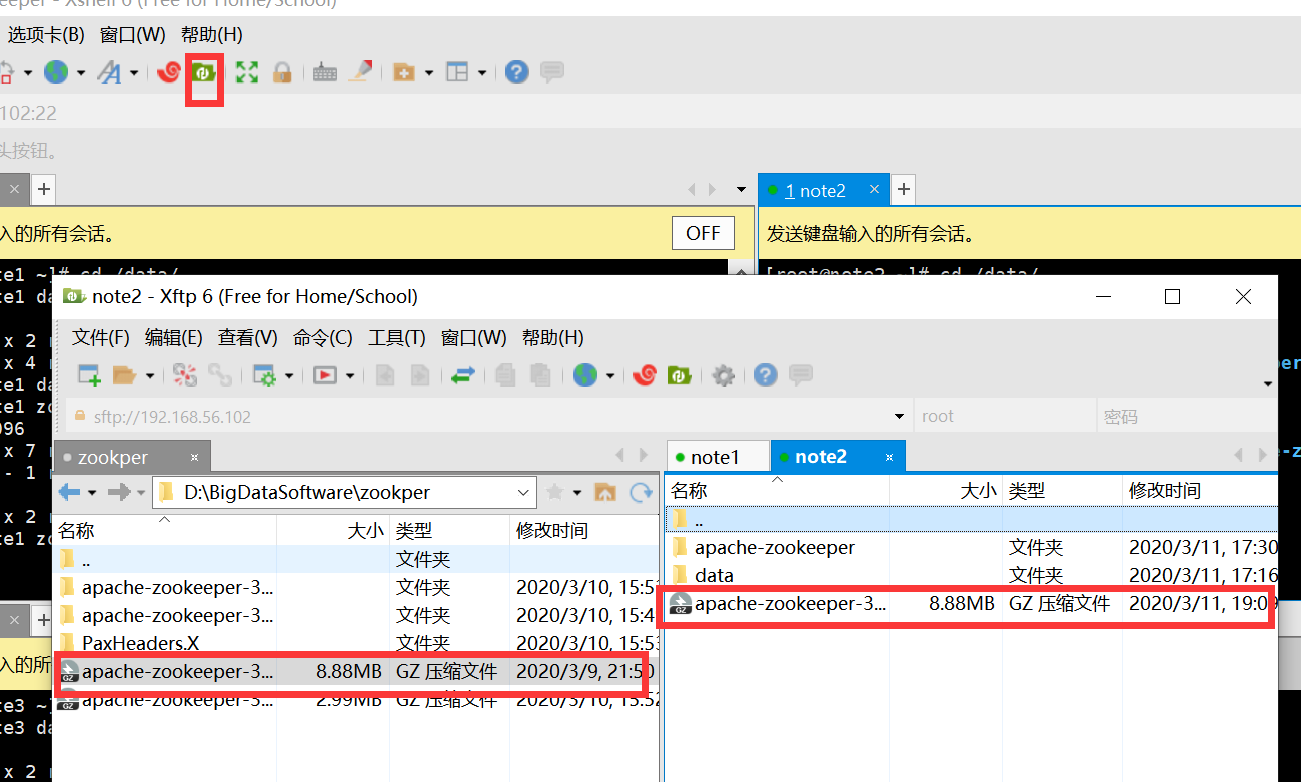
2.5点击xftp6,打开想传的zookeeper-bin文件,
2.6 zookeeper下载地址:
https://mirrors.cloud.tencent.com/apache/zookeeper/zookeeper-3.5.7/
2.7note1,note2,note3,都用此方法上传
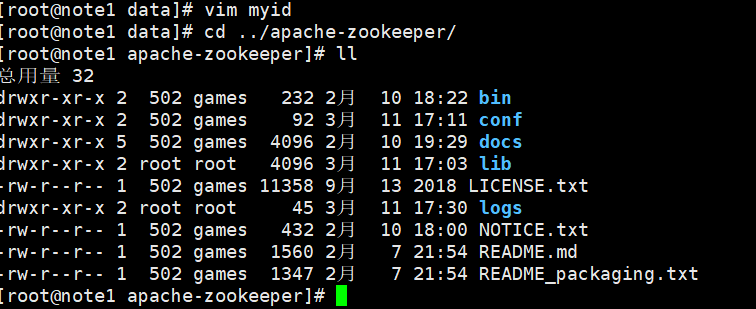
2.8:解压:tar -zxvf apache-zookeeper-3.5.7-bin.tar.gz

2.9改名:
mv apache-zookeeper-3.5.7-bin apache-zookeeper

删除tar包

进入data,创建并进入myid,修改里边内容

myid里分别写0,1,2。i,修改;esc退出 :wq!强制保存退出

进入apache-zookeeper
3.修改zookeeper配置文件:
3.1:进入conf``[root@note1 apache-zookeeper]# cd conf/```
复制zoo_sample.cfg,给zoo.cfg。[root@note1 conf]# cp zoo_sample.cfg zoo.cfg
修改配置文件zoo.cfg 。 [root@note1 conf]# vim zoo.cfg
zoo.cfg配置文件:
dataDir=/data/zookeeper/data
server.0=note1:2888:3888
server.1=note2:2888:3888
server.2=note3:2888:3888
# The number of ticks that the initial
# synchronization phase can take
initLimit=10
# The number of ticks that can pass between
# sending a request and getting an acknowledgement
syncLimit=5
# the directory where the snapshot is stored.
# do not use /tmp for storage, /tmp here is just
# example sakes.
dataDir=/data/zookeeper/data
# the port at which the clients will connect
clientPort=2181
# the maximum number of client connections.
# increase this if you need to handle more clients
#maxClientCnxns=60
#
# Be sure to read the maintenance section of the
# administrator guide before turning on autopurge.
#
# http://zookeeper.apache.org/doc/current/zookeeperAdmin.html#sc_maintenance
#
# The number of snapshots to retain in dataDir
#autopurge.snapRetainCount=3
# Purge task interval in hours
# Set to "0" to disable auto purge feature
#autopurge.purgeInterval=1
server.0=note1:2888:3888
server.1=note2:2888:3888
server.2=note3:2888:3888
3.2:启动zookeeper[root@note1 apache-zookeeper]# bin/zkServer.sh start

查看状态:[root@note1 apache-zookeeper]# bin/zkServer.sh status
jps启动:jps

3.3在浏览器上(火狐)访问note1:8080
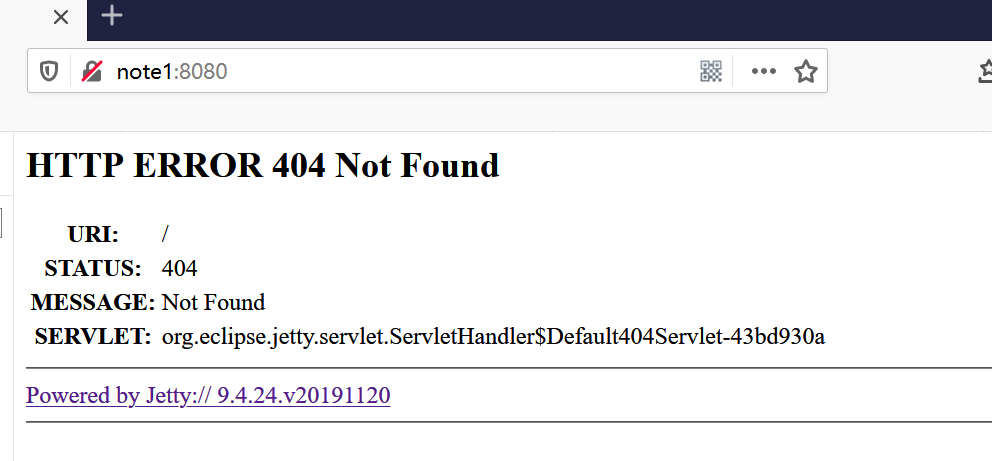
3.4
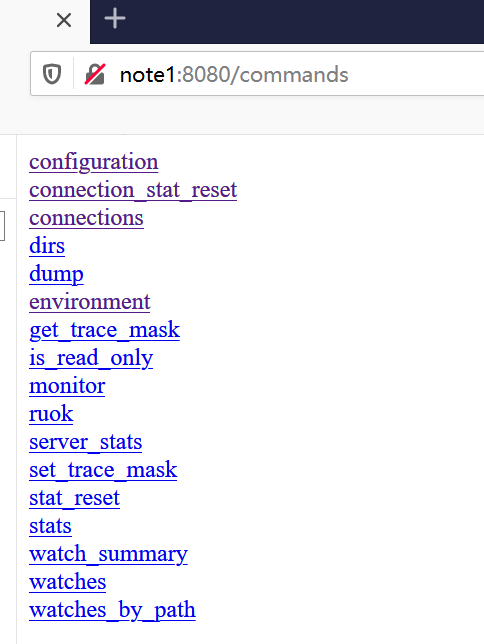
完成zookeeper的配置
3.4 :
查看日志vim logs/zookeeper-root-server-note1.out
分发文件:scp -r apache-zookeeper/root@note2$pwd scp -r apache-zookeeper/root@note3$pwd
标签:cfg,note1,root,zookeeper,zoo,linux,apache,安装
来源: https://blog.csdn.net/XIAOMO__/article/details/104802404


 473
473


 被折叠的 条评论
为什么被折叠?
被折叠的 条评论
为什么被折叠?
 到【灌水乐园】发言


