


一.MvcPager文档地址
二.基本使用方法
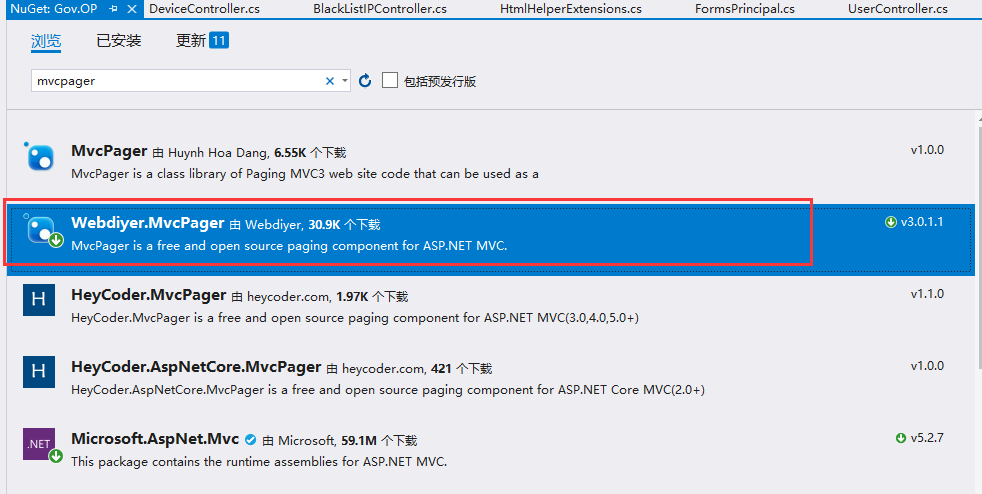
1.nuget获取(或者直接在官网下载dll)
直接nuget搜索mvcpager即可,选择Webdiyer.MvcPager安装。如果是.net core选择core版本
2.model
model根据自己需要定义即可
3.controller
using System.Linq;
using System.Web.Mvc;
using OF.Component.BLL;
using OF.Component.Model;
using Webdiyer.WebControls.Mvc;

namespace Gov.OP.Controllers
{
    public class DeviceController : BaseController
    {
        // GET: Device
        public ActionResult Index(int pageIndex = 1)
        {
           //获取数据,QueryList替换成自己获取数据的方法。
            var list = DeviceBaseOperate.QueryList(m => m.IsActive == 1).ToList();
           //转换成MvcPager分页实体PagedList<T>
            PagedList<DeviceBaseInfo> p = list.ToPagedList(pageIndex, 2);
            return View(p);
        }
    }
}
4.view
省略了页面其他代码,只展示分页部分作参考
@using Webdiyer.WebControls.Mvc;
@model PagedList<DeviceBaseInfo>

<section class="content">
    <div class="box-footer clearfix ">

        @Html.Pager(Model, new PagerOptions { PageIndexParameterName = "id", ContainerTagName = "ul", CssClass = "pagination",  CurrentPagerItemTemplate = "<li class=\"active\"><a href=\"#\">{0}</a></li>", DisabledPagerItemTemplate = "<li class=\"disabled\"><a>{0}</a></li>", PagerItemTemplate = "<li>{0}</li>", Id = "pagination" })
     </div>
</section>
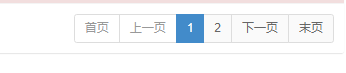
5.效果
三.改成扩展方法,方便统一修改样式
如果每个页面都写一堆分页的配置,不方便修改,而且复制很多东西看起来很乱。对于后台管理系统这种分页样式比较统一的CRUD页面,可以写成一个扩展方法。
1.创建一个静态类,添加扩展方法
using System;
using System.Collections.Generic;
using System.Linq;
using System.Web;
using System.Web.Mvc;
using Webdiyer.WebControls.Mvc;

namespace Gov.OP.Common
{
    public static class HtmlHelperExtensions
    {
        /// <summary>
        /// 分页
        /// </summary>
        /// <param name="helper"></param>
        /// <returns></returns>
        public static HtmlPager pageHelper(this HtmlHelper helper, IPagedList model)
        {
            var options = new PagerOptions
            {
                ControllerName = "Device",//控制器名称
                ActionName = "Index",//Action名称
                AutoHide = false,//只有1页时是否隐藏分页
                ContainerTagName = "ul",//容器标签
                CssClass = "pagination pagination-sm no-margin pull-right",
                PageIndexParameterName = "pageIndex",
                FirstPageText = "首页",
                LastPageText = "末页",
                PrevPageText = "上一页",
                NextPageText = "下一页",
                CurrentPageNumberFormatString = "{0}",//获取或设置当前页索引格式字符串
                PageNumberFormatString = "",//获取或设置数字页索引格式化字符串
                CurrentPagerItemTemplate = "<li class=\"active\"><a href=\"#\">{0}</a></li>",
                DisabledPagerItemTemplate = "<li class=\"disabled\"><a>{0}</a></li>",
                NumericPagerItemTemplate= "<li>{0}</li>",//获取或设置数字页索引分页元素的html模板,
                PagerItemTemplate = "<li>{0}</li>",//获取或设置包含数字页、当前页及上、下、前、后分页元素的html模板。
                NavigationPagerItemsPosition =PagerItemsPosition.BothSide,//获取或设置首页、下页、下页和尾页四个导航按钮的位置,默认,显示在两侧
                Id = "pagination"
            };
            return helper.Pager(model, options);
        }
    }
}
2. view使用
@using OF.Component.Model
@using Webdiyer.WebControls.Mvc;
@using Gov.OP.Common;
@model PagedList<DeviceBaseInfo>
@{
    ViewBag.Title = "Index";
}
<section class="content">
    <div class="box-footer clearfix ">
         @Html.pageHelper(Model);
    </div>
</section>


 87
87


 被折叠的 条评论
为什么被折叠?
被折叠的 条评论
为什么被折叠?
 到【灌水乐园】发言


