


配置Failover Clustering
1.将各节点服务器加入域(应该是还没加,这两天陆陆续续写自己都有点忘了)
各Node服务为:
HY-A-BL2
HY-A-BL3
HY-A-BL9
HY-A-BL10
2.同时将MS的补丁更新至最新及各Node一致。
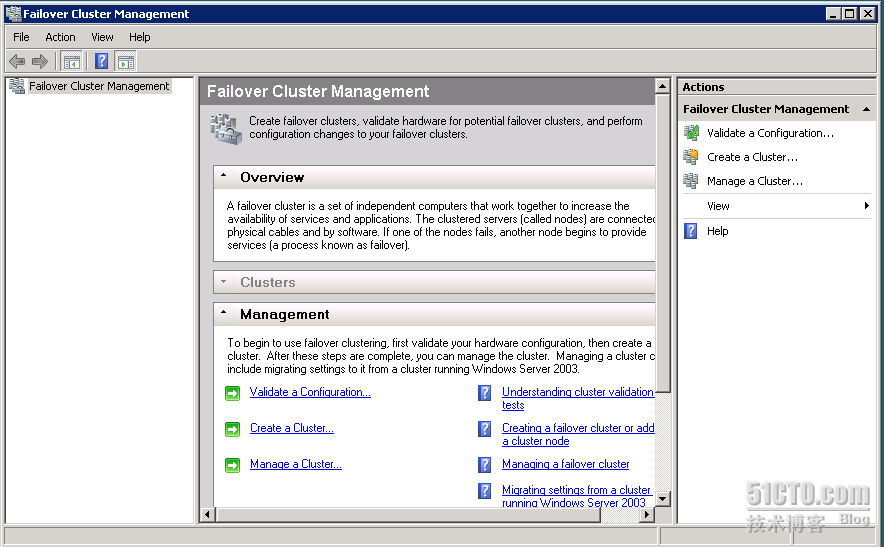
3.打开Failover Cluster Management
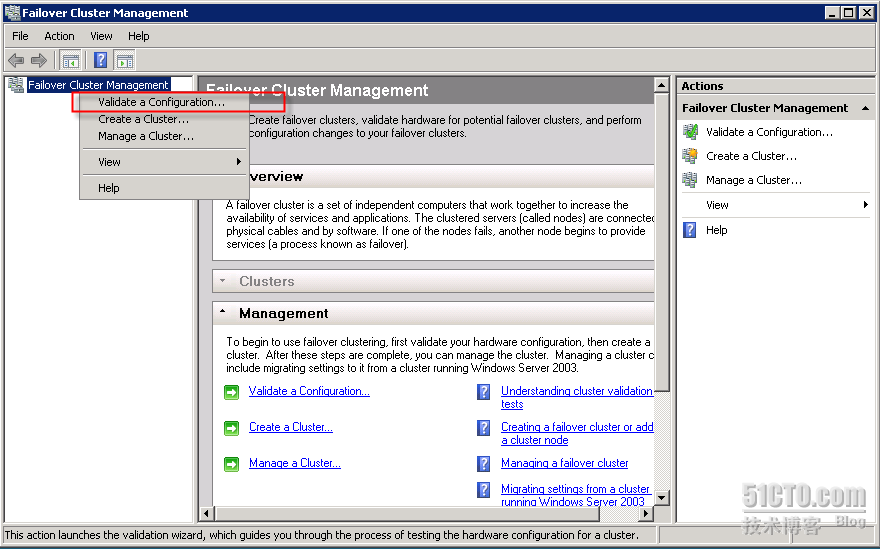
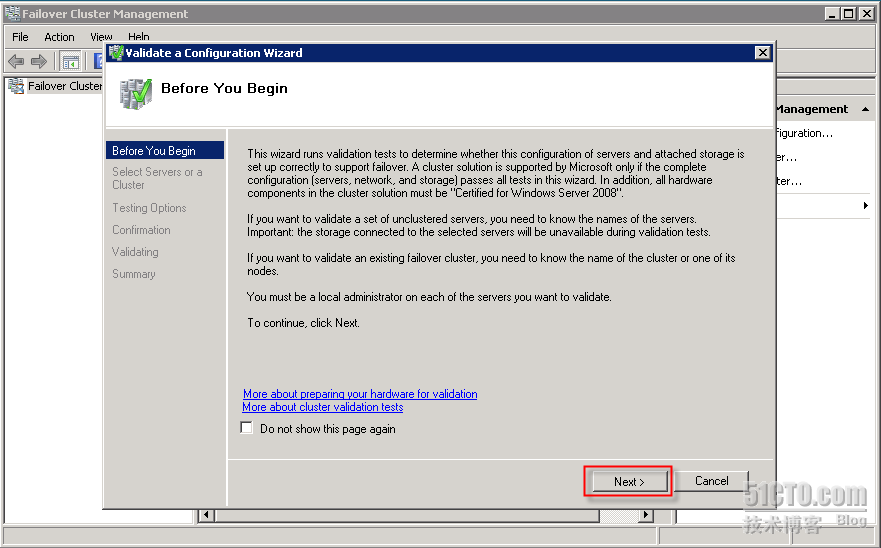
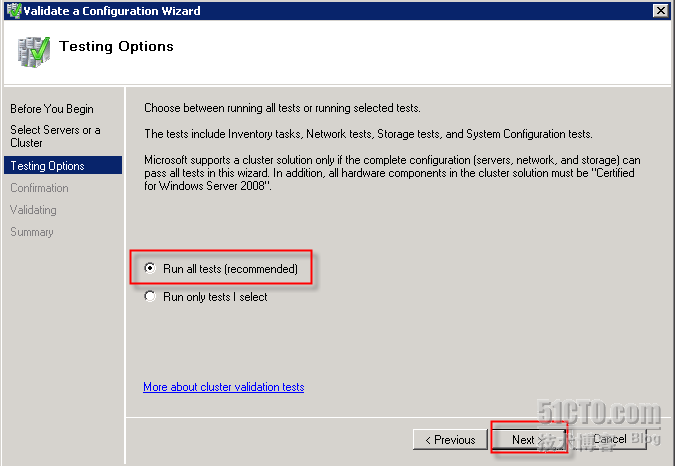
4.验证Cluster Failover的配置条件
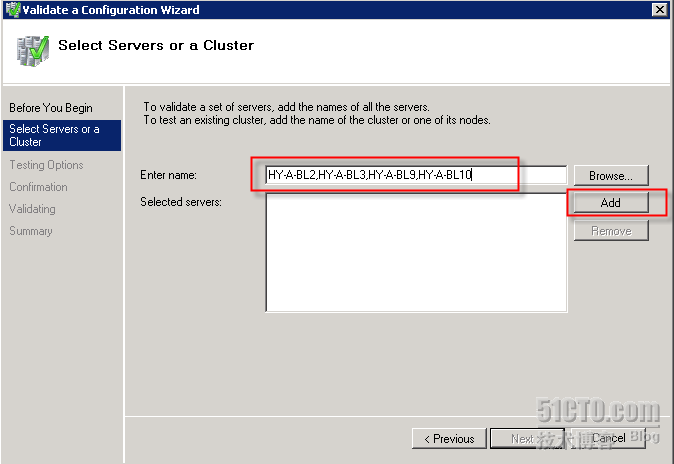
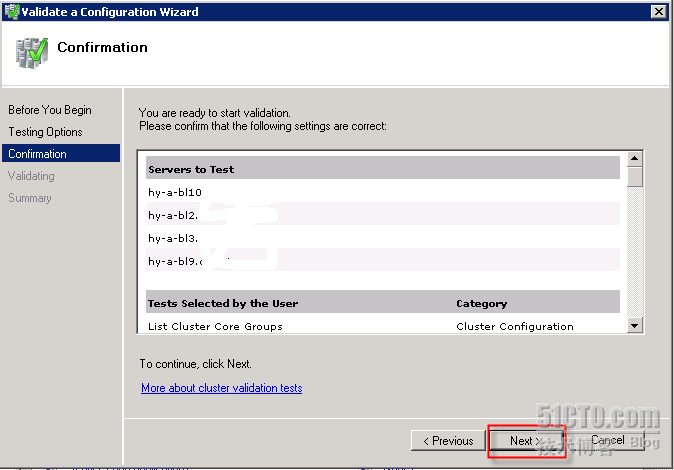
添加各Node服务器,并按Next
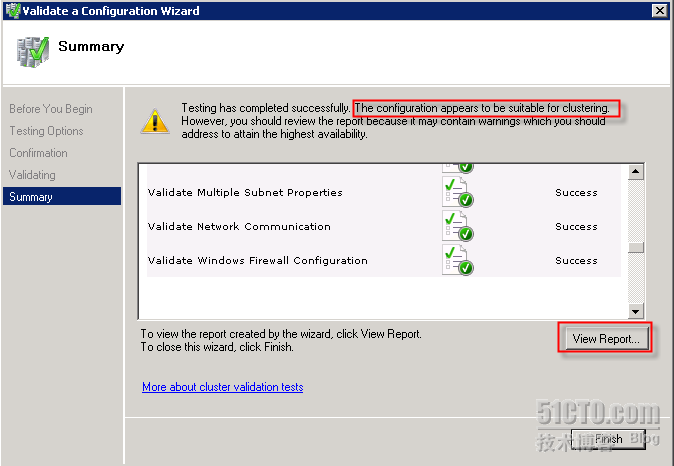
验证配置显示符合Failover Cluster的要求,但还是有一些错误,可以查看详细报表,并查看原因
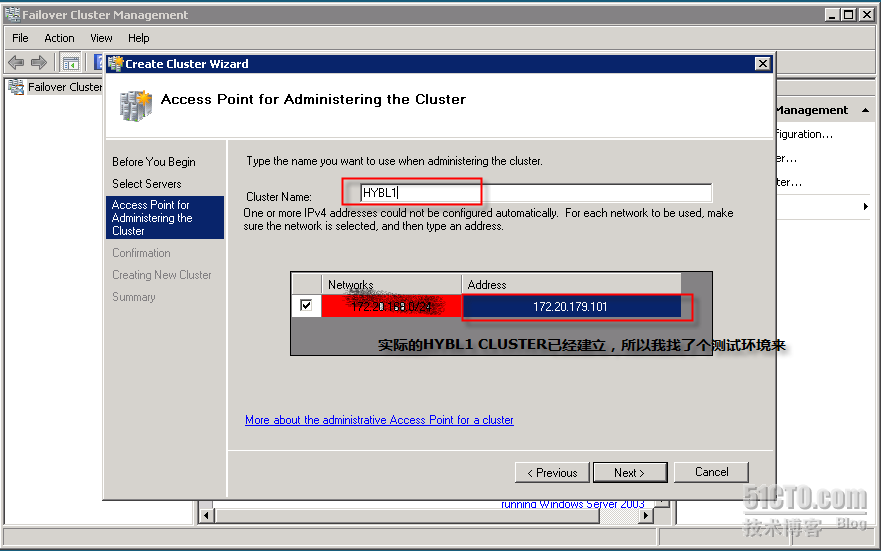
5.建立Cluster Failover
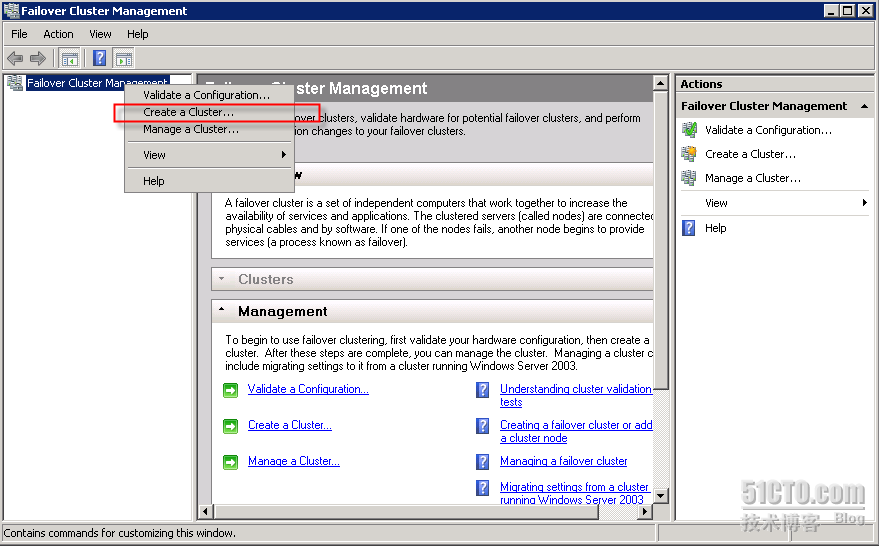

输入Clsuter Name及IP地址,并按两个Next后,建立cluster.
设定Failover Cluster,下图为建立好的界面,包括4个节点
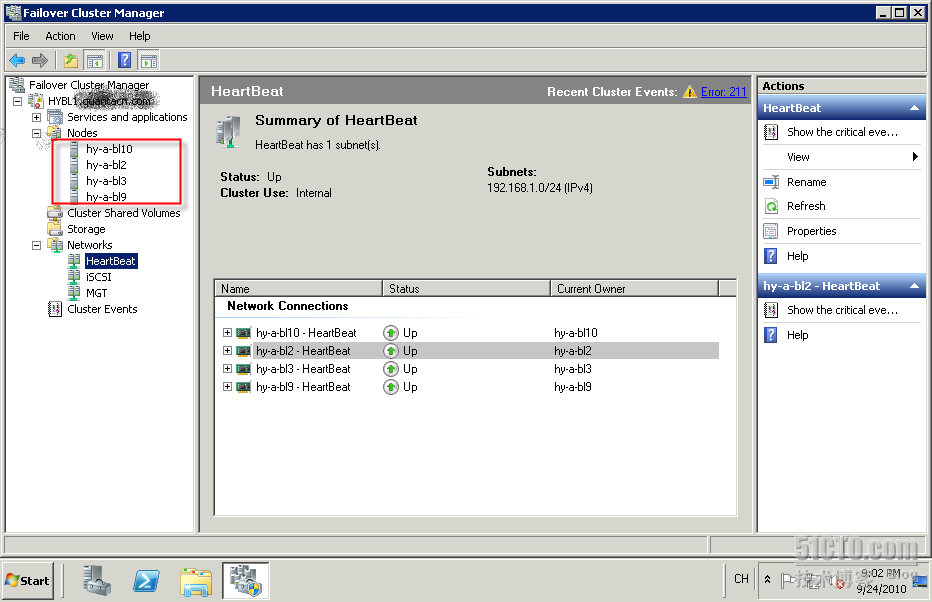
为了方便查看,修改网络定义
将192.168.1.0网络重命名为HeartBeat
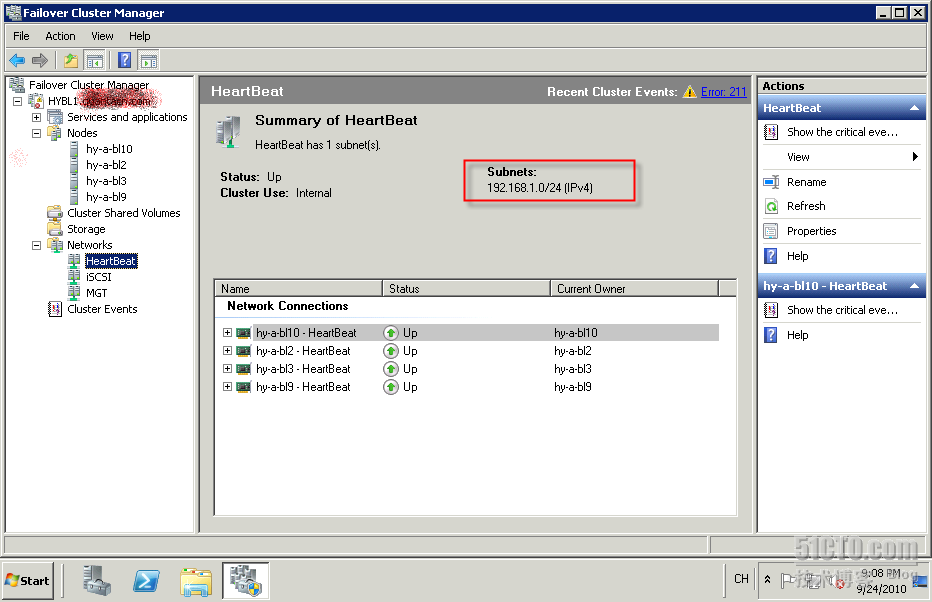
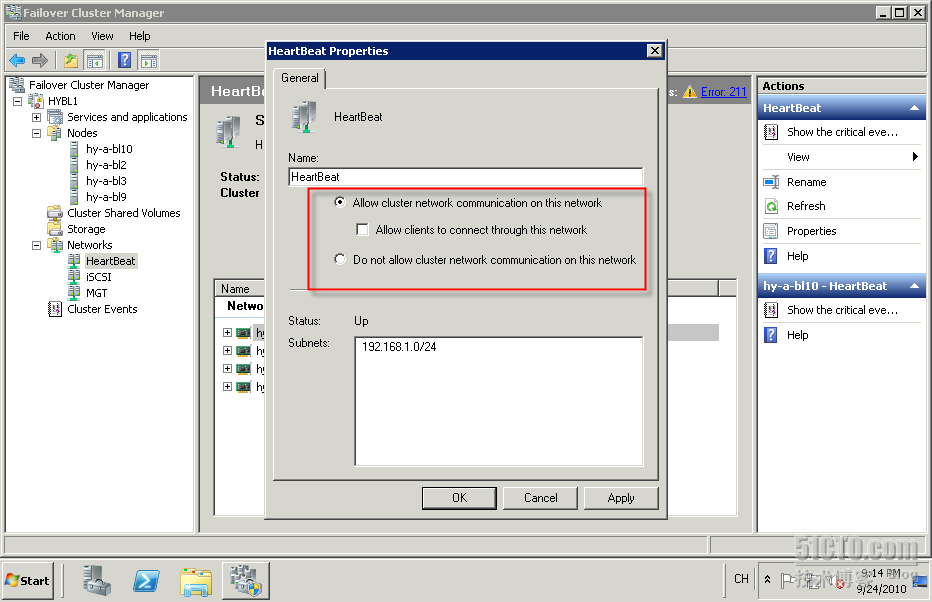
并修改网络连接属性,用于各Node间的通信,用于Live Migration。
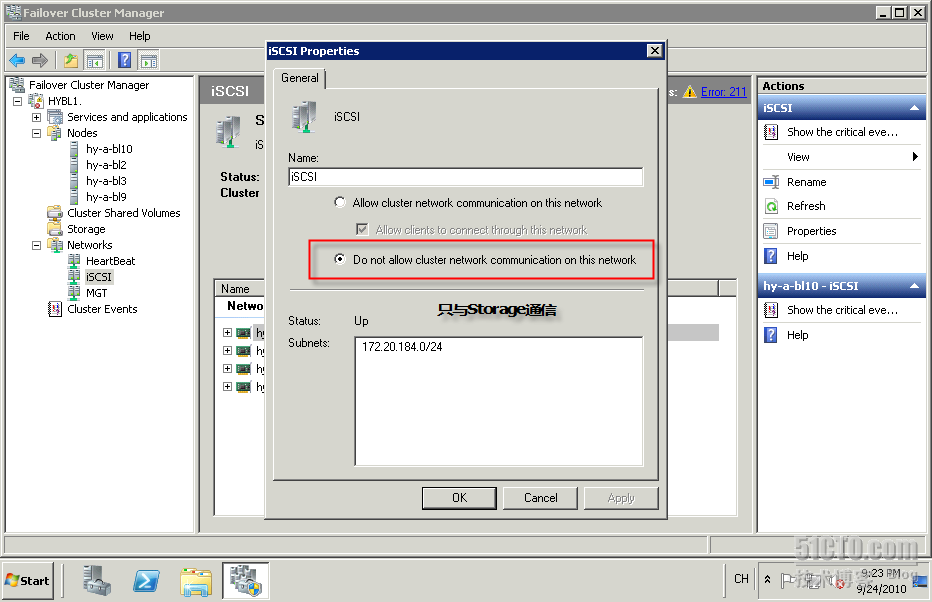
将172.20.184.0网络用于连接Share Storage的网络名定义为iSCSI
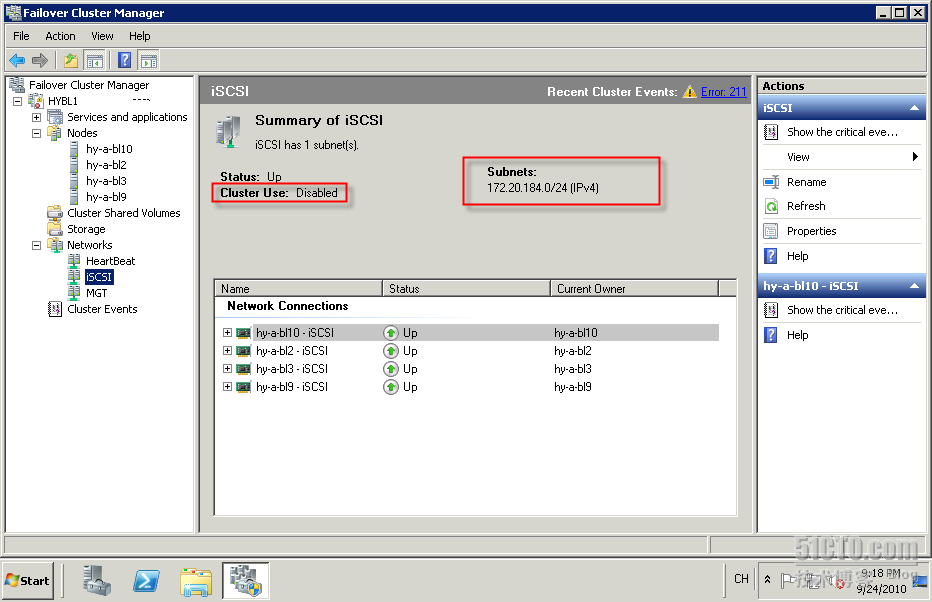
对该网络名单击右键“属性”修改,如下图:
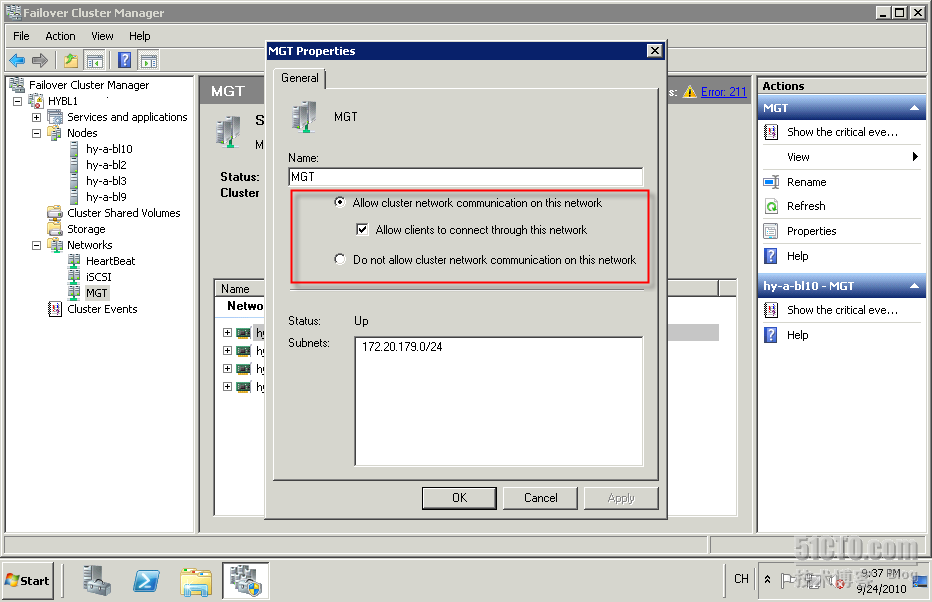
将172.20.179.0网络改为MGT

并确认网络属性
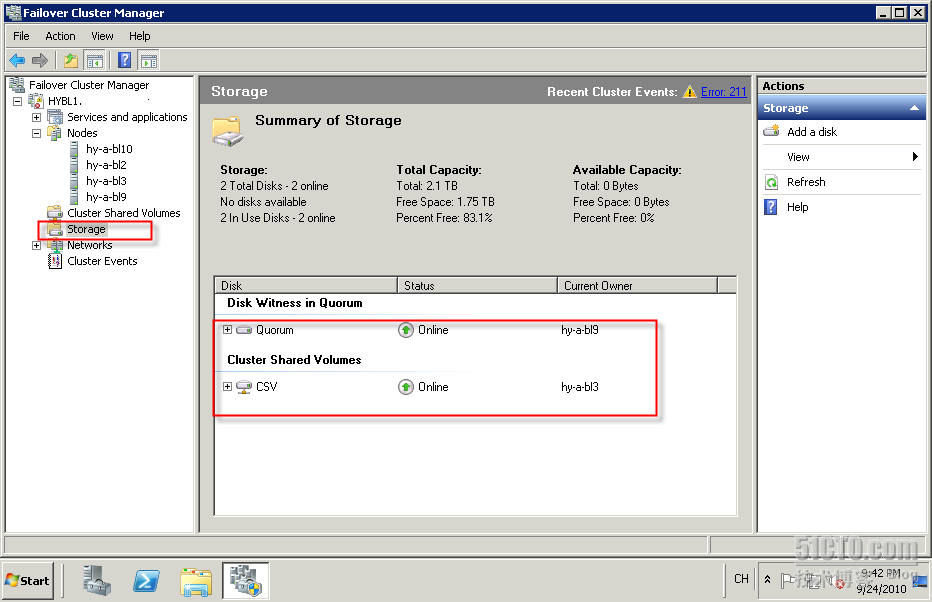
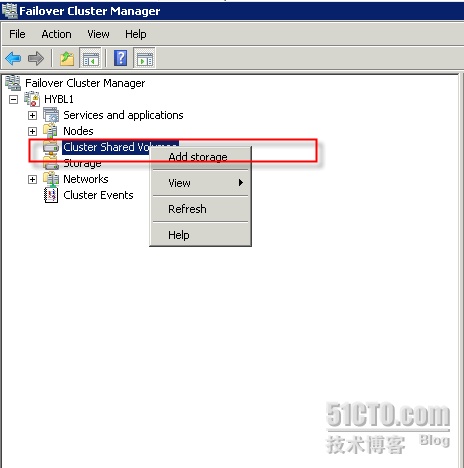
修改Storage名,在下图中将Witness盘及CSV盘分改名为如下图:(以下为已添加CSV的界面)
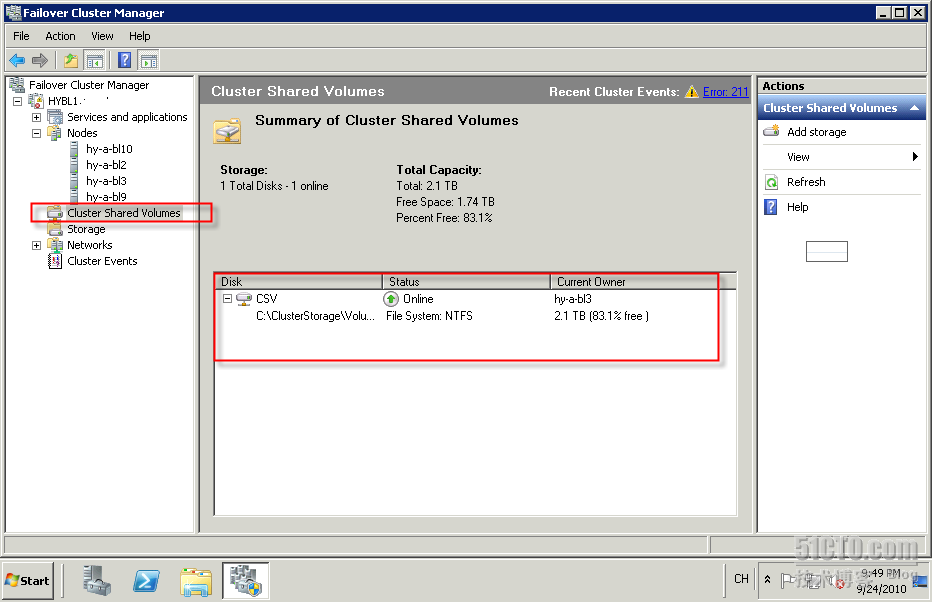
添加Cluster Shared Volumes,并选中刚定义的CSV盘
添加后,
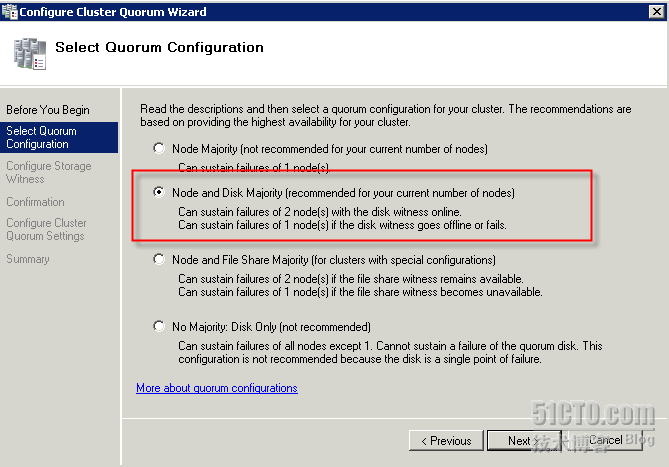
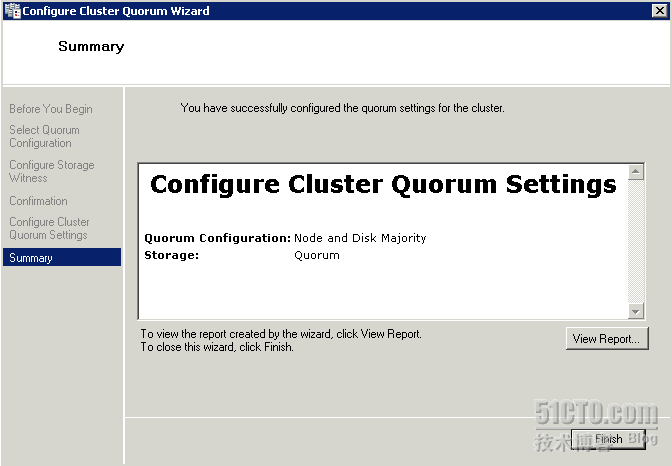
配置Witness盘

按建议的方式建立
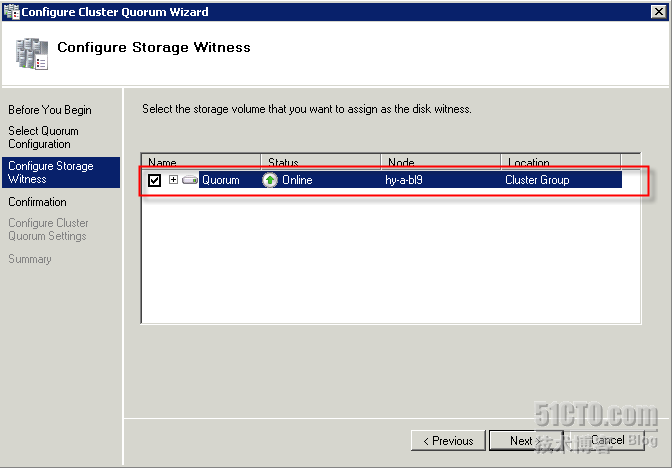
选择Witness盘,
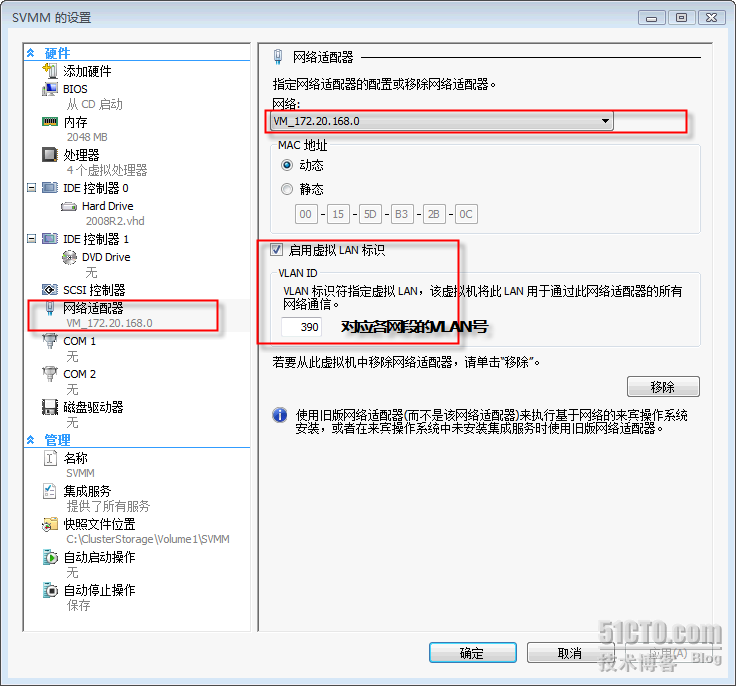
在HYPER-V管理器内建立一台VM,(过程不再介绍)
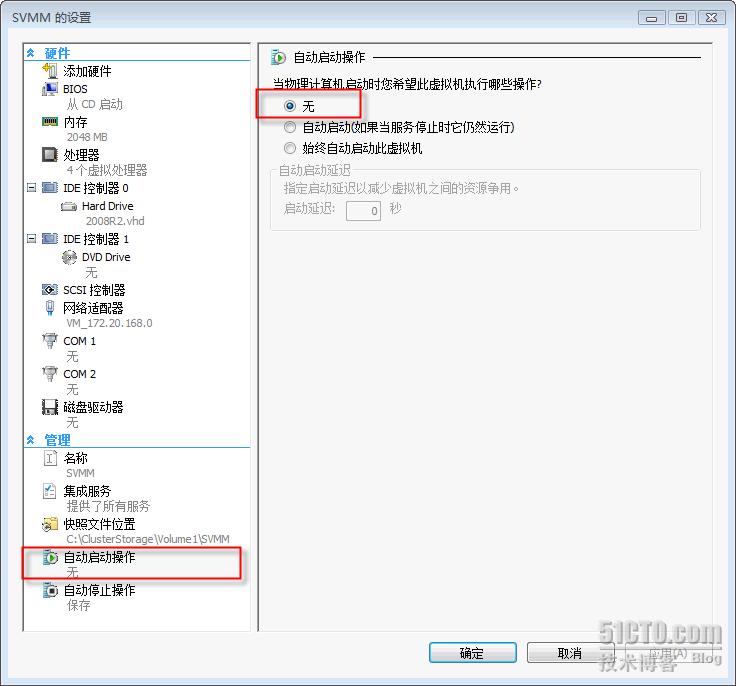
以下几点设置需要注意,见下图
自动启动选择“无”
添加Hyper-V服务,
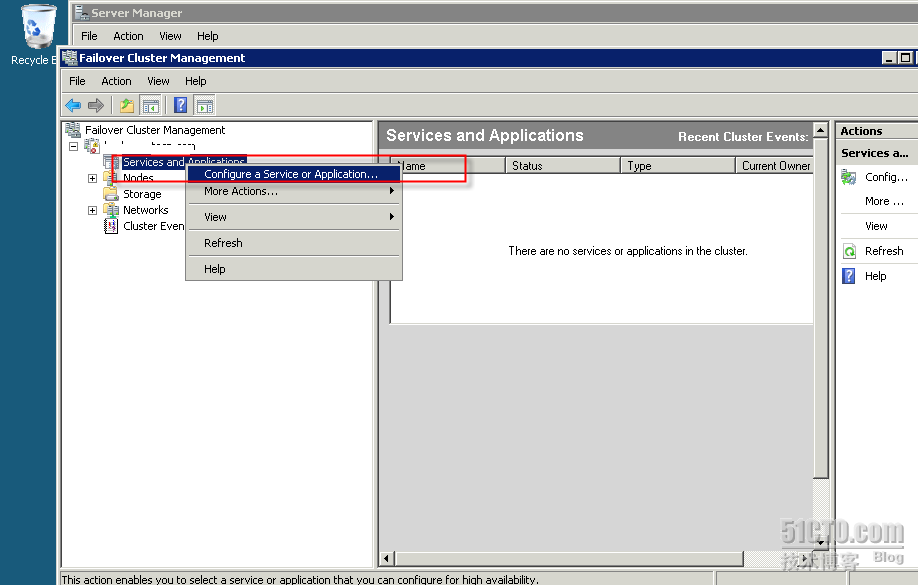
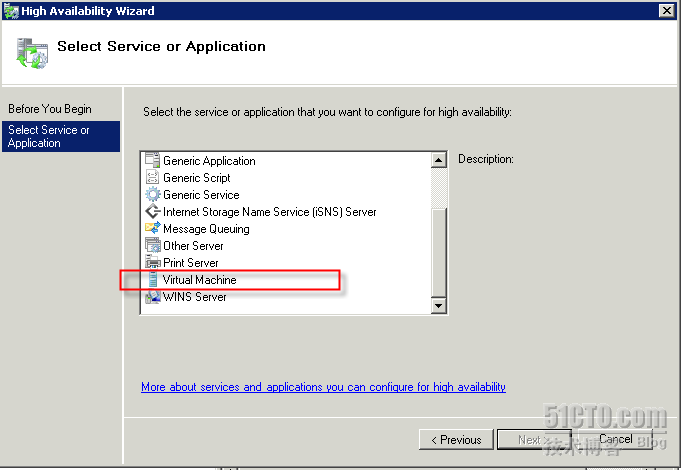
选择虚拟机后,按Next后完成添加。
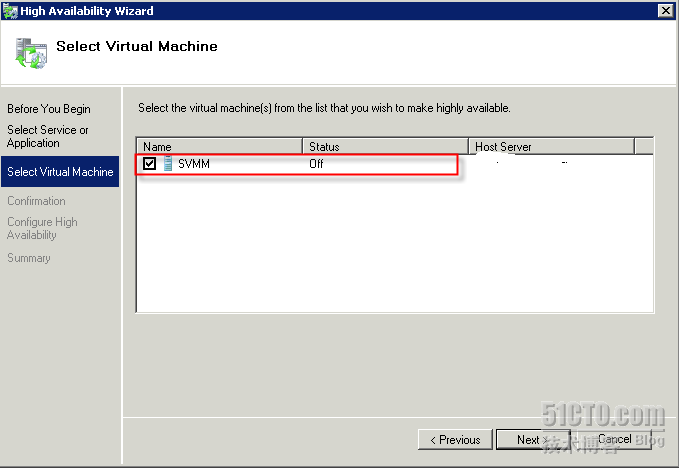
此时该台VM就有了高可用性,(这篇文章写在部署后,所以该Cluster上已经有了多台VM)
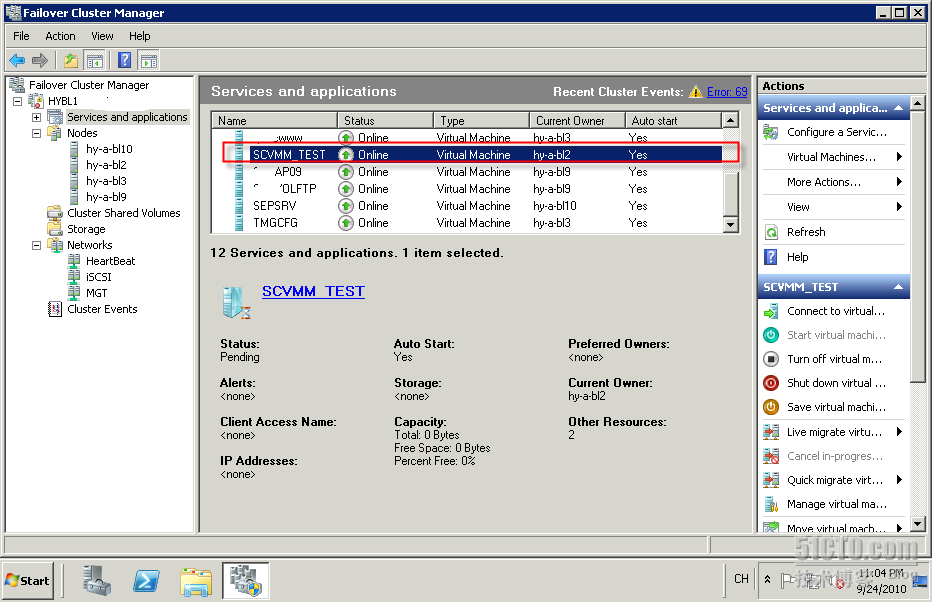
我们安装完后可测试Live Migration。我有录下测试时的过程,基本上就丢一个包。请看附件(大小受限,所以不是很清晰)。
Live Migration对我来说非常有用,当要对一台服务器进行维护,如安装更新或是升级硬件时,可不中断业务将VM迁移至另一个节点上。不必再停止业务将VM关机或是停机再做迁移。
转载于:https://blog.51cto.com/sting/396648


 772
772


 被折叠的 条评论
为什么被折叠?
被折叠的 条评论
为什么被折叠?
 到【灌水乐园】发言


