概述
详细
一、创建springboot项目
1.新建一个springboot项目,不需要添加任何依赖。

2.在启动类中编写一个接口,然后启动项目,访问http://localhost:8080测试项目是否存在问题。
package com.example.demo;

import org.springframework.boot.SpringApplication;
import org.springframework.boot.autoconfigure.SpringBootApplication;
import org.springframework.web.bind.annotation.RequestMapping;
import org.springframework.web.bind.annotation.RestController;

@SpringBootApplication
@RestController
public class DemoApplication {

   public static void main(String[] args) {
      SpringApplication.run(DemoApplication.class, args);
   }

   @RequestMapping("/")
   public String hello(){
      return "hello spring boot";
   }
}
二、编写webservice接口
-
在com.example.demo路径下新建webservice目录,并在该目录下新建webservice接口TestService.java,编写一个webService接口方法。
-
在该接口上使用javax.jws.WebServcie注解;在方法上使用javax.jws.WebMethod注解。
package com.example.demo.webservice;

import javax.jws.WebMethod;
import javax.jws.WebParam;
import javax.jws.WebService;

@WebService
public interface TestService {

    @WebMethod
    String hiWebService(@WebParam(name = "hi") String s);
}
3.在相同路径下新建TestService接口的实现类TestServiceImpl.java,实现接口方法。并且在该类上使用javax.jws.WebService注解和org.springframework.stereotype.Service注解,是该类即是一个webService接口服务类又是作为一个可以被spring管理的bean。
package com.example.demo.webservice;

import org.apache.commons.logging.Log;
import org.apache.commons.logging.LogFactory;
import org.springframework.stereotype.Service;

import javax.jws.WebService;

@WebService
@Service
public class TestServiceImpl implements TestService{

    private Log log = LogFactory.getLog(TestServiceImpl.class);

    @Override
    public String hiWebService(String s) {
        String msg = "获取内容:"+s;
        log.info(msg);
        return msg;
    }
}
三、启动配置
-
使用ApplicationContext事件机制来完成webService接口的自动发布。
使用ApplicationListener监听ContextRefreshedEvent事件。ContextRefreshedEvent就是在ApplicationContext被初始化(所有的bean被成功装载,后处理bean被检测或成功激活,所有的singleton bean被实例化,ApplicationConte容器已就绪可用)或刷新时,该事件被发布。
-
在webservice目录下新建一个类BeforeStartUp.java,实现ApplicationListene接口。
-
重写onApplicationEvent方法。在该方法中发布webService服务。使用javax.xml.ws.Endpoint的publish方法发布。该方法有两个参数,第一个是要使用的地址和传输/协议的URI。URI必须使用SOAP 1.1 / HTTP 绑定。第二个参数是webService的接口实现类。
-
该类也必须使用@Service,@Component或者@Configuration注解被spring管理,使其可以被自动装载。
package com.example.demo.webservice;


import org.apache.commons.logging.Log;
import org.apache.commons.logging.LogFactory;
import org.springframework.beans.factory.annotation.Autowired;
import org.springframework.beans.factory.annotation.Value;
import org.springframework.context.ApplicationListener;
import org.springframework.context.event.ContextRefreshedEvent;
import org.springframework.stereotype.Service;

import javax.xml.ws.Endpoint;

@Service
public class BeforeStartUp implements ApplicationListener<ContextRefreshedEvent>{

    private Log log = LogFactory.getLog(BeforeStartUp.class);

//    @Value("${spring.ws.address}")
    private static String address = "http://localhost:8002/ws/hello";

    @Autowired
    private TestService testService;

    @Override
    public void onApplicationEvent(ContextRefreshedEvent event) {
            Endpoint.publish(address,testService);
            log.info("webService 服务发布成功!!!");
            log.info("wsdl地址:"+address+"?wsdl");
    }
}
四、启动应用,自动发布
-
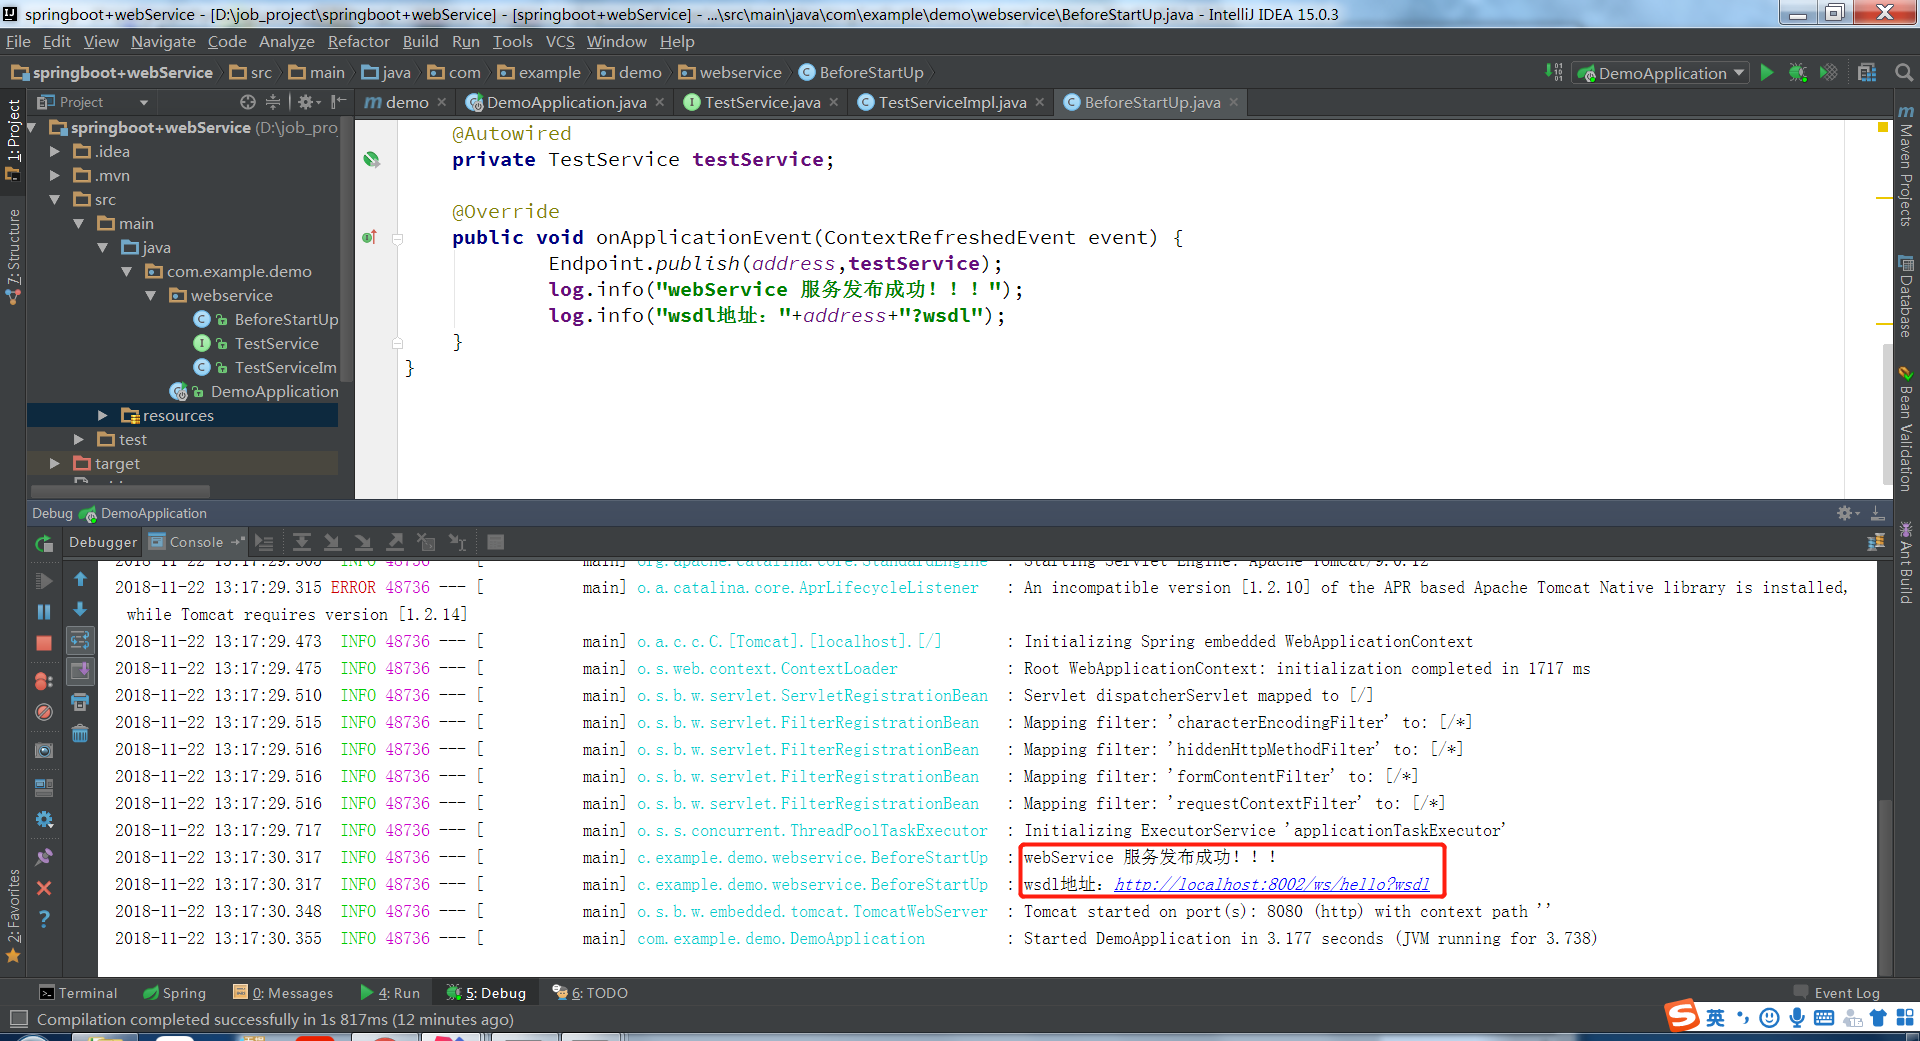
启动应用程序,观察控制台日志。出现如下日志即表示服务发布成功。

点击wsdl地址即可在浏览器上查看该webService的wsdl的内容。
由于webService是跨平台的。只要通过该wsdl文件就可以生成相应平台上的客户端或者服务端代码。
五、生成客户端代码(使用的是IDEA编辑器),通过客户端访问webservice接口
-
新建一个Java项目。

-
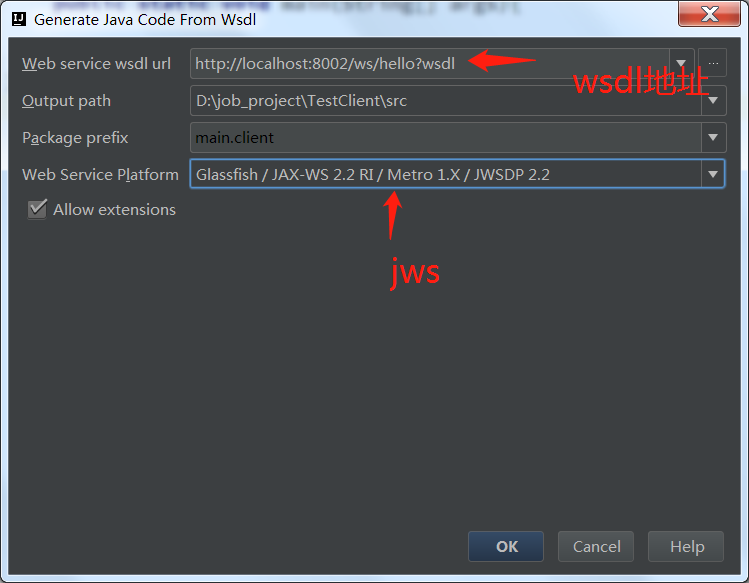
右击client,选择webService,选择generate java code from wsdl

3.

4.点击ok即可生成客户端代码。调用接口跟平常写程序调用方法没什么两样。方法在TestServiceImpl中,获取TestServiceImpl对象的方法在TestServcieImplService中。在main方法中调用:
package main.java;

import main.client.TestServiceImpl;
import main.client.TestServiceImplService;

public class Test {

    public static void main(String[] args){
        TestServiceImpl service = (new TestServiceImplService()).getTestServiceImplPort();
        String s = service.hiWebService("hi webService!");
        System.out.println(s);
    }
}
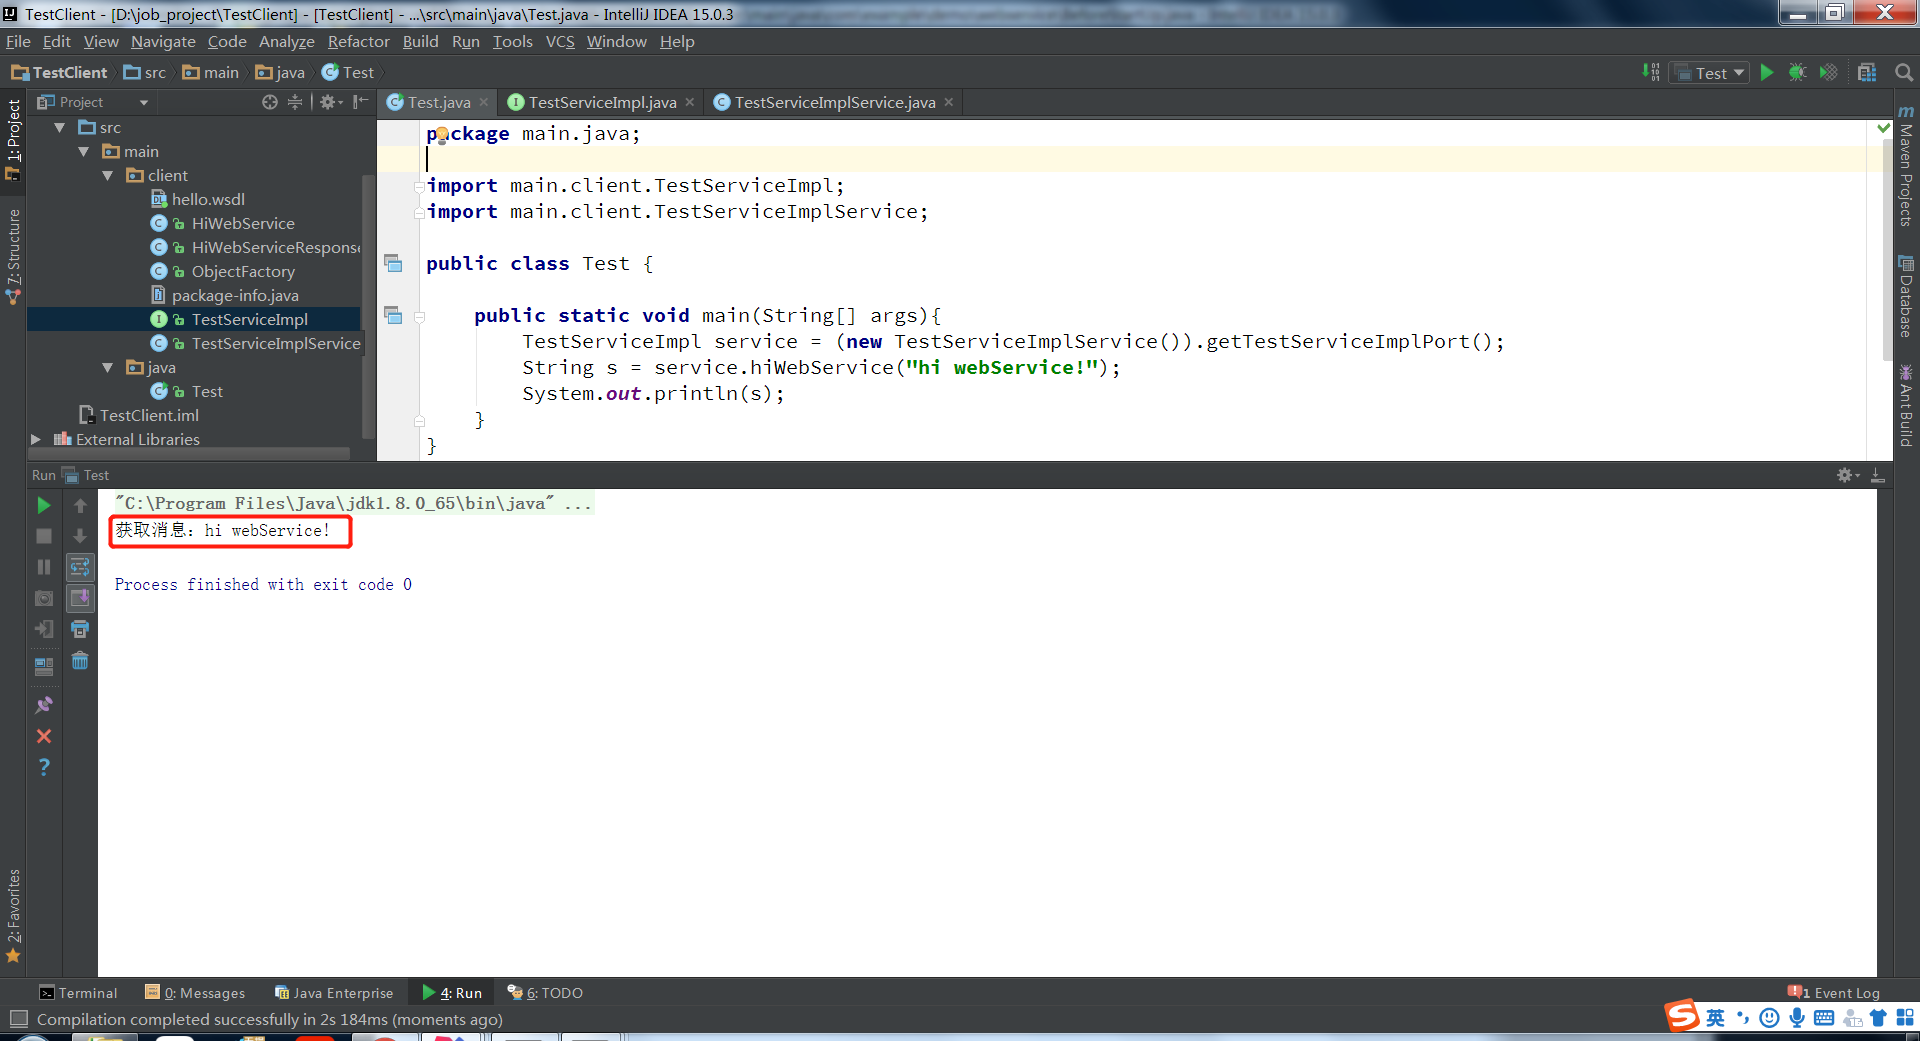
六、运行main方法、查看接口调用
客户端:

说明接口已经成功调用。
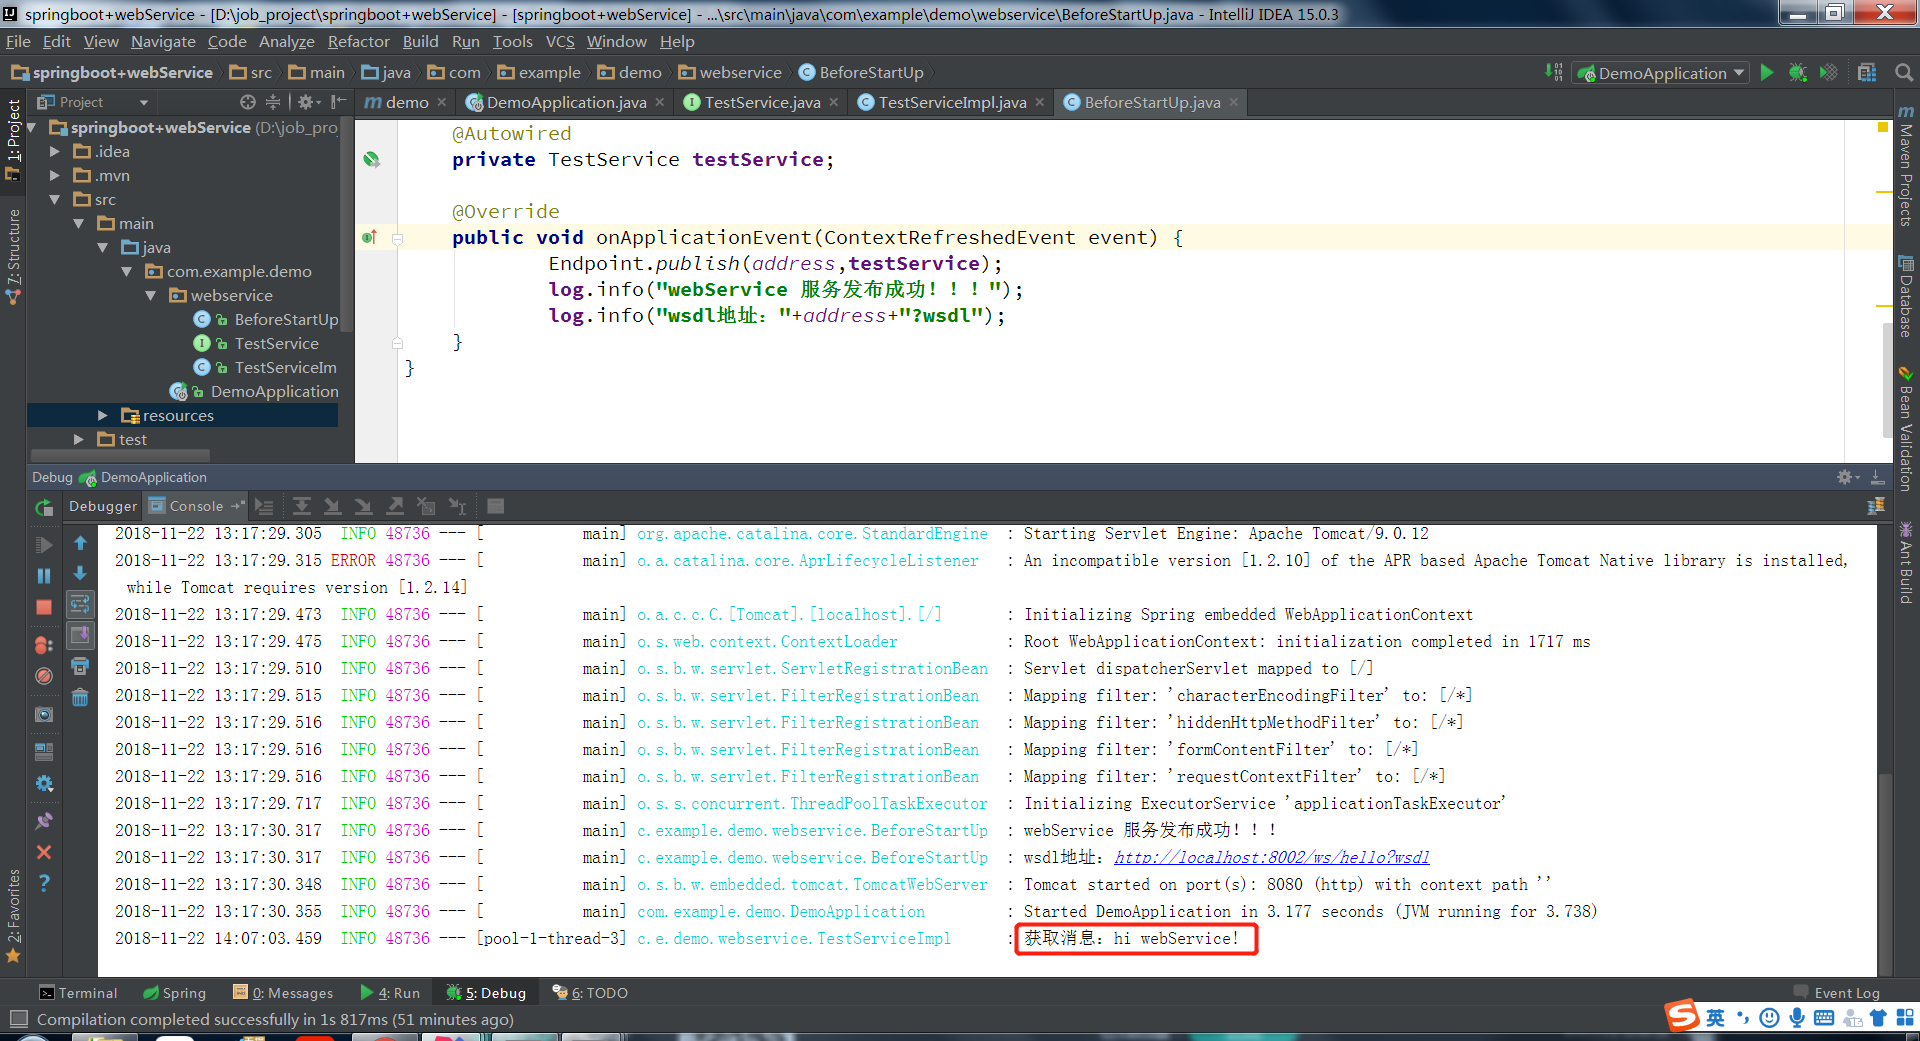
服务端:

七、项目结构
本例子分为两部分,有客户端,也有webservice端,如下所示:


 1403
1403

 被折叠的 条评论
为什么被折叠?


