


按照时间顺利排列是最常见的展示顺利,计算当前时间与发布时间差值,理所的
public static String getPublishTime(long publishTimeL) {
    String publishTime;
    long timeMillis = System.currentTimeMillis() - publishTimeL;
    long second = timeMillis / 1000;//秒
    if (second < 60) {
        publishTime = second + "秒";
    } else {
        long minute = second / 60;
        if (minute < 60) {
            publishTime = minute + "分钟";
        } else {
            long hour = minute / 60;
            if (hour < 24) {
                publishTime = hour + "小时";
            } else {
                long day = hour / 24;
                publishTime = day + "天前";
            }
        }
    }
    return publishTime;
}
以上代码看似没有毛病,运行结果,是不对的,很显然误差很大,查看代码pubishTime没有问题,显然获取当前时间戳有问题,发布的时间戳是10位数,获取到的当前时间戳是13位,修改
long timeMillis = System.currentTimeMillis() - publishTimeL * 1000;
Mac下搭建LNPM开发环境
安装Nginx
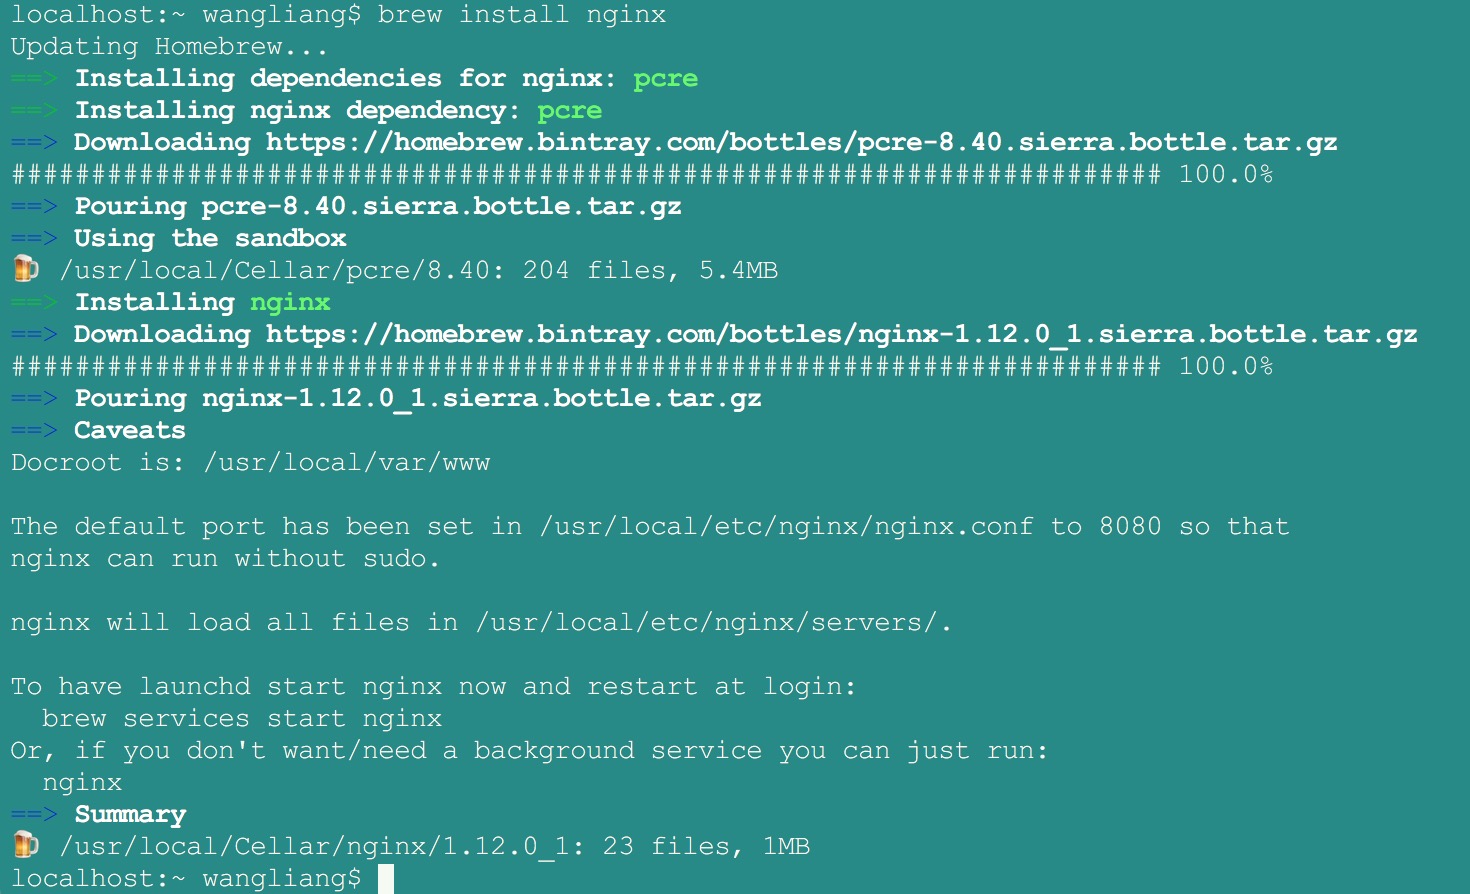
localhost:~ wangliang$ brew install nginx
Updating Homebrew...
==> Installing dependencies for nginx: pcre
==> Installing nginx dependency: pcre
==> Downloading https://homebrew.bintray.com/bottles/pcre-8.40.sierra.bottle.tar.gz
######################################################################## 100.0%
==> Pouring pcre-8.40.sierra.bottle.tar.gz
==> Using the sandbox
?  /usr/local/Cellar/pcre/8.40: 204 files, 5.4MB
==> Installing nginx
==> Downloading https://homebrew.bintray.com/bottles/nginx-1.12.0_1.sierra.bottle.tar.gz
######################################################################## 100.0%
==> Pouring nginx-1.12.0_1.sierra.bottle.tar.gz
==> Caveats
Docroot is: /usr/local/var/www

The default port has been set in /usr/local/etc/nginx/nginx.conf to 8080 so that
nginx can run without sudo.

nginx will load all files in /usr/local/etc/nginx/servers/.

To have launchd start nginx now and restart at login:
  brew services start nginx
Or, if you don't want/need a background service you can just run:
  nginx
==> Summary
?  /usr/local/Cellar/nginx/1.12.0_1: 23 files, 1MB
启动服务
localhost:www wangliang$ brew services start nginx
==> Tapping homebrew/services
Cloning into '/usr/local/Homebrew/Library/Taps/homebrew/homebrew-services'...
remote: Counting objects: 10, done.
remote: Compressing objects: 100% (7/7), done.
remote: Total 10 (delta 0), reused 5 (delta 0), pack-reused 0
Unpacking objects: 100% (10/10), done.
Checking connectivity... done.
Tapped 0 formulae (36 files, 51.8KB)
==> Successfully started `nginx` (label: homebrew.mxcl.nginx)
安装MySQL
localhost:~ wangliang$ brew install mysql
==> Installing dependencies for mysql: openssl
==> Installing mysql dependency: openssl
==> Downloading https://homebrew.bintray.com/bottles/openssl-1.0.2l.sierra.bottle.tar.gz
######################################################################## 100.0%
==> Pouring openssl-1.0.2l.sierra.bottle.tar.gz
==> Using the sandbox
==> Caveats
A CA file has been bootstrapped using certificates from the SystemRoots
keychain. To add additional certificates (e.g. the certificates added in
the System keychain), place .pem files in
  /usr/local/etc/openssl/certs

and run
  /usr/local/opt/openssl/bin/c_rehash

This formula is keg-only, which means it was not symlinked into /usr/local,
because Apple has deprecated use of OpenSSL in favor of its own TLS and crypto libraries.

If you need to have this software first in your PATH run:
  echo 'export PATH="/usr/local/opt/openssl/bin:$PATH"' >> ~/.bash_profile

For compilers to find this software you may need to set:
    LDFLAGS:  -L/usr/local/opt/openssl/lib
    CPPFLAGS: -I/usr/local/opt/openssl/include

==> Summary
?  /usr/local/Cellar/openssl/1.0.2l: 1,709 files, 12.2MB
==> Installing mysql
==> Downloading https://homebrew.bintray.com/bottles/mysql-5.7.18_1.sierra.bottle.tar.gz
######################################################################## 100.0%
==> Pouring mysql-5.7.18_1.sierra.bottle.tar.gz
==> /usr/local/Cellar/mysql/5.7.18_1/bin/mysqld --initialize-insecure --user=wangliang --basedir=/usr/local/Cellar/mysql/5.7.18_1 --datadir=/usr/local/var/m
==> Caveats
We've installed your MySQL database without a root password. To secure it run:
    mysql_secure_installation

MySQL is configured to only allow connections from localhost by default

To connect run:
    mysql -uroot

To have launchd start mysql now and restart at login:
  brew services start mysql
Or, if you don't want/need a background service you can just run:
  mysql.server start
==> Summary
?  /usr/local/Cellar/mysql/5.7.18_1: 321 files, 232.9MB
localhost:~ wangliang$
安装MongoDB
localhost:~ wangliang$ brew install mongodb
Updating Homebrew...
==> Auto-updated Homebrew!
Updated 1 tap (homebrew/core).
No changes to formulae.

==> Downloading https://homebrew.bintray.com/bottles/mongodb-3.4.4.sierra.bottle.tar.gz
######################################################################## 100.0%
==> Pouring mongodb-3.4.4.sierra.bottle.tar.gz
==> Using the sandbox
==> Caveats
To have launchd start mongodb now and restart at login:
  brew services start mongodb
Or, if you don't want/need a background service you can just run:
  mongod --config /usr/local/etc/mongod.conf
==> Summary
?  /usr/local/Cellar/mongodb/3.4.4: 18 files, 266.3MB
localhost:~ wangliang$


 6559
6559


 被折叠的 条评论
为什么被折叠?
被折叠的 条评论
为什么被折叠?
 到【灌水乐园】发言


