


-
官网下载spring案例
1、访问:https://projects.spring.io/spring-boot/
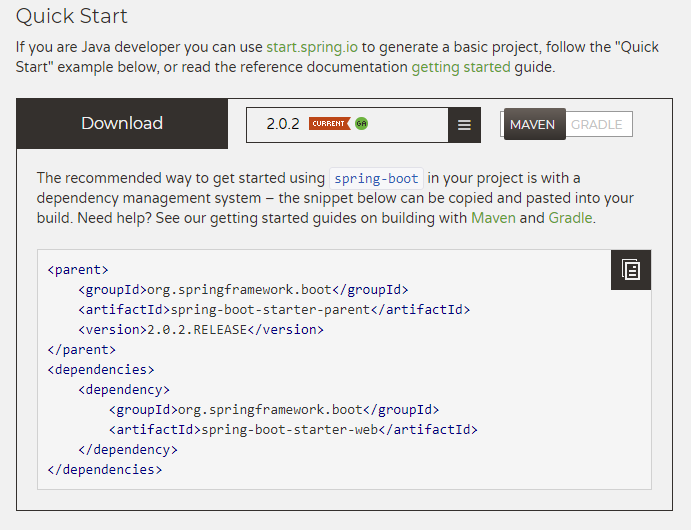
2、找到如下:
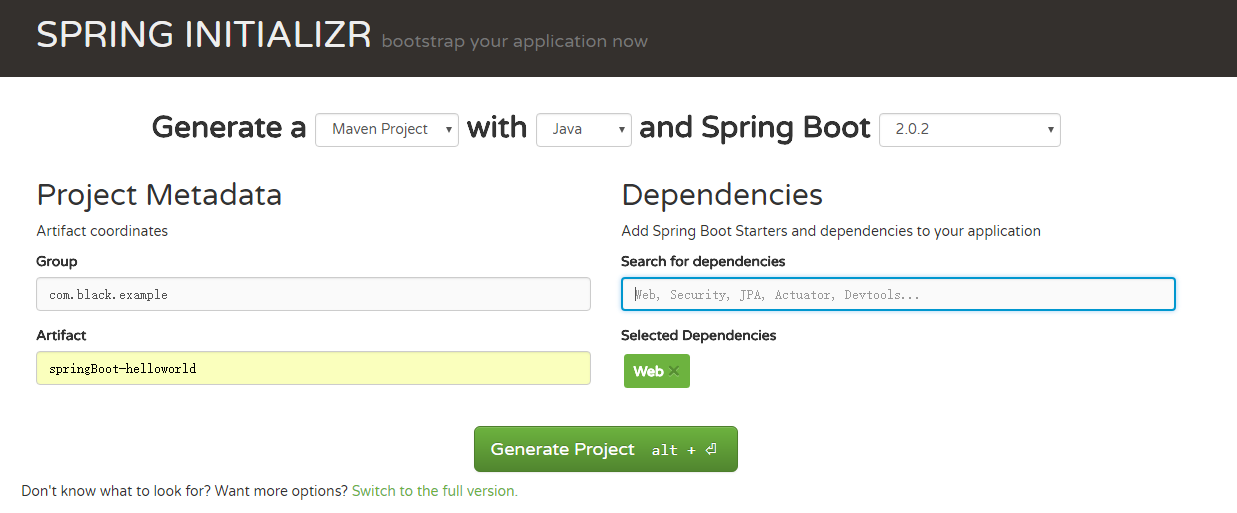
3、点击 start.spring.io ,进入如下图:
点击“Generate Project” 按钮,下载
-
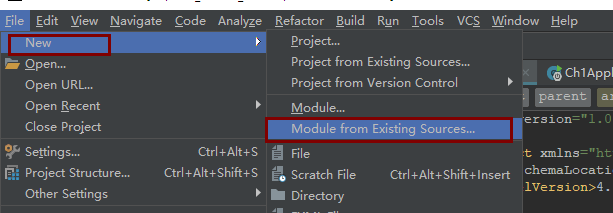
将下载的maven工程导入到idea中
1、点击菜单的“File”->“new”->“Module from Existing Sources...”。
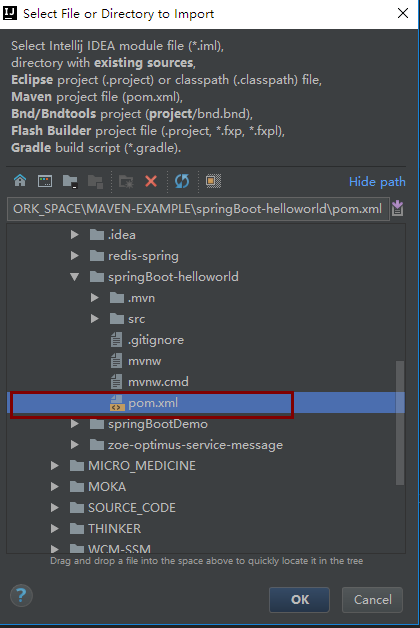
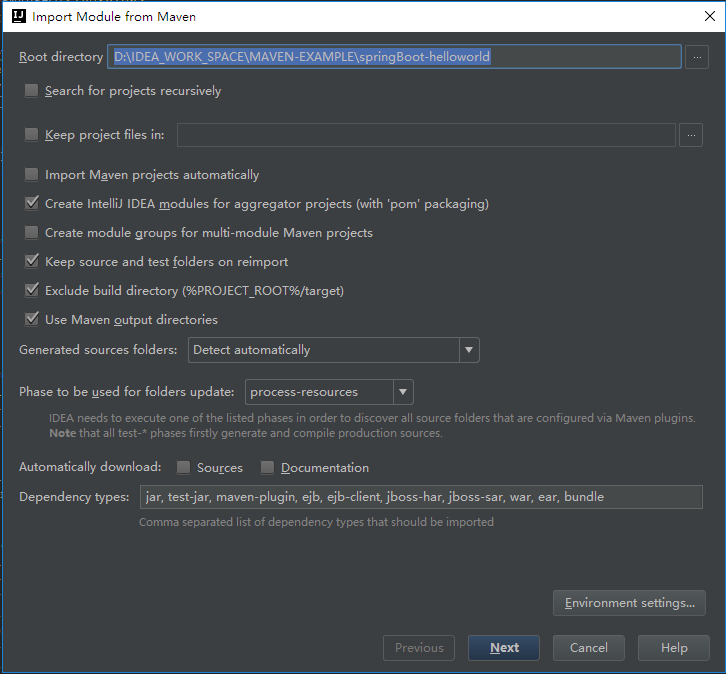
2、在打开的弹框中,选择你的项目的所在路径。注意:一定要选中pom.xml文件才可以。然后点击OK。
3、在弹框中所有的选项都不用东,直接点击“Next”按钮。
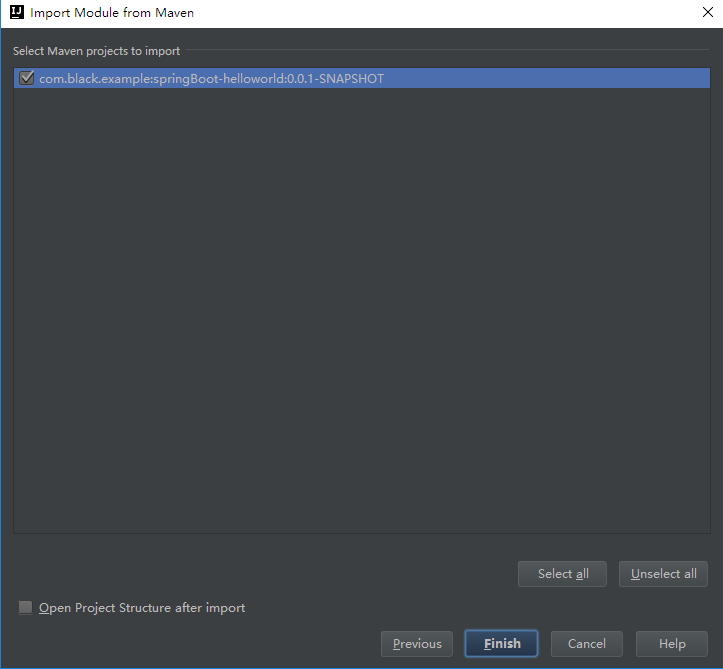
4、最后点击“Finish”按钮。
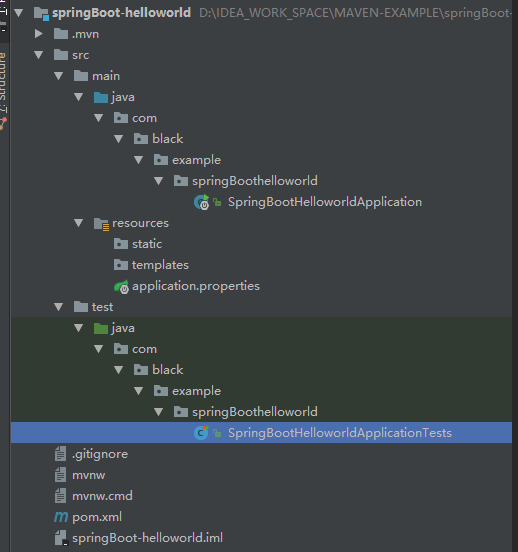
5、导入成功之后的maven结构如下图:
-
pom.xml
-
<?xml version="1.0" encoding="UTF-8"?> <project xmlns="http://maven.apache.org/POM/4.0.0" xmlns:xsi="http://www.w3.org/2001/XMLSchema-instance" xsi:schemaLocation="http://maven.apache.org/POM/4.0.0 http://maven.apache.org/xsd/maven-4.0.0.xsd"> <modelVersion>4.0.0</modelVersion> <groupId>com.black.example</groupId> <artifactId>springBoot-helloworld</artifactId> <version>0.0.1-SNAPSHOT</version> <packaging>jar</packaging> <name>springBoot-helloworld</name> <description>Demo project for Spring Boot</description> <parent> <groupId>org.springframework.boot</groupId> <artifactId>spring-boot-starter-parent</artifactId> <version>2.0.2.RELEASE</version> <relativePath/> <!-- lookup parent from repository --> </parent> <properties> <project.build.sourceEncoding>UTF-8</project.build.sourceEncoding> <project.reporting.outputEncoding>UTF-8</project.reporting.outputEncoding> <java.version>1.8</java.version> </properties> <dependencies> <dependency> <groupId>org.springframework.boot</groupId> <artifactId>spring-boot-starter-web</artifactId> </dependency> <dependency> <groupId>org.springframework.boot</groupId> <artifactId>spring-boot-starter-test</artifactId> <scope>test</scope> </dependency> </dependencies> <build> <plugins> <plugin> <groupId>org.springframework.boot</groupId> <artifactId>spring-boot-maven-plugin</artifactId> </plugin> </plugins> </build> </project> -
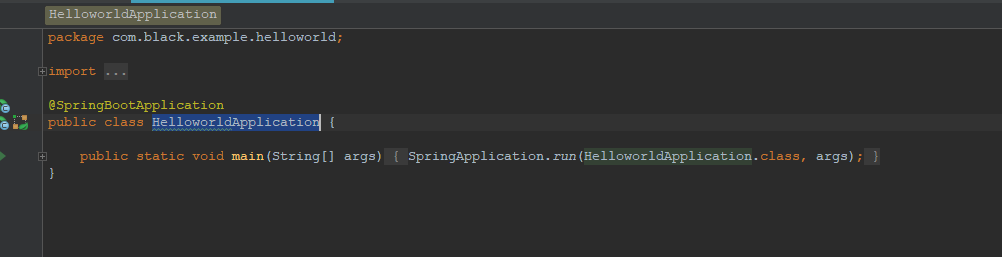
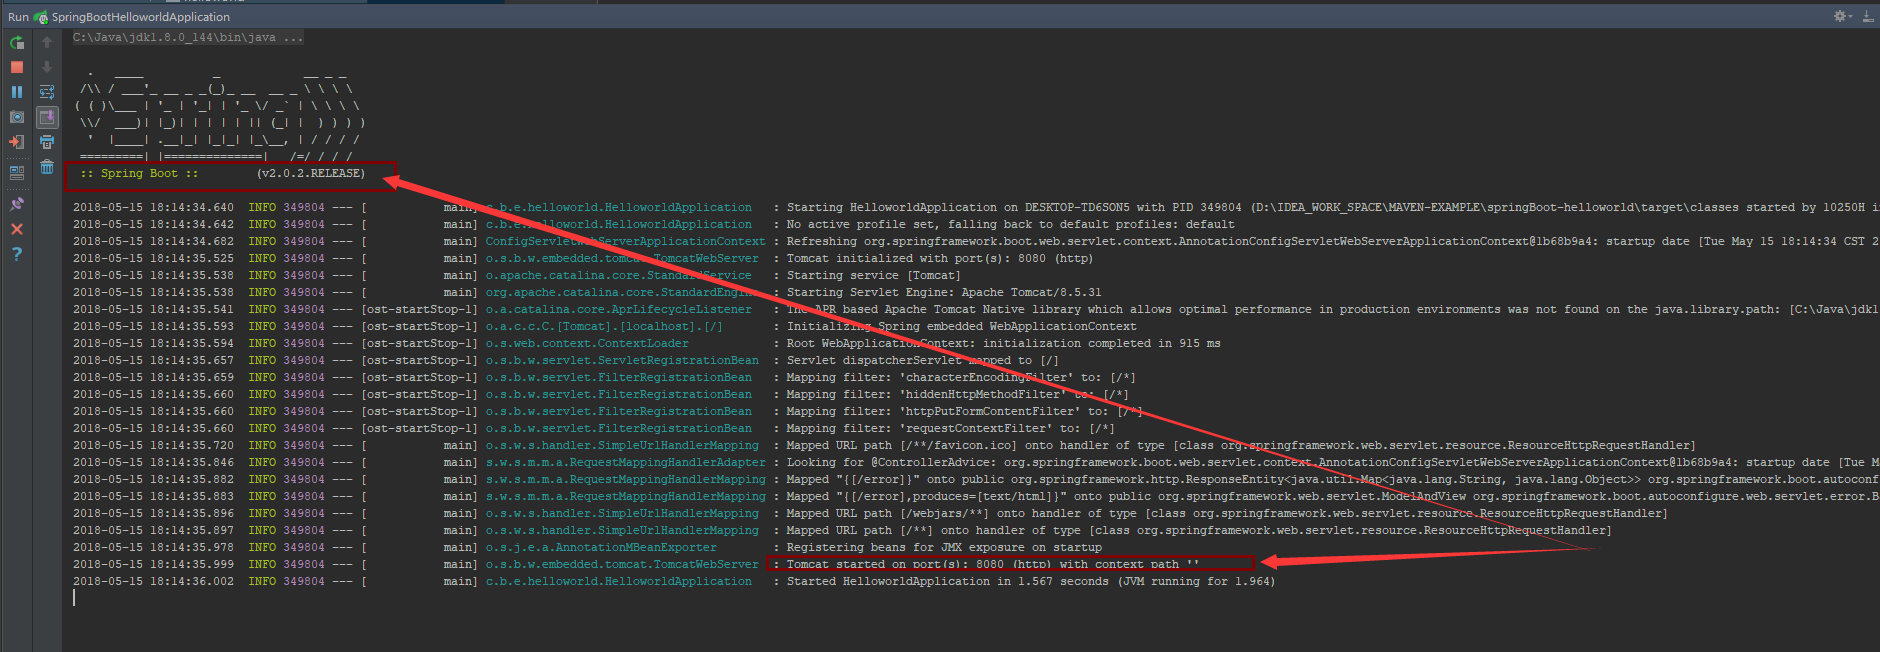
启动Spring Boot
快捷键“ctrl+shift+F10”,运行“HelloworldApplication”,如下图,说明正常启动
出现如下图的端口号和spring Boot使用的版本号,说明启动成功
-
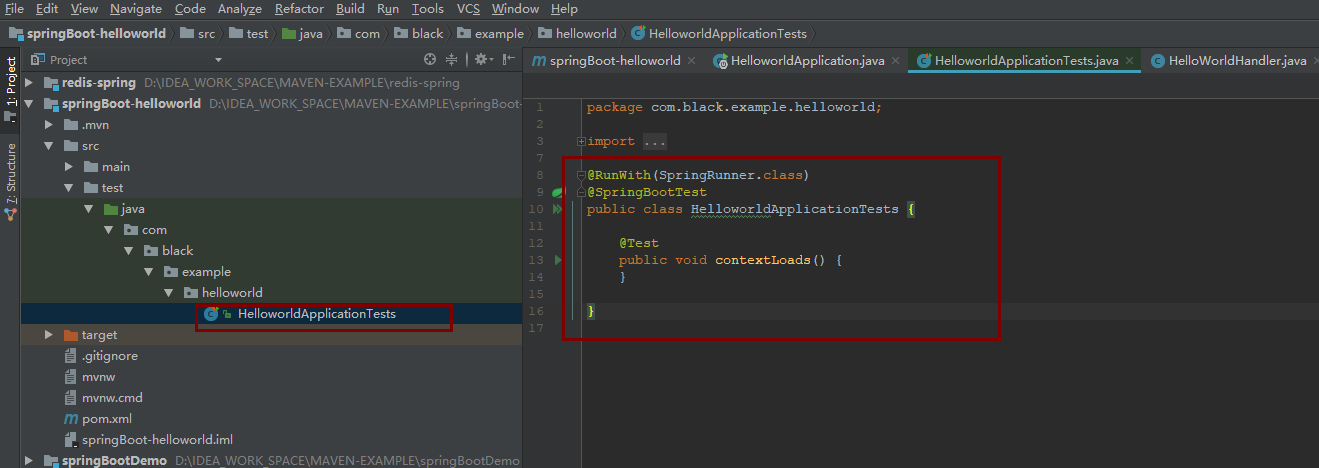
测试类
代码
package com.black.example.helloworld;

import org.junit.Test;
import org.junit.runner.RunWith;
import org.springframework.boot.test.context.SpringBootTest;
import org.springframework.test.context.junit4.SpringRunner;

@RunWith(SpringRunner.class)
@SpringBootTest
public class HelloworldApplicationTests {

	@Test
	public void contextLoads() {
	}

}
-
写一个简单的Http接口
创建 web包,在包下创建“HelloWorldHandler”
HelloWorldHandler代码如下
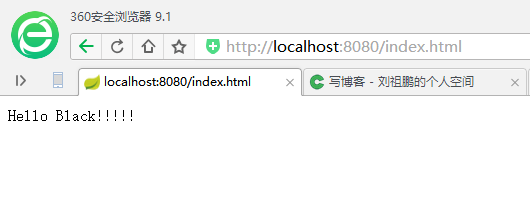
package com.black.example.helloworld.web;

import org.springframework.web.bind.annotation.RequestMapping;
import org.springframework.web.bind.annotation.RestController;

/**
 * Created by 10250H on 2018/5/15.
 */
@RestController
public class HelloWorldHandler {
    @RequestMapping(value = "/index.html")
    public String index(){
        return "Hello Black!!!!!";
    }
}
重启Spring Boot服务,浏览器访问地址
http://localhost:8080/index.html 如下图:
接口配置成功,Boot 就是如此简单~


 1万+
1万+

 被折叠的 条评论
为什么被折叠?
被折叠的 条评论
为什么被折叠?
 到【灌水乐园】发言


