


VNC是一种简单方便的远程连接方式,在日常工作中,可以大大提高工作效率,能够减轻普通X-Windows配置的麻烦,按照本文三步,即可完成整个服务创建和连接的过程:
1.在服务器端安装vnc server:
######查看是否已经安装了vnc server######
rpm  -q  vnc / vnc-server

######如果没有安装,执行下面命令安装######
yum install vnc / vnc-server

######安装过程部分内容如下######
Downloading packages:
tigervnc-server-1.8.0-1.el7.x86_64.rpm                                                                                                                      | 213 kB  00:00:00
Running transaction check
Running transaction test
Transaction test succeeded
Running transaction
  正在安装    : tigervnc-server-1.8.0-1.el7.x86_64                                                                                                                             1/1
  验证中      : tigervnc-server-1.8.0-1.el7.x86_64                                                                                                                             1/1

已安装:
  tigervnc-server.x86_64 0:1.8.0-1.el7

完毕!
2.启动vnc server:
######安装完成后,启动vnc server,注意这里需要输入远程访问的密码######
[root@mdw ~]# vncserver

You will require a password to access your desktops.

Password:
Password must be at least 6 characters - try again
Password:
Verify:
xauth:  file /root/.Xauthority does not exist

New 'mdw:1 (root)' desktop is mdw:1

Creating default startup script /root/.vnc/xstartup
Creating default config /root/.vnc/config
Starting applications specified in /root/.vnc/xstartup
Log file is /root/.vnc/mdw:1.log

######关闭防火墙######
[root@mdw ~]# service firewalld stop
Redirecting to /bin/systemctl stop  firewalld.service
3.远程连接:
######首先查看一下vnc server的端口号是多少,我这里是port 5901######
[root@mdw .vnc]# ls
config mdw:1.log mdw:1.pid nohup.out passwd xstartup
[root@mdw .vnc]# cat mdw\:1.log
Xvnc TigerVNC 1.3.1 - built Nov 16 2016 13:38:44
Copyright (C) 1999-2011 TigerVNC Team and many others (see README.txt)
See http://www.tigervnc.org for information on TigerVNC.
Underlying X server release 11702000, The X.Org Foundation
Thu Sep 28 14:00:32 2017
vncext: VNC extension running!
vncext: Listening for VNC connections on all interface(s), port 5901
vncext: created VNC server for screen 0
touch: 无法创建"/root/.cache/imsettings/log": 没有那个文件或目录
gnome-session-is-accelerated: llvmpipe detected.
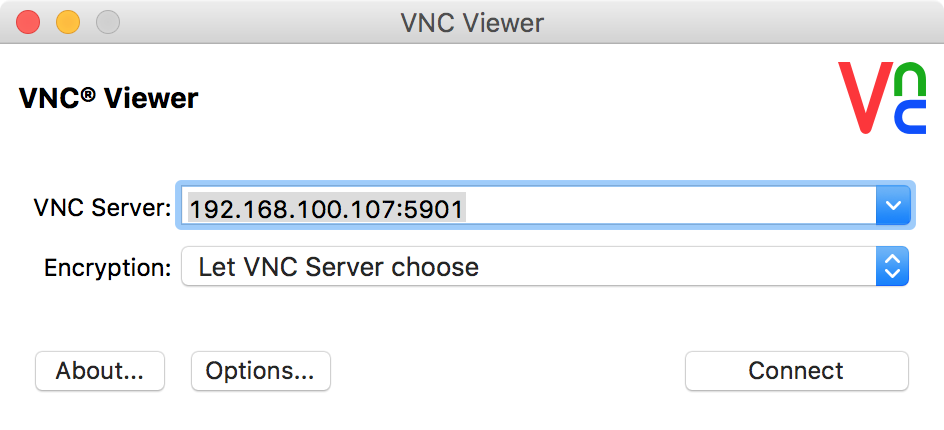
######打开vnc viewer远程连接,输入ip和对应端口号、密码即可######打开vnc viewer远程连接,输入ip和对应端口号、密码即可
End~


 3913
3913

 被折叠的 条评论
为什么被折叠?
被折叠的 条评论
为什么被折叠?
 到【灌水乐园】发言


