


为了实现毛玻璃效果,我们需要一组compute kernels(.rs文件中编写),及一组用于控制renderScript相关的Javaapi(.rs文件自动生成为Java类)。 由于compute kernels的编写需要一定的学习成本,从JELLY_BEAN_MR1开始,Androied内置了一些compute kernels用于常用的操作,其中就包括了Gaussian blur。
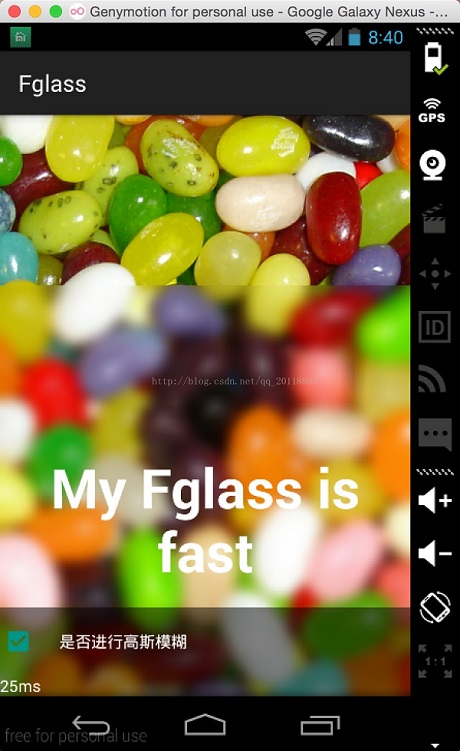
下面,通过实操来讲解一下RenderScript来实现高斯模糊,最终实现效果(讲文字背景进行模糊处理):

实现代码:
privatevoid applyBlur() {
image.getViewTreeObserver().addOnPreDrawListener(new
ViewTreeObserver.OnPreDrawListener() {
@Override
public boolean onPreDraw() {
image.getViewTreeObserver().removeOnPreDrawListener(this);
image.buildDrawingCache();
Bitmap bmp = image.getDrawingCache();
blur(bmp, text, true);
return true;
}
});
}
@TargetApi(Build.VERSION_CODES.JELLY_BEAN_MR1)
private void blur(Bitmap bkg, View view) {
long startMs = System.currentTimeMillis();
float radius = 20;
Bitmap overlay = Bitmap.createBitmap((int)(view.getMeasuredWidth()),
(int)(view.getMeasuredHeight()), Bitmap.Config.ARGB_8888);
Canvas canvas = new Canvas(overlay);
canvas.translate(-view.getLeft(), -view.getTop());
canvas.drawBitmap(bkg, 0, 0, null);
RenderScript rs = RenderScript.create(SecondActivity.this);
Allocation overlayAlloc = Allocation.createFromBitmap(rs, overlay);
ScriptIntrinsicBlur blur = ScriptIntrinsicBlur.create(rs,
overlayAlloc.getElement());
blur.setInput(overlayAlloc);
blur.setRadius(radius);
blur.forEach(overlayAlloc);
overlayAlloc.copyTo(overlay);
view.setBackground(new BitmapDrawable(getResources(), overlay));
rs.destroy();
statusText.setText("cost " + (System.currentTimeMillis() - startMs) +
"ms");
}
布局如下:
android:layout_width="match_parent"
android:layout_height="match_parent" >
android:id="@+id/picture"
android:layout_width="match_parent"
android:layout_height="match_parent"
android:src="@drawable/splash"
android:scaleType="centerCrop" />
android:id="@+id/text"
android:gravity="center_horizontal"
android:layout_width="match_parent"
android:layout_height="wrap_content"
android:text="Gaussian Blur"
android:textColor="@android:color/black"
android:layout_gravity="center_vertical"
android:textStyle="bold"
android:textSize="48sp" />
android:id="@+id/controls"
android:layout_width="match_parent"
android:layout_height="wrap_content"
android:background="#7f000000"
android:orientation="vertical"
android:layout_gravity="bottom" />
以上所述是小编给大家介绍的Android中实现iOS中的毛玻璃效果,希望对大家有所帮助,如果大家有任何疑问请给我留言,小编会及时回复大家的。在此也非常感谢大家对我们网站的支持!
时间: 2017-06-10


 4026
4026


 被折叠的 条评论
为什么被折叠?
被折叠的 条评论
为什么被折叠?
 到【灌水乐园】发言


