


上一篇已经说完了简单UDP发送端开发,参见我的博客:Qt开发的UDP发送端。
博文地址:https://my.oschina.net/marshal2bit/blog/803803
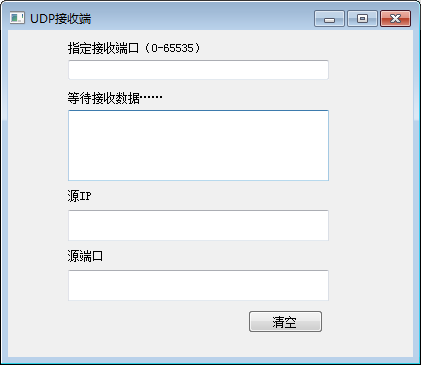
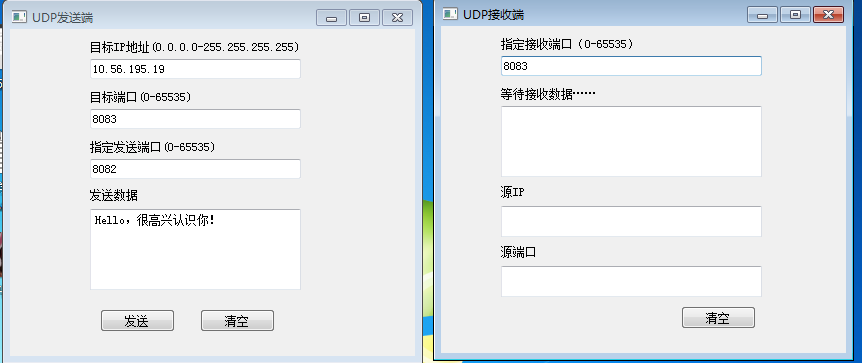
做完UDP发送端,我又尝试做了一个UDP接收端。先上图,做出来的样子如下:
一、开发环境(和上篇博文一样)
系统:Windows 7 专业版(64位)
软件:qt-opensource-windows-x86-mingw530-5.7.0(原来用Qt 5.2.1+完成的工程)
注:Qt下载链接http://download.qt.io/official_releases/qt/
二、新建工程
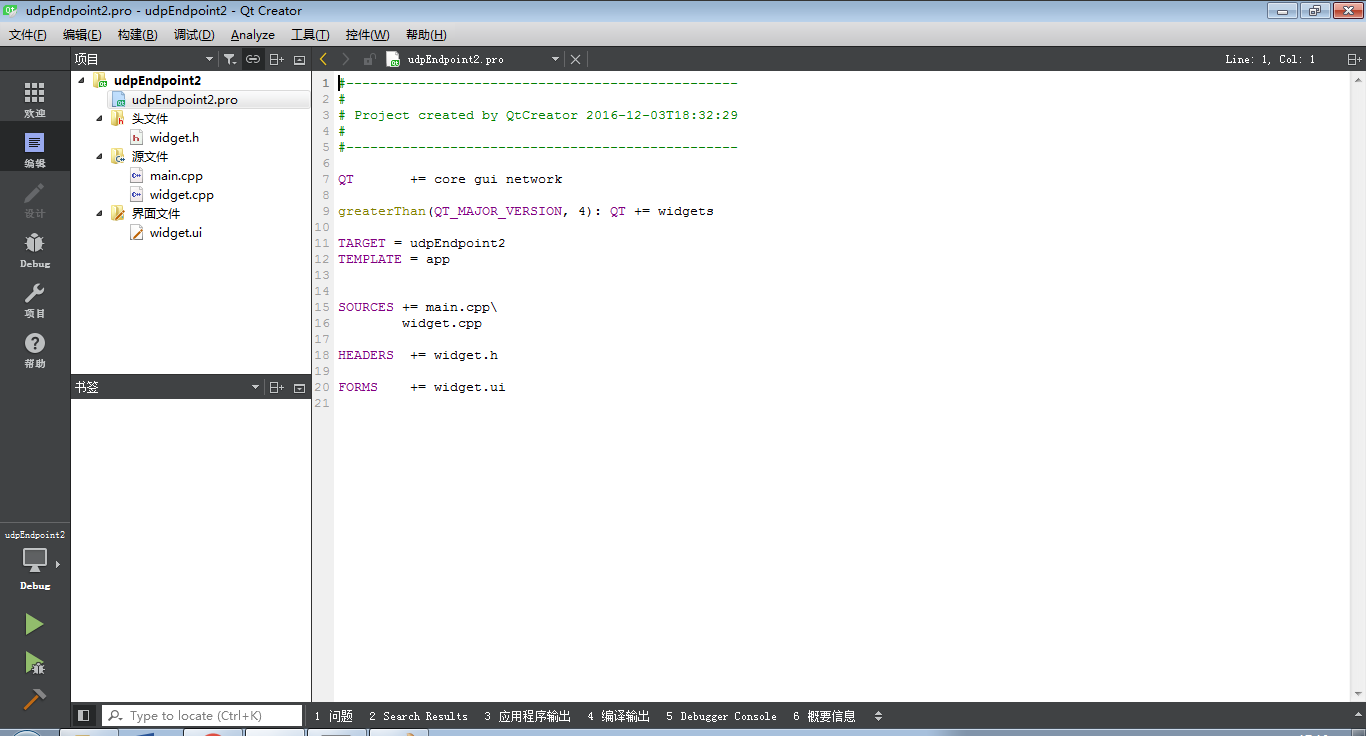
见文章开头的博客链接。注意修改.pro文件
#-------------------------------------------------
#
# Project created by QtCreator 2016-12-03T18:32:29
#
#-------------------------------------------------

QT       += core gui network

greaterThan(QT_MAJOR_VERSION, 4): QT += widgets

TARGET = udpEndpoint2
TEMPLATE = app


SOURCES += main.cpp\
        widget.cpp

HEADERS  += widget.h

FORMS    += widget.ui
新建好的工程界面如下:
三、设计ui界面
进入“widget.ui”,设计如下界面:
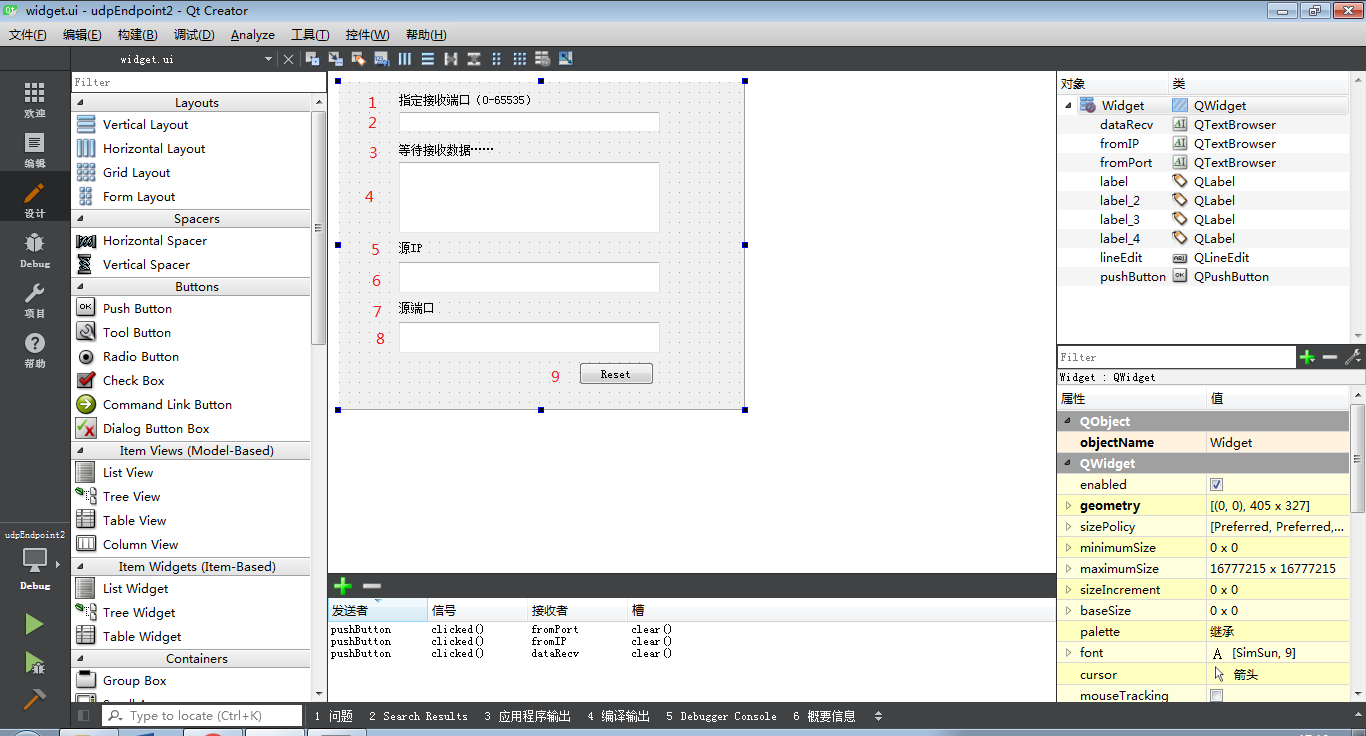
控件信息见下表:
| 控件标号 | 控件类别 | 控件名称(objectName) |
| 1 | QLabel | label_4 |
| 2 | QLineEdit | lineEdit |
| 3 | QLabel | label |
| 4 | QTextBrowser | dataRecv |
| 5 | QLabel | label_2 |
| 6 | QTextBrowser | fromIP |
| 7 | QLabel | label_3 |
| 8 | QTextBrowser | fromPort |
| 9 | QPushButton | pushButton |
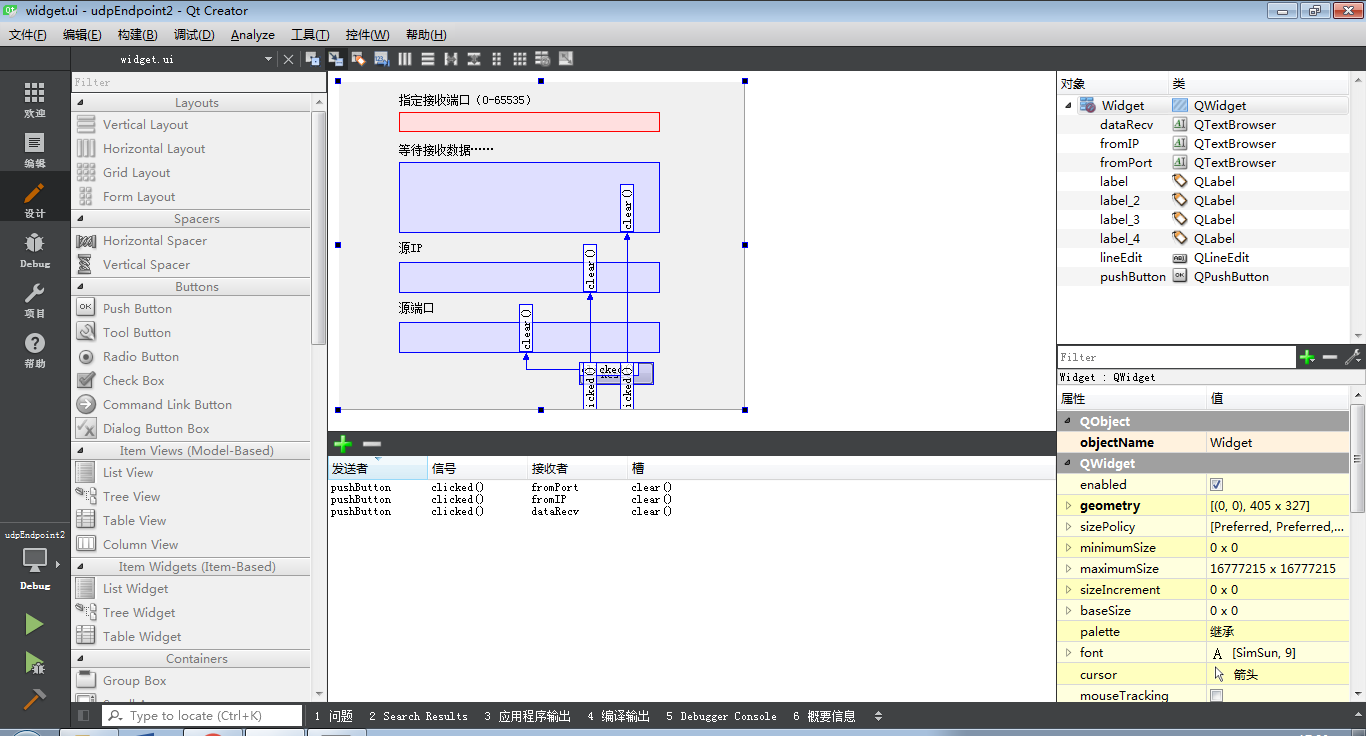
四、ui界面的“信号-槽”函数设置
五、代码编辑
(一)编辑“widget.h”,编辑如下:
//widget.h
#ifndef WIDGET_H
#define WIDGET_H

#include <QWidget>
#include <QtNetwork/QUdpSocket>

namespace Ui {
class Widget;
}

class Widget : public QWidget
{
    Q_OBJECT

public:
    explicit Widget(QWidget *parent = 0);
    ~Widget();

private slots:
    void processPendingDatagram();
    void on_pushButton_clicked();

    void on_lineEdit_editingFinished();

private:
    QUdpSocket *receiver;
    Ui::Widget *ui;
};

#endif // WIDGET_H
(二)编辑“widget.cpp”,如下:
//widget.cpp
#include "widget.h"
#include "ui_widget.h"
#include "QtNetwork/QUdpSocket"
#include "QtNetwork/QHostAddress"
#include "QTextCodec"

QRegExp regExpIP("((25[0-5]|2[0-4][0-9]|1[0-9][0-9]|[1-9][0-9]|[0-9])[\\.]){3}(25[0-5]|2[0-4][0-9]|1[0-9][0-9]|[1-9][0-9]|[0-9])");
QRegExp regExpNetPort("((6553[0-5])|[655[0-2][0-9]|65[0-4][0-9]{2}|6[0-4][0-9]{3}|[1-5][0-9]{4}|[1-9][0-9]{3}|[1-9][0-9]{2}|[1-9][0-9]|[0-9])");
Widget::Widget(QWidget *parent) :
    QWidget(parent),
    ui(new Ui::Widget)
{
    ui->setupUi(this);
    this->setWindowTitle("UDP接收端");
    ui->lineEdit->setValidator\
            (new QRegExpValidator(regExpNetPort,this));
    ui->label->setText("等待接收数据……");
    ui->pushButton->setText("清空");

    receiver = new QUdpSocket(this);
    //receiver->bind(8083);  //端口8083接收
    connect(receiver,SIGNAL(readyRead()),this,SLOT(processPendingDatagram()));
}
//接收数据
void Widget::processPendingDatagram()
{
    QHostAddress *sourceIP = new QHostAddress();
    quint16 sourcePort;
    while(receiver->hasPendingDatagrams())
    {
        QByteArray datagram;
        QString dataStr;

        QTextCodec *tutf=QTextCodec::codecForName("UTF-8");  //显示中文
        datagram.resize(receiver->pendingDatagramSize());
        receiver->readDatagram(datagram.data(),datagram.size(),\
                               sourceIP,&sourcePort);    //接收
        dataStr = tutf->toUnicode(datagram);  //接收数据格式化以便于中文显示
        ui->label->setText("接收到的数据");
        //ui->dataRecv->setText(dataStr);
        ui->dataRecv->append(dataStr);
        ui->fromIP->setText(sourceIP->toString());  //查看数据源IP地址
        ui->fromPort->setText(QString::number(sourcePort, 10));  //查看数据源端口
    }
    delete sourceIP;
}
Widget::~Widget()
{
    delete ui;
}

//清空数据
void Widget::on_pushButton_clicked()
{
    if(ui->label->text() == "接收到的数据")
        ui->label->setText("已清空,等待新数据到来……");
}

void Widget::on_lineEdit_editingFinished()
{
    QString inputPort = ui->lineEdit->text();
    quint16 local_port;
    receiver->abort();   //复位socket
    //处理端口输入
    if(inputPort.isEmpty())
        local_port = -1;
    else
        local_port = inputPort.toUInt();   //QString 文本输入,转换为quint16的数字端口
    receiver->bind(local_port);     //绑定输入端口
}
“main.cpp”无需修改
//main.cpp
#include "widget.h"
#include <QApplication>
#include <QTextCodec>

int main(int argc, char *argv[])
{
    QApplication a(argc, argv);
    Widget w;
    //QTextCodec::setCodecForLocale(QTextCodec::codecForName("UTF-8"));
    w.show();
    return a.exec();
}
六、程序运行
运行界面如文章开头所示,使用实例与开头所提的博客对应。
用8083端口接收本机8082发送端发过来的数据,本机IP:10.56.195.19。运行前设置
点击发送后,运行结果
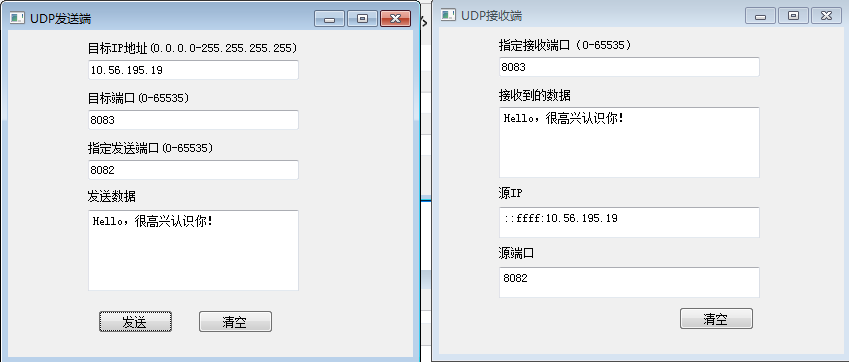
在Qt 5.2.1中,源IP只显示IP地址:10.56.195.19,到了5.7.0不知道怎么会出来::ff:这个东西,有时间再看看,知道原因的博友也请指教指教。
到此为止,UDP发送端和接收端开发已经讲完。
(over)


 460
460

 被折叠的 条评论
为什么被折叠?
被折叠的 条评论
为什么被折叠?
 到【灌水乐园】发言


