


配置说明:1.在project buildgradle
dependencies {
    classpath classpath }
2. app的 build.gradle :
//配置Android annotations
  apply : AAVersion = apt {
    {
        .outputs[]?.processResources?.manifestFile
    }
}
dependencies {
compile fileTree(: , : [])
testCompile compile compile apt $AAVersioncompile $AAVersion}buildscript {
repositories {
mavenCentral()
}
dependencies {
classpath classpath }
}多重构几次即可
对应的Activity 一定在Android Manifest中后面加个下划线。比如:
<activity android:name=".MainActivity_">附小的demo:
1、布局文件.xml
<RelativeLayout xmlns:android="http://schemas.android.com/apk/res/android"
    xmlns:tools="http://schemas.android.com/tools"
    android:layout_width="match_parent"
    android:layout_height="match_parent"
    tools:context="mstart.yeketech.com.frescodemo.MainActivity">

    <EditText
        android:id="@+id/myInput"
        android:layout_width="match_parent"
        android:layout_height="wrap_content"
        />
    <Button
        android:layout_below="@+id/myInput"
        android:id="@+id/myButton"
        android:layout_width="match_parent"
        android:layout_height="wrap_content"
        android:text="Click me!"
        />
    <TextView
        android:layout_below="@+id/myButton"
        android:id="@+id/myTextView"
        android:layout_width="match_parent"
        android:layout_height="wrap_content"
        />
    </RelativeLayout>
2、Activity
import android.app.Activity;
import android.widget.EditText;
import android.widget.TextView;

import org.androidannotations.annotations.Click;
import org.androidannotations.annotations.EActivity;
import org.androidannotations.annotations.ViewById;

@EActivity(R.layout.activity_main)
public class MainActivity extends Activity {
    @ViewById(R.id.myInput)
    EditText myInput;

    @ViewById(R.id.myTextView)
    TextView textView;

    @Click
    void myButton() {
        String name = myInput.getText().toString();
        textView.setText("Hello "+name);
    }

/**
 * 不使用注解代码
 */
//    private Button myButton;
//    private TextView textView;
//    private EditText myInput;
//    @Override
//    public void onCreate(Bundle savedInstanceState, PersistableBundle persistentState) {
//        super.onCreate(savedInstanceState, persistentState);
//        setContentView(R.layout.activity_main);
//        textView= (TextView) findViewById(R.id.myTextView);
//        myInput= (EditText) findViewById(R.id.myInput);
//        myButton= (Button) findViewById(R.id.myButton);
//        myButton.setOnClickListener(new View.OnClickListener() {
//            @Override
//            public void onClick(View v) {
//                String name = myInput.getText().toString();
//                textView.setText("Hello "+name);
//            }
//        });
//    }

}
3、效果图:
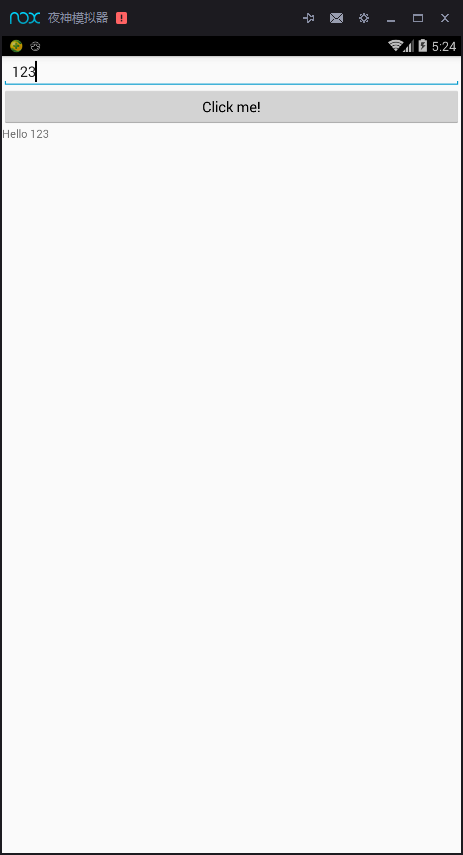
4、注:一对比 就发现使用注解代码少很多;但是没有教扎实的基础,不建议使用注解;


 9126
9126


 被折叠的 条评论
为什么被折叠?
被折叠的 条评论
为什么被折叠?
 到【灌水乐园】发言


